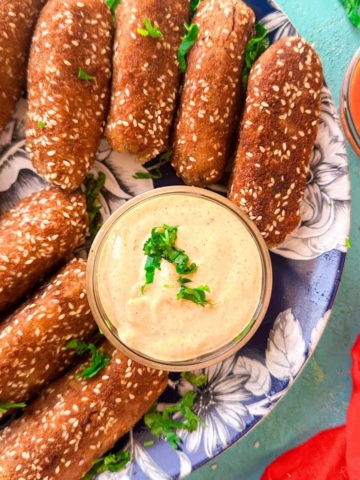
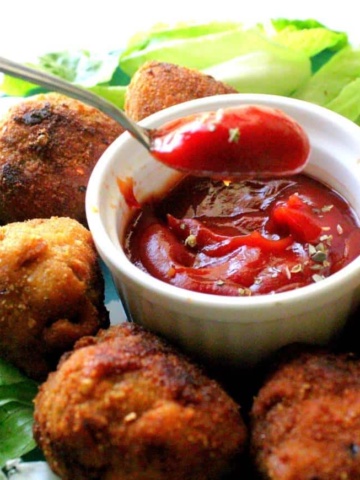
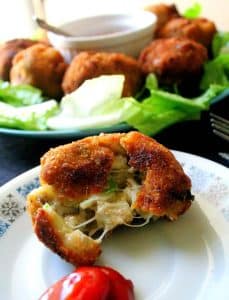
You will make these juicy chicken and vegetable kababs every week once you try it! They are low-carb, packed with flavor, and nutrient dense! On top of that, they come together fairly quickly and are freezer friendly. Bring on the grill!

So me and my husband have phases where we go from total health nuts to absolute Junk food addicts. Lately, we’ve found a balance where we try to have at least one nutritional meal a day (minus holidays ofcourse). These kebabs or kabobs are my go to for most of those meals.
I loveeeee recipes that freeze. These kebabs work beautifully when frozen, just like my chicken cheddar kababs or the delicious Asian Meatballs. You save time and meal prep at the same time.
Bonus: These kabobs or kababs are super versatile. Go in with whatever veggies you like and pair it with literally anything you want! (more ideas laters)
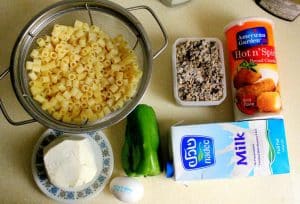
[feast_advanced_jump_to]Ingredients
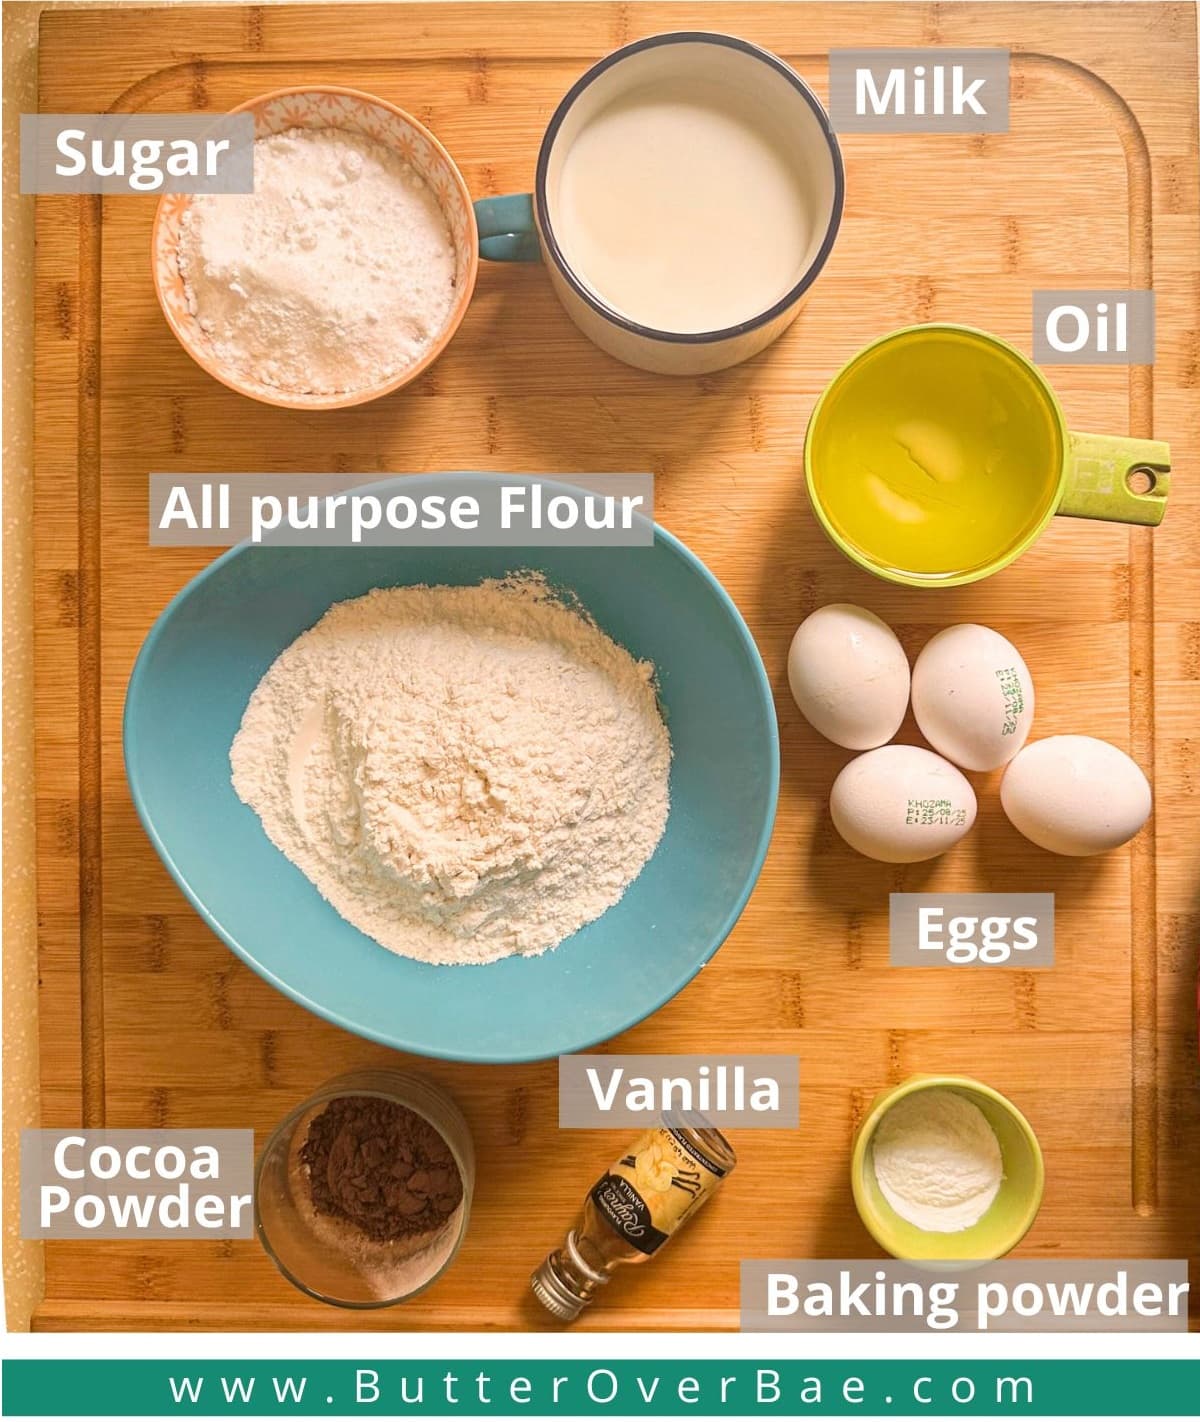
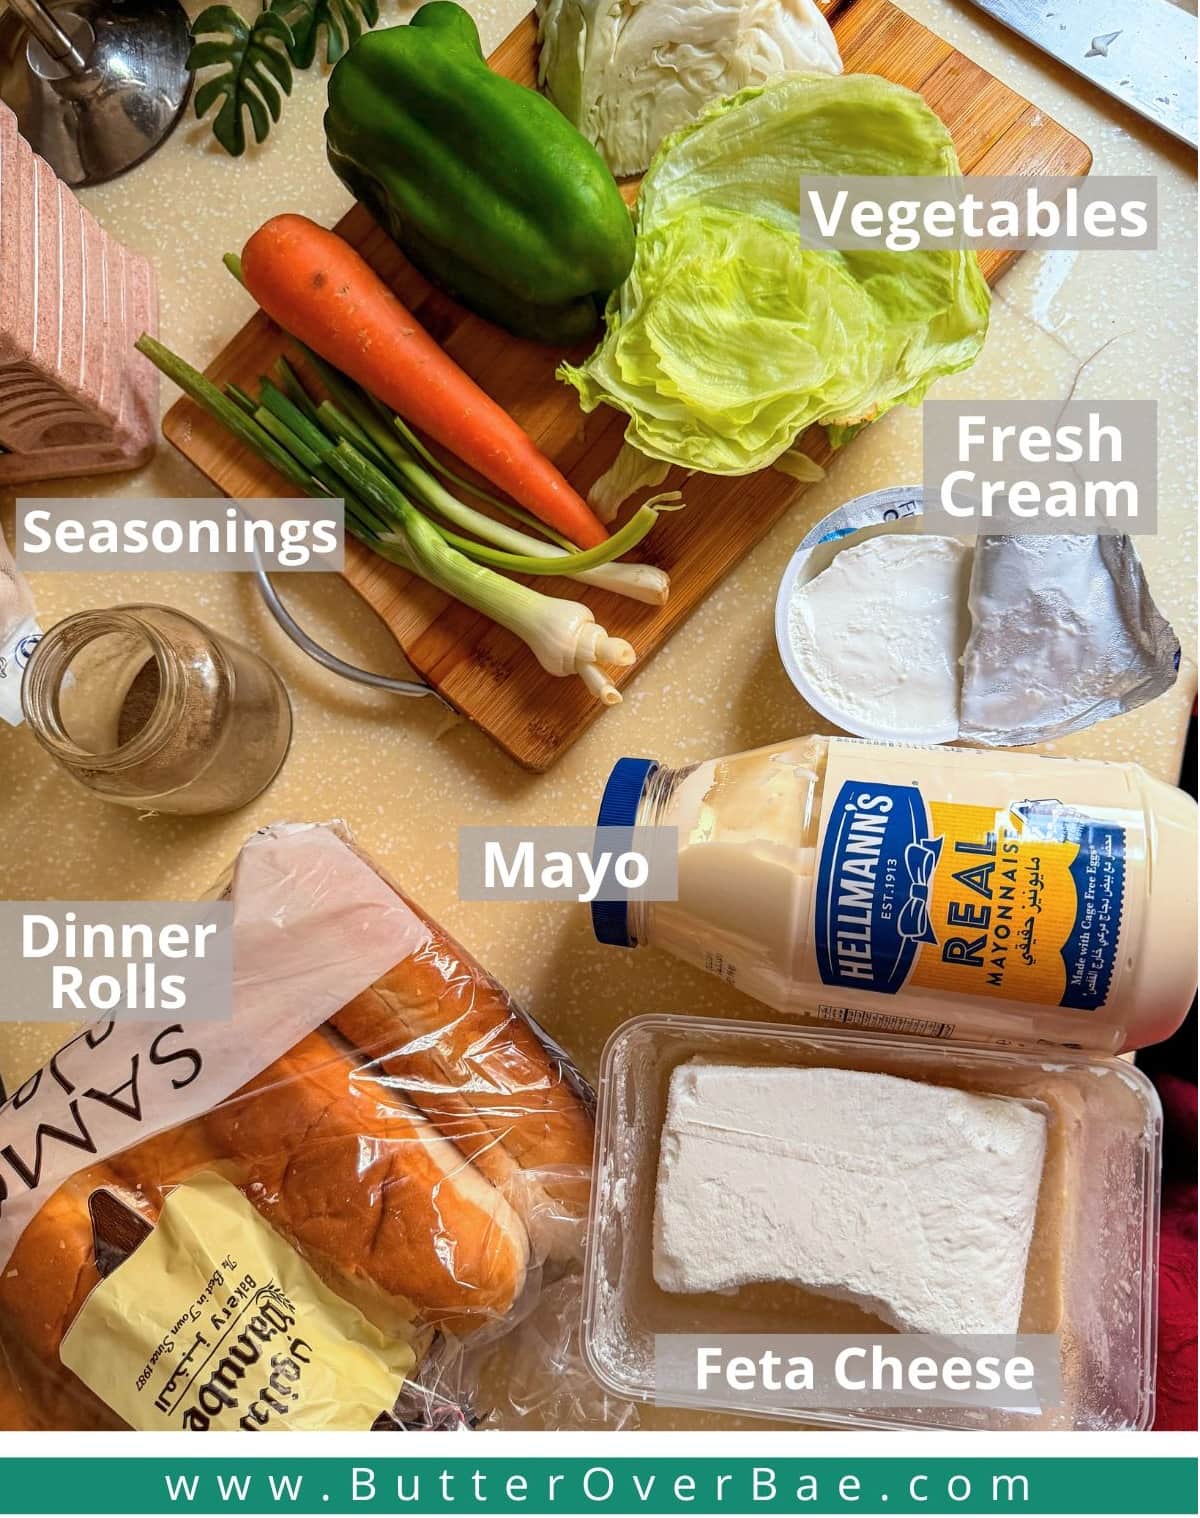
Here are a couple of pointers and notes about the ingredients.

- Ground chicken – There is no restriction as to what part of the chicken you need for this recipe. You can buy boneless chicken and process it at home or buy pre-ground chicken. Everything works.
- Spices and Seasoning – The spices are a little heavy in this recipe simply to season all the bland veggies and oats. There is black and white pepper, cumin, crush red chili, garlic, and ginger.
- Vegetables – Here’s the fun part. This recipe has no prerequisite of which veggies you need. Use this as an opportunity to clean your fridge. I went with carrots, onion, bellpepper, and coriander (as the herb)
- Binding – These kabobs have a higher moisture content which makes managing them a little tricky. Adding eggs and bread crumbs helps with that and gives a nice subtle flavor.
- Oats – I love adding oats to this recipe for the added nutrition boost. They don’t alter the taste but you’ll require a little more salt. Its optional either ways.
See the recipe card for full information on ingredients and quantities
Method
You literally have to just mix all the ingredients and let it rest for 5 to 10 mins! That’s all there is to preparing these kebabs! Here’s a pictorial I made for you.

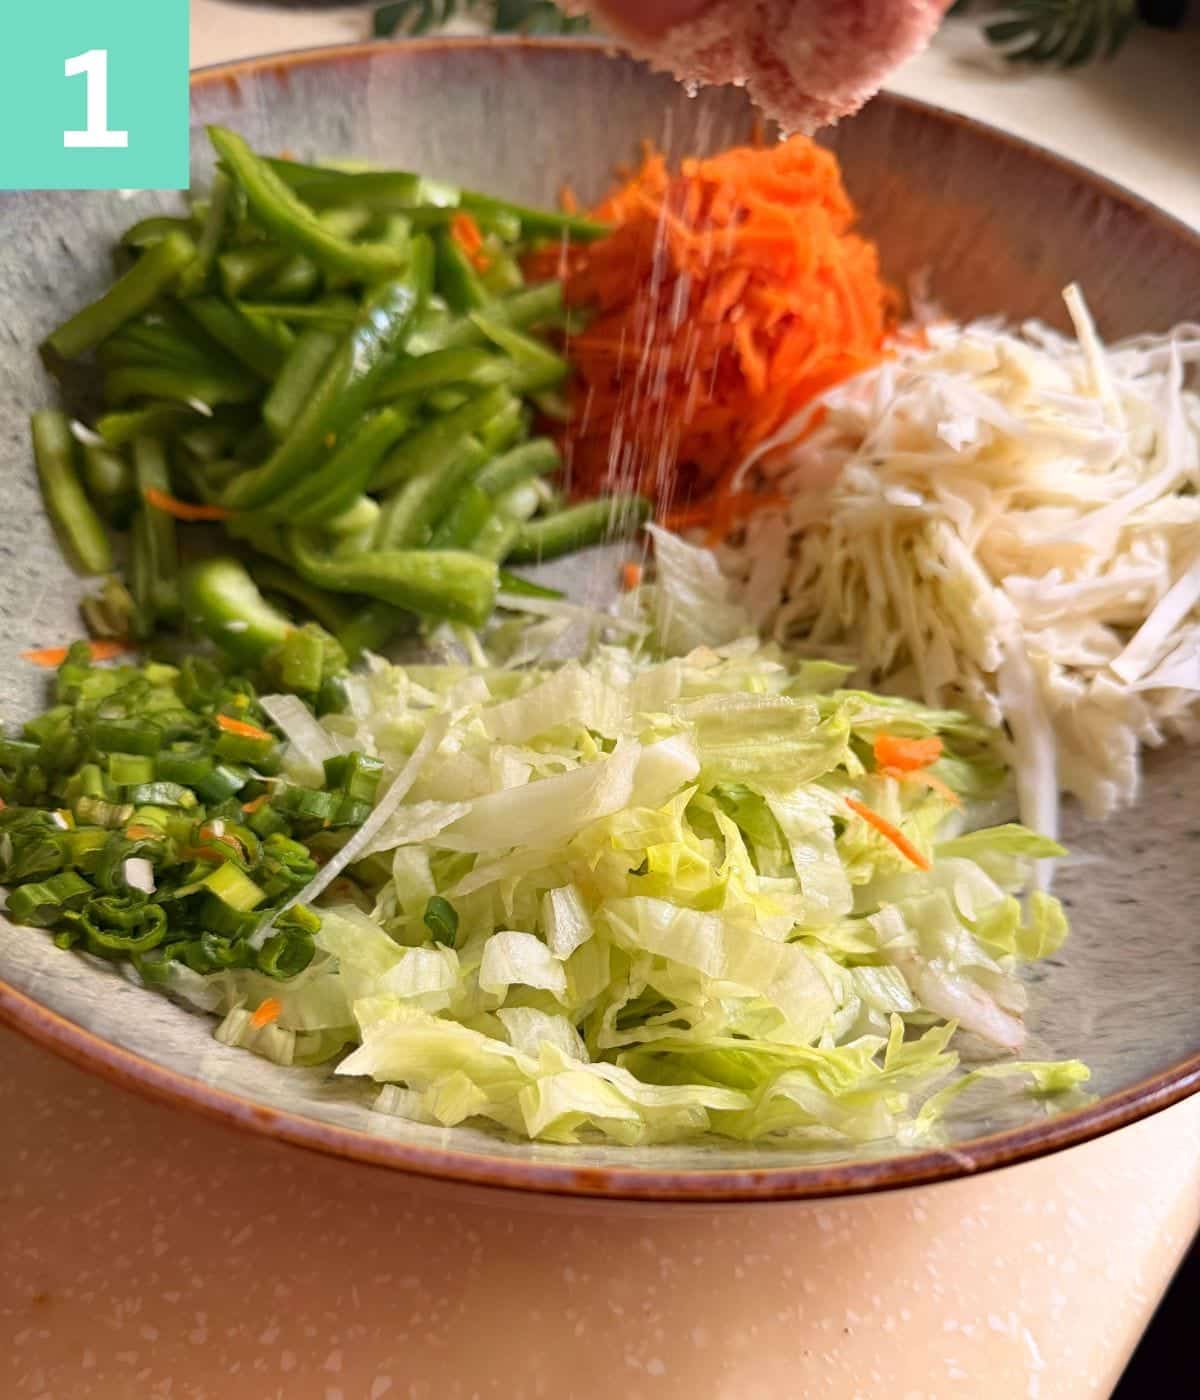
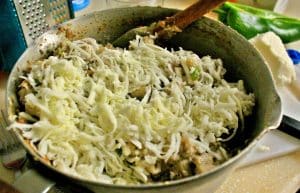
Step 1: Put all the assorted vegetables and herbs in a food processor.

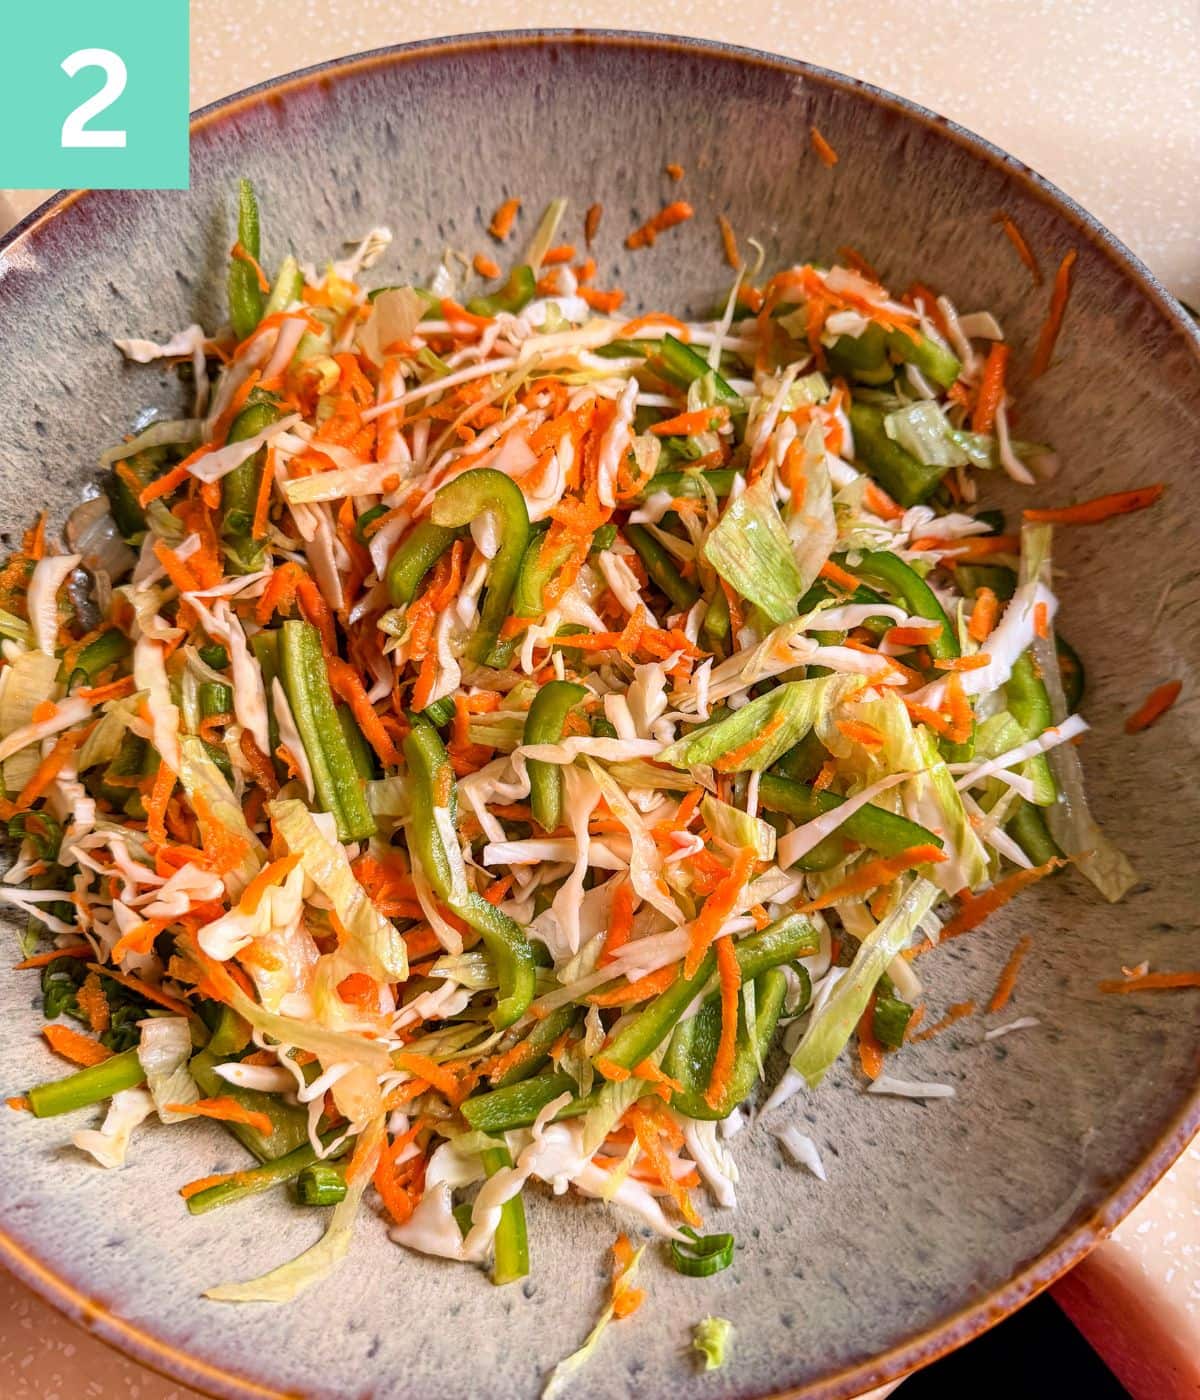
Step 2: Process the vegetables until finely chopped.

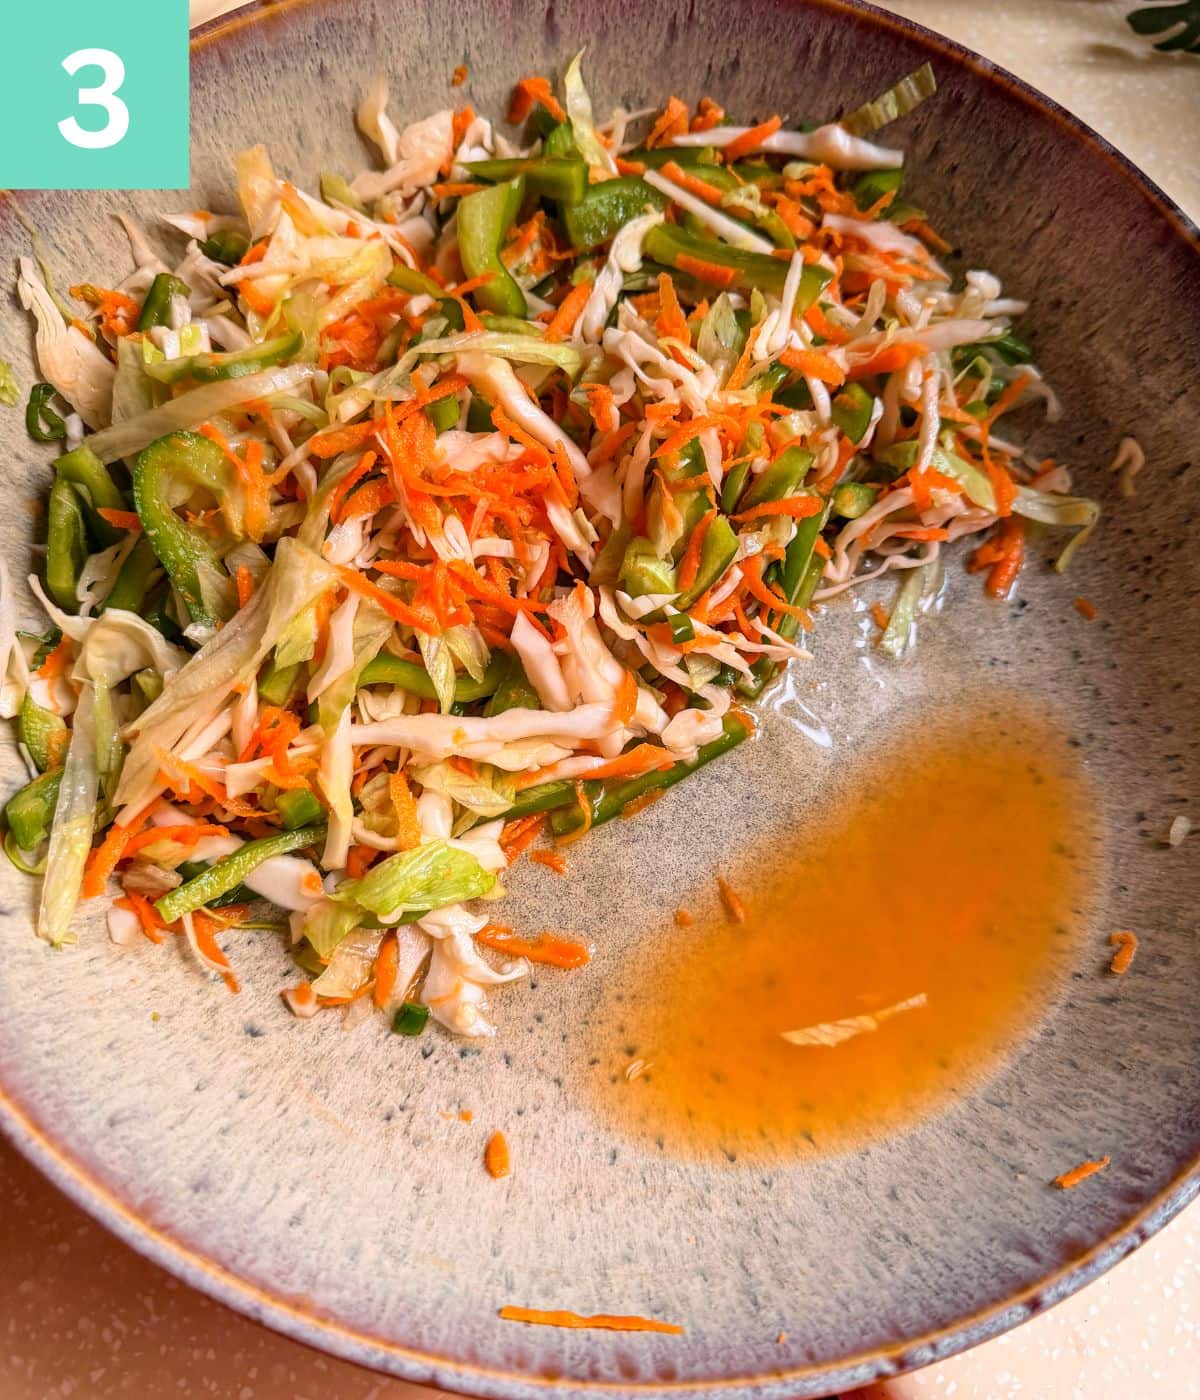
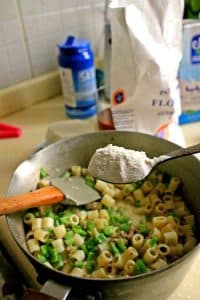
Step 3: In a bowl add the vegetables, chicken mince, egg, spices, oats and bread crumbs.

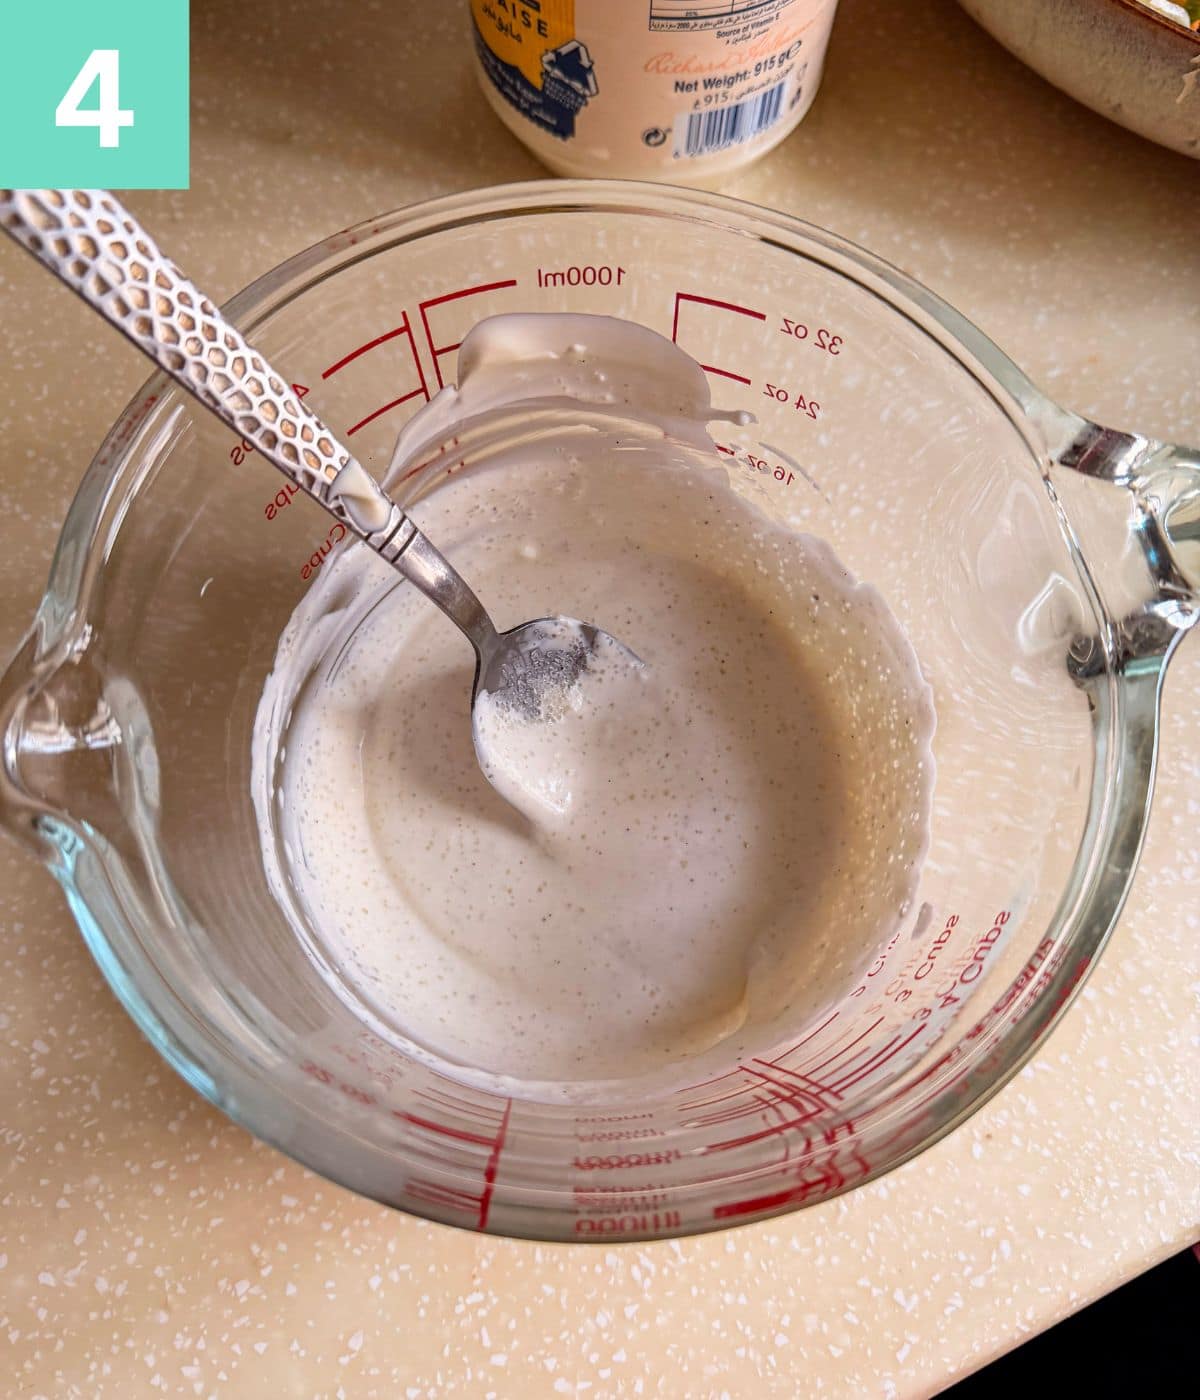
Step 4: Mix everything thoroughly to make a uniform kabab mixture. Allow it to rest for 5 to 10 minutes on the counter.

Step 5: Use a tablespoon to portion out kababs onto a plate.

Step 6: Grease your hands with oil and flatten the kabobs in the palms of your hand and press into patties.

Step 7: Directly put the patties onto a hot grill pan greased with oil.

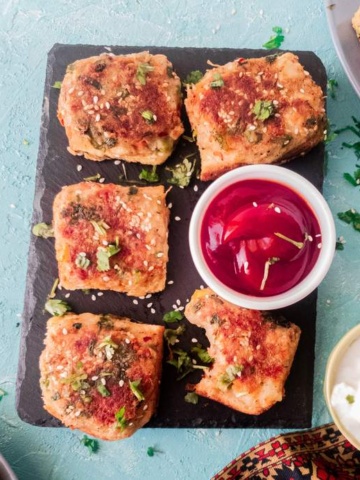
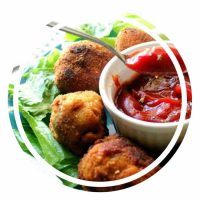
Step 8: Grill for 3 minutes on each side until you get golden brown edges.

Expert Tips
- Always do a taste test before grilling up all the kebabs. Make a small bite sized kebab and grill it. Adjust seasoning and spices accordingly.
- Tomatoes tend to become mushy in a chopper, hence avoid putting them in. Instead, opt for chopping them by a knife.
- Resting the kababs for 5 to 10 minutes gives the bread crumbs enough time to absorb moisture. Do not skip this step! You can leave it for longer in the fridge if you aren’t planning to make the kababs right away.
Pairing Suggestions
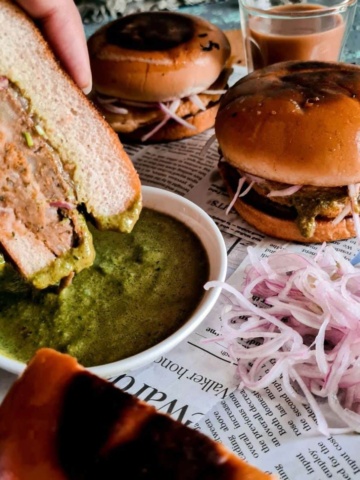
- Make burgers out of them!
- Pair it with good ‘ol Daal chawal (lentil and rice) and pickled onions
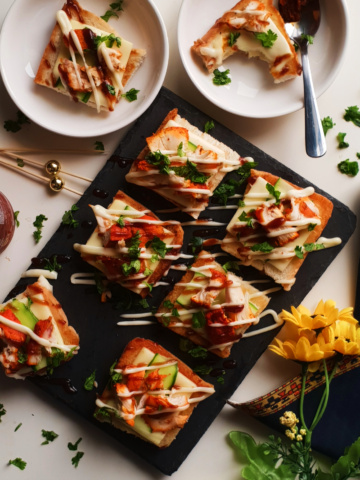
- Make wraps or rolls out of it with the sauce of your liking.
- Serve with pulao rice and yogurt.
- Have it with a side salad to keep it low-carb.
Frequently Asked Questions
I shared this recipe back in ’23 for the first time on IG and tiktok. Here are a couple of questions some of you had.
Some of my friends freeze these kebabs raw, and it works just fine. But I prefer half-cooked kebabs for the freezer. Grill the kebabs like you normally would but only for a minute on each side before the kebab starts to get its characteristic golden brown edges. This half-cook method will seal the juices in the patties. This way, the kebabs end up retaining their shape, moisture and taste much better than their raw counterparts. Allow them to cool down, pop them in a ziplock bag and freeze. Whenever you want to eat them, thaw them in the microwave for 30 seconds and grill as usual.
Absolutely! Add any vegetable of your choice. If you’d like to add tomatoes, chop them by hand rather than using the chopper to prevent them from getting mushy.
OMG soooo much! I make these kebabs slightly smaller and make mini sliders with them. Cheese, a good burger sauce, and cheese, such a great burger!
Ok I was surprised to see this question but yes, in theory you can make it without the vegetables, however the spice ratio will be off. Reduce the spices by half if you wish to skip the vegetables.
More Low-Carb Nutritious recipes

Do you have any questions? I’m happy to help! And of course, If you try this recipe, I’d loveeeee to see it or simply hear about it! Hit me up in the comment section below and I’ll get back to asap! Happy Cooking!

Chicken Vegetable Kebabs
Equipment
Ingredients
- 400 gm chicken mince
- 2 tbsp rolled oats
- 2 tbsp bread crumbs
- 1/2 tsp black pepper powder
- 1 tsp cumin seeds or zeera
- 2 tsp crushed red chilli
- 1 tsp salt or to taste
- 1 tsp white pepper
- 1 whole bell pepper chopped
- 1 big onion chopped
- 1 medium carrot chopped
- 1 handful coriander leaves
- 1 or 2 stalks green onions
- 3 cloves garlic
- 1 inch piece of ginger
- 1 large egg
- Oil for frying
Instructions
- Start by adding carrot, bell pepper, onion, garlic, ginger in a chopper and chop coarsely.
- In a bowl, add minced chicken, oats, chopped vegetables, spices, seasonings, egg and bread crumbs.
- Mix all the ingredients and cover it. Leave it for 5 to 10 minutes.
- Drop heaped tablespoons of the mixture onto plate or a tray to make patty portions.
- Heat up the grill pan at medium heat with oil in it.
- Grease the palms of your hands with oil and use it to flatten the kabab portions into flat patties.
- Drop the kebab patties in the grill pan. Grill for 3 minutes and flip. Grill until golden and remove.
- Serve hot with chutney or sliders on the side.
Notes
- Always do a taste test before grilling up all the kebabs. Make a small bite sized kebab and grill it. Adjust seasoning and spices accordinly.
- Tomatoes tend to become mushy in a chopper, hence avoid putting them in. Instead, opt for chopping them by a knife.
- Resting the kababs for 5 to 10 minutes gived the bread crumbs enough time to absorb moisture. Do not skip this step! You can leave it for longer in the fridge if you aren’t planning to make the kababs right away.
- To freeze the kababs, grill the kebabs like you normally would, but only for a minute on each side before the kebab starts to get its characteristic golden brown edges. This half-cooked method will seal the juices in the patties. Allow them to cool down, pop them in a ziplock bag, and freeze. Whenever you want to eat them, simply thaw them in the microwave for 30 seconds and grill as usual.


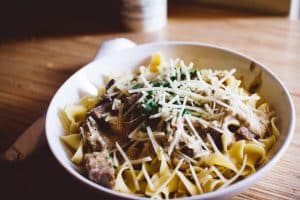 Ofcourse this one is mandatory and goes without saying. Your main course can either be 1 main dish that has both protein and carbs. (for e.g Shrimp Pasta or
 e main course if excluded. It is important to note the difference between a SIDE and a SIDE-DISH here. The western countries refer to bread, potatoes, couscous or even rice as a side. A side is part of the main course where as a side dish is another dish altogether made to increase the food spread. Therefore a side dish must not be confused with a SIDE. You can browse through my side dishes recipes
  sed sauce- is almost a crime.)
 a given. We are talking about the +1 that comes with water.