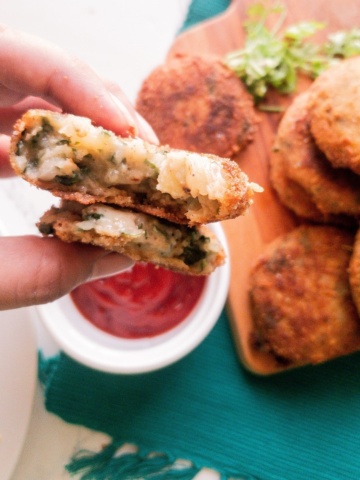
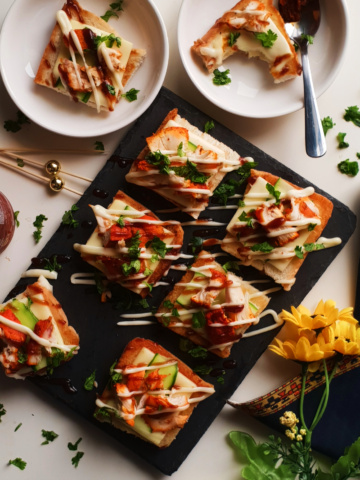
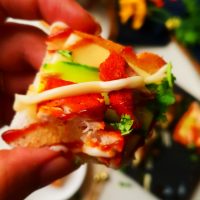
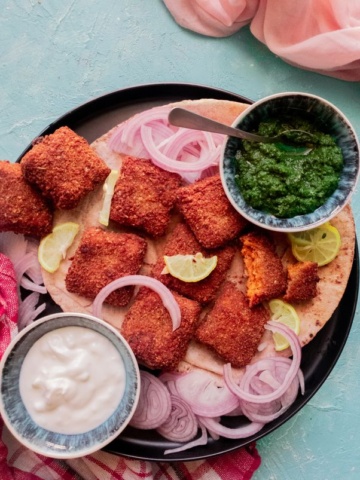
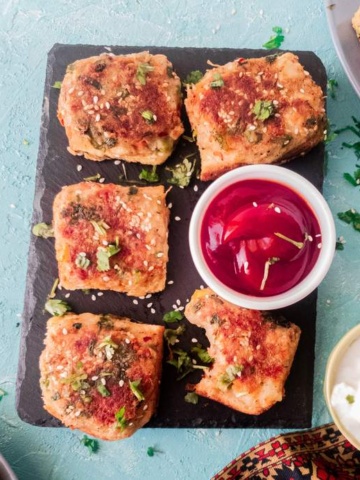
Once you make these delicious Baked Parmesan Chicken nuggets at home, there is no going back to fast food or store-bought nuggets! It’s easy to make, quick to assemble, and holds ACTUAL nutritional value!

These chicken bites have two flavor kings which set them apart. First, is the freshly grated Parmesan, because cheese makes everything better. And second, is the red and green chilies, packing heat and be-speckling the nugget.
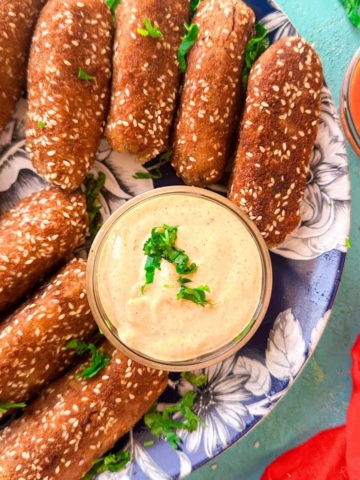
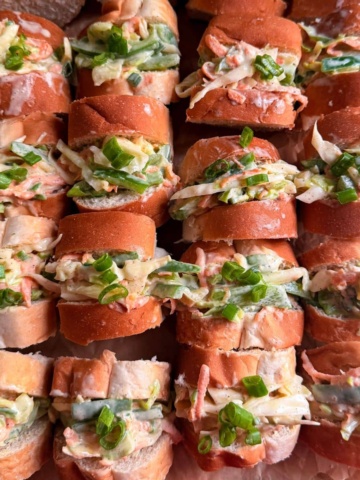
My bigggggest flex, after starting this blog, has to be, that I make fast food at home. Like I make my own street-style bun kebab, dynamite shrimp, and spicy potatoes. It helps me control soooo much! The type of oil I use, the quality of my ingredients, and the way I want to cook it.
[feast_advanced_jump_to]Ingredients and Substitutes
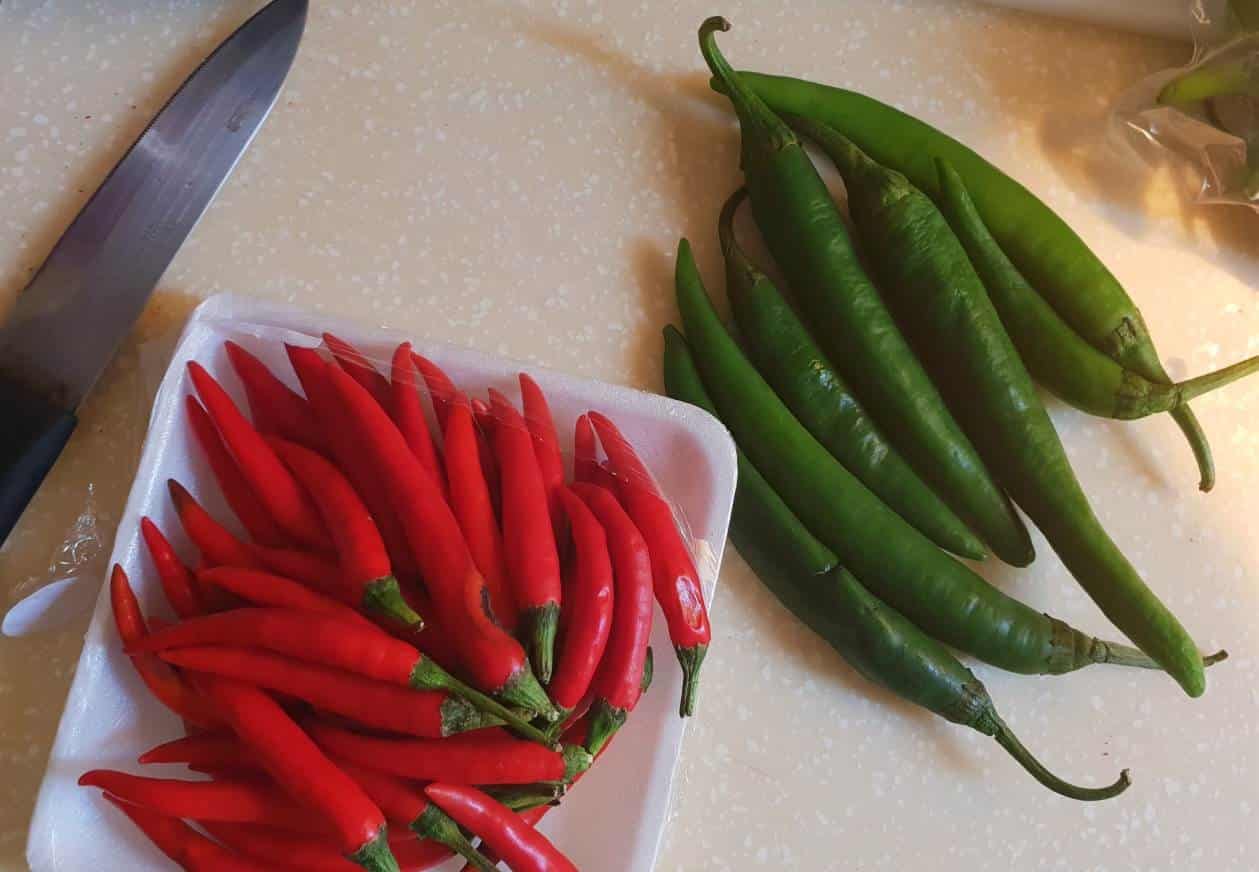
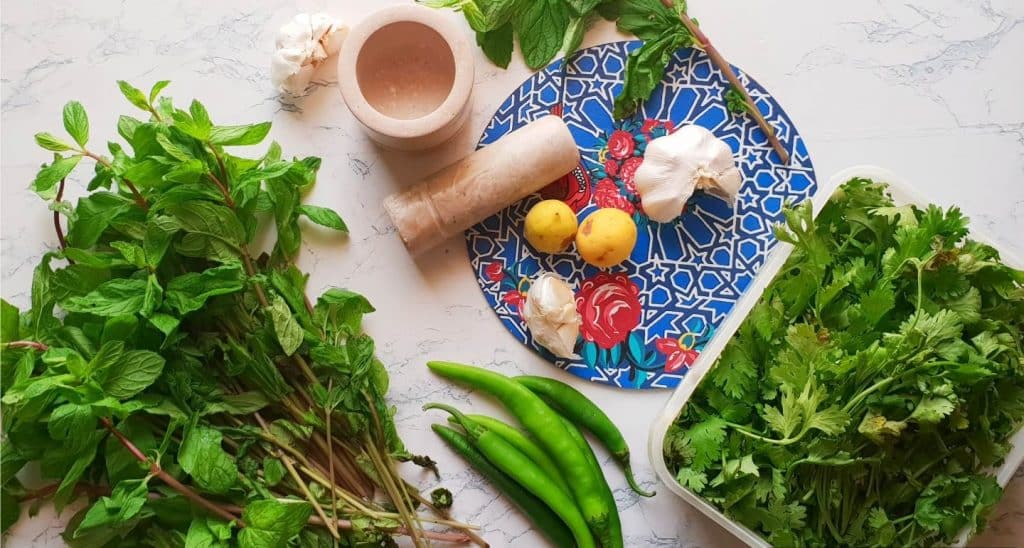
The ingredients are very simple, and the highlight of the dish is the red and green chilies! They look super cool dispersed in the chicken mix.

- Boneless Chicken – Don’t use store-bought ground chicken. It has a lot of moisture and won’t give you a firm nugget mix. Instead, use a food processor to process chicken breast or thigh.
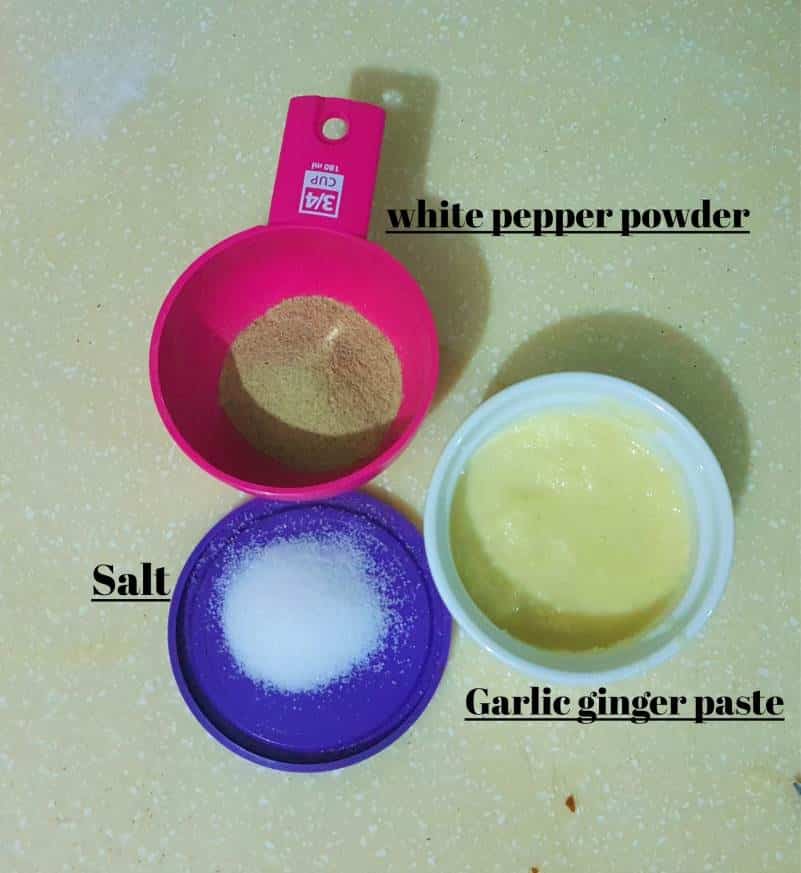
- Seasonings – You need dried thyme, salt, black pepper powder, garlic powder, soy sauce, and vinegar.
- Chilies – The red and green chilies I used are jalapenos. They are de-seeded and de-stemmed to reduce their spice levels. You can use this as a placeholder to even use bell peppers instead.
- Cheese – This nugget recipe uses Parmigiano-Reggiano which is a hard cheese. You can substitute it with any hard cheese available to you, like Manchega or Gorgonzola.
- Egg – I add an egg to the nugget mixture and one to make the egg wash for coating.
- Breadcrumbs and flour – I used homemade breadcrumbs for this recipe, you can use panko breadcrumbs or even ground cornflakes to coat the nuggets.
Simple tweaks to make this recipe healthier
- Use organic grass-fed chicken.
- Buy farm eggs.
- Use low-sodium soy sauce.
- Skip bread crumbs and flour and go for gluten-free coating options (see FAQ).
- Use unprocessed fresh cheese.
See the recipe card for full information on ingredients and quantities
Method
I’ve put together all the steps in a simple pictorial for you to see how easy this is to make.

STEP 1: Put chicken, garlic cloves, and destemmed deseeded chilies in a food processor.

STEP 2: Process nugget mixture until finely ground.

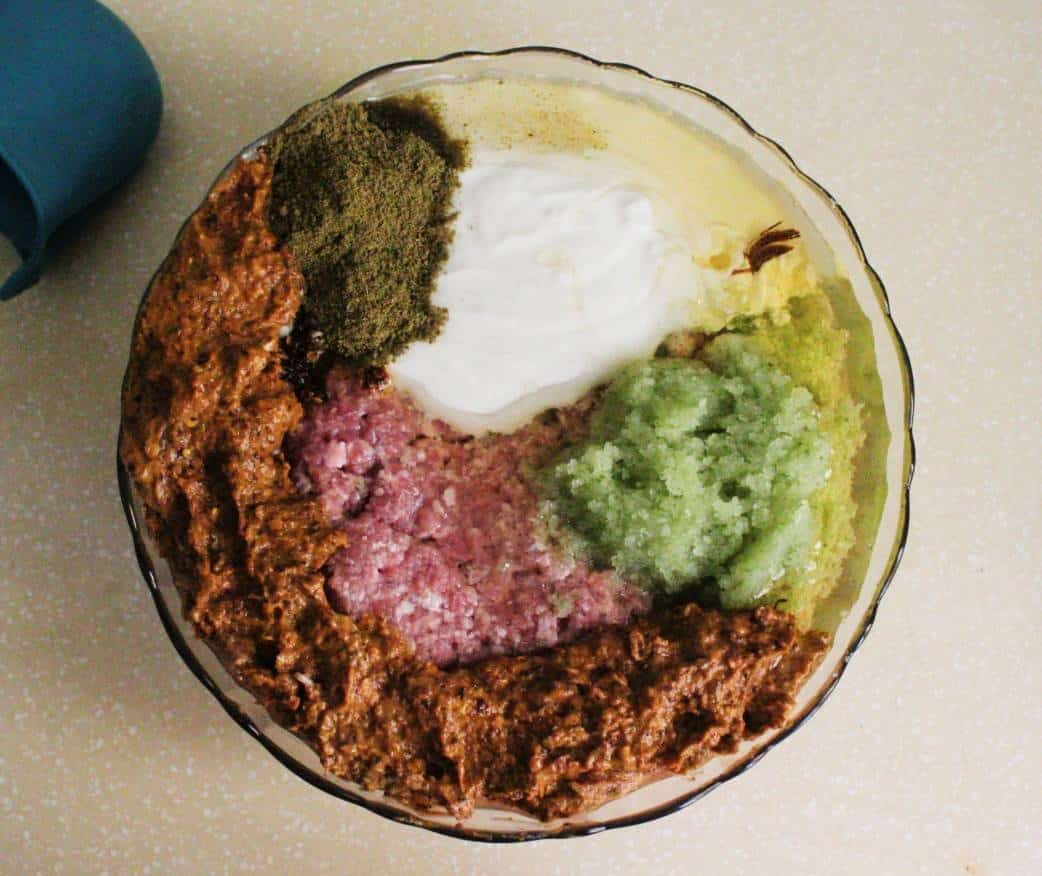
STEP 3: Add seasoning, egg and sauces. Process once more.

STEP 4: Add grated parmesan.

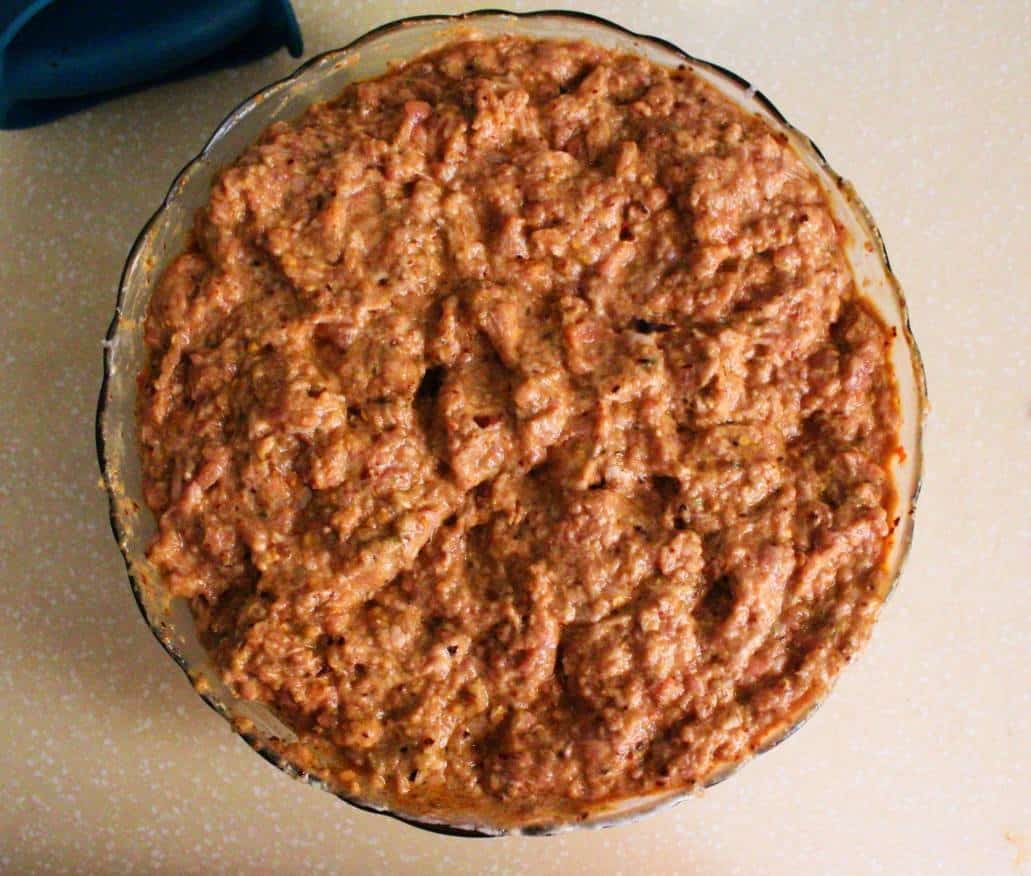
STEP 5: Mix the cheese in with a spatula or spoon. Do not turn on the food processor.

STEP 6: Put the nugget mixture onto a baking tray lined with greased butter paper.

STEP 7: Use the spatula or spoon to spread the mixture on the tray as thick or thin as you want. Divide the mixture into bite-sized squares.

STEP 8 (COATING): Coat your nuggets in all-purpose flour, then in an egg wash, and lastly in breadcrumbs.
PROTIP: If you find it hard to handle the mixture, freeze it for 20 minutes and then proceed to coating.

STEP 9: Place your coated breadcrumbs onto a baking tray lined with greased baking sheet.

STEP 10: Bake the nuggets for 12 mins at 430 F or 220 C. Note that the bottom of the nugget will be browner than the top. Use the same setting for air fryer too.
Expert Tips
- Don’t use store-bought ground chicken. It has a lot of moisture and won’t give you a firm nugget mix. Instead, use a food processor to process chicken breast or thigh.
- Use the chilies as a placeholder to put in any vegetable you’d like to sneak in. Honestly, nuggets are a great way to get in some broccoli or cauliflower unnoticed.
- Parmesan cheese is a hard cheese and you can easily add more stringy cheese to this recipe if you’d like more of a cheese-pull kinda nugget.
- The best way to coat the nuggets is to keep one hand for wet ingredients and one hand for dry. This prevents any clumpy messes that we have all been into.
- Adding water to the beaten egg used for coating will give you crispier nuggets.

Yes, use coconut flakes or almond flour instead of breadcrumbs. And replace all-purpose flour with cornstarch or potato starch.
They can last for 2 months in the freezer, in a ziplock bag.
An air fryer works best for reheating fried/baked food. Reheating at 175 C for 3 to 4 minutes will work perfectly.
More similar recipes you’ll love!
Do you have any questions? I’m happy to help! And of course, If you try this recipe, I’d loveeeee to see it or simply hear about it! Hit me up in the comment section below and I’ll get back to asap! Happy Cooking!

Chili chicken Parmesan Nuggets
Equipment
Ingredients
For the Nugget Mixture
- 1 large egg
- 4 whole serrano green chilies
- 4 whole red chilies or bell pepper
- 8 cloves garlic or 1 whole garlic peeled and washed
- 1 + 1/2 cup fresh shredded Parmesan shredded
- 450 gm boneless chicken breast or thigh
- 1/2 teaspoon dried thyme
- 1 + 1/2 teaspoon salt or to taste
- 2 teaspoon black pepper powder
- 1 tablespoon vinegar.
- 2 tablespoon dark soy sauce.
- 1 teaspoon onion powder optional
For the Coating
- 1 large egg
- 1/3 cup cold water to mix with egg
- 1 cup All purpose Flour
- Regular or Panko bread crumbs
- Oil for frying
Instructions
Nugget Mix
- Remove the stems of the red and green chilies. Deseed the chilies as well if you don’t want your nuggets to be spicy.
- Pat your chicken breast dry and process it in a food processor along with the chilies and garlic.
- Add the seasonings, sauces, and egg to the food processor and process the chicken again.
- Add shredded parmesan and fold it with a spatula or spoon. We want the cheese strands to stay intact.
- Line a tray with butter paper and spray it with oil. Transfer your nugget mixture onto the tray and press it in to form a uniform slab. Spread the mixture as thin or thick as you want your nuggets to turn out.
- Use the spatula to divide the mixture into bite-sized nuggets. It doesn't have to be perfect. You can put the tray in the freezer at this point if you want your mixture to harden up a little bit to make it easier to handle. Or you can proceed to the next step directly.
Coating
- Beat egg with water for the coating.
- Coat the nuggets in three layers. Start with all-purpose flour, then dip in eggs and coat in bread crumbs.
- You can fry or bake the nuggets at this point or freeze them to cook later
Baking/Frying
- Frying – Add around 2 cups cooking oil to a deep pan and let the oil heat up at medium heat for 3 to 4 minutes. Drop the chicken nuggets in to the pan and fry until golden brown.
- Baking/Airfrying – Line the baking tray with parchment paper and grease it with oil. Bake at 220℃ for 12 minutes, flipping halfway through.
- Serve hot with any dip of your choice.
Notes
- Don’t use store-bought ground chicken. It has a lot of moisture and won’t give you a firm nugget mix. Instead, use a food processor to process chicken breast or thigh.
- If you don’t have parmesan, substitute it with any other hard cheese you like.
- The best way to coat the nuggets is to keep one hand for wet ingredients and one hand for dry. This prevents any clumpy messes.
- Use the chilies as a placeholder to put in any vegetable you’d like to sneak in.
- You can freeze the nuggets for use at a later date for up to 3 to 4 months.