
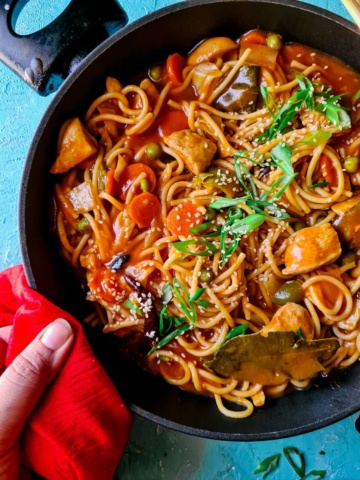
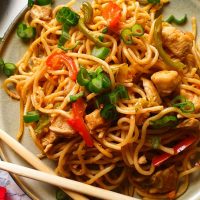
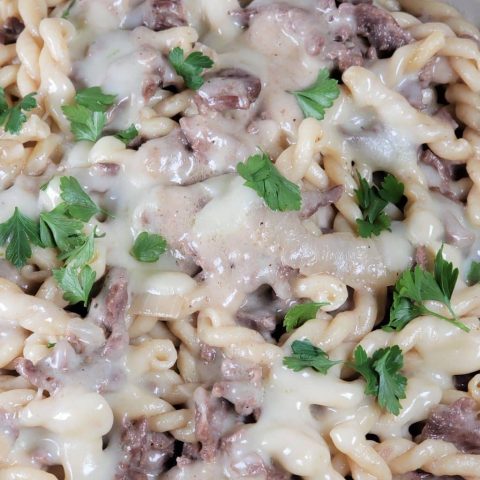
This Chicken chow-mein noodles recipe is the easy breezy dinner option you were looking for! “Chow mein” is Mandarin for “stir fried noodles”. And they are pretty much a must in any Chinese/Asian restaurant you visit. There are a bunch of different noodle varieties that China has to offer, but this one by far, is the most commonly eaten, widely known and unanimously loved among the masses. (or is it just our family?)
The best thing about Chow mein is its flexibility. There are no hard and fast rules here. Be as adventurous as you want with this recipe and make any substitution with the veggies that you want. My family lovessss a good Asian cashew salad and chicken chow mein for dinner.
LET’S BEGIN!
Here is my rendition of this world famous Asian food. It hardly takes half an hour to whip up. Chicken chow mein noodles or any other chow mein for that matter, go so well when you are trying to create a multi-cultural dinner or a dinner-party menu, and they work just as well for school lunch boxes!
BASIC STEPS TO MAKE CHICKEN CHOW MEIN
If I may, this is a pretty straight forward beginner-level kind of a recipe. If you know how to use a knife and turn on the flame, you can make this dish.
PAR-BOILING THE NOODLES
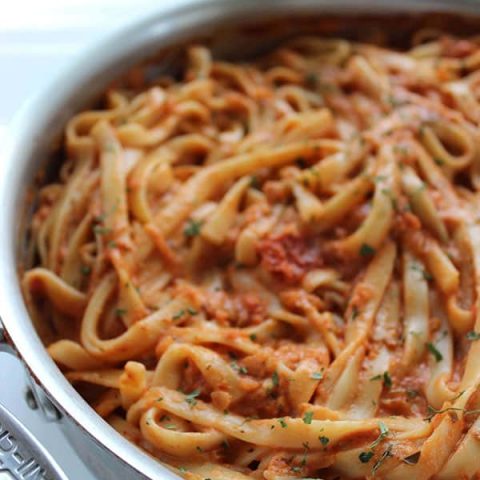
Ideally, Chow mein is made with Egg noodles, but you can substitute it with spaghetti, Fettuccine or linguine pastas as well.
The firs thing on the agenda is to boil the noodles. For chow mein, you don’t boil the noodles completely because the final part of the cooking is going to be done while stir-frying the noodles.
Follow the instructions on your packet and boil the noodles in water with a little bit of salt. Check to see when your noodles can break by your fingers. When you are able to break them with your fingers, that’s your cue to turn off the stove and strain the noodles.
Wash the noodles with cold water. Then drizzle a little bit of oil all over your noodles to prevent them from drying out and clumping together.
Set the noodles aside and begin stir-frying.
STIR-FRYING THE INGREDIENTS


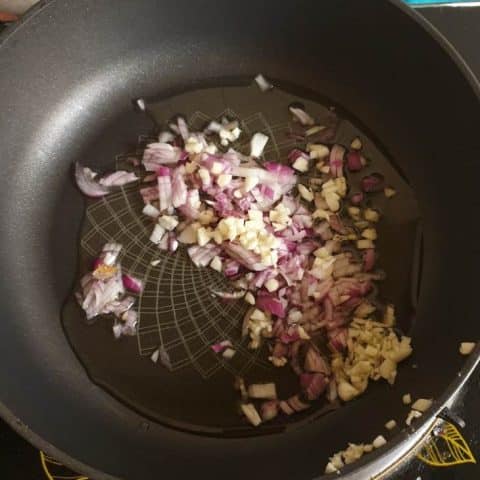
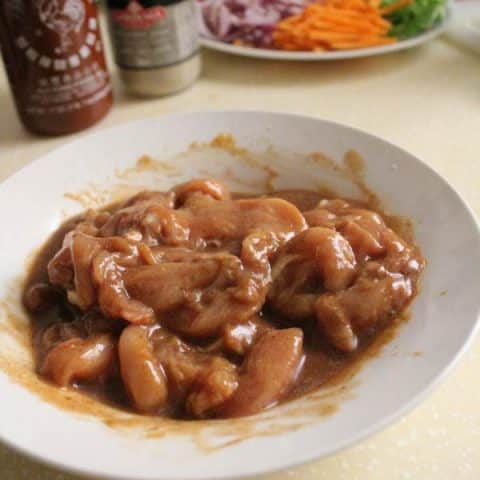
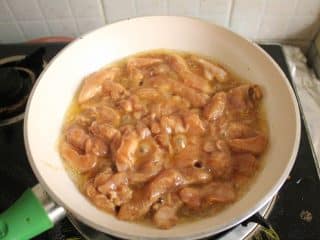
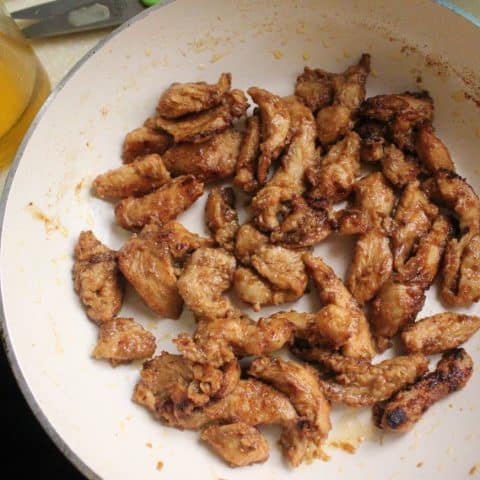
Toss the chicken chunks in a wok or a non stick-pan ( damn I need to buy a wok ) on medium flame along with a little oil and garlic paste. Feel free to use chopped garlic as well
Add red chili flakes and salt and allow the chicken to dry up completely before adding anything else.
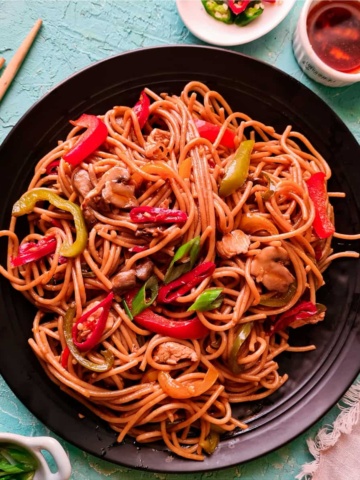
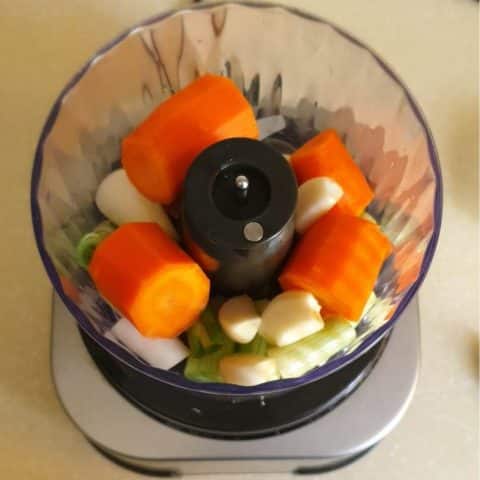
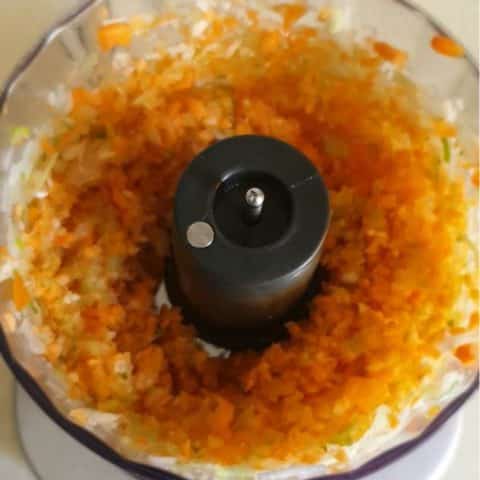
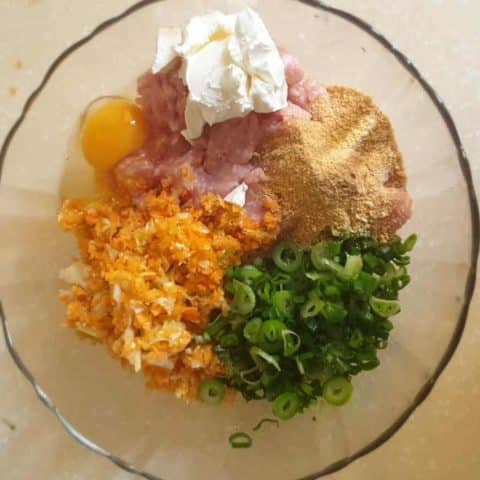
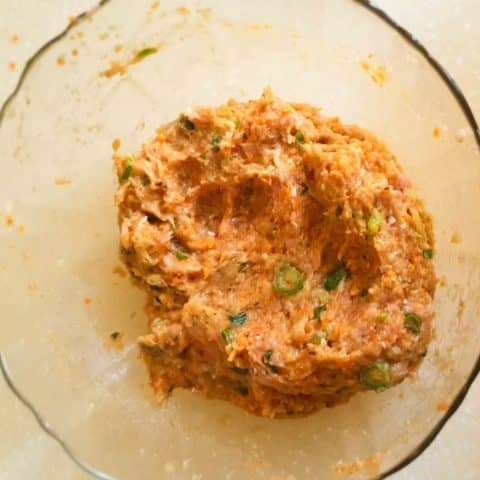
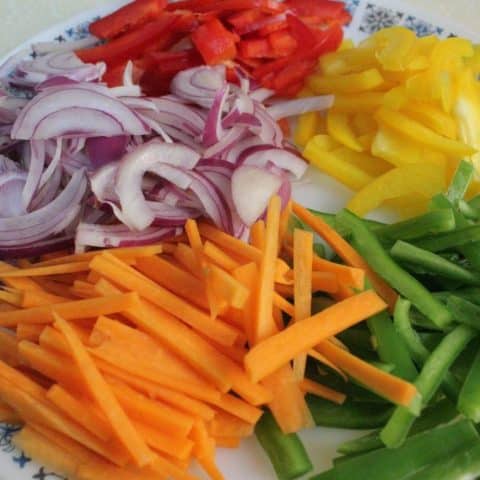
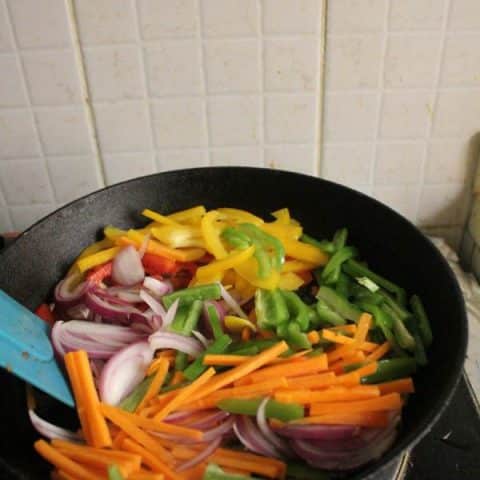
Once the water dries up, chuck in all your sliced vegetables. I added sliced bell peppers, green onion roots and carrots. But I generally like to add a cup of shredded cabbage as well. Feel free to mix it up and add any vegetable that you and your family enjoy. (Also, I like to see Chow mein as an opportunity whenever I am cleaning up my fridge and need to utilize all the vegetables in it…just saying)


Add another 2 to 3 tbsps of oil and stir fry the veggies as well. I like to add a li’l salt at this point so that the veggies can get rid of all the water they are going to leach out eventually.
Make sure you are stir-frying at high flame because at low flame the veggies will become soft and soggy, and you wont get that crunchy element in your Chow mein.
Don’t turn off the flame, instead add more oil and the par boiled noodles in the pan.


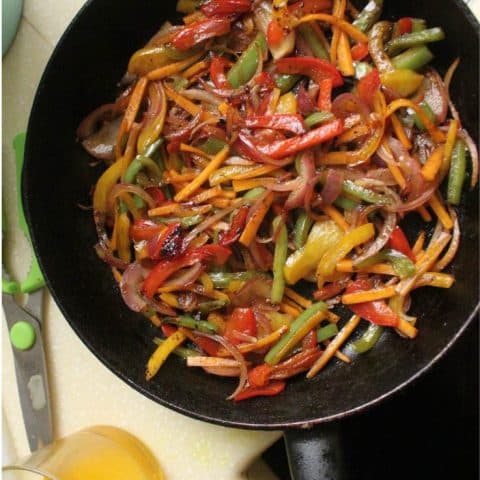
Stir-fry the noodles for a good 3 to 4 minutes. After this, add vinegar, hot sauce, soy sauce and oyster sauce. And stir fry to another 3 to 4 minutes. If you like crispier chow mein, then by all, means stir fry for an additional 5 minute interval with a little more oil added to it.

Once you are happy with the texture of your noodles, do a final taste test and adjust the salt chili level.
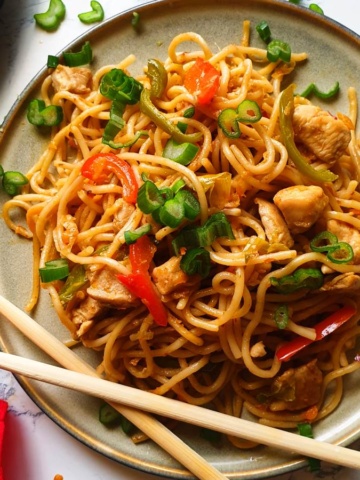
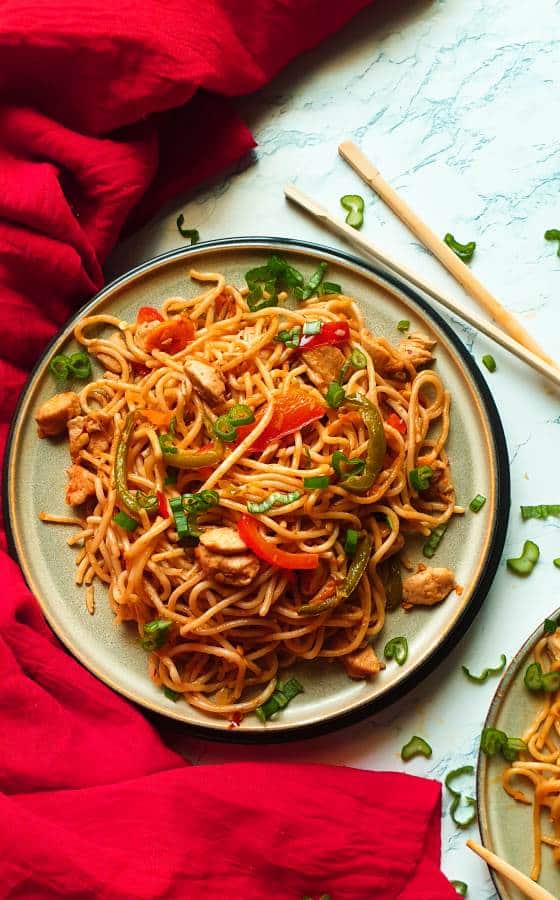
Plate it up and garnish with some chopped green onions.

RE-HEATING HACK FOR CHOW MEIN
Since chow mein is a dry noodle variety, re-heating it in a microwave can dry out the noodles even more. Here are 2 hacks you can use to keep your chow mein from drying out:
1. IN A MICROWAVE
While heating your noodles in a microwave, plate out your noodles in a plate in the form of a donut (keep the center of the plate empty). Keep a cup of water in the center of the plate and heat your noodles up. You will get evenly heated Chow mein without drying it out.
2. IN A WOK
Add 1/4 cup of water in a wok at high flame. When the water starts to boil, add the cold Chow mein and stir-fry it for 3 to 4 minutes. Your Chow mein would be heated up to perfection without any loss of taste or drying out.
RECIPE ALTERATIONS.
- Use any vegetable of your liking to add to the noodles.
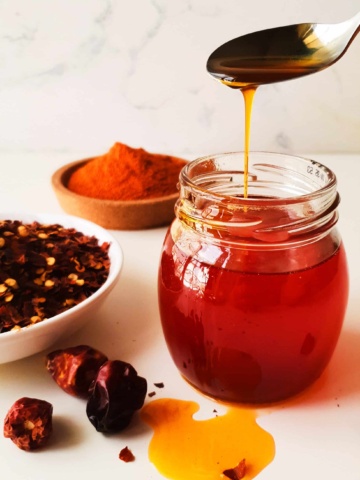
- Use chili oil instead of regular oil to bring more flavor and color to your Chow mein.
- Skip hot sauce, if you aren’t someone who can handle a lot of spice.
If you liked this, feel free to browse other Chinese/Asian recipes on the blog!
More Pan Asian Recipes

Do you have any questions? I’m happy to help! And of course, If you try this recipe, I’d loveeeee to see it or simply hear about it! Hit me up in the comment section below and I’ll get back to asap! Happy Cooking!
Easy chicken chow mein noodles
Ingredients
BASIC
- 450 gm boneless chicken
- 450 gm dried spaghetti noodles standard 1 pack
- 1/4 cup oil
- 2 tsp garlic paste or 2 tbsp freshly chopped garlic
- 1 tsp salt or to taste
- 1 tbsp crushed red chili flakes
- 2 medium Sliced bell peppers green and red
- 1 medium shredded carrot
- 3 green onions sliced only the white/pale green root
- Chopped green onion leaves for garnish.
SAUCES
- 4 tbsp vinegar
- 4 tbsp Soy sauce
- 4 tbsp Oyster Sauce
- 2 tbsp Sriracha sauce or hot sauce
Instructions
- In a large pot, add 1 tsp salt and parboil the egg noodles or spaghetti (slightly under-cooked) according to the instructions on the packet of your noodles.
- Strain your noodles, coat with a little oil and set aside.
- Add all the sauces in a bowl, mix and set aside.
- Cut the boneless chicken into smaller cubes.
- Keep a non-stick pan or a wok on medium flame and add 2 tbsp of oil, chicken chunks and garlic paste.
- Saute chicken until water dries up and add red chili flakes and salt.
- Add the slices vegetables and another 2 tbsp of oil in the pan and saute at high flame for 2 to 3 minutes (or until the water from vegetables dry up)
- Add the remaining oil and the parboiled noodles in the wok and saute for 2 3 minutes at high flame.
- Add all the sauces and sit fry for another 3 to 4 minutes.
- Adjust the seasoning and salt according to your taste and turn off the flame.
- Serve hot and garnish with chopped green onions


