It’s been sooooo long since I’ve posted something! I almost feel like I am back from the dead or something? If you’ve been following me on Instagram, you know I’ve been vacaying hard back home in Karachi, Pakistan! And obviously like other things, the blogging life took a back seat.
I did, however, have a WHOLE LOTTA food. I mean the fact the we even fit into the airplane seats is still a mystery to me! On our journey though, I tried so many things that I never had in my 10 years that I’ve lived there.
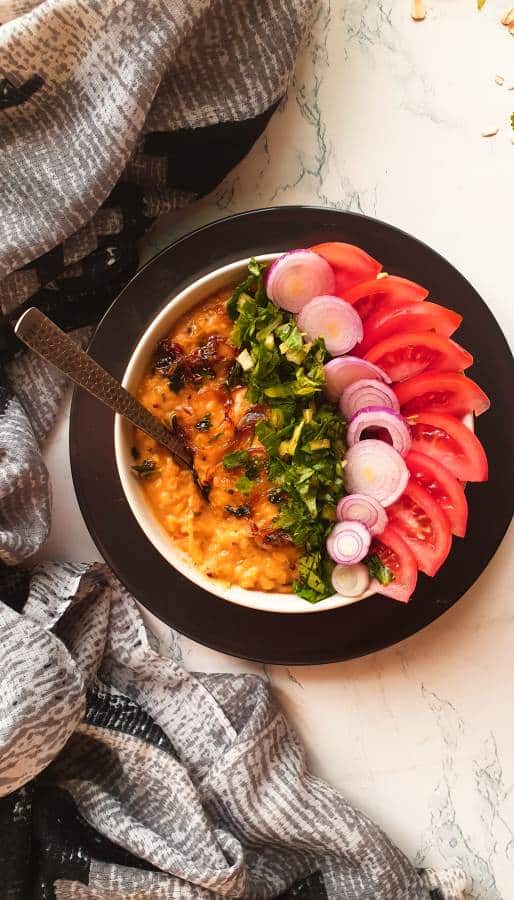
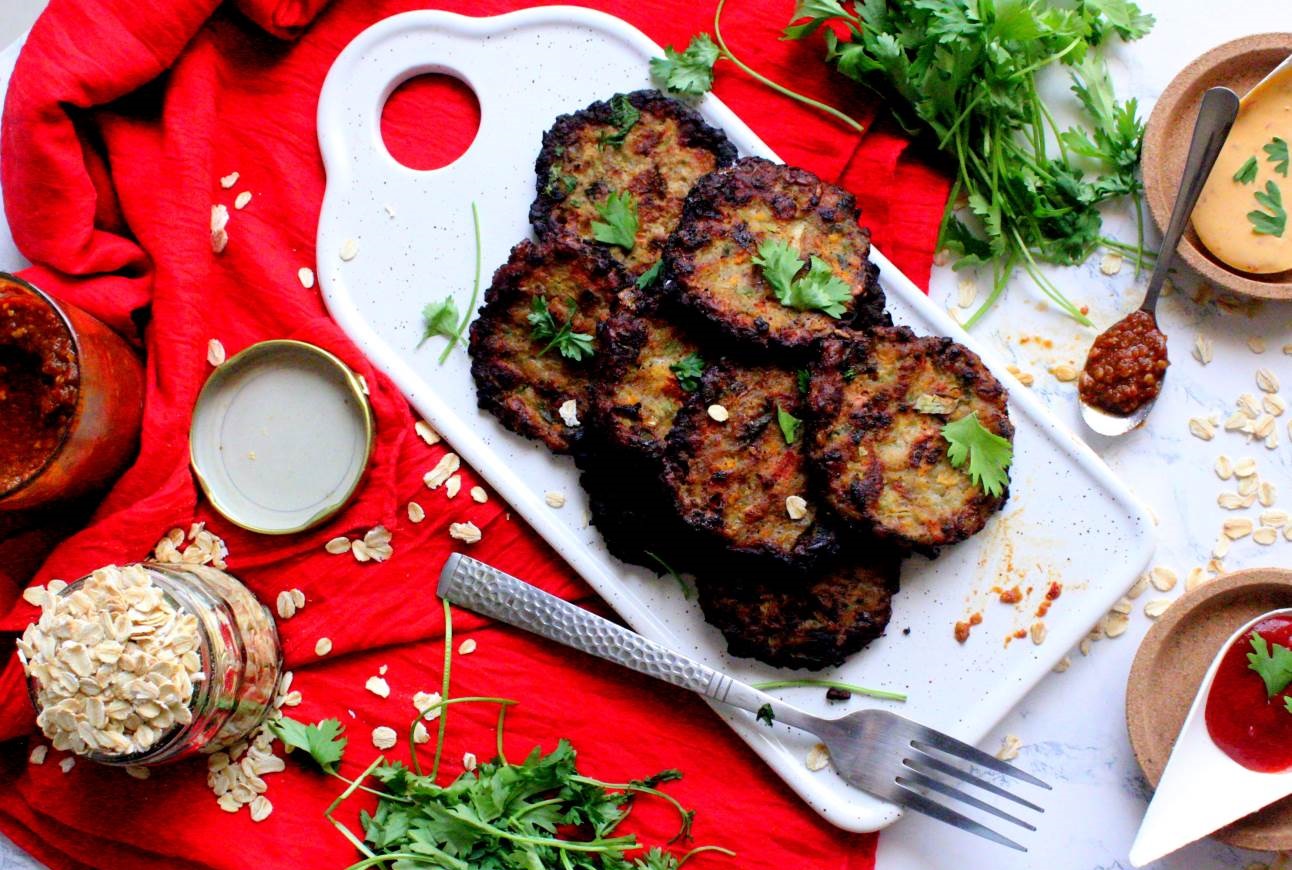
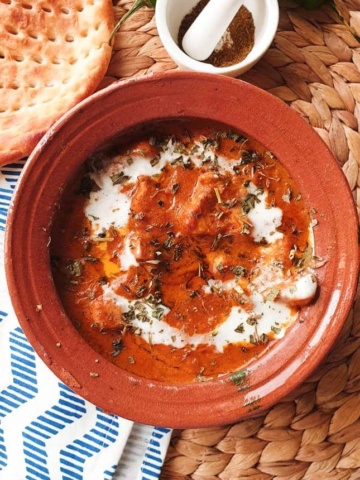
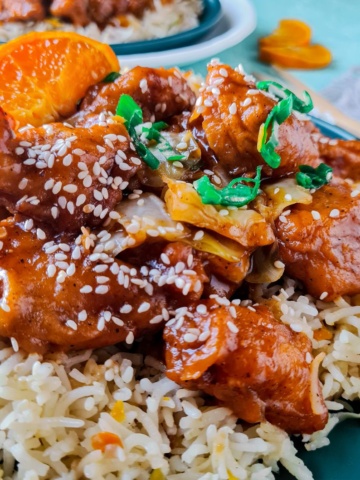
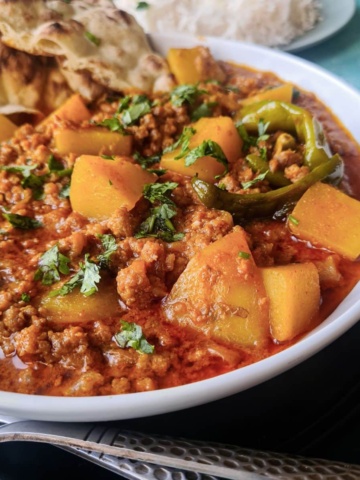
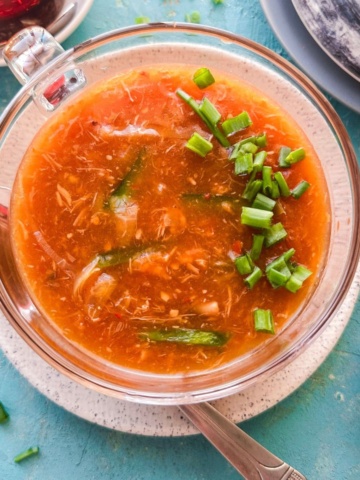
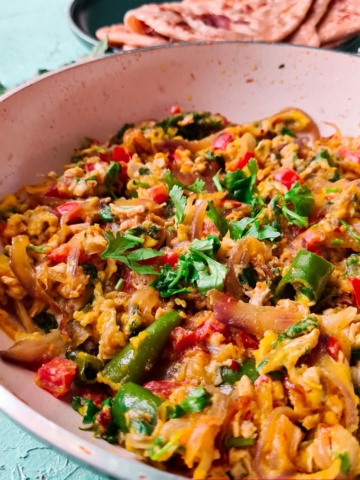
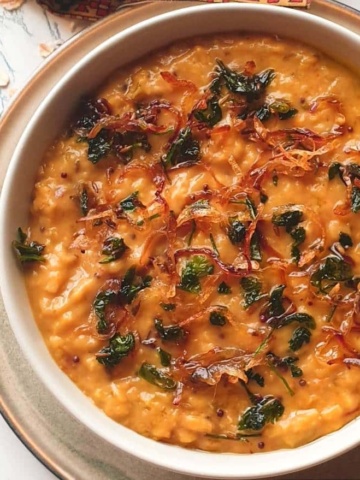
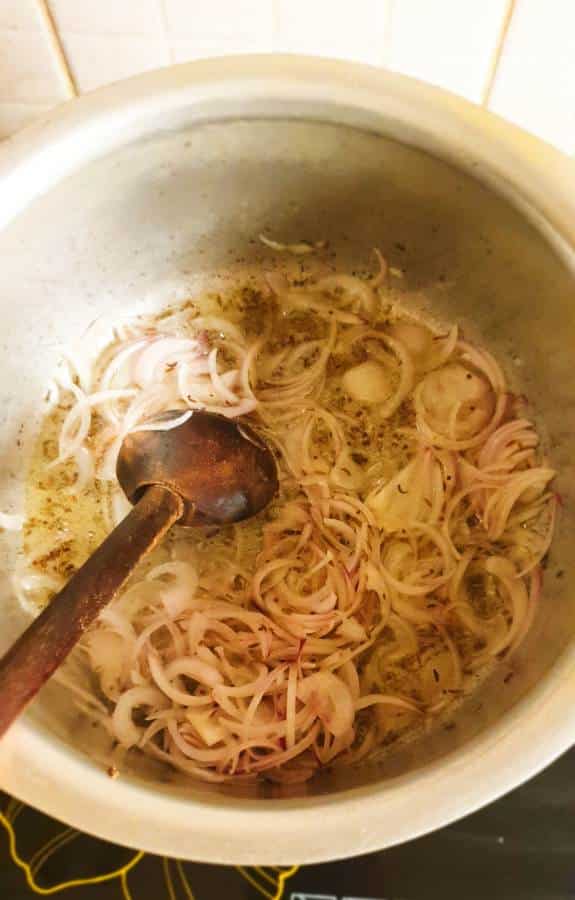
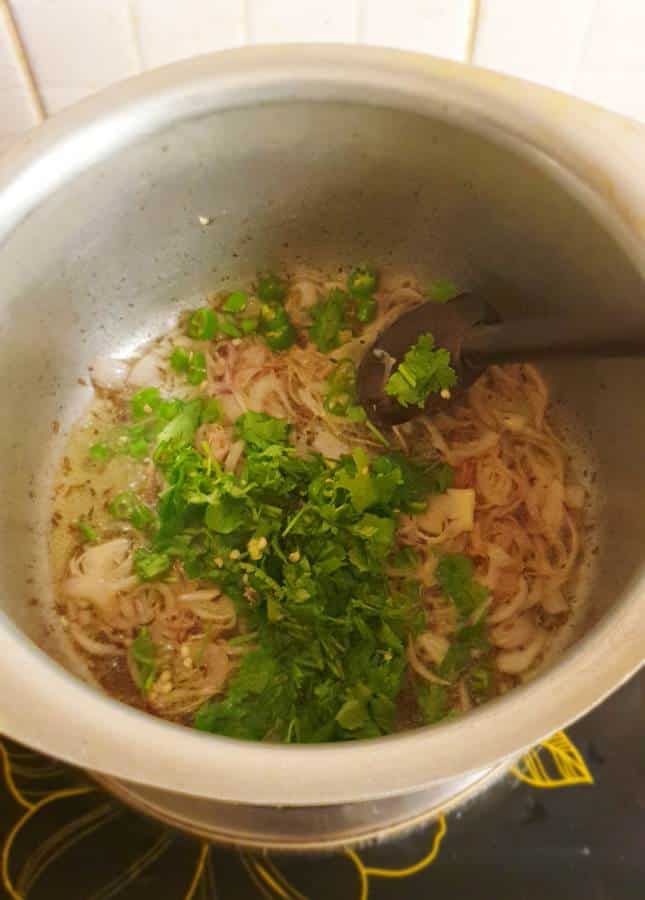
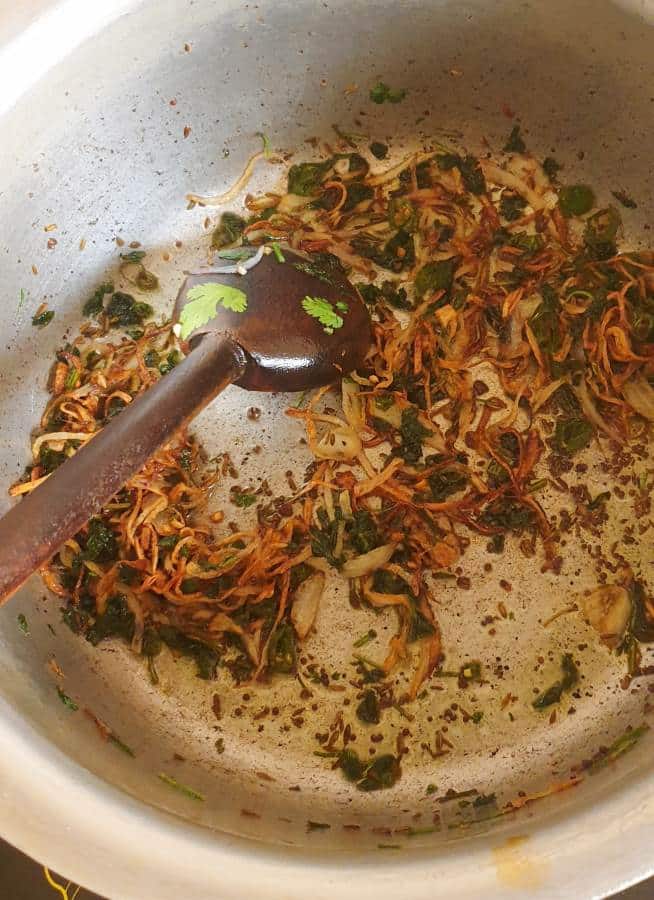
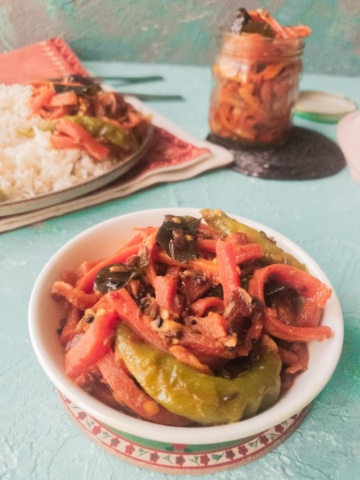
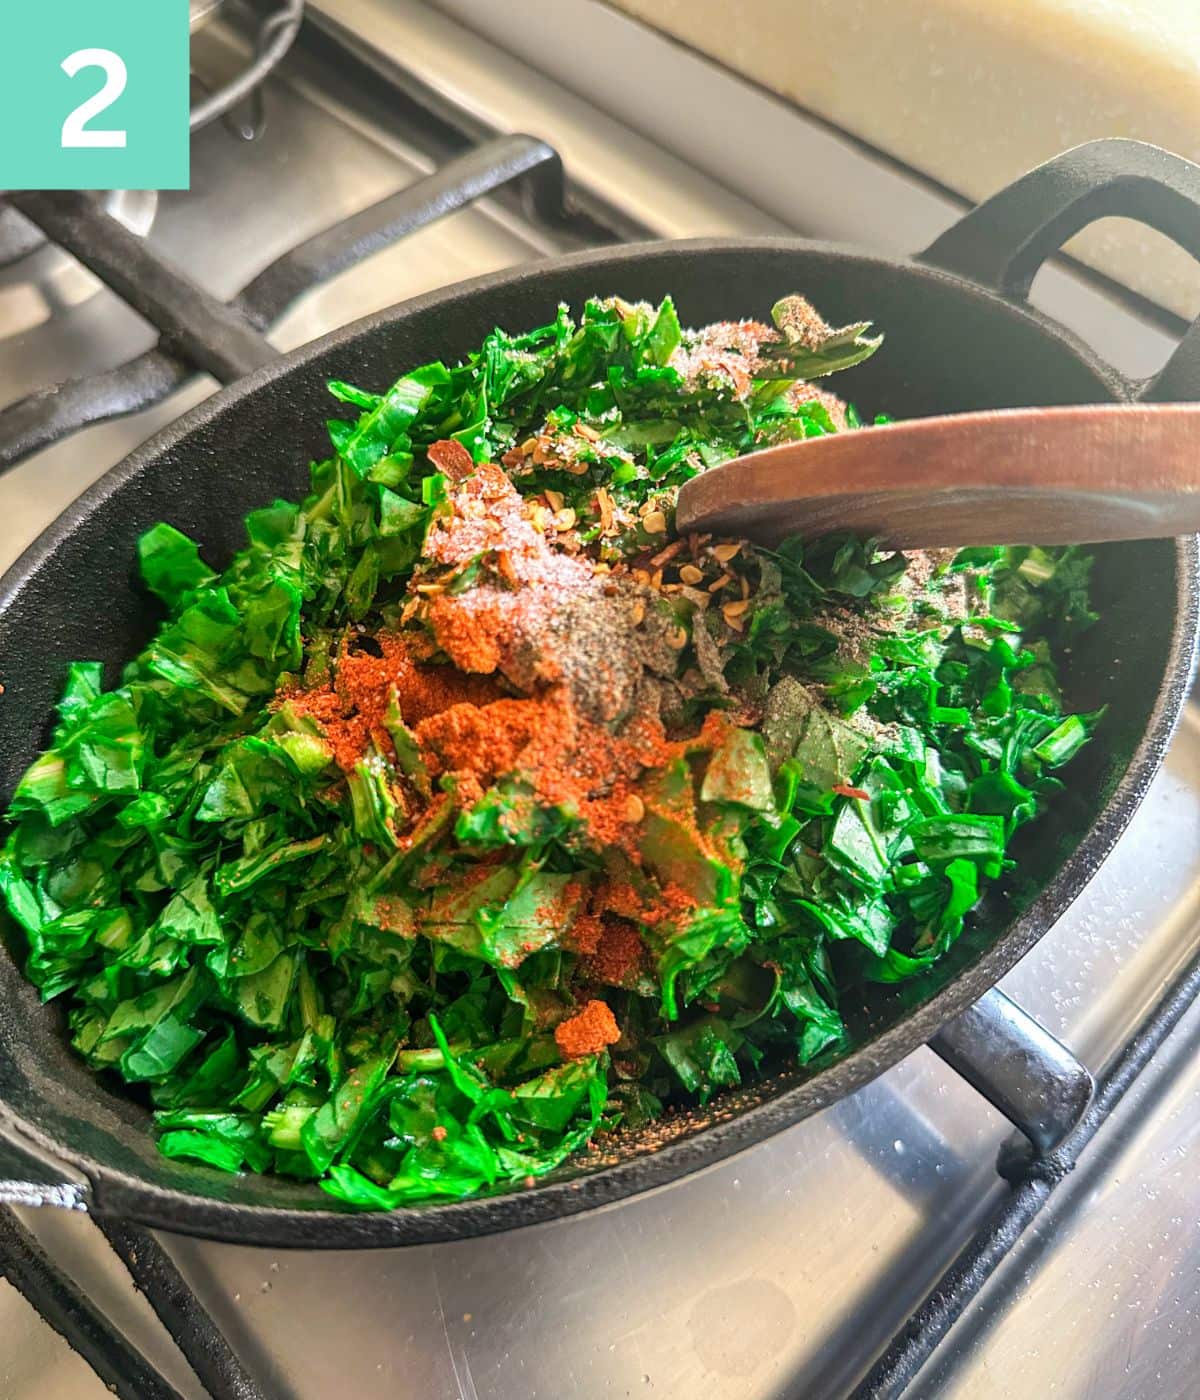
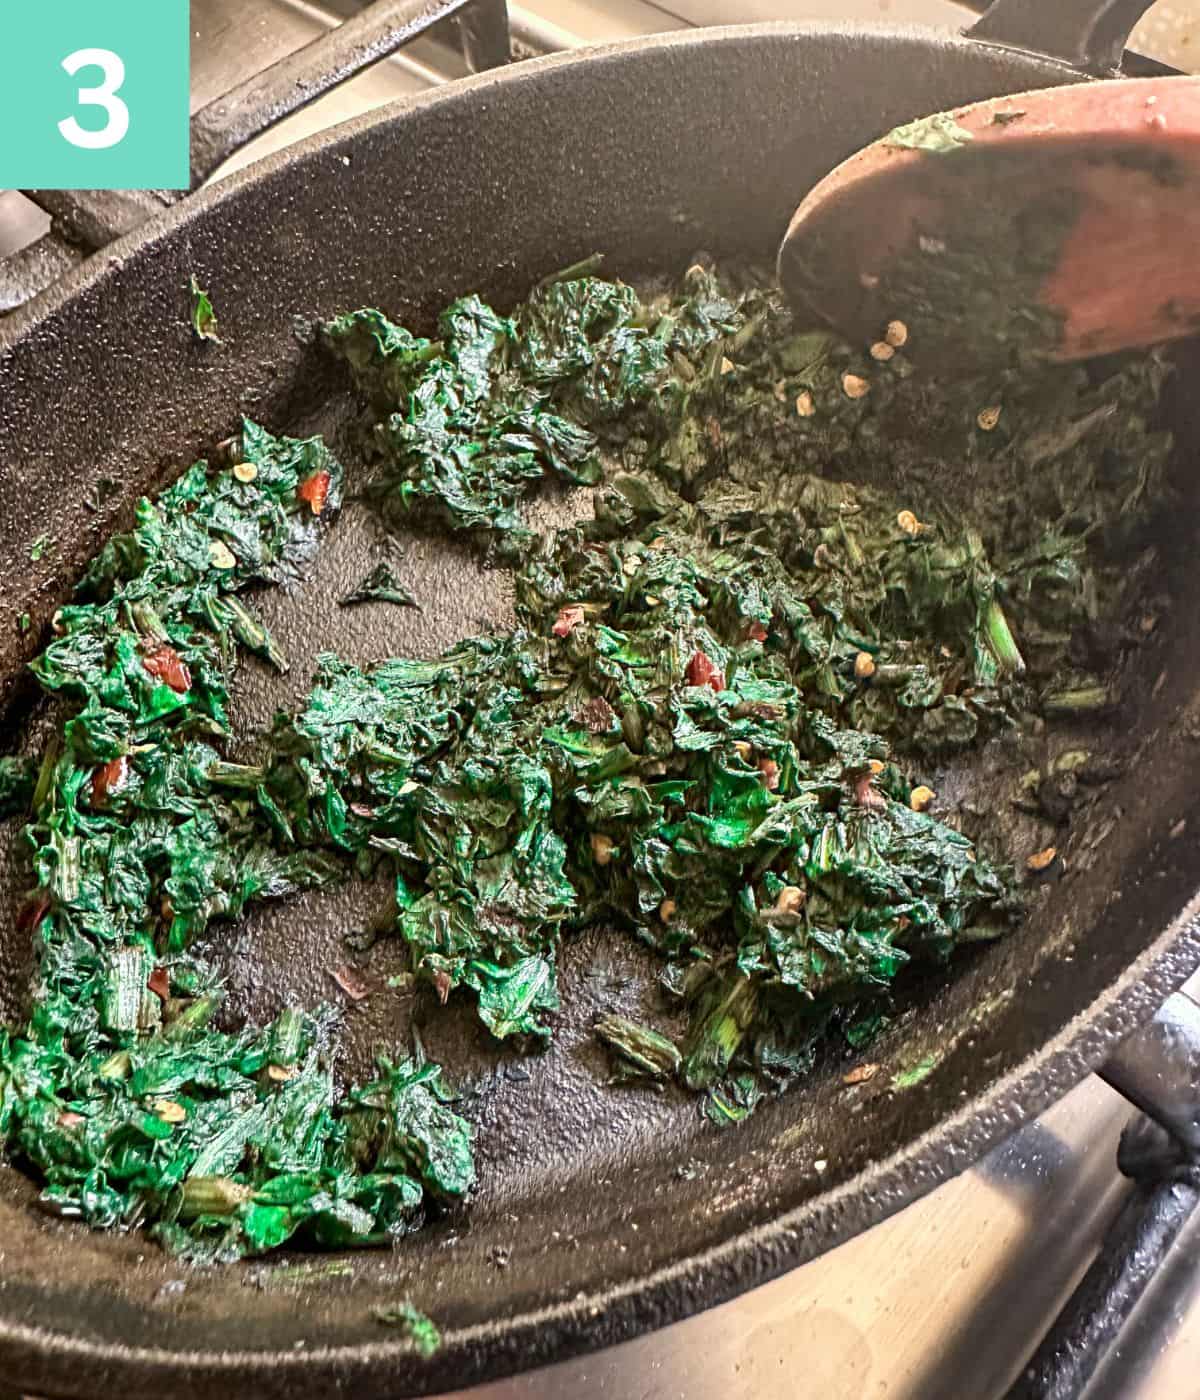
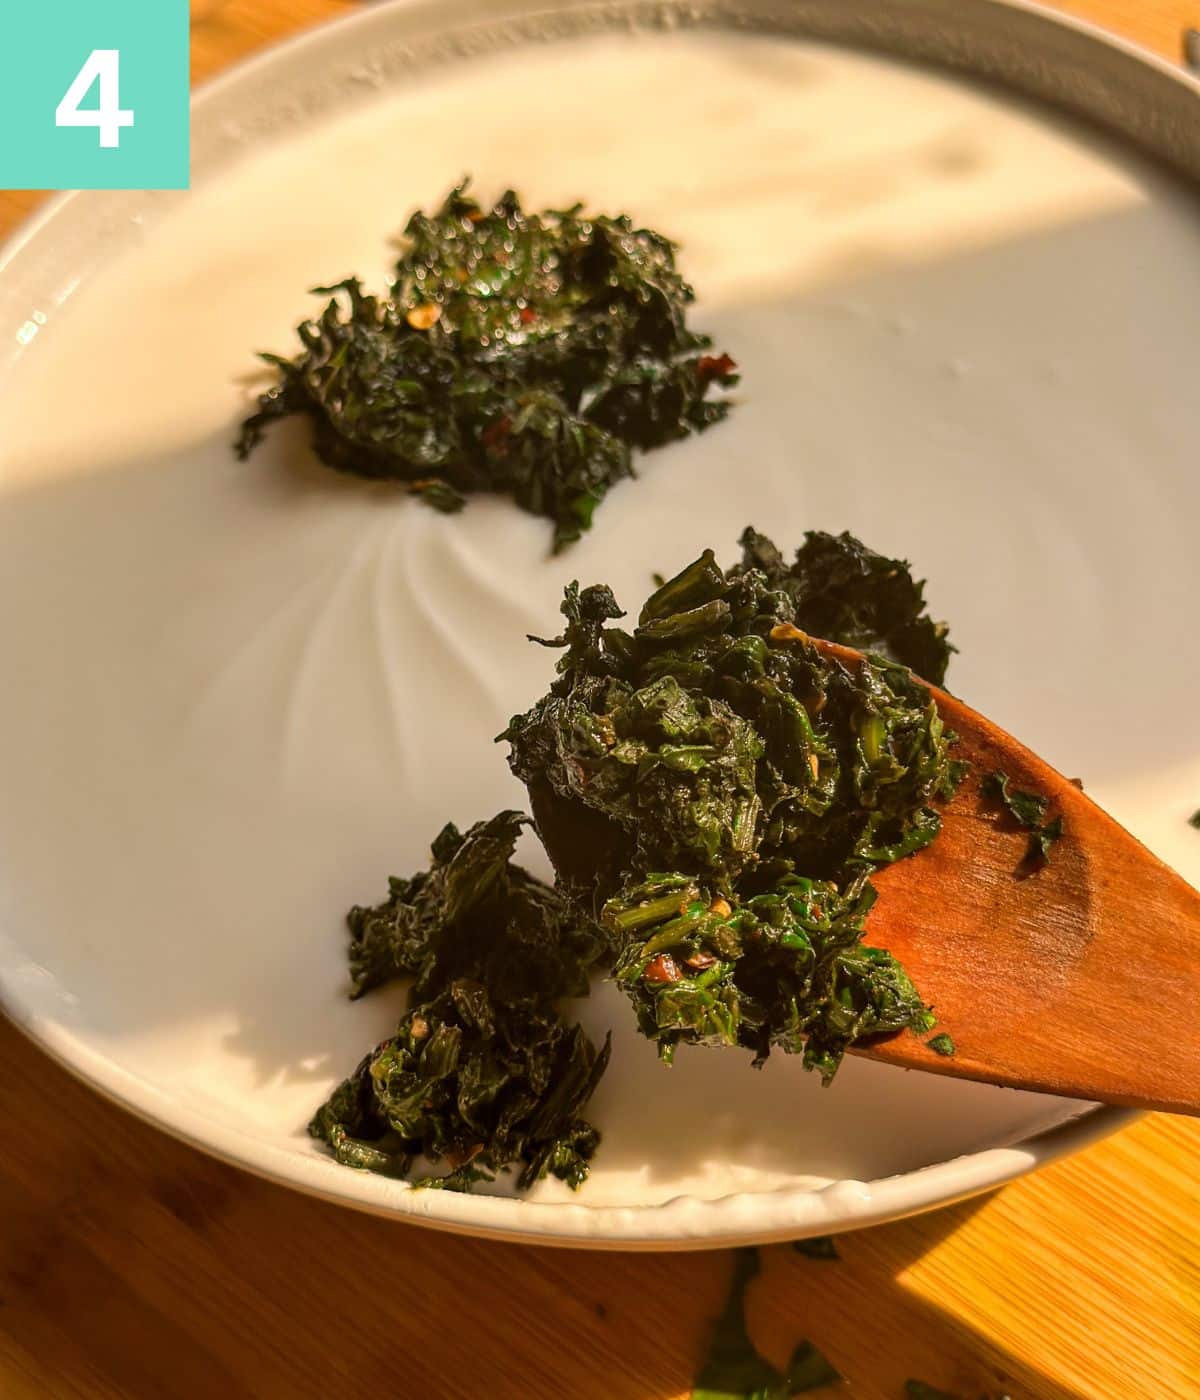
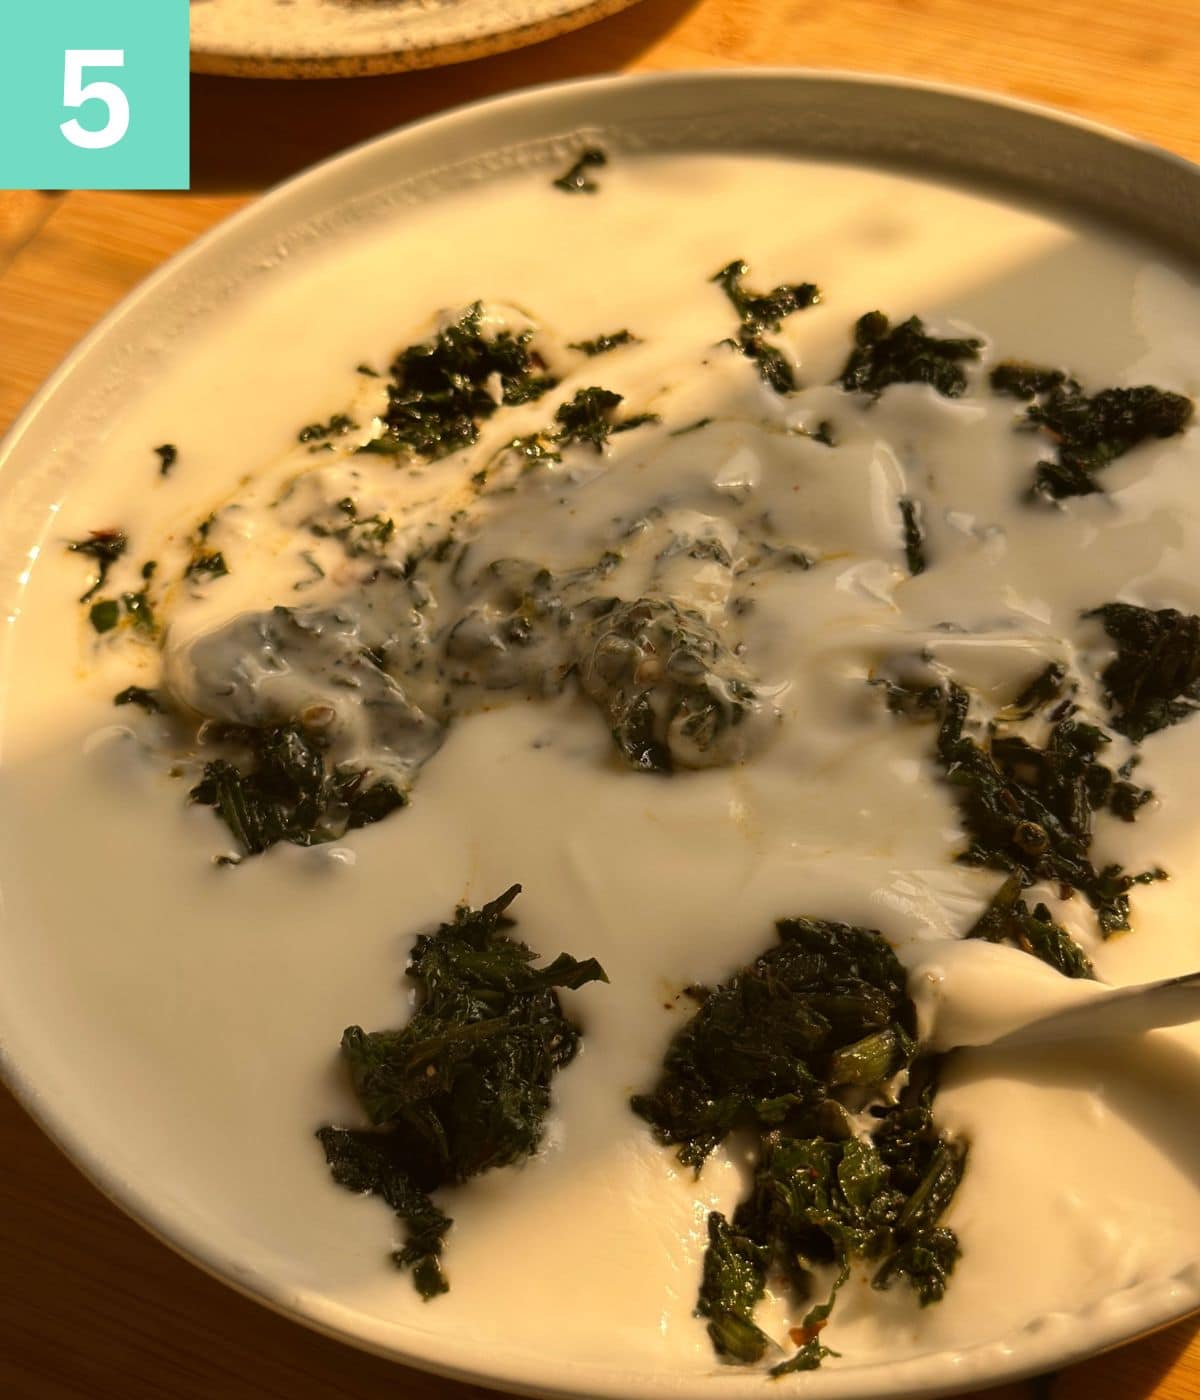
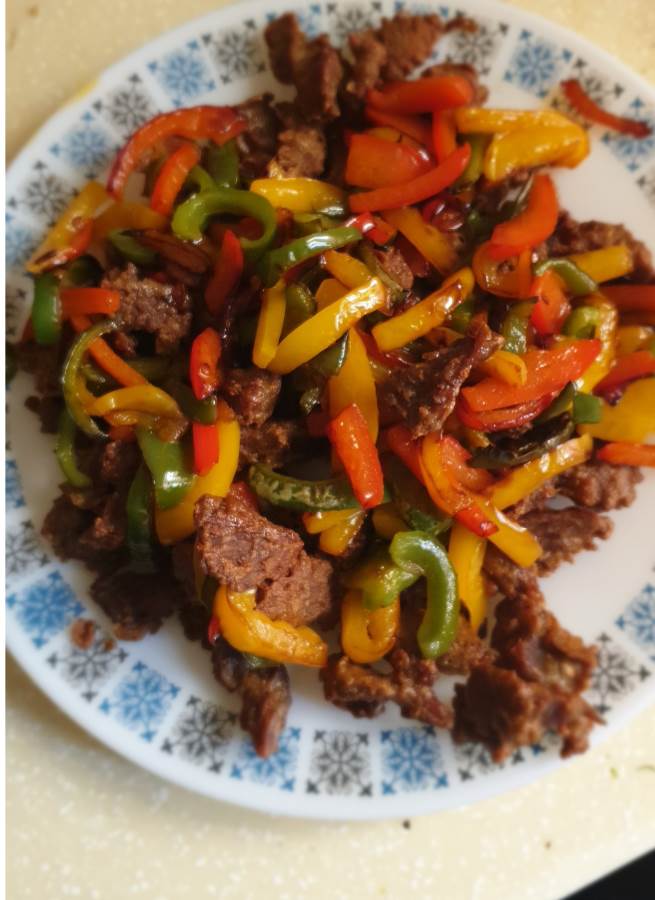
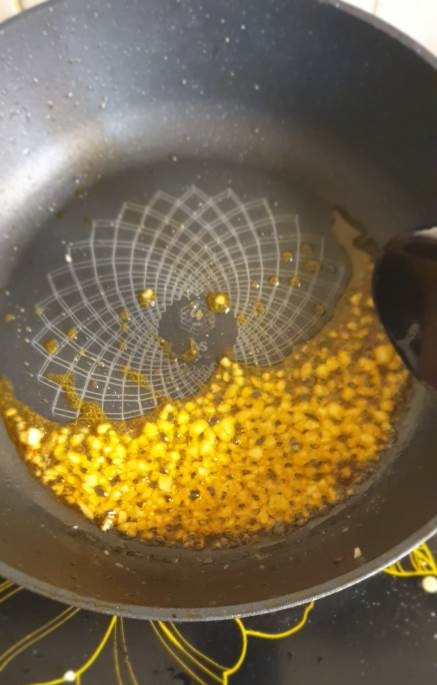
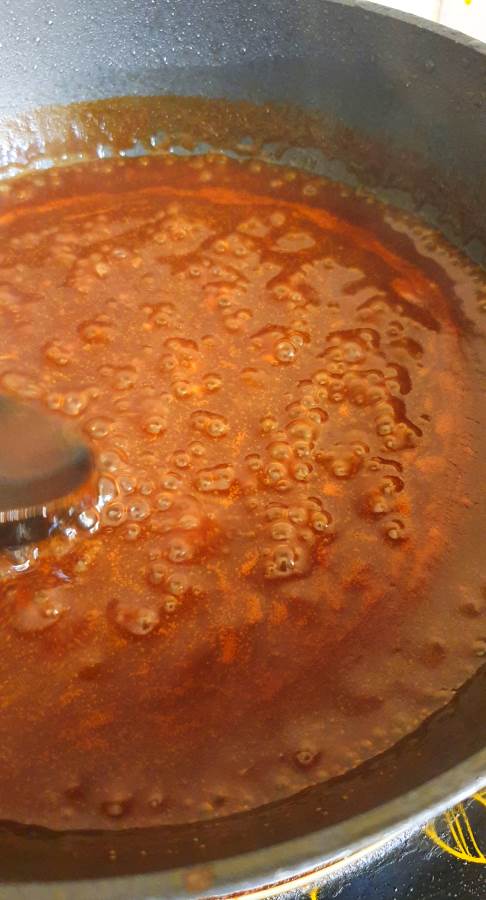
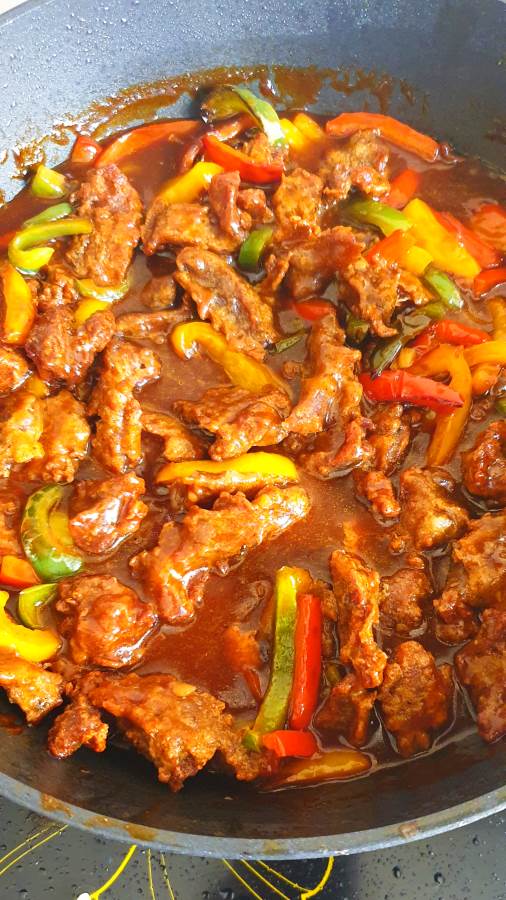
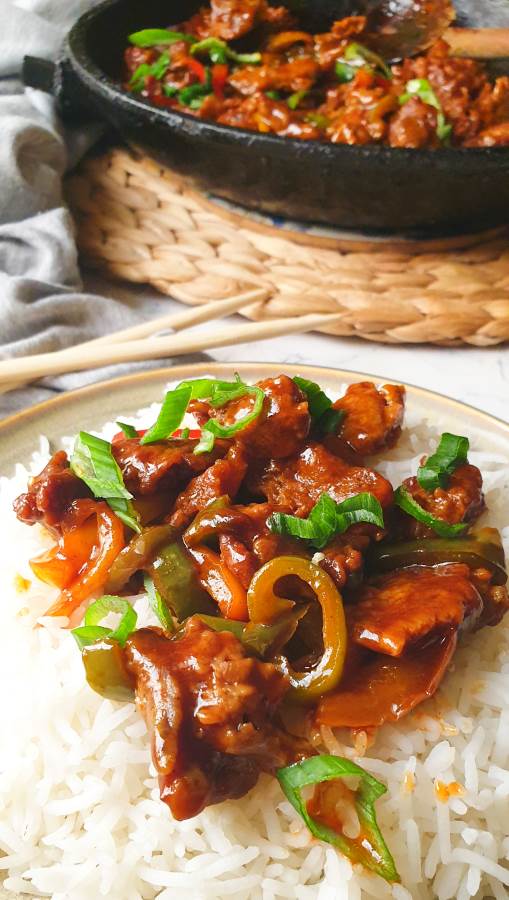
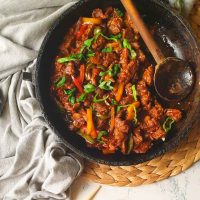
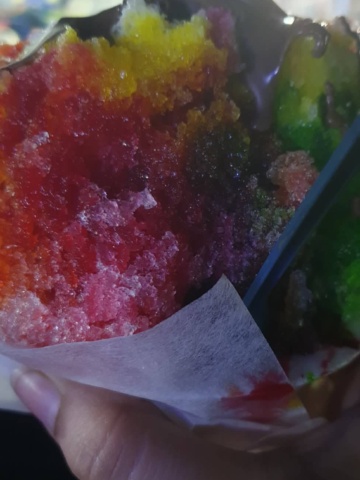
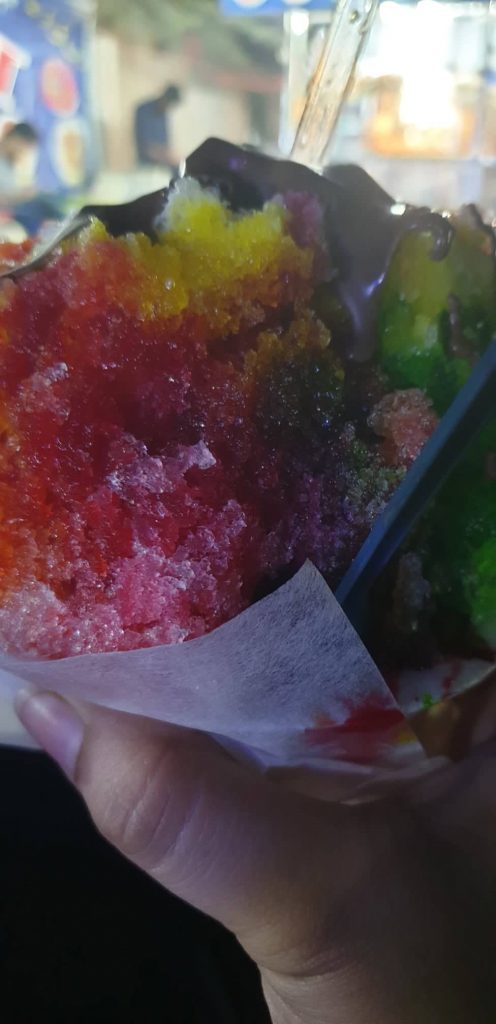
Me and my husband tried the local brain masala (Beef Brain Curry) for the VERY fast time in our lives. Going to hold back my opinions for later though. Khausey (local noodle and curry dish), gola gandas (crushed ice treats) and the famouse Balochi Sajjis. Our 35 day trip revolved SO MUCH around food its crazy! Besides, It was Bakra-Eid, you can imagine all the beef and kebabs we must’ve had. I could ramble on and on about what else I had but that is not the point of this! Lol, the point is…that I just got some mad new ideas!! that I want to try in my kitchen, and if successful (hopefully), I’d loveeee to put it up on the blog!
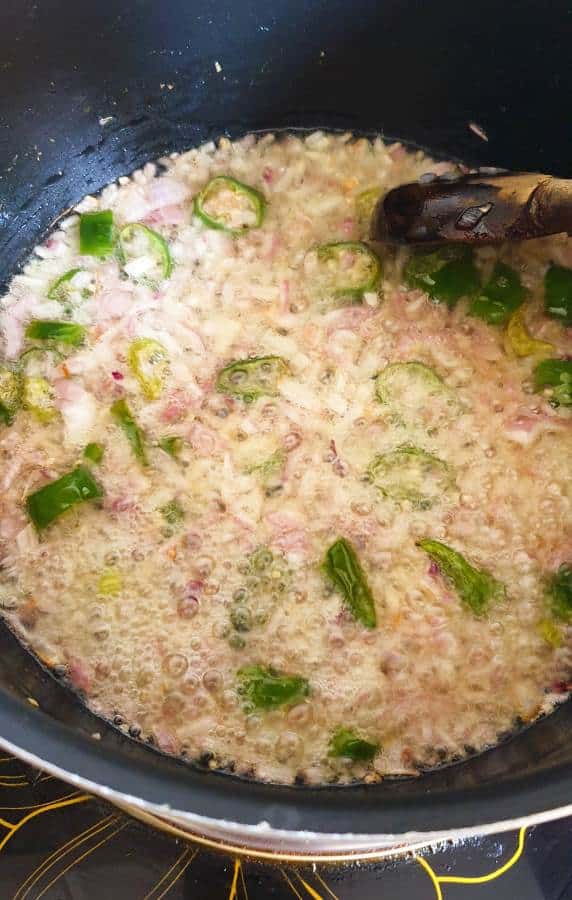
Can’t wait to get back into the kitchen and get started. Although, right now I am still trying to unpack and make sense of how the world works. Vacation hang overs are bad guys, don’t underestimate the power of being fully pampered by adults
I’ll see you sooon fam!