
If you’ve been adulting long enough, than you already have a quickie list! By that I mean a list of fast cooking meals that you whip up when you are feeling low on energy and neeeeed comfort food, but also conserve energy. Today, my friends, I am going to make your list a little longer. Presenting to you, this Apple Chicken stir fry recipe, that is a hassle free, comes under the category of 30 min meal, and is currently all I can think about atm.
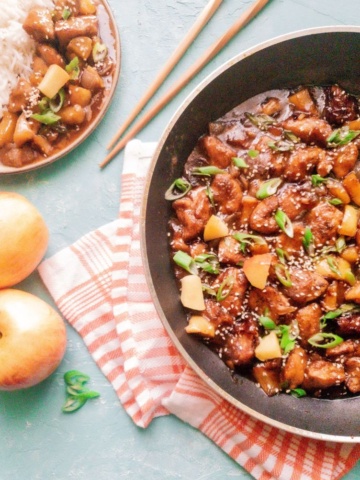
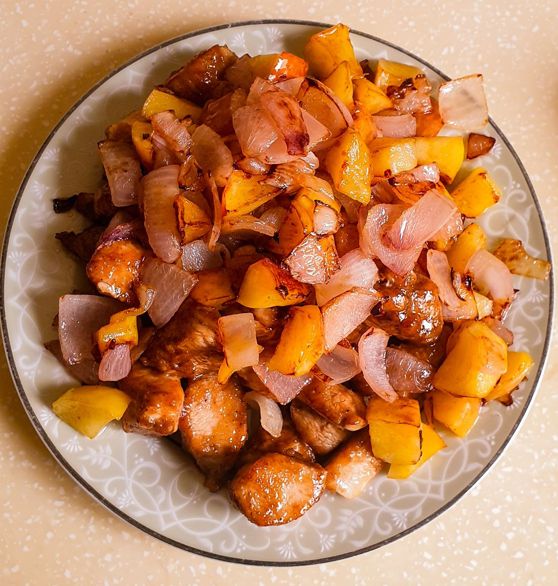
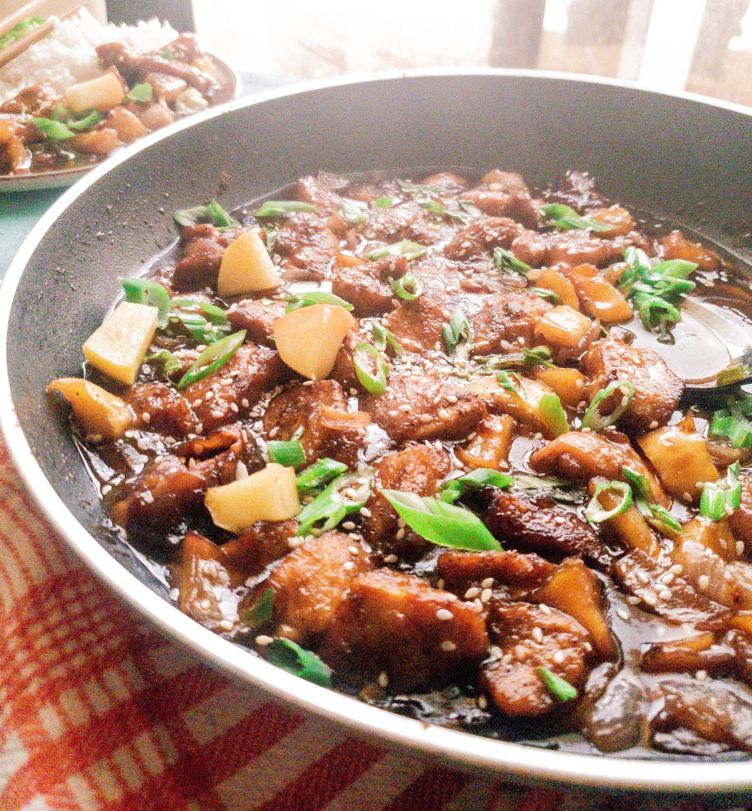
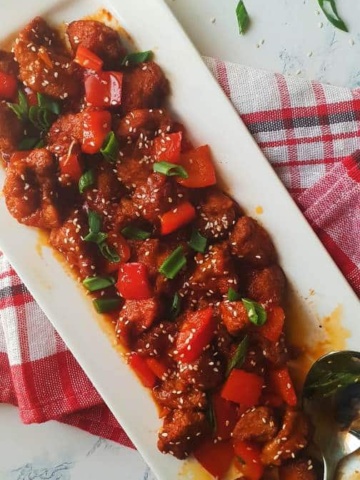
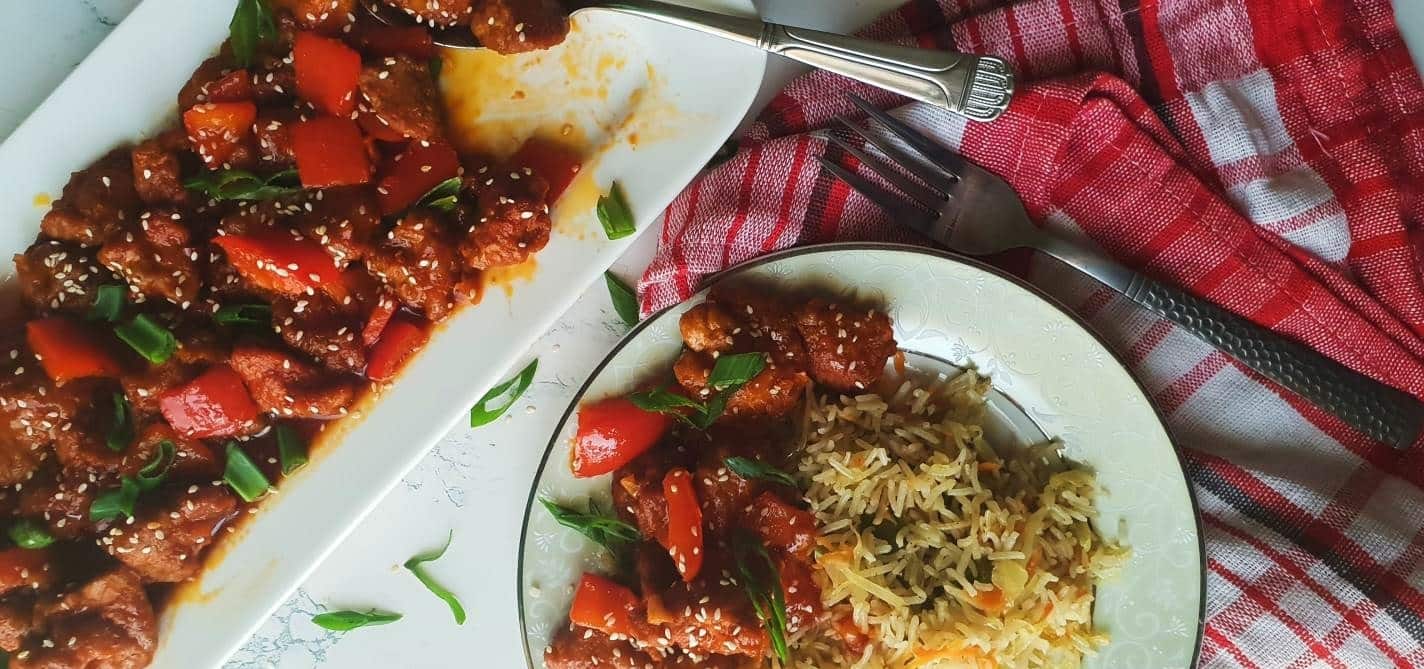
This Apple Chicken stir fry is a combination of perfectly shallow fried chicken cubes, caramelized apples and onions, coated with a sweet and rich dark sauce made with apple juice and various spices, topped off with sesame seeds. I served it with steamed rice but man, fried rice would be sooooo perfect with it. If you’ve tried and liked pineapple chicken, or dragon chicken, or are a fan of Asian fusion flavors, this is the recipe for you.
I initially created this recipe a month ago for a challenge that I am hosting on Insta these days. But tbh, since then I’ve made it twice already, one for a dinner I was hosting and once because the husband requested it. It’s safe to say, that this meal has made a place on my monthly rotations and also Party menus
It is sooooooper easy but I still thought I’d throw in a couple of process pictures your way so there are no surprises. You can always click on the jump to recipe button above if you think you’ve got this.
Steps to make this yummm Apple chicken stir fry
Preparing the Chicken
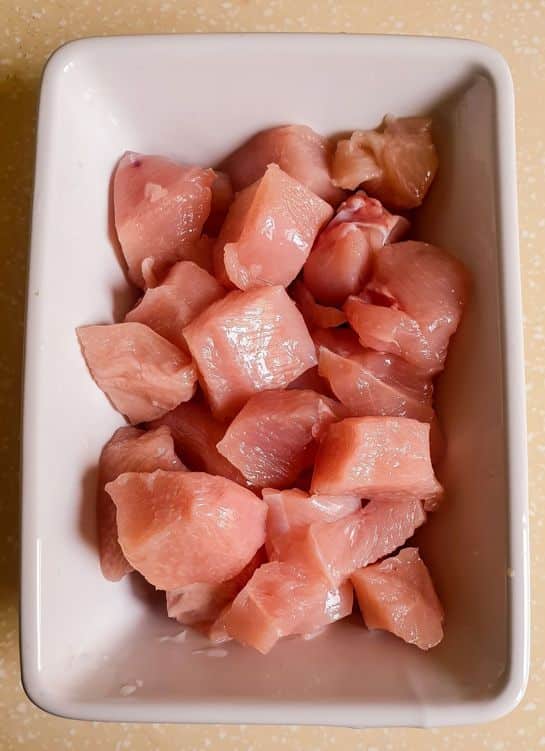
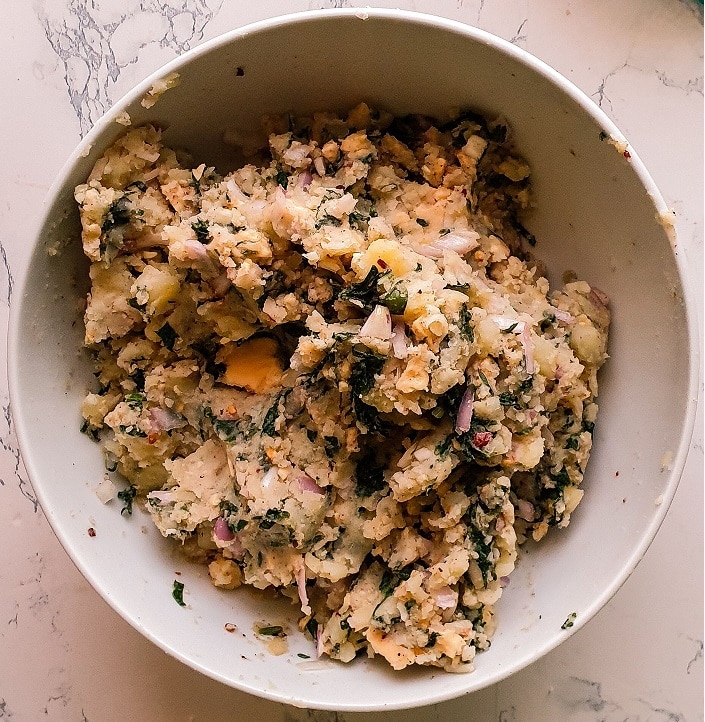
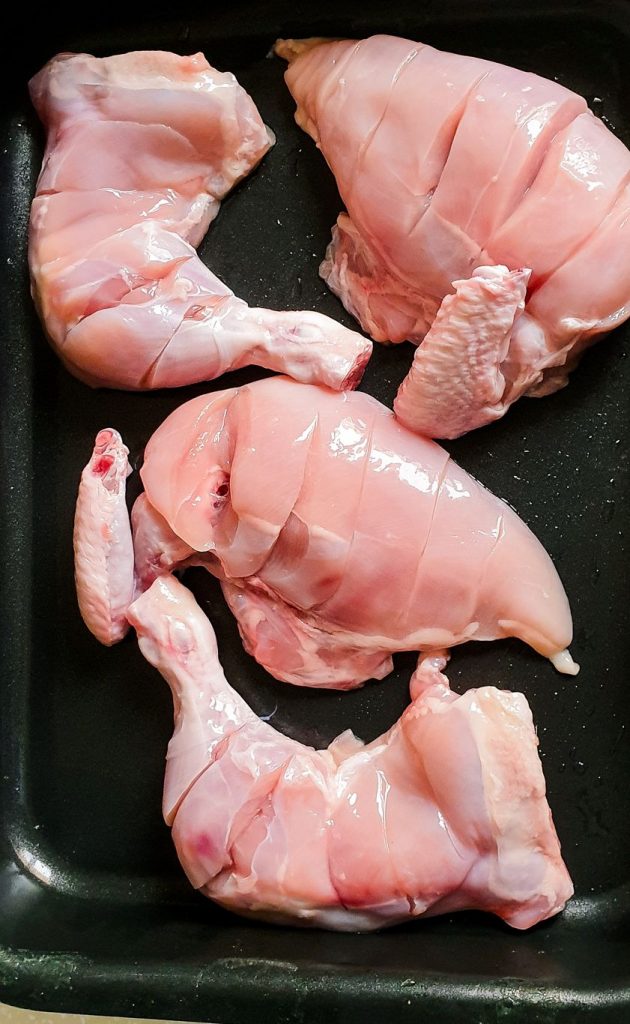
This recipe measurements has 2 to 3 servings. I used 2 chicken breast pieces and cut them up in about 1 inch cubes. Then I marinated the chicken in soy sauce, Worcestershire sauce, black pepper powder and garlic paste.
Keep the marinated chicken in the fridge for at least half an hour. Some of my friends skip this step because…well they be hungry!
Keep in mind that most dark sauces are high in sodium so I haven’t added any salt in the marinade.
But if you are using low sodium soy sauce, then add a lil bit of salt.
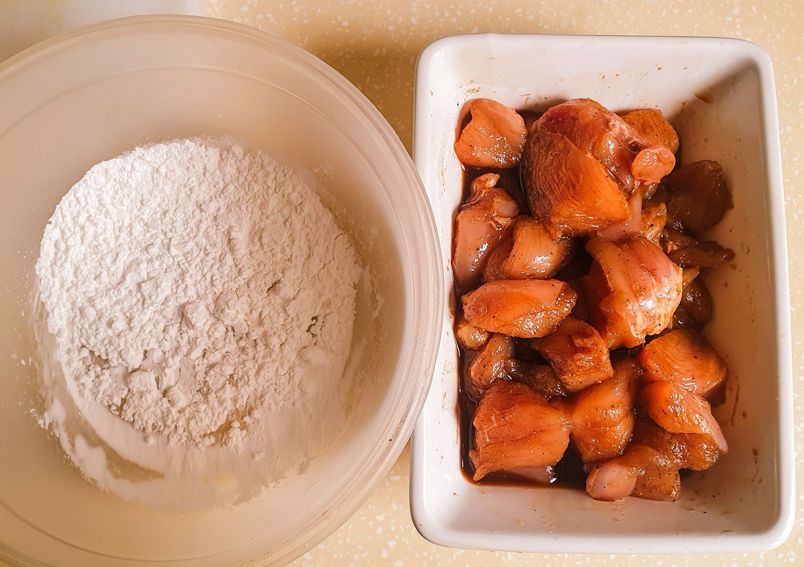
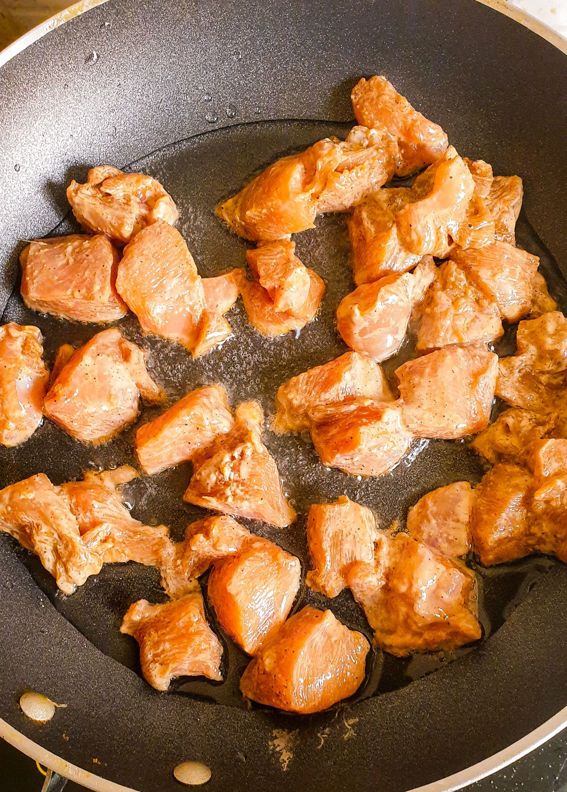
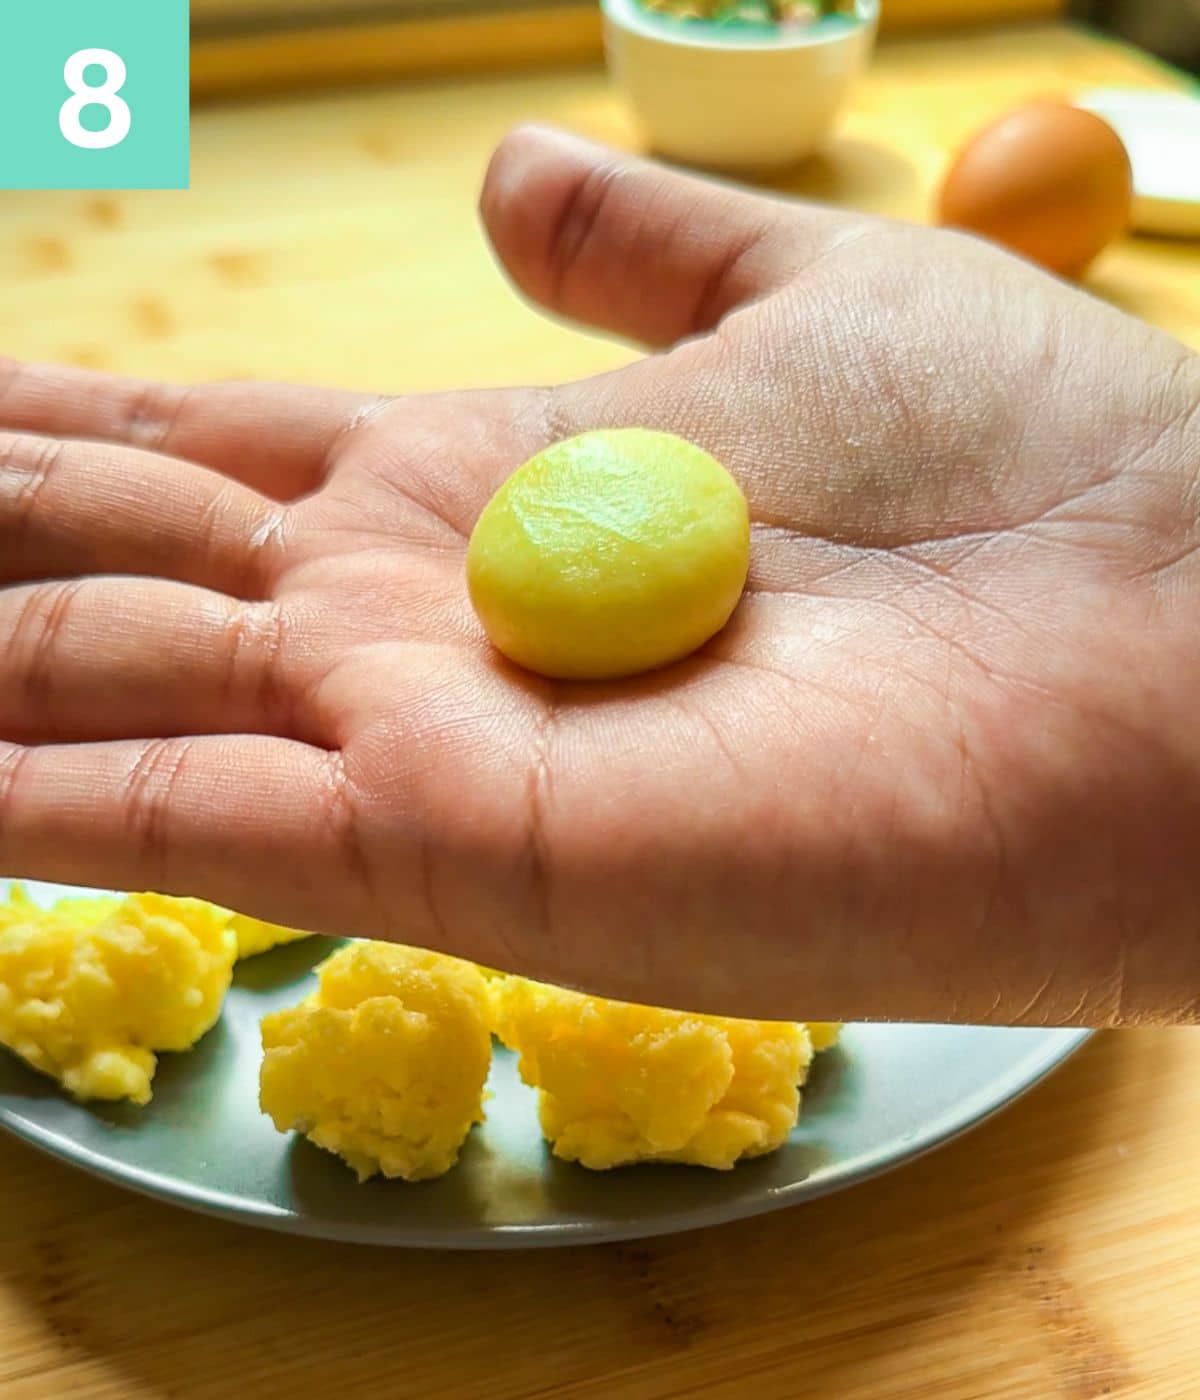
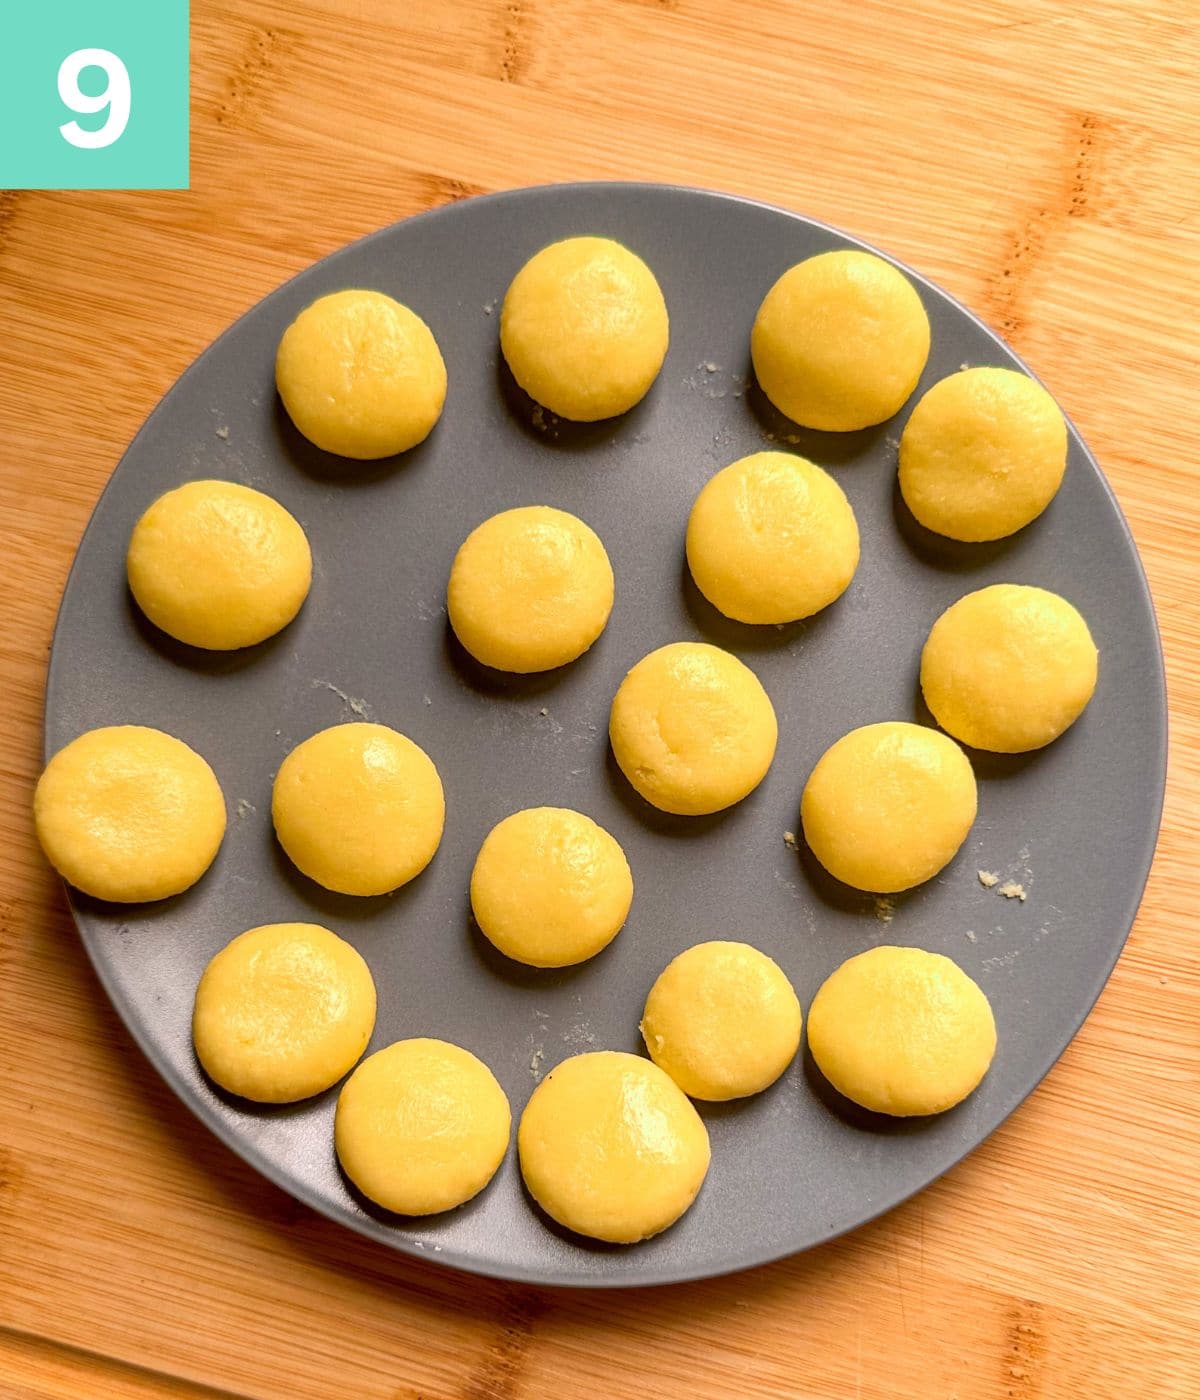
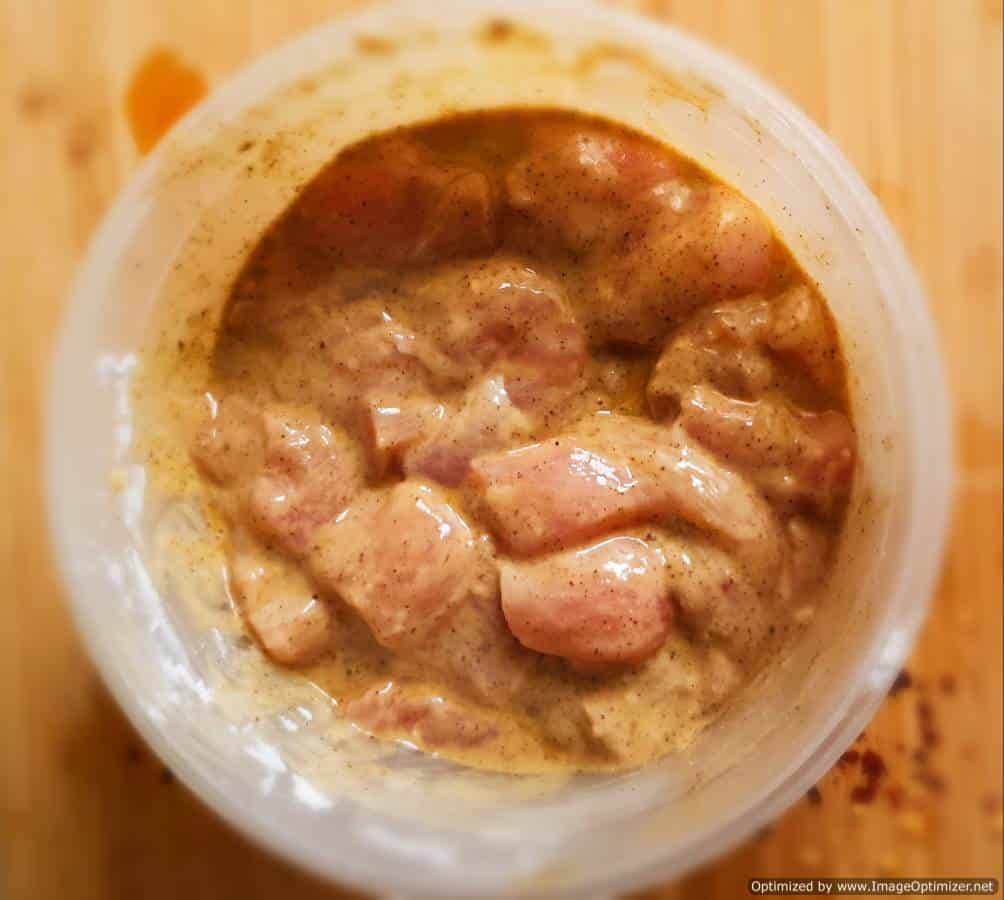
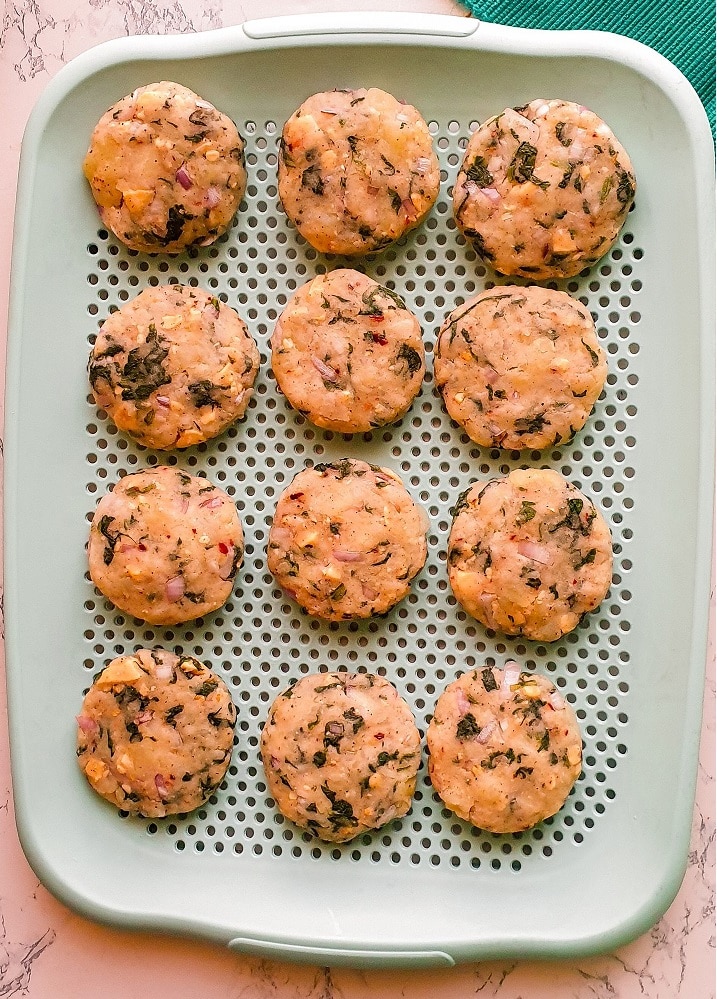
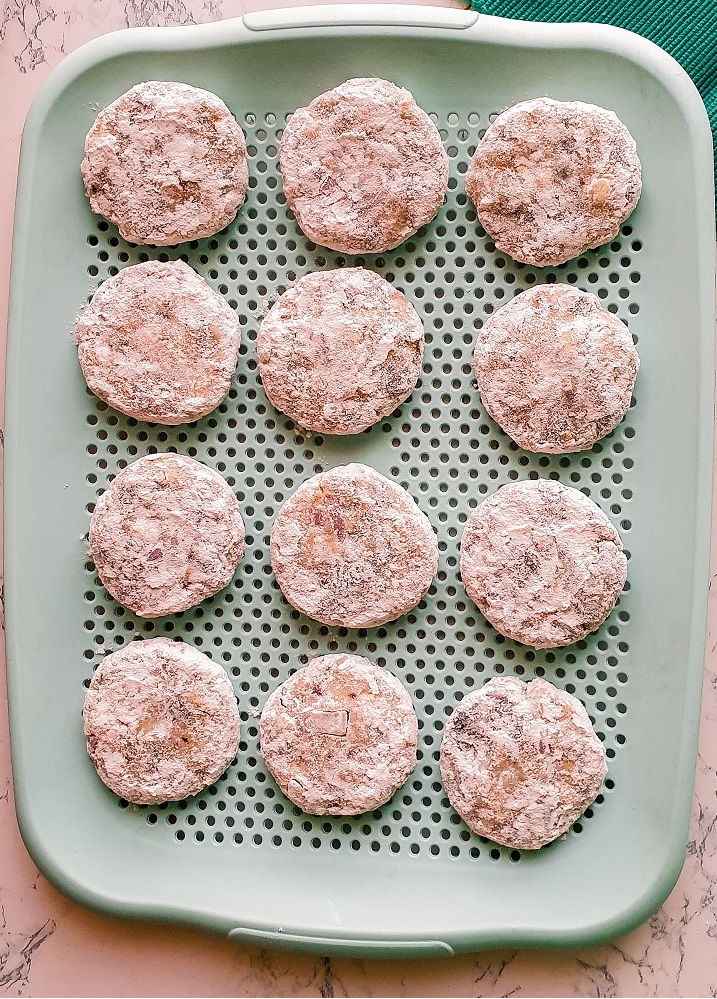
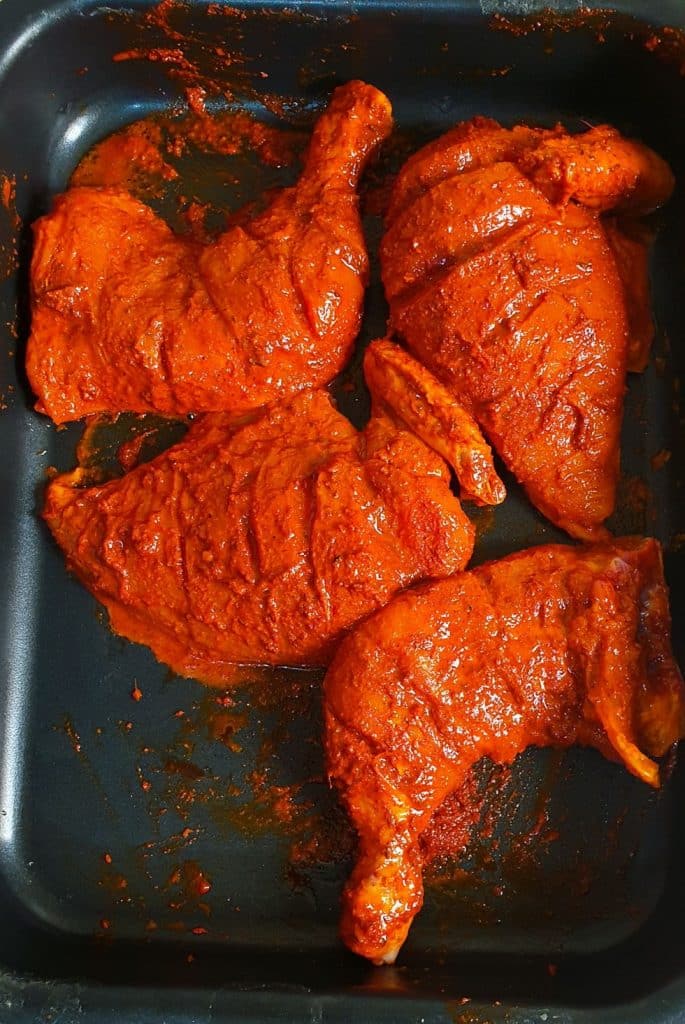
Add corn flour to your marinated chicken and coat them with it. It doesn’t need to be a perfect coat like we do while deep frying. So its ok if some bits and parts of chicken are not fully covered.
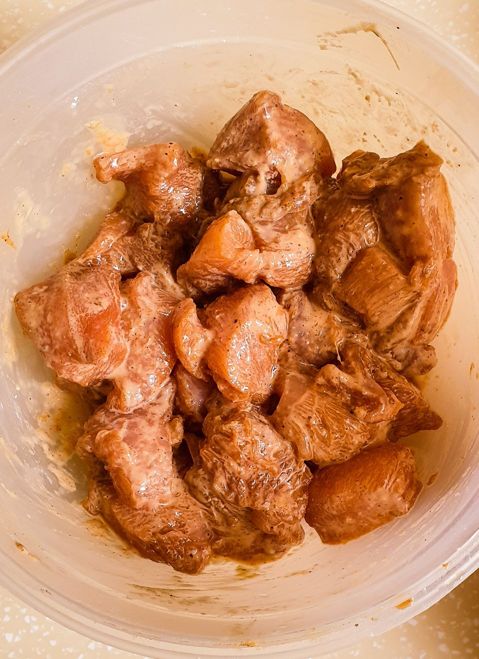
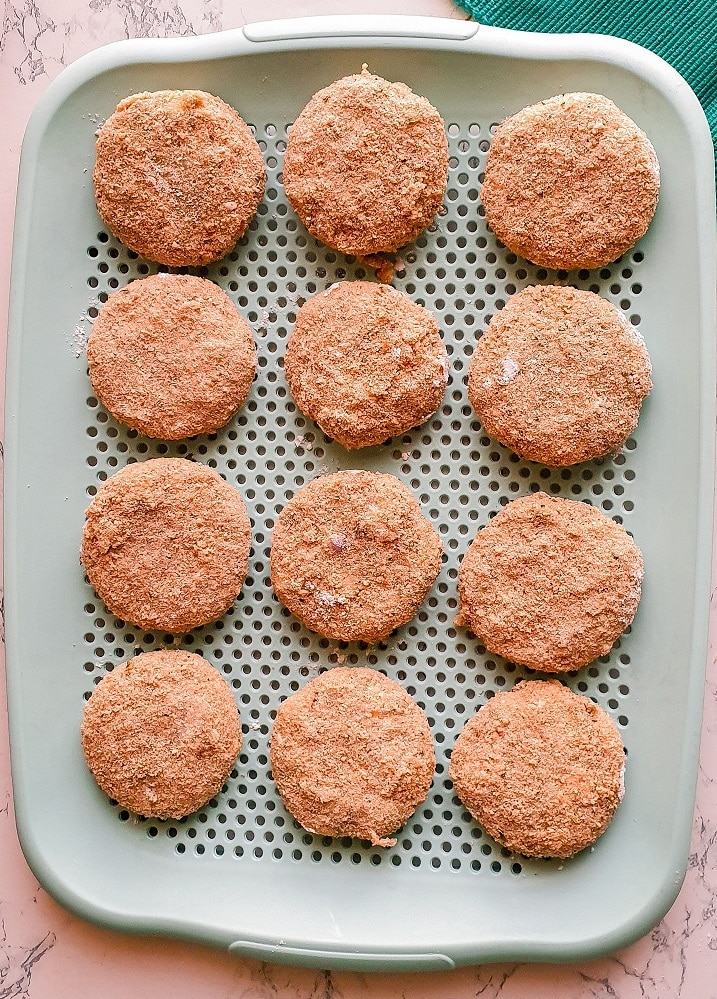
Your coated chicken cubes are gonna look something like in the picture above. They are now ready to be stir fried in some oil.
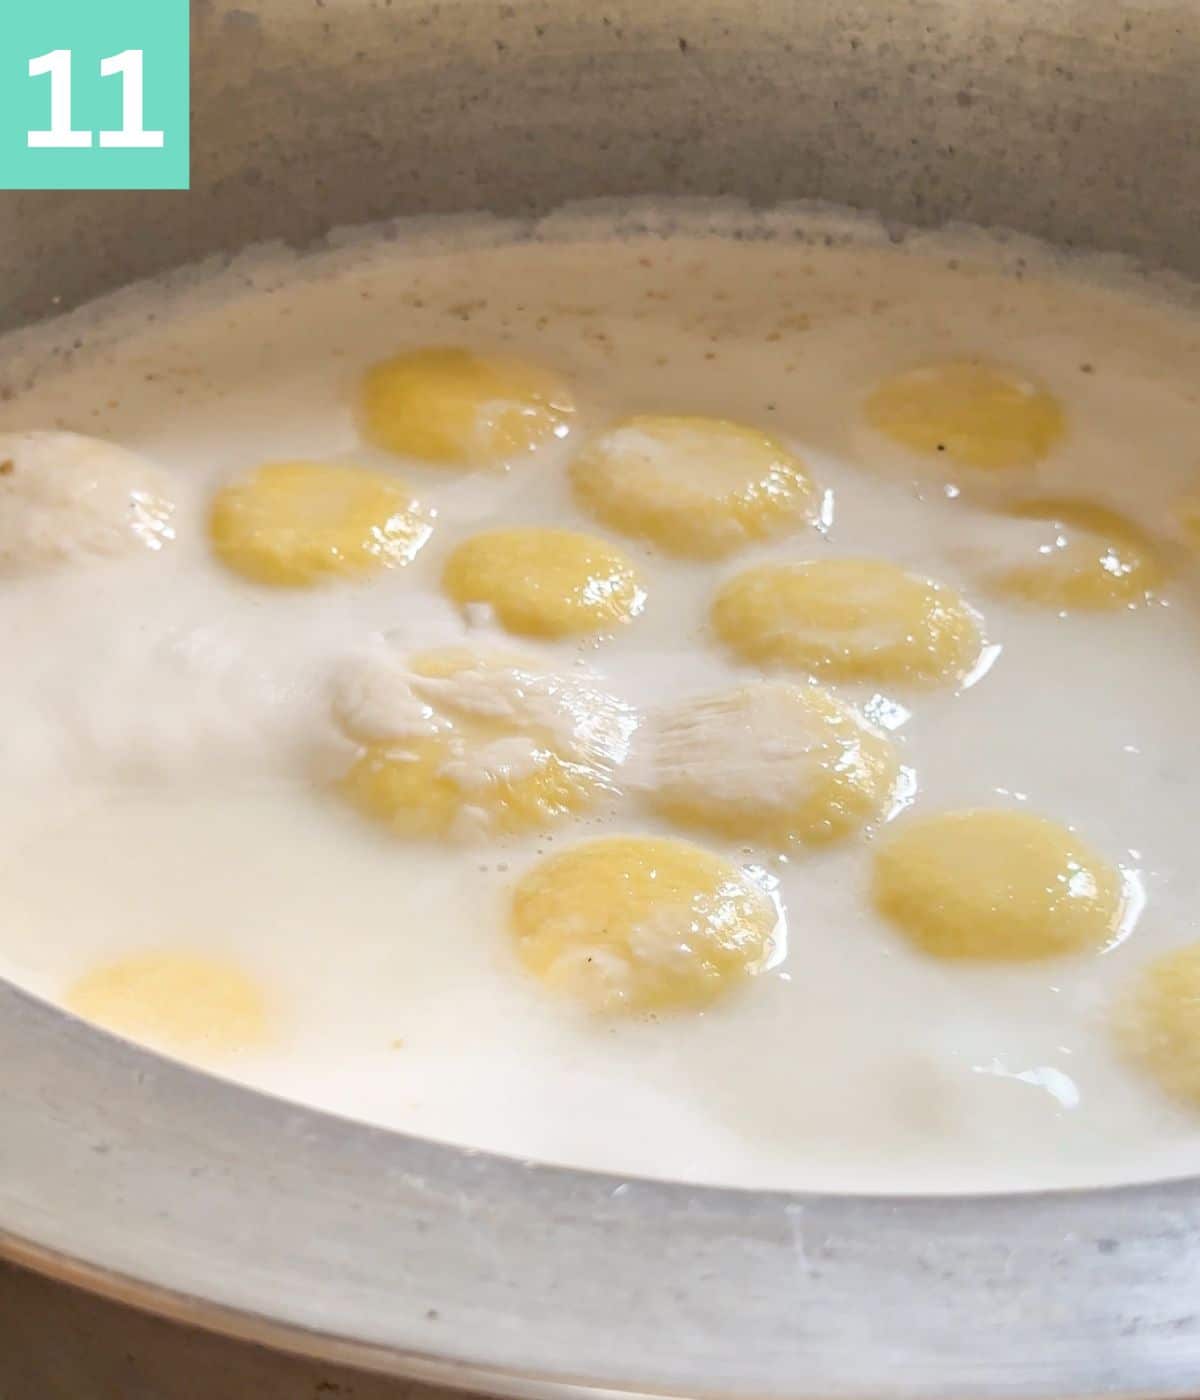
Go ahead and add the 1/4 cup of oil to a frying pan. Throw in your chicken and toss and turn them at medium to high flame until they are golden brown in color.
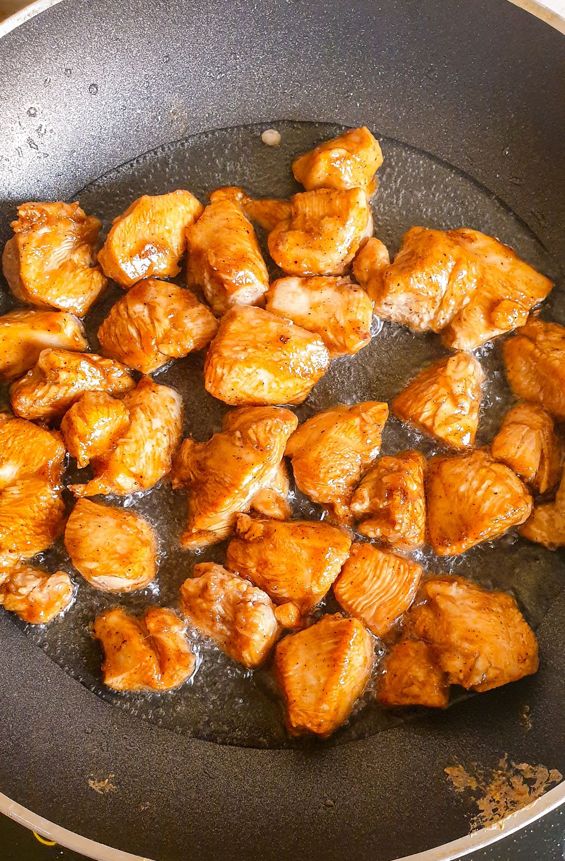
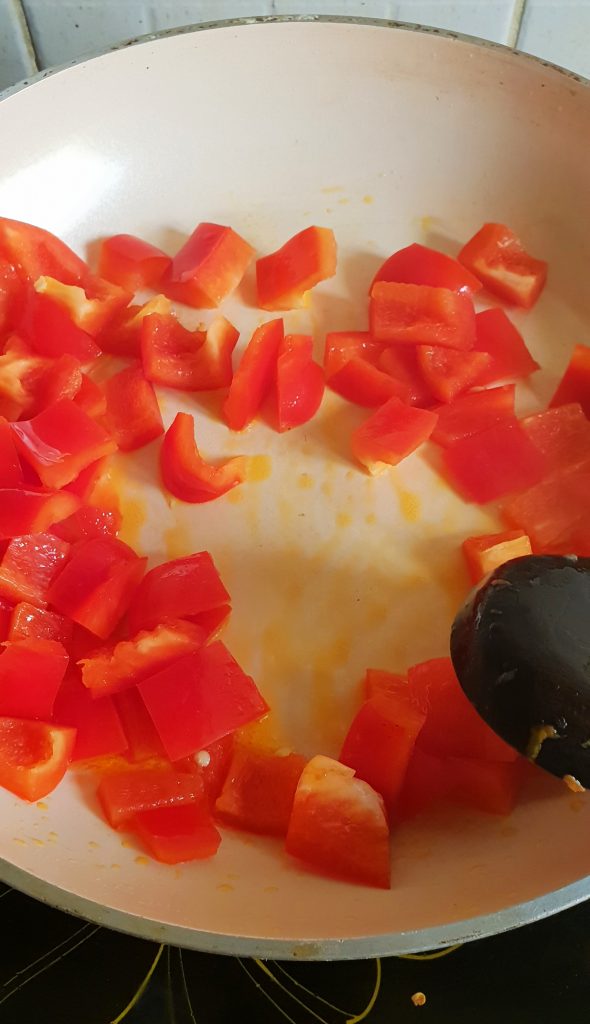
Once they get their beautiful color (and you nibble on a few pieces), take the chicken out from the frying pan and set aside. Now crank up the heat to full and toss in some square cut onions and apple cubes in the pan with the remaining oil in it.
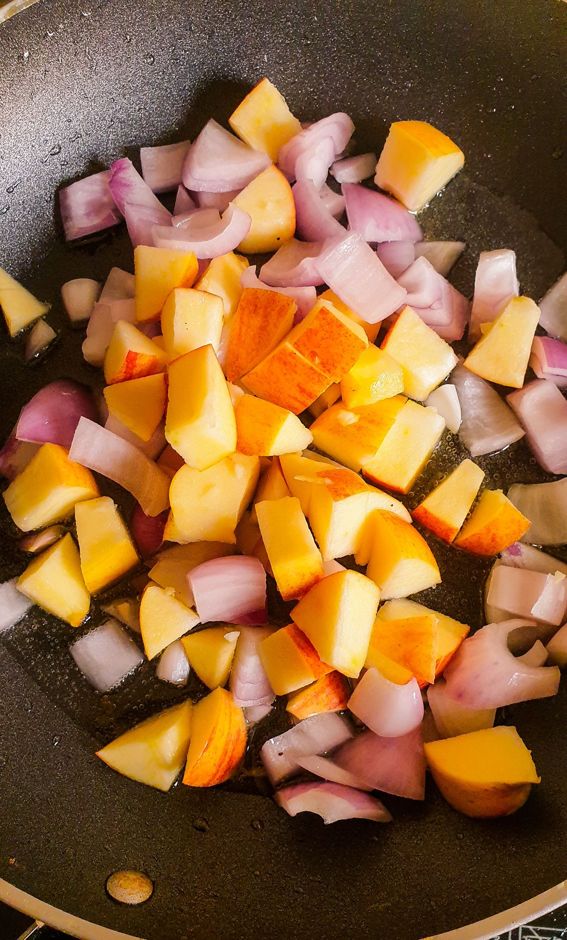
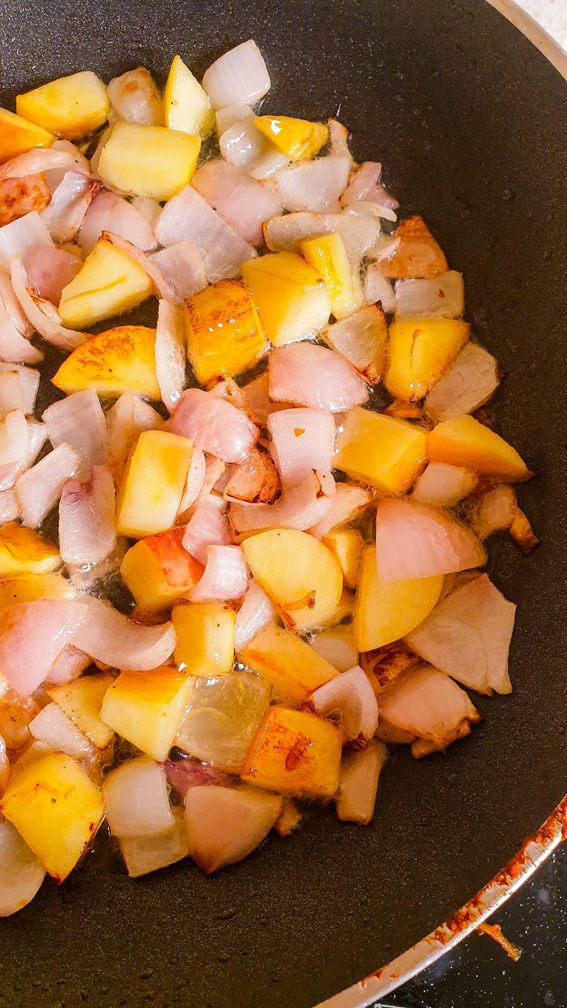
Keep the heat at a high level and let your onions and apples caramelize. The sugar in both the ingredients will allow them to caramelize and its up to you to decide what level of caramelization you want. I personally only go for 2 3 mins of stir frying which gives me a light golden coat on all of the apples and onions. Once you are happy with the level of browness (thats a word right?) on your fruit and veggie, go ahead and take them out from the oil and set aside.
Preparing the sauce and assembling the apple chicken stir fry
Now we are gonna start preparing the sauce.
Prepare the sauce when you are ready to eat. If you are preparing this dish for a party, you can fry the apples, onions and chicken before hand and prepare the sauce when its time to serve.
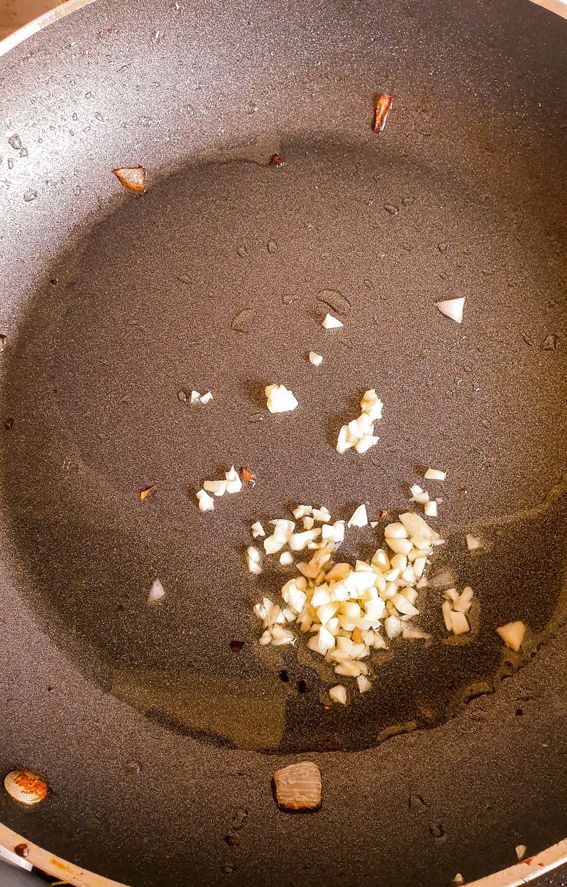
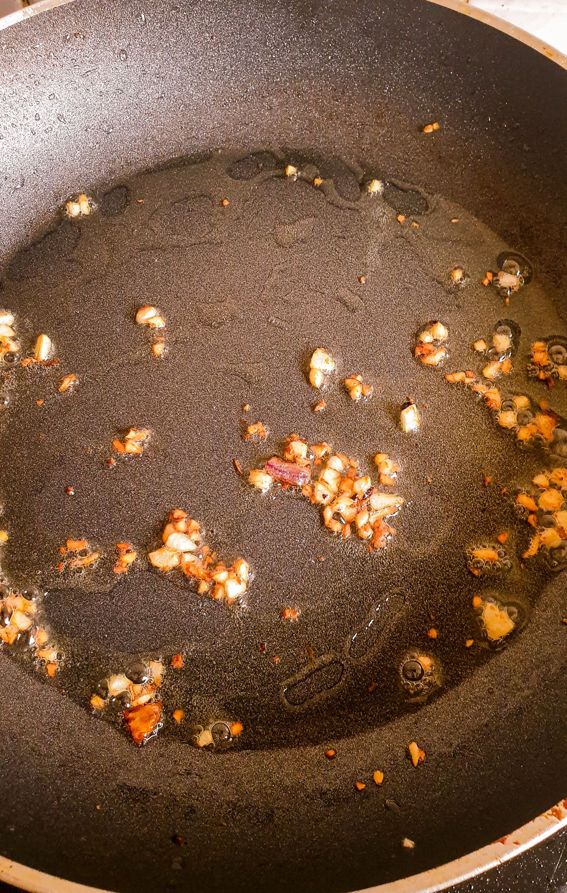
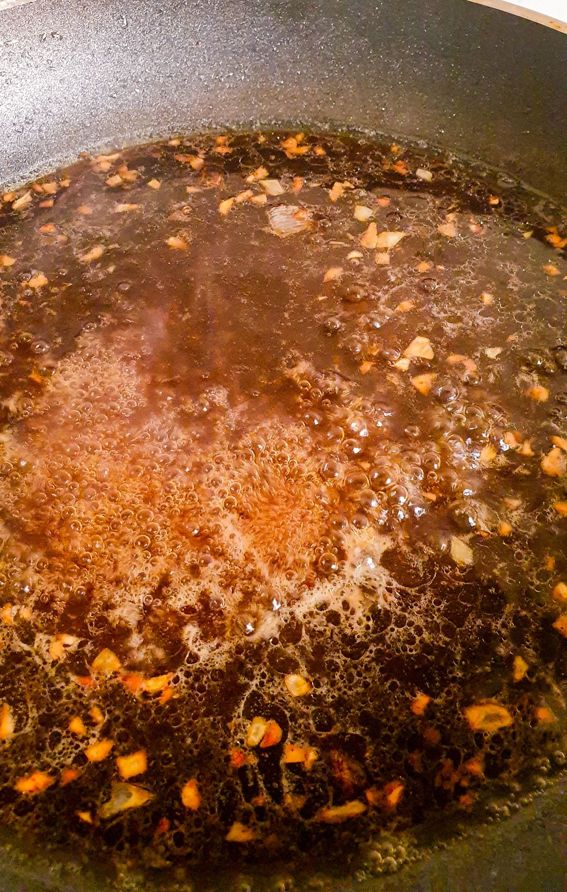
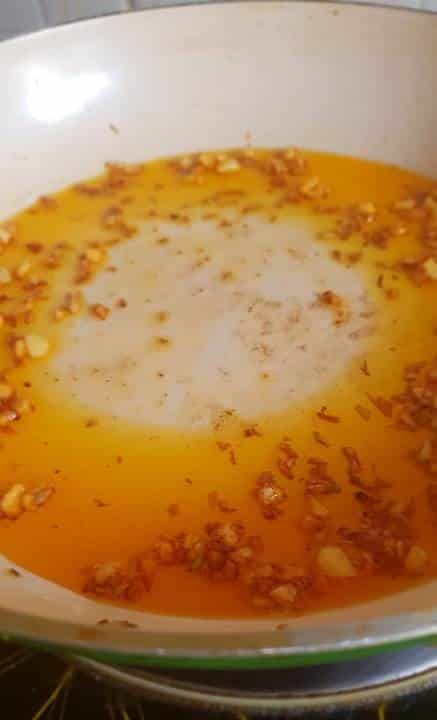
In the remaining oil, chuck in some good old finely chopped garlic and take it to a golden brown level. When your kitchen starts smelling like the garlicky goodness that this dish is, you are ready for the next step.
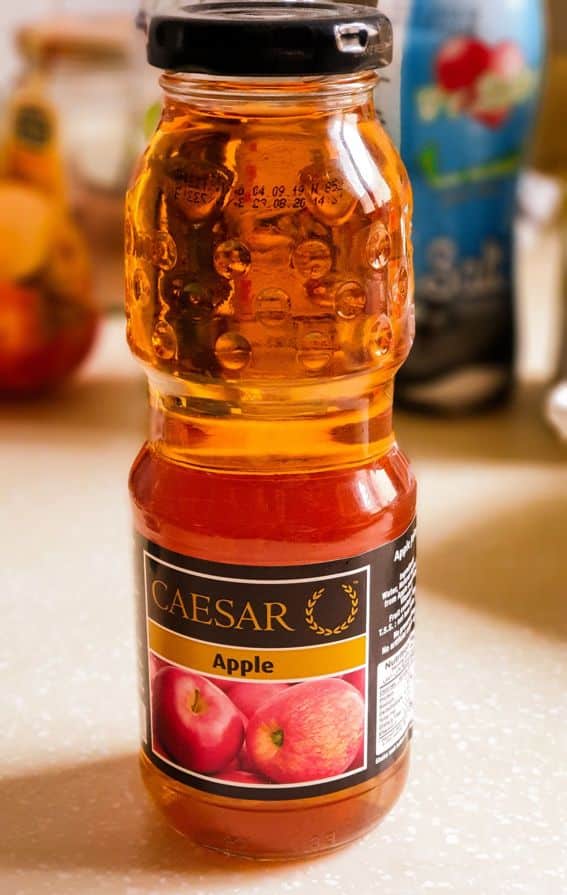
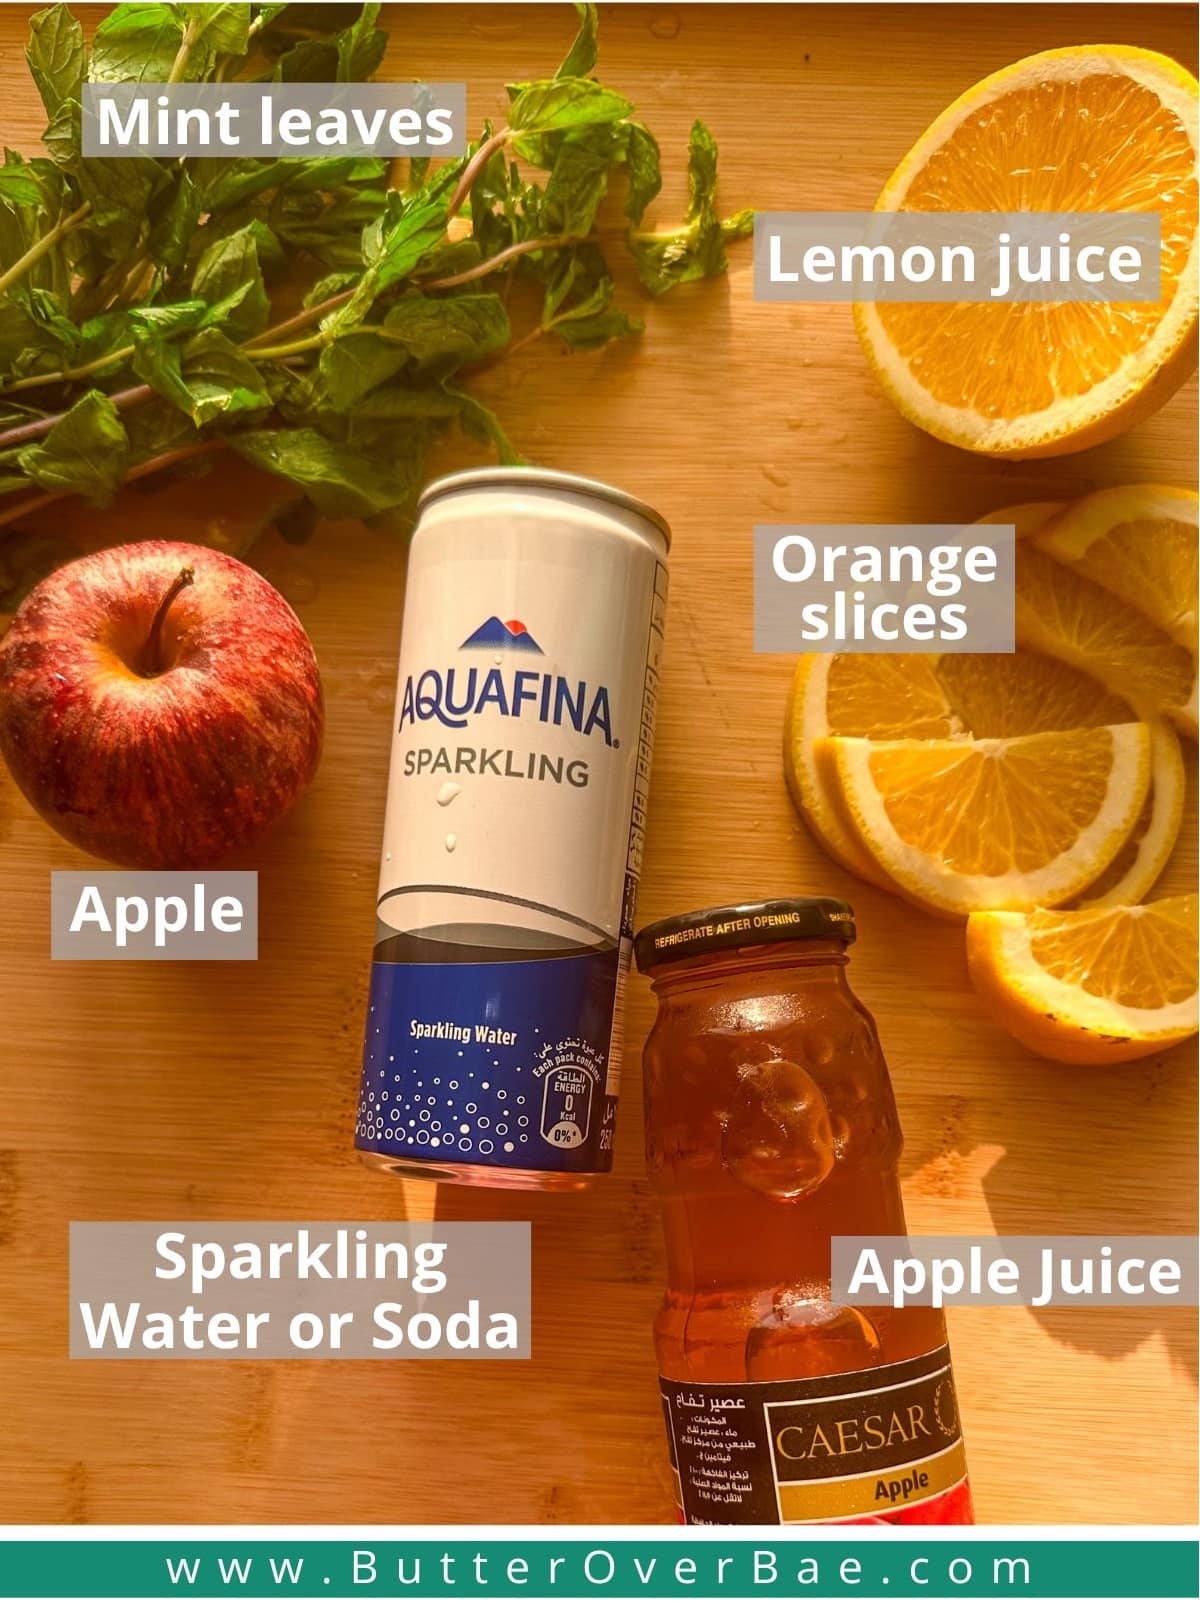
This recipe uses apple juice as part of its sauce mix and I used the following one. But you can go ahead and use whichever apple juice you want, whether freshly squeezed or a bottled one like this.
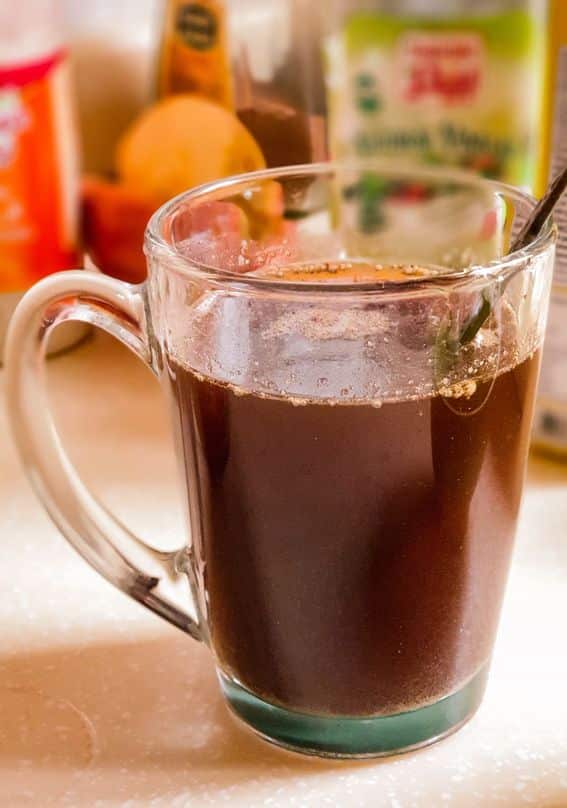
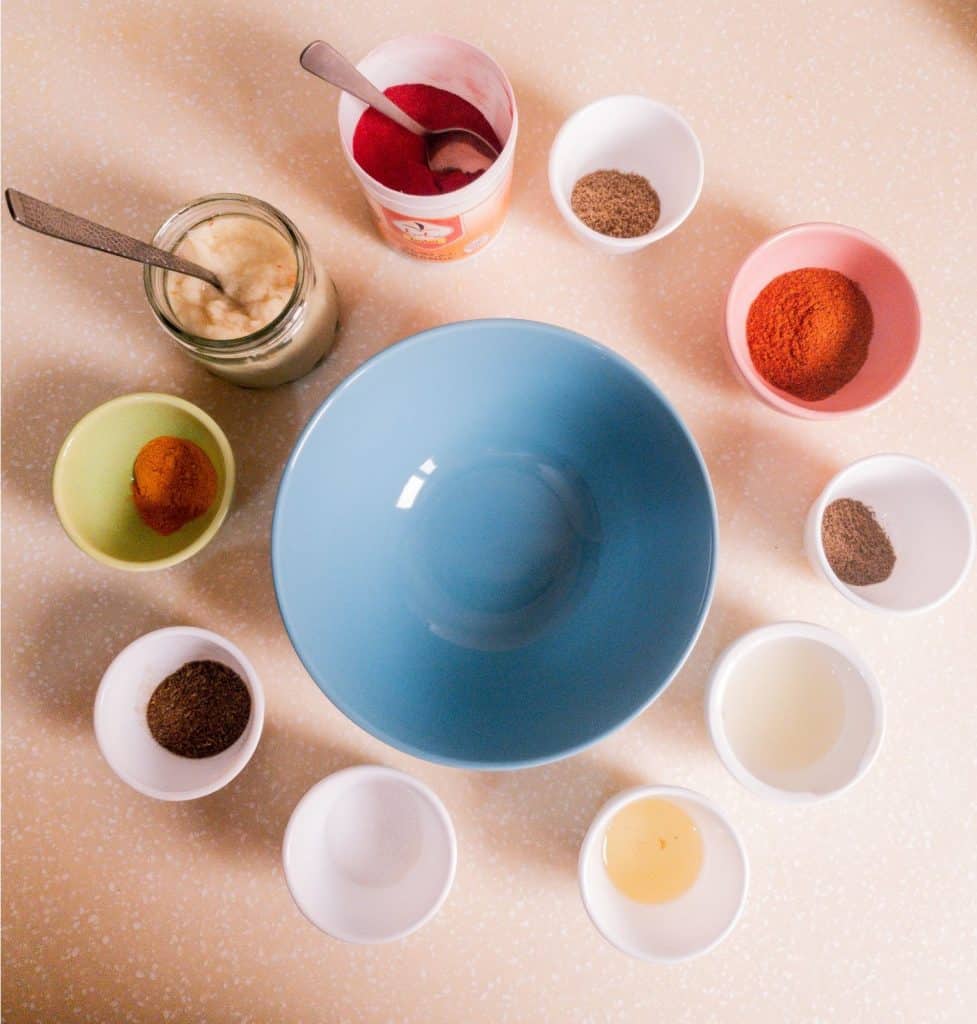
I like to add all the ingredients for the sauce in mug and keep it ready so when its time to eat, I am not standing there measuring my ingredients.
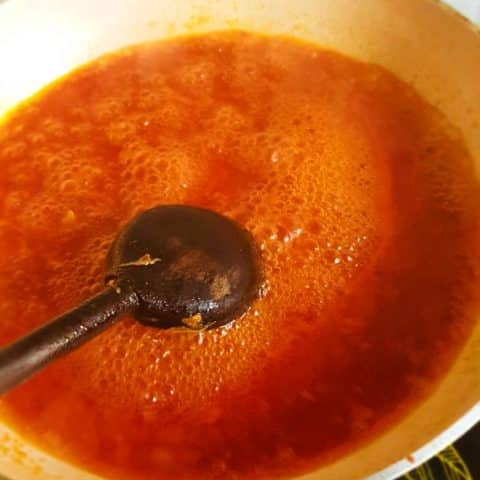
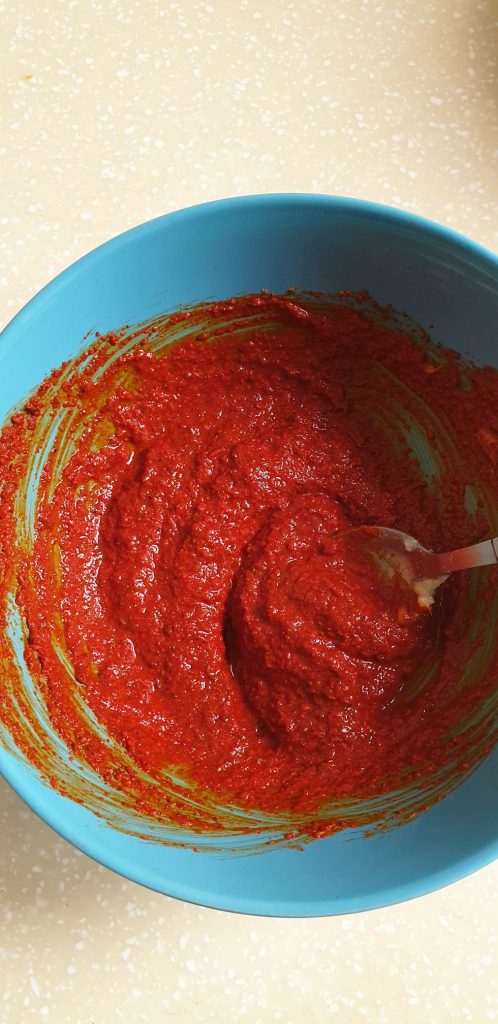
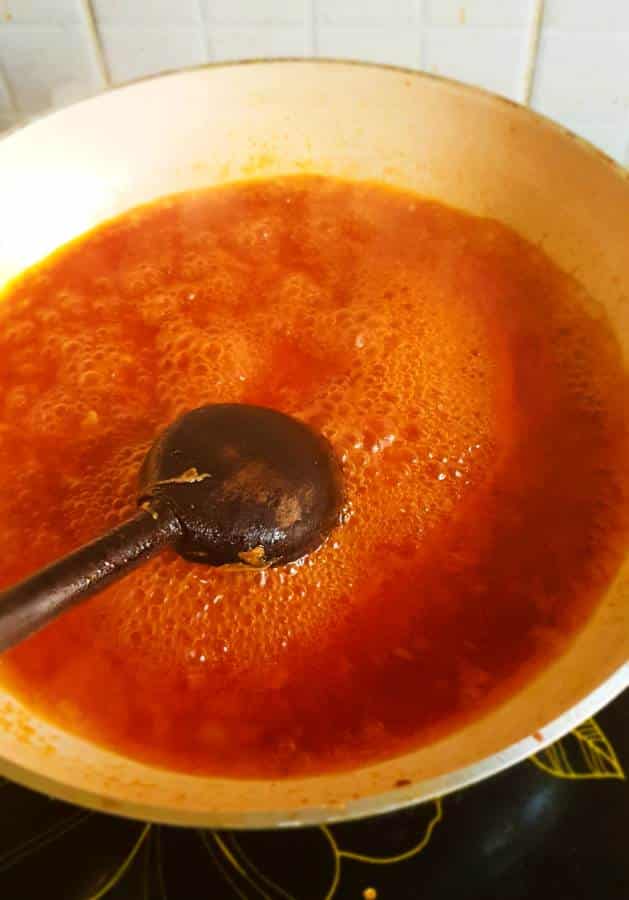
Add all the sauce ingredients to the frying pan and let it simmer at medium to high heat for 3 to 4 minutes. After that, I used a little bit of corn flour as a thickening agent.
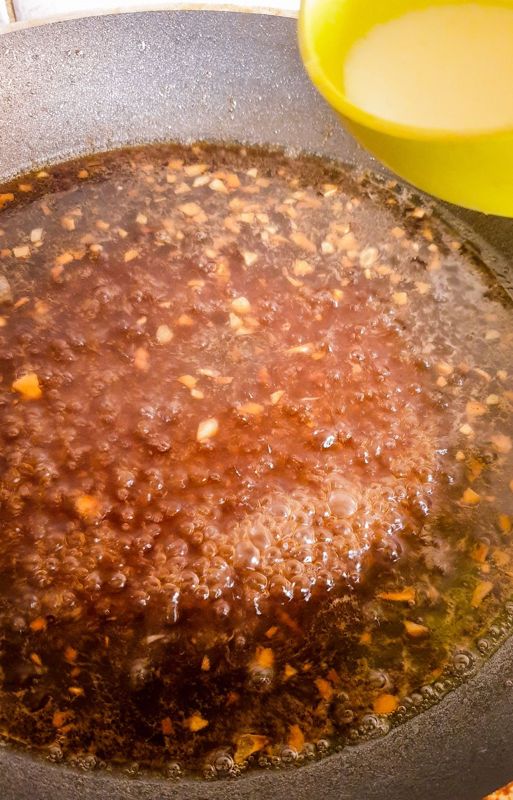
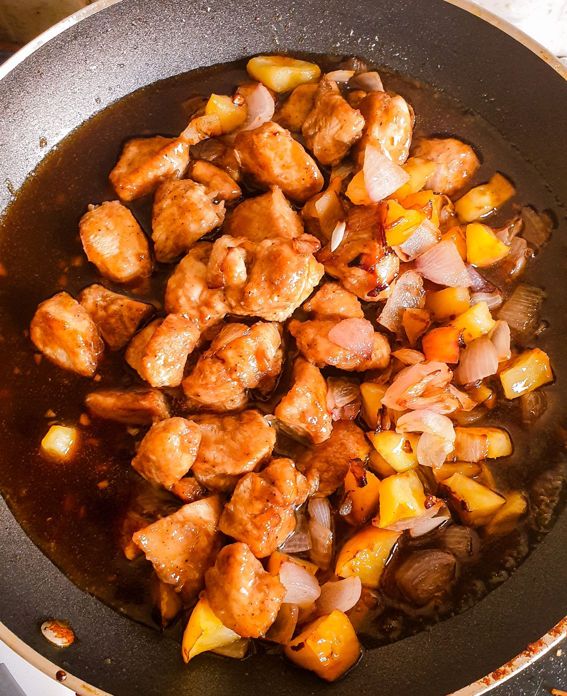
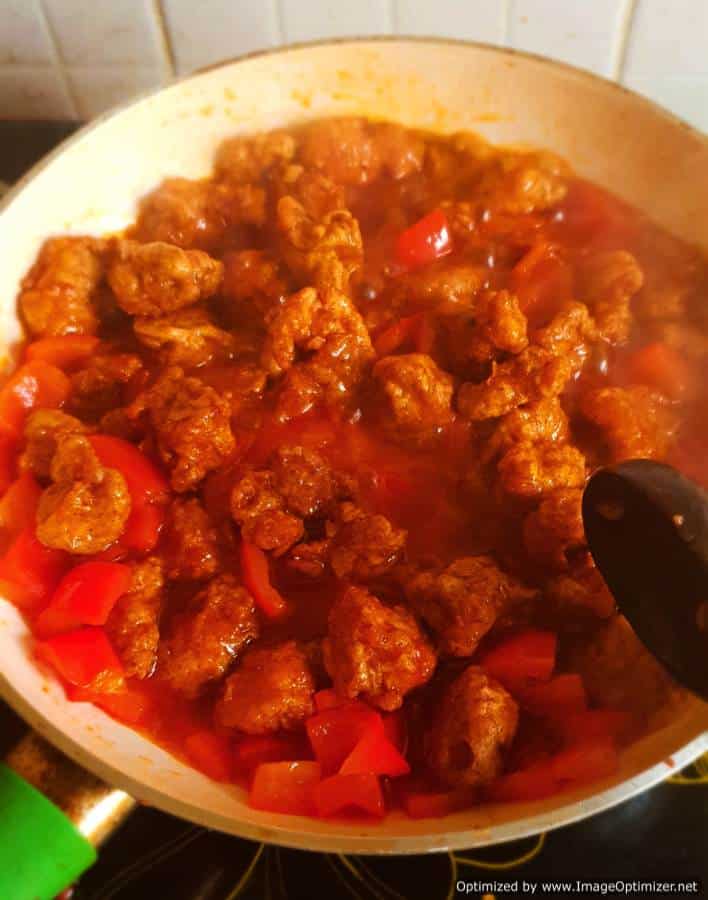
After adding corn flour, I stirred the sauce for about a minute or 2 and dumped in all my stir fried ingredients. Then I cooked for another 2 to 3 minutes at high flame to reheat all the chicken and apples. This is also a good time to check for seasoning. When I am happy with the consistency of the sauce, I turn off the flame and topped this gorgeous dish off with sesame seeds and some chopped spring onions.
We had it with some steamed rice but of course you can pair with chow mein or fried rice just as well.
ALTERNATES, FIXES AND REMIXES
Substitutions:
Healthier Substitutions
You can make this dish that much healthier by making the following substitutions:
1. Use 1 tbsp of apple puree instead of cornflour to thicken the sauce.
2. Skip the corn flour coat on the chicken cubes and stir fry directly.
3. Use 1 tbsp of oil to stir fry the chicken, 1 tbsp for onions and apples and 1 tbsp for garlic for a total of 3 tbsp of oil for this recipe.
4. Use low sodium soy sauce and Worcestershire sauce
5. Use freshly squeezed apple juice instead of the bottled version.
Hoisin sauce alternative
If you don’t have hoisin sauce on hand, don’t worry. Make your own hoisin sauce by mixing together the following ingredients.
- 1 tbsp of barbecue sauce
- 1 tsp of brown sugar
- 1 tbsp of soy sauce
- A pinch of cinnamon
- 2 pinches of red pepper powder or cayenne pepper.
There are also tons of other ways to make your own Hoisin sauce. Click here for other Hoisin sauce substitutes.
Fixes
If you feel your sauce is too sweet for your liking, add a little vinegar to balance it out.
If you feel your sauce is very tart, add a little worcestershire sauce.
If your final dish is over salty, there are 2 things you can do to compensate for this. The first thing you can do is to skip salt altogether while making the rice that will go with this dish. The second option would be to add 1/2 cup of water to the sauce and throw some of the sauce away after diluting it. But keep in mind, this way you might have to adjust the other seasonings as well.
Remixes
For extra crunch, you can also add peanuts to this, or increase the level of onions in this recipe.
You can try the same recipe with pineapples, replacing apples and apple juice with pineapple and its juice.
Swap the chicken for turkey or beef. If you are going to try this recipe with beef, remember to boil the beef for 20 mins in salt and garlic water to tenderize it before proceeding with the recipe as is.
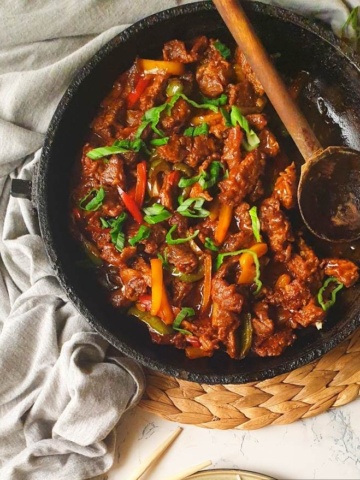
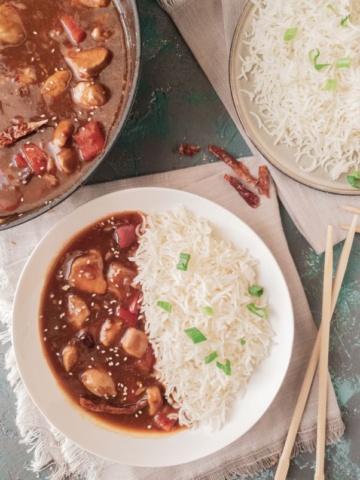
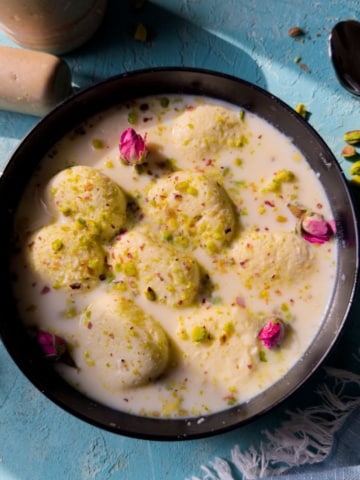
More Pan Asian Recipes


Do you have any questions? I’m happy to help! And of course, If you try this recipe, I’d loveeeee to see it or simply hear about it! Hit me up in the comment section below and I’ll get back to asap! Happy Cooking!

Easy Apple & Chicken Stir Fry
Ingredients
Chicken Marination
- 2 piece chicken breast pieces cut up in 1 inch cubes 200 gm
- 2 tbsp Soy Sauce
- 2 tbsp Worcestershire sauce
- 1/2 tsp black pepper powder
- 1 tsp garlic paste
- 2 tbsp corn flour
Sauce
- 1/2 tsp salt
- 2 full tbsp honey or brown sugar
- 1 cup of apple juice
- 1 tsp white pepper powder
- 2 tsp black pepper powder
- 2 tbsp soy sauce
- 2 tbsp Worcestershire sauce
- 2 tbsp hoisin sauce
- 3 tbsp vinegar
Other
- 1 medium apple cut up in medium sized cubes
- 2 medium onions cut in ½ inch squares
- 2 cloves garlic finely chopped
- 1/4 cup oil
- 1 tbsp corn flour
- sesame seeds for garnish
- chopped sprin onions for garnish
Instructions
- Prepare Chicken
- Marinate chicken cubes in all the spices and sauces, (except for the corn flour). Refrigerate for 30 mins at least.
- Add cornflour to chicken and coat evenly.
- Add oil in a frying pan or wok, and stir fry chicken until golden brown.
- Remove chicken from oil and set aside.
- Preparing sauce and assembling
- In the same oil, add onions and apples and stir fry at high flame. Allow the onions and apples to caramelize and get a nice brown edge.
- Remove the onions and apples from the oil and set aside.
- In the left over oil, add chopped garlic, and stir fry until they turn golden brown.
- Add all the ingredients for the sauce in the pan and allow it to simmer for 3 to 4 mins at medium flame.
- Mix corn flour with a little water to form a slurry and add it to the simmering sauce. Cook for 1 to 2 mins and dump in all the chicken, onions and apples.
- Cook for another 2 mins to reheat all the ingredients and get the consistency of sauce you want.
- Top with sesame seeds and spring onions. Serve immediately with steamed rice or stir fry noodles.


