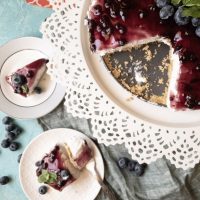
Sometimes, all you need are classics. This no bake blueberry Cheesecake is a classic that will never go outta style and will probably only evolve more over time.
Let’s face it, if we could, we would ALWAYs reach for the baked cheesecake but when the chips are down and you have a quick craving to fix or a quick dessert to fix up, you KNOW you are looking at no bake options. (or Shahi tukdey if you are feeling desi)
The perfect cheesecake, with a nice and light tangy filling paired with a rich buttery crumb base is sometimes all the therapy you need! What I love about this recipe is that it mimics the real deal perfectly. And since it has gelatin, you know it’ll set no matter how ever you mess it up.
A QUICK PICTORIAL OF THE NO BAKE CHEESE CAKE
Preparing the Biscuit base
I don’t know about you, but I loveeeee my cheesecake bases to be thick! Although of course I can’t expect all of you to share my guilty pleasures. So I’ve used a standard quantity of biscuits in the recipe (ugh boring)
Anywhoo….so for the biscuits, I know ideally it should be graham crackers but I find them very rarely here in the supermarkets. So my next best go to biscuits are the digestive ones, they are low on butter and sugar so they work really well with the whole dessert.
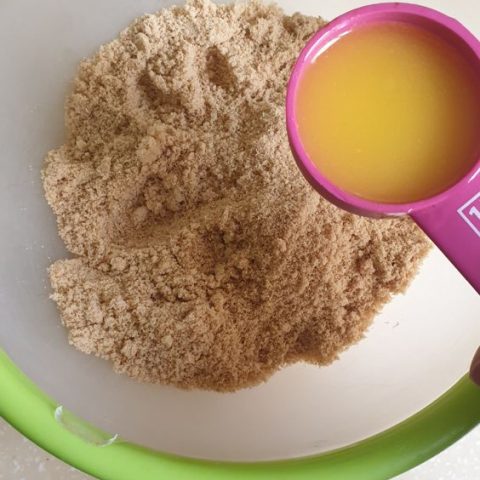
Go ahead and chuck in the biscuits in the food processor and make them into a fine powder. Add melted butter, and brown sugar and turn the processor around once more.
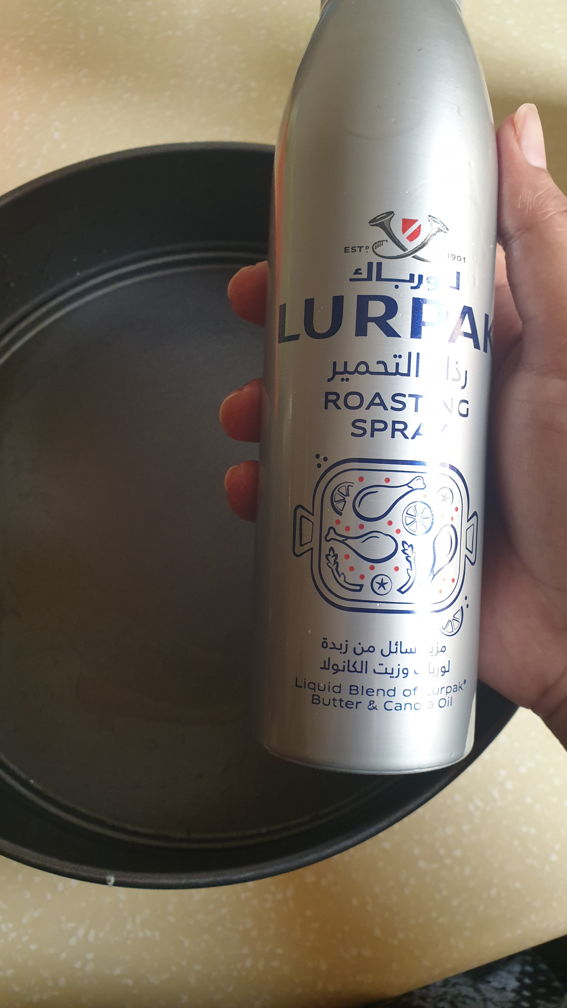
For any no bake dessert, ideally, a spring-form pan is best! I greased my spring-form pan with a cooking spray. Make sure to also spray some of this generously on all the sides as well.
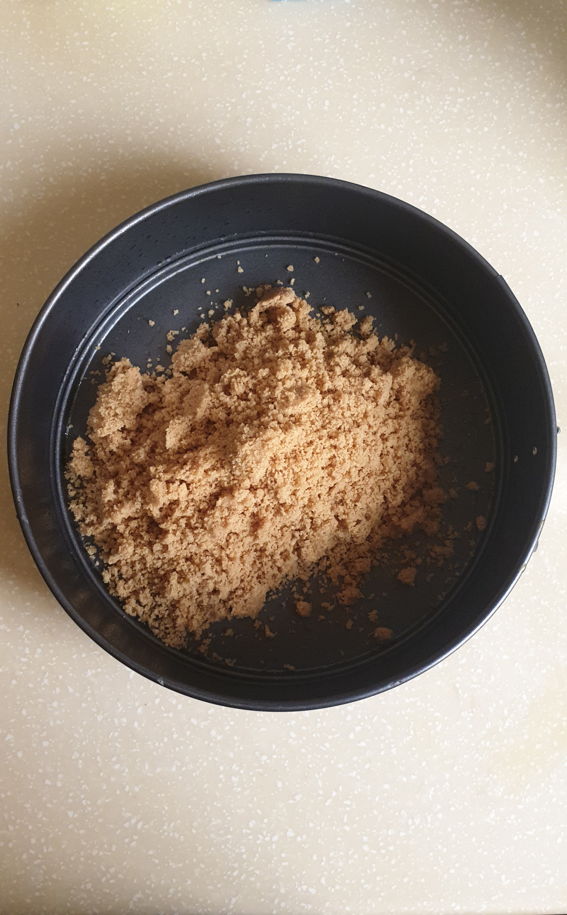
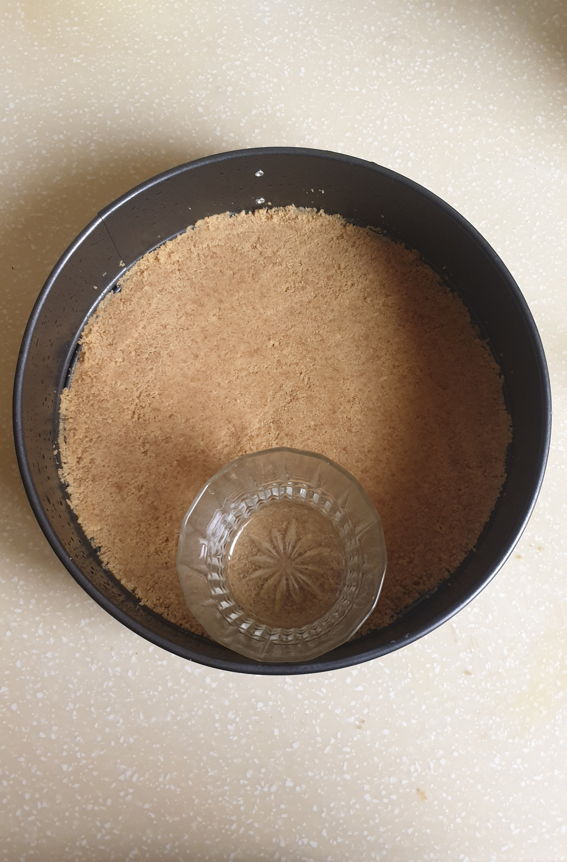
After greasing the pan, dump all the biscuit mix in the pan. And using a glass base to pack the biscuit in the pan has been the best hack discovery of 2019!
Disclaimer: Whatever method you use to pack the biscuit crumbs in the base, make sure you are not packing it too hard and only applying pressure moderately. Packing the base too tightly can cause your crust to become very hard when it sets and will be difficult to cut.
Making the filling for the cheese cake
So here’s the deal, the biggest problem with no bake cheesecakes are that they lack that tangy flavor that their baked counterparts have. To fix this, adding a little sour-cream has been a GAME changer from me.
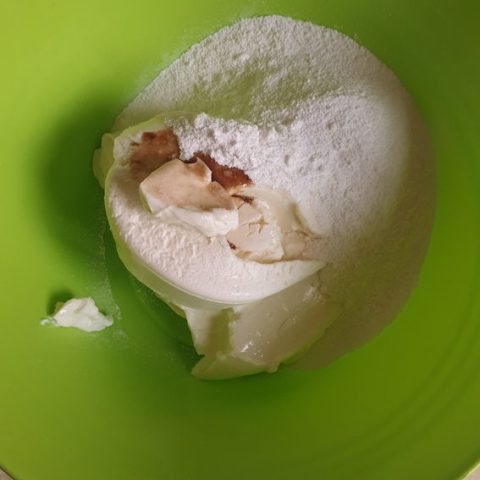
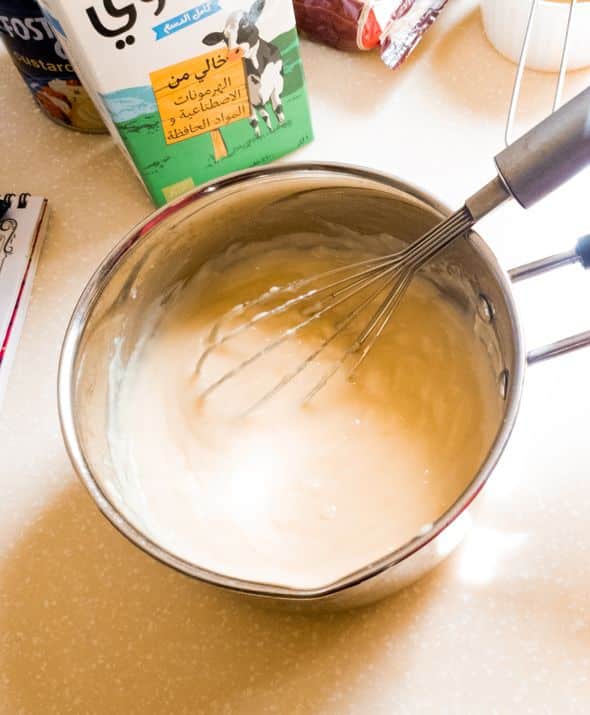
I add in a little sour cream, cream cheese, castor sugar and vanilla essence all in one bowl and whisk them all together for 2 mins. Then I set this aside.
In another bowl I whip up my double cream to give me soft peaks. Now since this dessert uses gelatin, you can get away with slightly runnier cream as well. You dessert will still set.
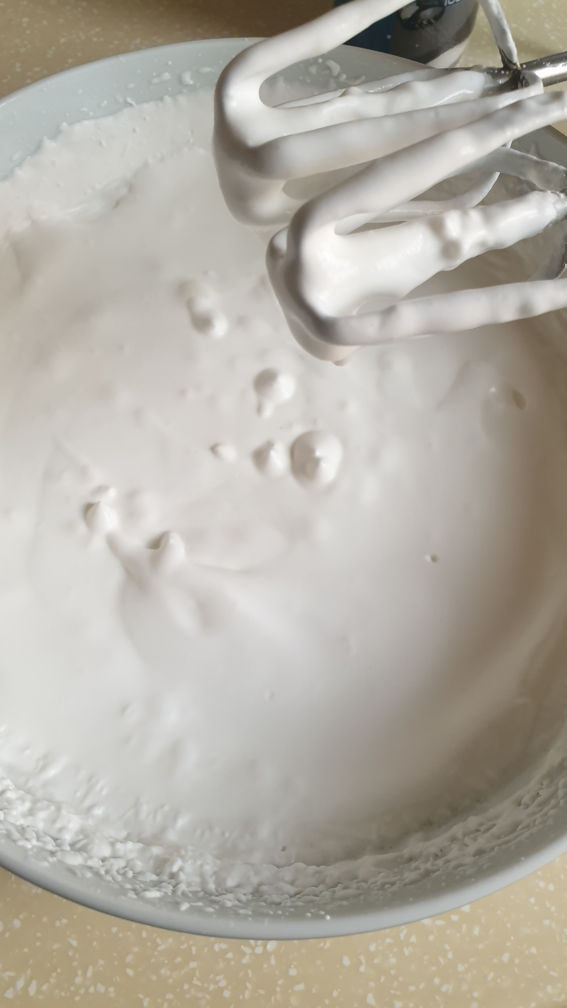
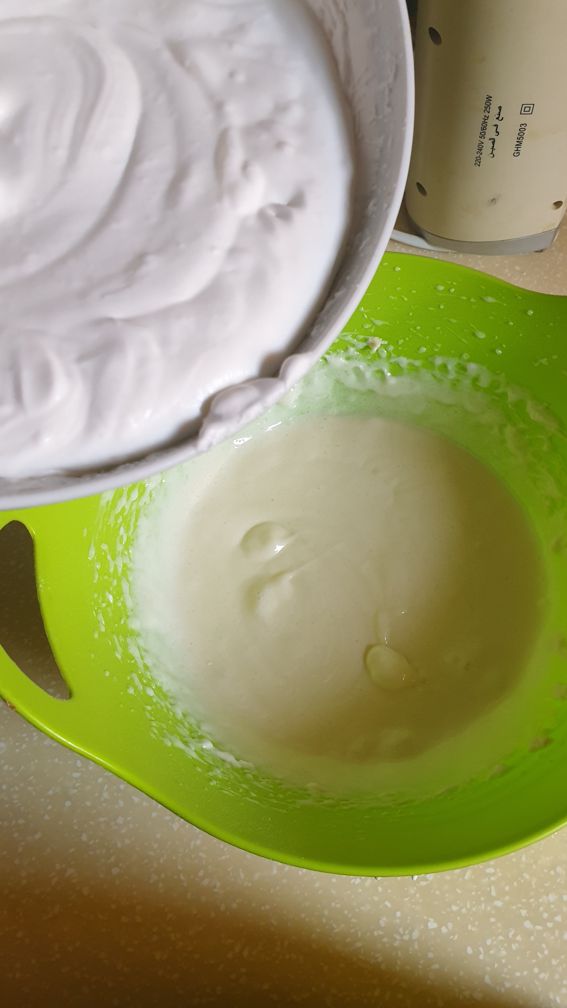
Once your cream is whipped and stiff, add it to the cream cheese mixture and lightly fold it in.
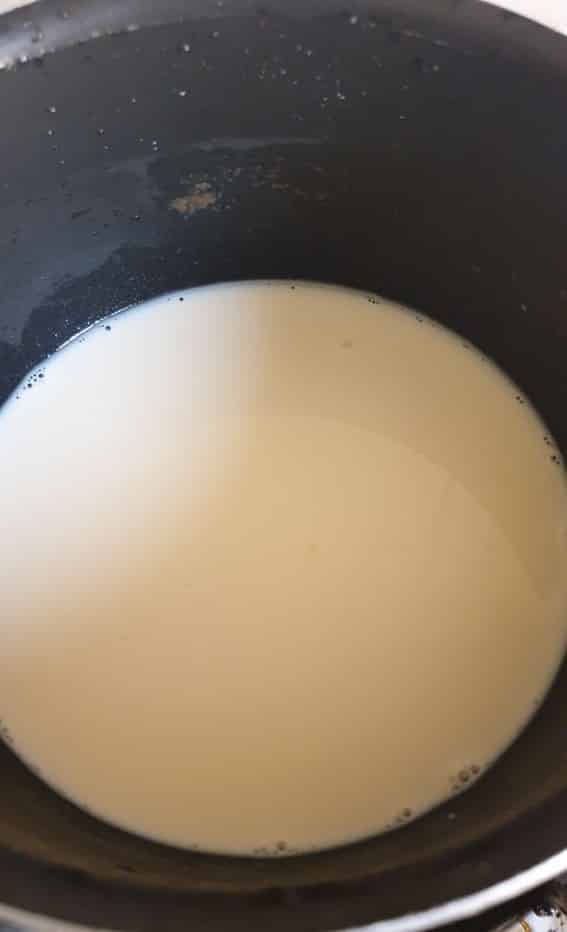
On the side you need to bloom the gelatin. This is simply done by adding a little bit of luke warm water in gelatin powder and letting it sit for 5 mins.
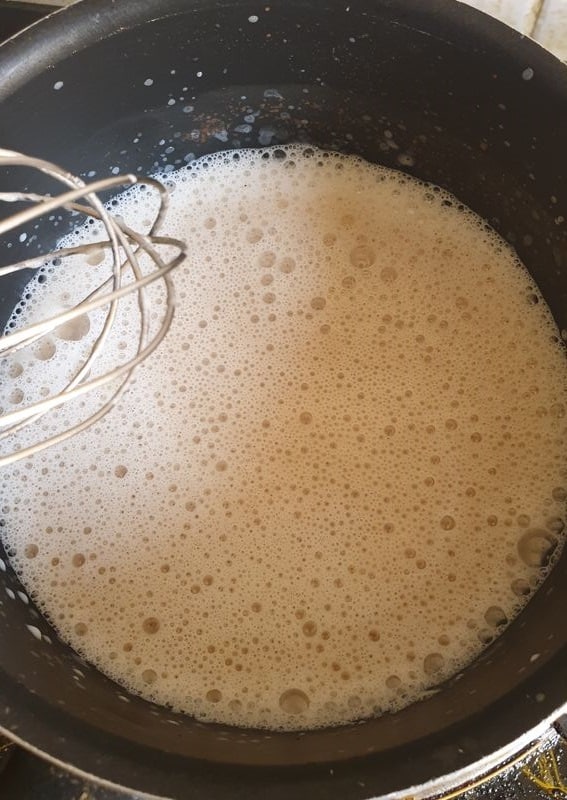
Add the bloomed gelatin to the cream mix, all the while constantly stirring with a whisk from the other hand.
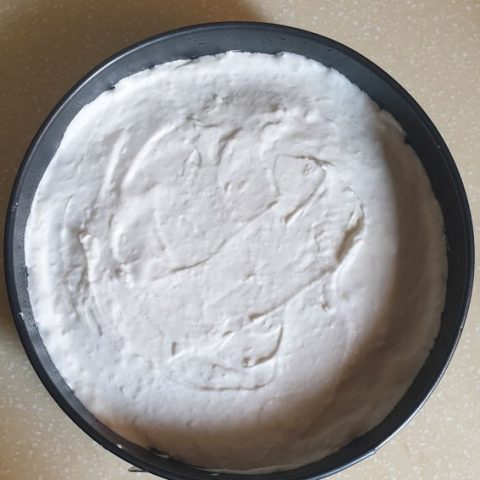
Now quickly pour all the mixture into your spring-form pan and keep in the fridge to refrigerate. 10 hrs of refrigeration time is minimum for the gelatin to set completely, and ideally letting is set in the fridge overnight is even better
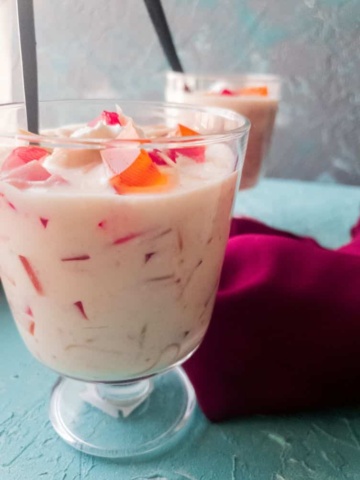
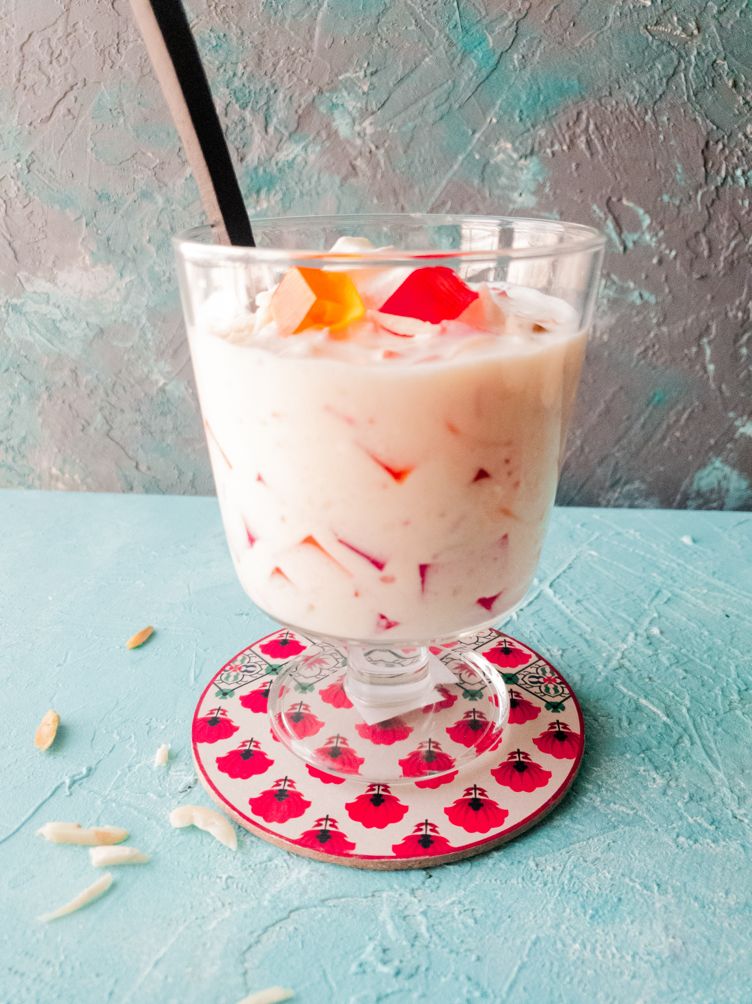
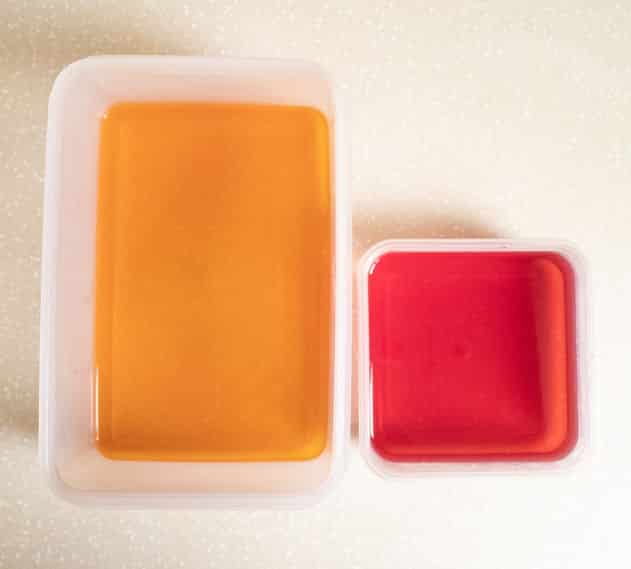
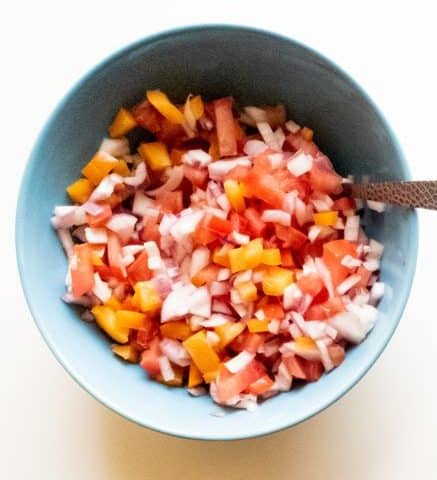
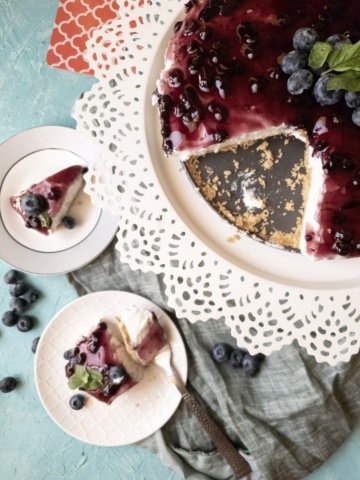
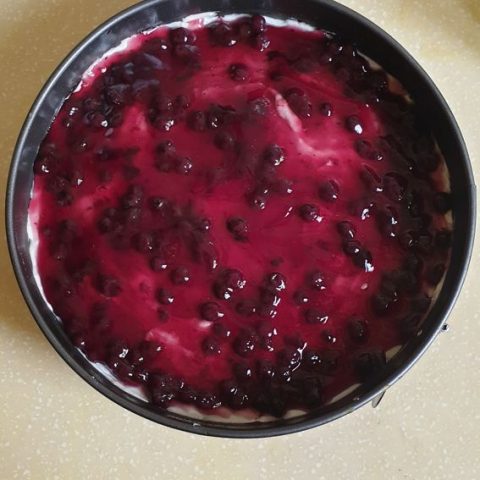
After you’ve left the cheesecake to chill overnight, take it out and top it off with any topping you like. I went with a blueberry topping/filling from Americana, hence this was called a Blueberry cheesecake.
Tips to get the perfect sides of the no bake cheesecake:
- Greasing the sides of the pan (that you’ve done already)
- Let the cheesecake sit on the counter for 10 mins after removing from the fridge and then run a hot towel around all the sides of the pan. This will melt the outer layer of the cheesecake and detach it from the pan and will make removal that much easier.
- Alternatively, you can also use a parchment paper all around the width of the pan to ensure smooth edges.
Alternates, fixes and Remixes
- Substitute sour cream – You can use lemon juice instead
- Cream cheese – Since this dessert uses gelatin for setting, you can use any cream cheese you can get your hands on. The cream cheese spread, or the block one both can be used.
- If you feel like your dessert hasn’t set, let it sit in the fridge for a few more hours (although this is highly unlikely)
- If you have any questions regarding gelatin, here’s an awesome post I found covering all the basics of using gelatin
More No-bake Desserts on the blog

No bake blue berry cheesecake
Ingredients
For biscuit base
- 17 whole Digestive biscuits or Graham Crackers 270 gm
- 2 tbsp brown sugar
- 1/3 cup melted butter
For the Filling
- 500 ml heavy whipping cream chilled
- 400 ml Philadelphia cream cheese
- 1 cup castor sugar
- 2 tbsp sour cream or 1 tbsp lemon juice
- 1 pinch salt
- 3 drops vanilla essence
- 2 tsp gelatin leveled
- 1/4 cup water
Instructions
- Biscuit Base
- Spray a 9 inch springform pan with cooking spray
- In a food processor, add biscuits, brown sugar, and melted butter and process it till the biscuits are finely ground.
- Dump the biscuit crumbs into the baking pan and press it down evenly (use the flat end of a glass)
Filling- Beat cream with an electric beater in a bowl until soft peaks form.
- In another bowl beat cream cheese, sugar, vanilla essence and sour cream together for a good 2 to 3 mins with an electric beater
- Add beaten cream to the cream cheese mix and fold the creams in with a spatula.
- In a small cup, add gelatin powder and boiling hot water and mix well so that all the gelatin granules are wet. Let the gelatin sit and bloom for 3 to 4 mins. When gelatin forms a smooth honey like consistency, we are ready to add it to the cream cheese filling.
- With one hand, start whisking the cream with a hand whisk and pour in the gelatin in thin stream from the other. Mix the cream well and work quickly. Transfer the filling into the prepared pan and use an angled spatula to even out the top.
- Refrigerate the dessert for at least 10 hours or overnight. Top it off with any fruit filling of your choice and serve.