• Facebook
  • Whatsapp
  • Threads
  • Messenger
  • Skip to primary navigation
  • Skip to main content
  • Skip to primary sidebar
  • Summer Recipes
  • Recipe Index
  • Dr. Who?
  • Contact

Butter Over Bae logo

menu icon
go to homepage
  • Summer Recipes
  • Recipe Index
  • Dr. Who?
  • Contact
    • Facebook
    • Instagram
    • Pinterest
    • TikTok
    • Twitter
  • search icon
    Homepage link
    • Summer Recipes
    • Recipe Index
    • Dr. Who?
    • Contact
    • Facebook
    • Instagram
    • Pinterest
    • TikTok
    • Twitter
  • ×
    Home » Desserts

    Published: Jan 12, 2020 · Modified: Nov 20, 2022 by Wajiha · This post may contain affiliate links ·

    No bake chocolate and Peanut butter bars

    Jump to Recipe Print Recipe

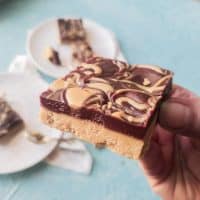
    Non-peanut butter lovers look away now please, because these no-bake chocolate peanut butter bars are alllllll ’bout that butter!

    After my fascination with no-bake cheese cakes, and blonde brownies, these have made a permanent home in my heart! These bars are made with a smooth and silky chocolate layer over a thick and equally smooth peanut butter crumb layer. And both of them together just take you to that “ummmmmm aaaaaaa” zone, where you can forget all the worries of the world

    I usually write long and lengthy posts explaining to you how everything works and how to fix problems that you might run into but these Chocolate and Peanut butter bars are soooooo forgiving that even if you get something wrong, they will still set and still taste amazing!!! (provided that you are a peanut butter fan of course)

    2 small plates with 2 pieces of chocolate peanut butters bars each and a spoon in each plate. A baking tray containing remaning chocolate peanut butter bar shows from the top left corner. everything is place on a blue background

    Quick steps to make these delicious bars

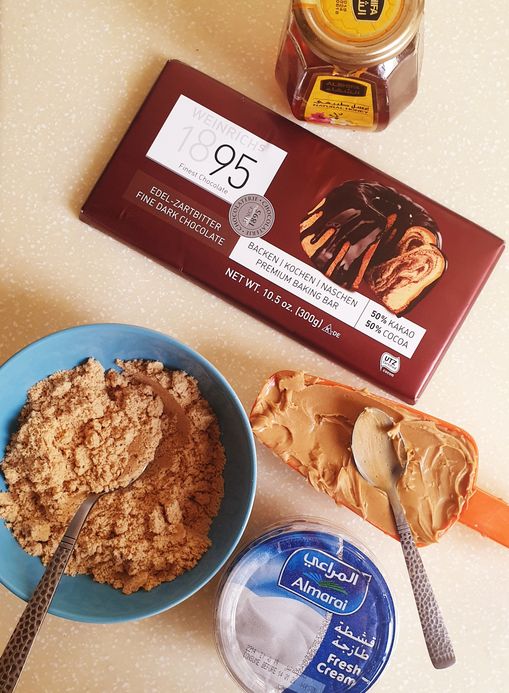
    So you literally only need 5 ingredients to pull these bars off! There’s obviously chocolate and peanut butter. Then there is cream and biscuit crumb for texture, and honey for sweetener.

    top view of all the ingredients needed to make the bars

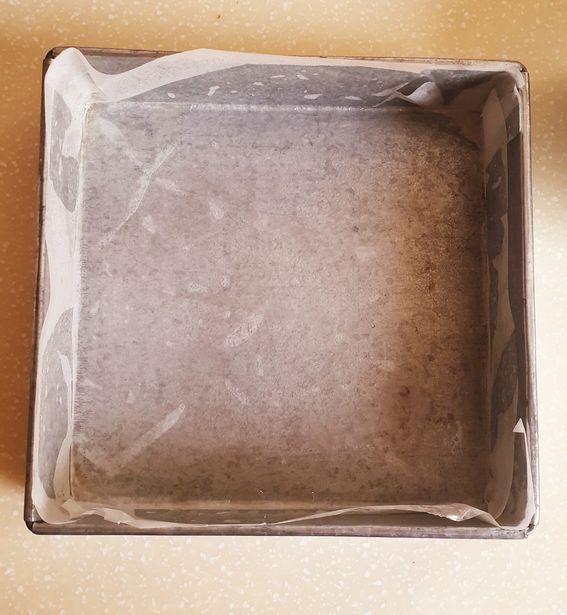
    You will also need a 9 by 9 inch pan to set your bars in. I prefer lining the pan with parchment paper so that I can remove the bars easily later.

    a square baking pan lined with a parchment paper (top view)

    Peanut butter layer of the bar

    For the peanut butter layer I used sweetened commercially produced smooth peanut butter. I feel like this bar is super decadent and smooth so chunky peanut butter is a no-go for me. But if you like a little crunch in your bars, go ahead with the chunk.

    top view of an orange measuring cup with peanut butter filled to the top
    Peanut butter

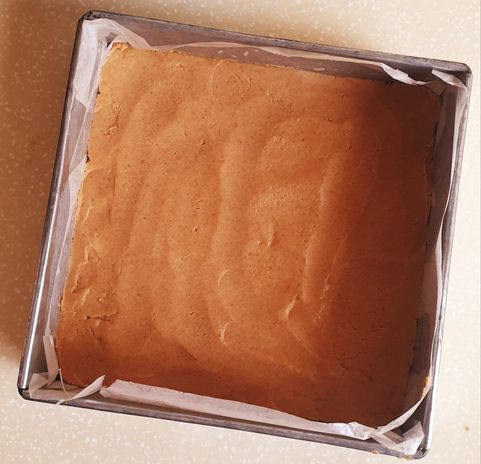
    Heat up the peanut butter in the microwave to get it in a more liquid-y state. And on the other side use a food processor to crush all the digestive biscuit into crumbs. For this layer I used peanut butter, cream, sugar and biscuit. You can skip the sugar if you want. I mixed everything together and tossed them on to the baking pan.

    Make sure you press the crumbs down nicely along the edges evenly.

    the biscuit layer all set in the square baking pan lined with parchment paper

    Chocolate layer of the bar

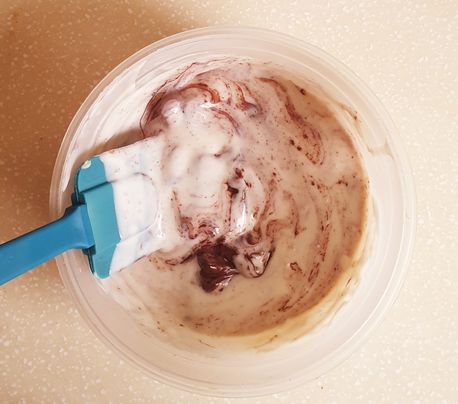
    I looooove how this recipe doesn’t need any stove use. Keep the cream and honey in the microwave for 30 secs and mix well. Keep it for another 30 secs and add in your chocolate. Mix your chocolate with a spatula. If it doesn’t mix well anymore, and the ganache seems to have cooled down, keep it in the micro for another 30 secs

    cream in a white plastic bowl with cup up chocolate cubes showing from the top right corner
    top view of a white plastic bowl. it has cream and chocolate in a half mixed state and a green spatula sticking out of it
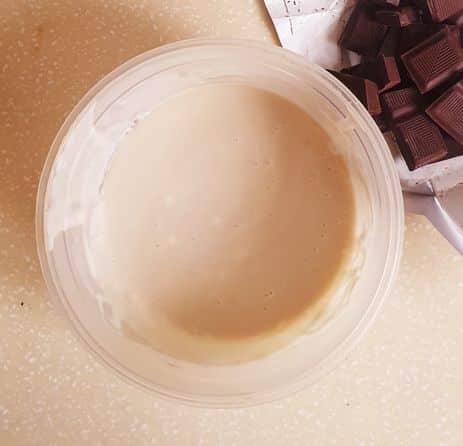
    IMPORTANT! Keeping your ganache or cream in the micro for longer than 30 sec increments may cause it to burn from the edges. So it’s important to only keep the ganache in the micro for 30 secs at a time.

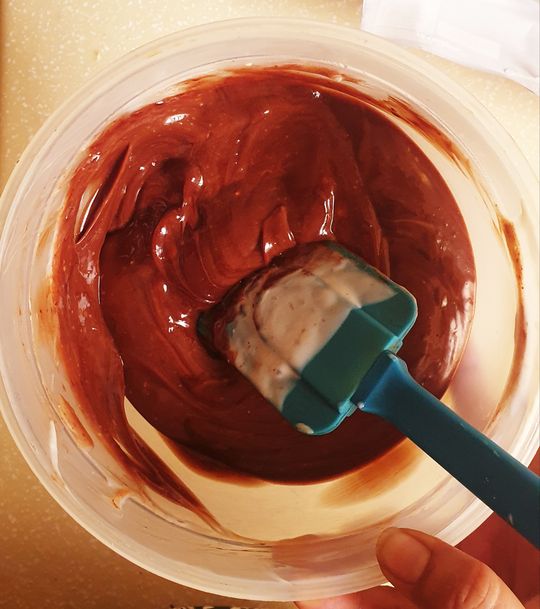
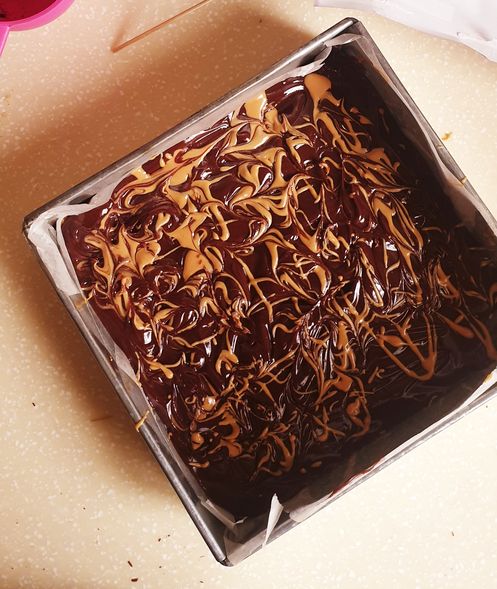
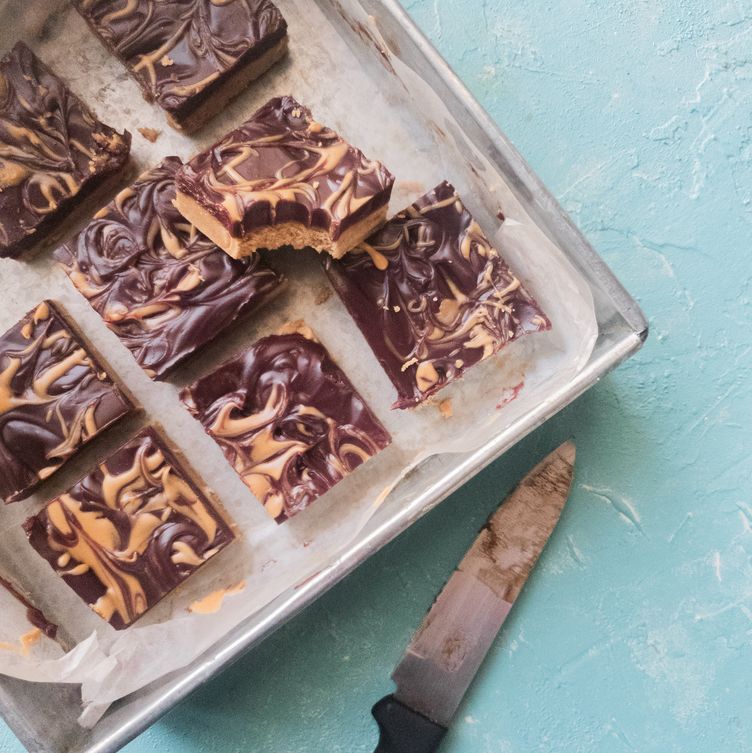
    Once you get a nice smooth mix, pour it onto the peanut butter layer, spreading it out evenly with your spatula. Now you can opt for a nice texture on the top or keep as is.

    a creamy chocolate ganache ready in a white plastic bowl for chocolate peanut butter bars

    I like to melt 1 tbsp of peanut butter in the microwave and drizzle it all over the chocolate in a random fashion. I then use a tooth pick to create a swirl-like pattern on top! Perfect picture!

    a top view of an un-set chocolate peanut butter bar dish in a square baking pan with peanut butter swirls on top.

    Setting time

    Refrigerate the bar after all the swirling action. The bar sets quite nicely within 2 hours in the fridge. You can also chuck in the freezer for 20 mins if you can’t wait for that long (wink wink).

    Tip: Use a hot knife to cut the bars to get clean smooth edges.
    a partial view of a square baking tray lined with parchment paper. It has a few chocolate peanut butters bars on it and one piece with a bite taken. there is a partial view of a knife that has been used to cut the bars. the background is light blue

    These bars can last for up to 2 weeks in the fridge and up-to 3 months in the freezer.

    More No-Bake deliciousness:

    • 4 scoops of chocolate ice cream
      Easy Home-made Chocolate Ice cream

    Do you have any questions? I’m happy to help! And of course, If you try this recipe, I’d loveeeee to see it or simply hear about it! Hit me up in the comment section below and I’ll get back to asap! Happy Cooking!

    Chocolate and peanut butter bar

    A no-bake quick setting bar, made with a layer of peanut butter and biscuits, and another layer of chocolate and cream, which is soft, decadent and a non-guilty dessert option
    4.45 from 9 votes
    Print Pin
    Course: Desserts, Snack
    Cuisine: International
    Prep Time: 20 minutes minutes
    Cook Time: 2 hours hours
    Total Time: 2 hours hours 20 minutes minutes
    Servings: 25 bar
    Calories: 259kcal
    Author: Wajiha

    Ingredients

    Peanut butter layer

    • 1 cup of creamy peanut butter
    • 14 digestive biscuits or 2 cups of biscuit crumb
    • 2 tbsp cream
    • 1 pinch salt
    • 2 tbsp brown sugar

    Chocolate Ganache Layer

    • 150 gm Cooking chocolate with 50% or above cocoa
    • 200 gm cream fresh or tin or tetrapak
    • 2 tbsp of honey
    • 1 pinch salt

    Optional

    • 1 tsp instant ground coffee mixed in 1 tsp of water.
    • 1 tsp peanut butter for decor
    • A handful of chopped peanuts

    Instructions

    • Peanut butter layer
    • Line a parchment paper on a 9 by 9 inch square tray and spray some oil or butter on it.
    • Process digestive biscuits in a food processor to make crumbs
    • In a bowl, add peanut butter and heat it in the microwave for 60 secs or until liquid-ish in consistency.
    • Add biscuit crumb in the peanut butter along with a pinch of salt, cream and some brown sugar to from a uniform mix.
    • Drop the peanut biscuit mix into the prepared tray and use the back of the spoon to level it out. Set aside.
    • In a bowl, add cream and honey, and microwave for 30 secs.
    • Mix the honey and cream together and keep in the microwave again for another 30 secs.
    • Add in chocolate and use a spatula to fold the chocolate in the cream as it melts. You can heat this mix for another 30 secs if all the chocolate hasn’t melted yet.
    • Add in the coffee mix along with some salt in the chocolate (optional step)
    • Layer the chocolate ganache on top of the peanut crumb layer and spread around the tray evenly.
    • In a small bowl, heat 1 tsp of peanut butter for 30 secs in the microwave and drizzle all over the chocolate unevenly. Use a toothpick to create a random swirly pattern of chocolate and peanut butter.
    • Refrigerate for at least 2 hours.

    Nutrition

    Serving: 1barCalories: 259kcalCarbohydrates: 24gProtein: 5gFat: 17gSaturated Fat: 6gPolyunsaturated Fat: 9gCholesterol: 13mgSodium: 208mgFiber: 2gSugar: 11g
    Can’t wait to see your remakes! Tag meon IG with your pictures @butteroverbae
    « Mix Papri Chana chaat
    Lotus Biscoff Cake »

    Reader Interactions

    Comments

    1. Mariam Sodawater says

      February 21, 2020 at 4:30 am

      Omg! These look delish and i’m such a peanut butter fan. So detailed photos and steps. Just love these goodies.

      Reply
      • Wajiha says

        February 23, 2020 at 6:00 am

        Thankyou Mariam! I am sooo glad you like it! 🙂

        Reply
    2. Suman says

      January 20, 2020 at 6:33 am

      Lovee itttt.. shall try soon

      Reply
      • Wajiha says

        January 20, 2020 at 9:17 am

        go ahead!! 🙂

        Reply
    4.45 from 9 votes (9 ratings without comment)

    Questions? Thoughts? Leave them below Cancel reply

    Your email address will not be published. Required fields are marked *

    Recipe Rating


    Primary Sidebar

    Hey there! I am Wajiha, the blogger and cook behind Butter over Bae.
    My friends had an intervention for me, to stop me from spamming them with all my kitchen experiments and food pictures. But, instead, I made this! And now I put up my food spam for the world!

    My blog is literally all my food obsessions in one: Pakistani/Indian food, Pan-Asian recipes, and desserts! I’d loveeeee to show you around and tell you more. Grab a cup guys and click below

    Who this lady? →

    Summer Favorites

    • pineapple coconut ice cream scoops in a bowl
      Dairy free No churn Pineapple coconut ice cream
    • dripping rose syrup on malai kulfi icecream bar.
      Easy Malai Kulfi Ice Cream With Condensed Milk
    • 4 scoops of chocolate ice cream
      Easy Home-made Chocolate Ice cream
    • tangy savory lentil oats
      Low-carb Tangy Savory Oatmeal and Lentil bowl
    • a glass of orange hued lemon iced tea with slices of lemon and ice cubes visible in the glass
      Ginger Lemon Iced Tea
    • grilled bihari chicken tikka on a tray.
      Bihari Chicken Tikka

    Popular Recipes

    • paper towel with lots of crispy golden brown onion slices on it against a grey background
      How to make crispy fried onions and store them
    • Qeema macaroni
      Keema macaroni
    • Lahori Chargha Recipe
    • khageena or spicy scrambled eggs in a pan
      Khageena – Pakistani spicy scrambled eggs
    • 2 chicken tikka pieces sitting on a bed of rice in a black plate
      Easy Chicken Tikka Recipe
    • a plate of chicken pieces and colored rice with some onion and cucumber sliced on the side
      Pakistani chicken biryani, Karachi special

    Footer

    ↑ back to top

    Privacy Policy
    Terms & Conditions

    Contact

    • Instagram
    • Facebook
    • TikTok
    • Pinterest

    All images and content are copyright-protected. Please do not use my images or recipes without prior permission.

    Copyright © 2025 Butter Over Bae

    Rate This Recipe

    Your vote:


    A rating is required
    A name is required
    An email is required

    Recipe Ratings without Comment

    Something went wrong. Please try again.