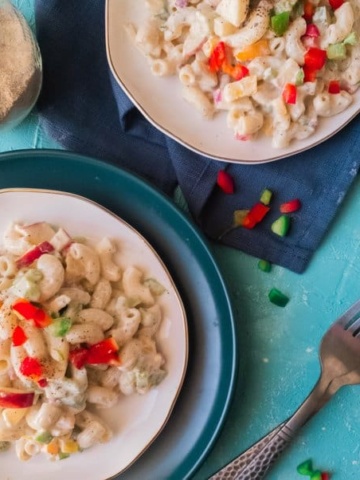
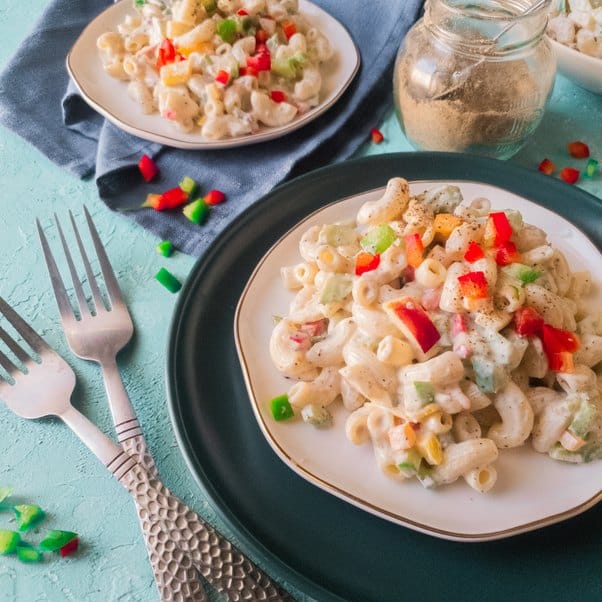
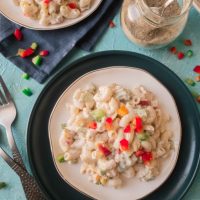
An easy sweet and creamy pasta salad recipe is ALL you need to make your party menu go from average to Wow! This deliiiiicious pasta salad comes together using fresh bell peppers, apples, and corns tossed with some good old fashion macaroni in a sweet and tangy dressing, ready in less than 20 mins!
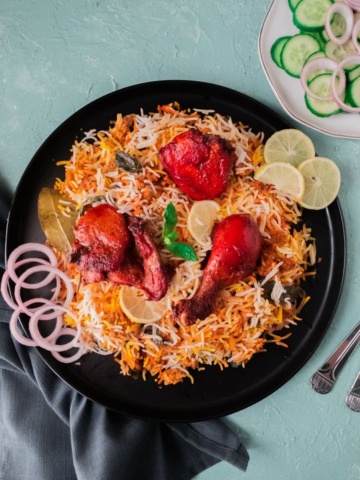
I usually think of this macaroni salad as a side to most of my elaborate dinner parties (its crazy how well this complements Biryani btw!) but sometimes they can be a side for dinner too! Here’s some quick Protein options you can pair this pasta salad with:
Whatever you decide to pair it with, its going to be a hit! Oh and btw, if you are specifically looking for a sweet tangy salad recipe, this Cashew salad is also a perfect option for that.
How long can it last in the fridge?
- This recipe has sugar and vinegar both, which act as preservatives. So even though, this salad has apples and fresh bell peppers in it, you can easily keep in it in the fridge for about 4 days and consume it within that time, without it going bad, or your apples turning brown.
- You can also freeze any left over salad dressing to use later.
Simple Steps to make this Creamy Pasta Salad
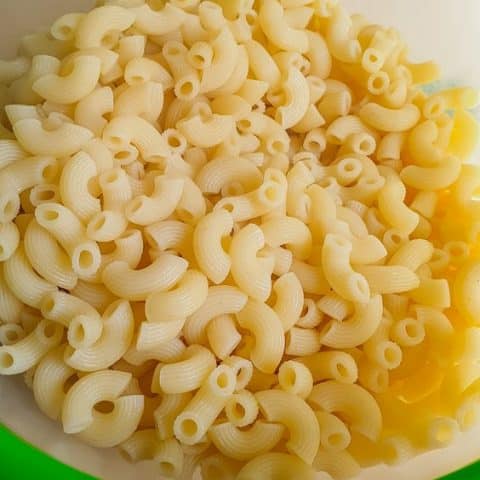
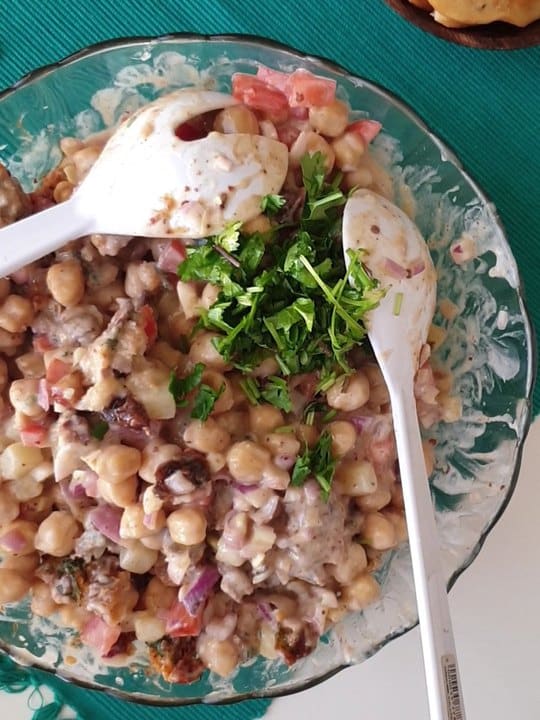
So I used the smaller macaronis for this recipe just because it looks pretty with the finely cut veggies with it. You can of course use the bigger ones if you have those, or the sea-shells one
We are going to start by boiling our pasta in hot water with a little bit of salt. This pasta is not going to be cooked later on, so you wanna make sure that you have a fully cooked pasta when you are done boiling it (rather than the regular al-dente pasta)
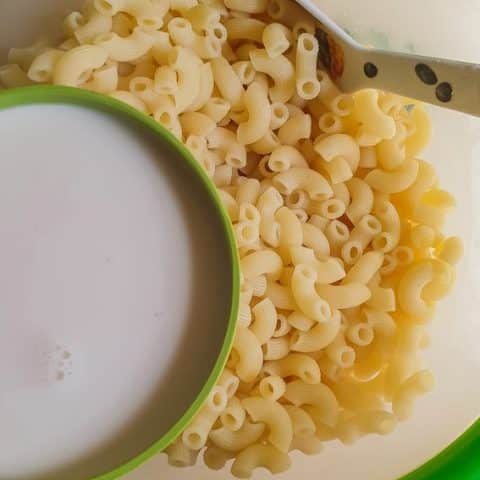
We don’t need the pasta water for this recipe either, so you can strain all the pasta water and wash the pasta in cold water. Also, all pastas absorb water/sauce as they cool down. Here’s a little tip that I like to follow for pasta salad.
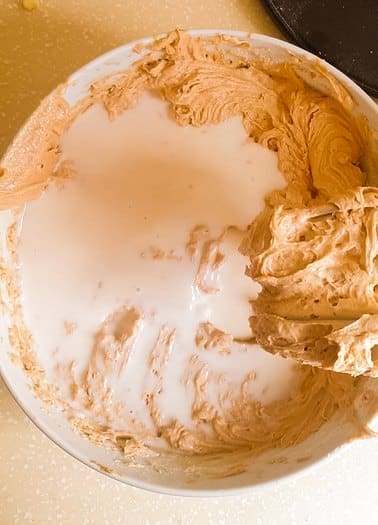
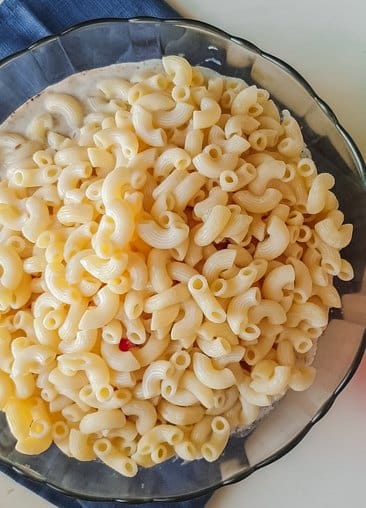
TIP: Add a cup of chilled milk to the pasta, toss it around and keep in the fridge. This way, the pasta expands a little in the fridge, absorbs the milk and doesn’t absorb the dressing later on.
If you want to have it right away, keep the pasta in the freezer while you prepare the veggies and dressing. Or if you are going to consume it later in the day or the next day, you can easily leave it in the fridge. Let it chill in the fridge, while we prep our veggies.
TIP: If you are preparing this pasta salad for an event your hosting, you can easily prepare this a day in advance.
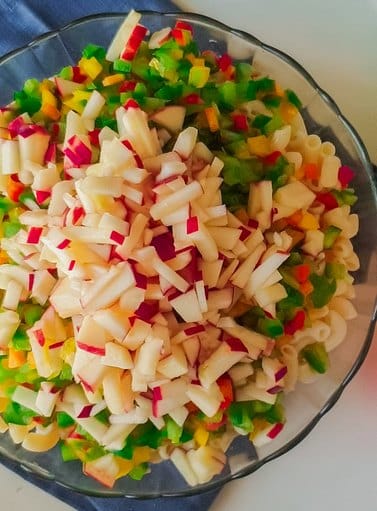
The vegetables
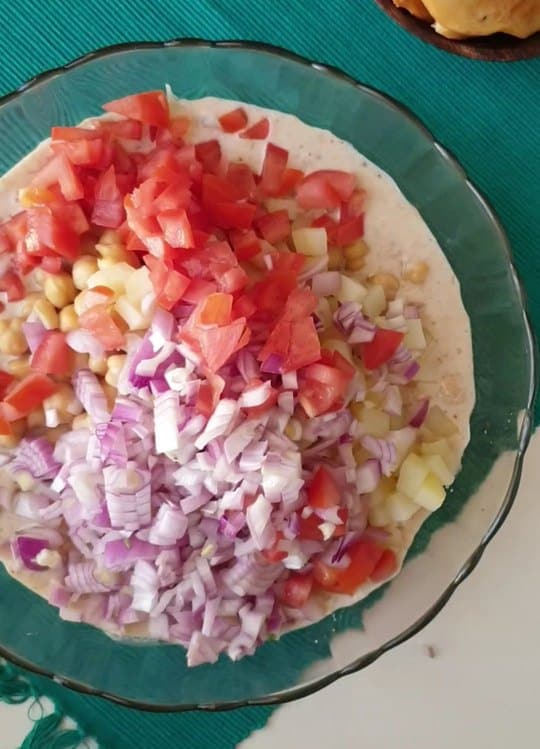
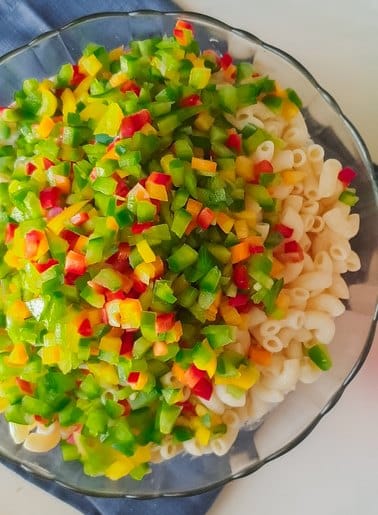
The veggie selection for this pasta has been made to compliment the dressing. I used green, red and yellow bell peppers, apple and corn. Yellow bell peppers are sweet, so they, along with apples add a really nice sweet crunch to the pasta. Green bell peppers and corns are neutral and add that color and crunch to the dish. Didn’t have any corn on me when I made this, but dudeee its goes soo well with this recipe! You can ofcourse experiment and add any other veggies that you’d like to.
The salad dressing
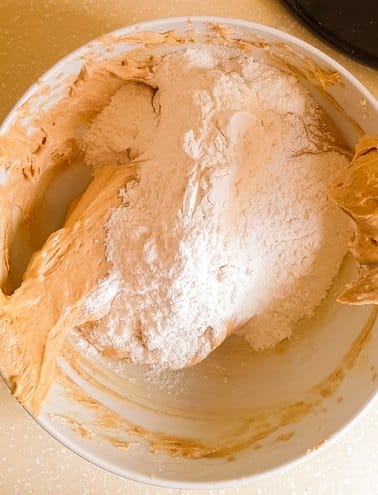
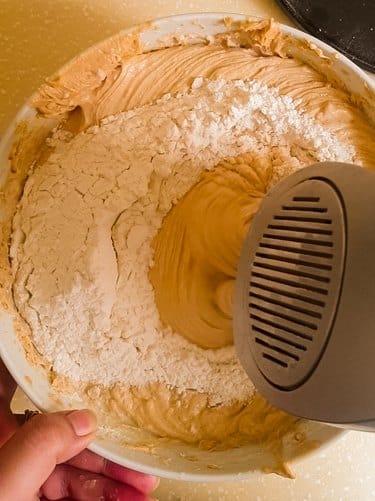
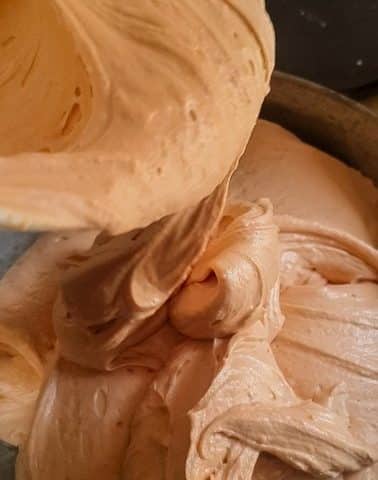
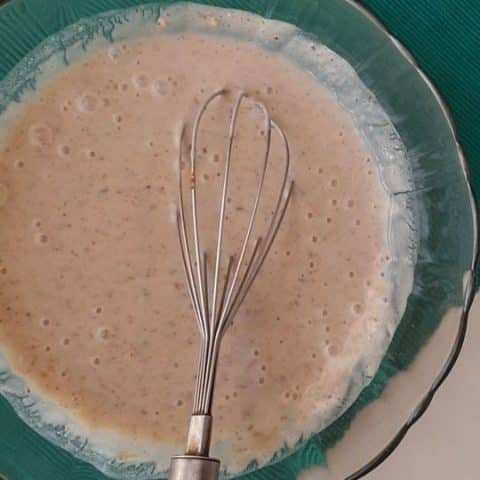
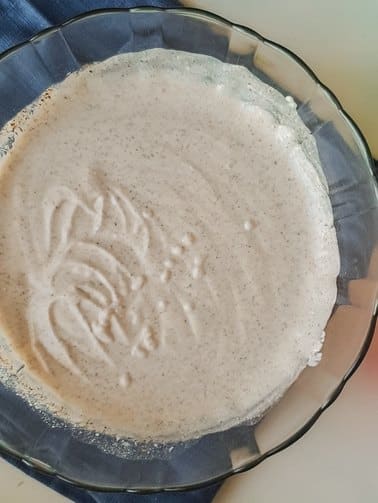
The first time I made this salad, it had lots of mayo, and basically nothing else. But over the years, I started swapping yogurt and cream for the majority of the mayo and it tastes EXACTLY the same! So I have stuck by it! Add all the dressing ingredients in a bowl and mix with a whisk. You can adjust your seasoning later as well.
Next, simply dump in all the salad ingredients in the dressing. Macaroni, chopped bell peppers and apple. Mix it well and viola! its ready!
Alternatively, you can also mix all the pasta salad ingredients in another bowl and add the salad dressing later. This will give you more control over how much dressing you want.
Fix your seasoning now and ideally, let it chill in the fridge for half an hour before serving. (or you know…ignore what I said and dig right in.)
Alternates, fixes and remixes
Healthier Substitutions
- If you don’t want to use mayo or cream, simply swap them for more yogurt.
- You can substitute sugar with honey.
- You can also use whole wheat pasta instead of regular ones.
- Go for nut milks in place of regular milk.
Fixes and Remixes of the Pasta salad
- If your pasta dries out the next day, add a little bit of milk to bring it back to a creamier consistency.
- Add more vinegar to make it more tart.
- Go with your gut and add veggies that you think you’d like in this recipe. Ice berg lettuce, peas and carrots would work really well with this pasta.
- Make it spicier by adding crushed red chili or hot sauce in the mix.
- Add shredded chicken to add a bit of protein in the mix.
- Grill a piece of chicken or beef and serve as a full meal.
- Mix all the salad ingredients and reserve the salad dressing to drizzle on top of the pasta to control the level of dressing you want.
Sweet & Creamy Pasta Salad Recipe
Creamy pasta salad
Ingredients
Dressing
- 1 cup yogurt
- 1/2 cup fresh cream
- 1/4 cup mayonnaise
- 1 tsp salt
- 1 tbsp black pepper
- 3 tbsp vinegar
- 3 tbsp sugar
Salad
- 2 cups uncooked macaroni small
- 1 cup milk
- 2 cup of finely chopped bell-pepper ideally a mix of yellow and green
- 1 apple finely chopped
- 1/2 cup corn optional
Instructions
- Boil pasta according to packet instruction with a little salt. Cook pasta fully.
- Strain the pasta, wash with cold water and transfer into a bowl. Add a cup of cold milk to the pasta and cover. Leave in the fridge to chill for at least an hour.
- In a bowl, mix salt, sugar, black pepper, vinegar, cream, yogurt and mayo with a whisk.
- Toss in the apples, chilled pasta, bell peppers and corns.
- Mix well and adjust seasoning.
- Serve immediately or keep back in the fridge to serve later