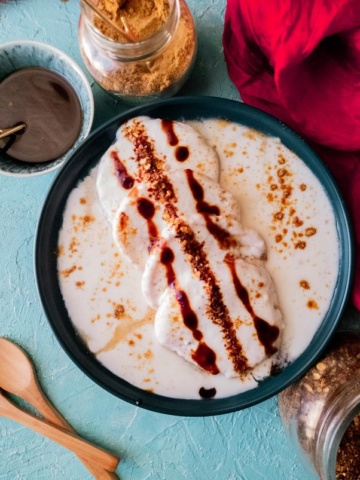
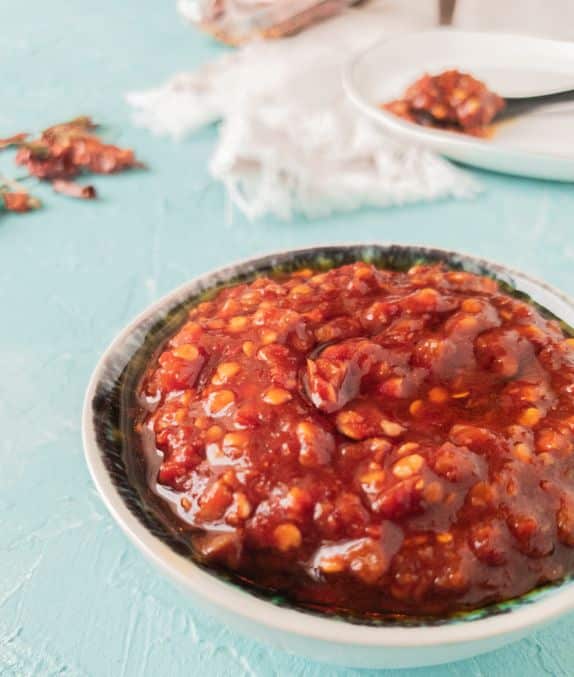
This Sooji (or Suji) ka halwa is a classic Pakistani/Indian dessert made with semolina. Suji ka halwa is famously eaten in brunches and is super easy to whip up. You only need 20 minutes and beginner-level skills! Bonus: It’s a one-pot dish!

What is Sooji ka Halwa?
Halwa means “sweet” in Arabic, and the same in South Asian culture. Halwas can be made from carrots, eggs, or nuts. Sooji ka halwa is made with fine semolina. There is more than one type of halwa that can be made with Sooji. There are Sooji bars and caramelized Sooji halwa. This halwa recipe is of the dhaba-style halwa that is commonly eaten in desi brunches.
Sooji ka halwa is a pet favorite in every brown household and one of the easiest Pakistani desserts to master. Ironically, we South Asians eat it for breakfast with puris (fried bread), aloo tarkari (potato curry) and chanay(chickpea curry). But of course, on occasions, we’d consume it as is, which is a dessert.
[feast_advanced_jump_to]Ingredients
You need very few ingredients to make this recipe
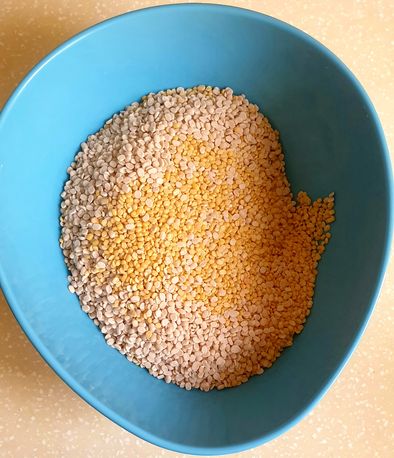
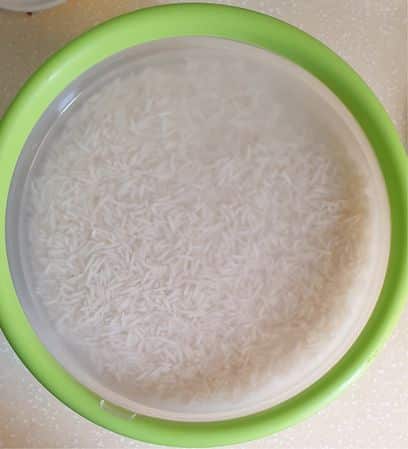
- Semolina
I use fine Semolina for Sooji ka halwa as a personal preference. Coarse semolina will taste pretty much the same, differing only in a more grainy texture that it will have. - Ghee
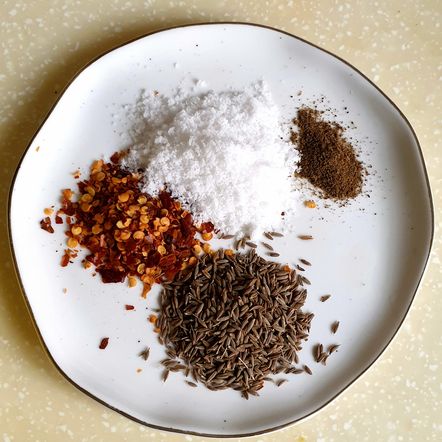
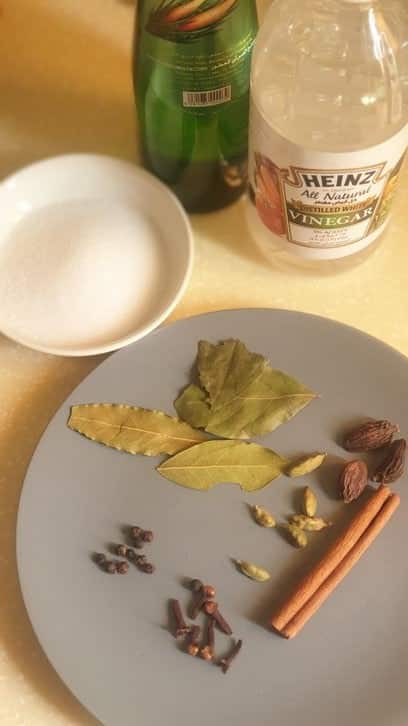
Ghee is the main fat used in all Pakistani halwas. You can use good quality butter if you don’t have ghee. - Cardamom pods – The green cardamom is the Western equivalent of Vanilla essence. You’ll find it in most of the desi desserts. It adds aroma and a subtle flavor characteristic of Pakistani/Indian food.
- Full-fat Milk powder – This secret ingredient at the end of the halwa makes all the difference between a good and an EXCELLENT halwa. It adds depth of flavor to the halwa without any excessive liquid. If you have none, use evaporated milk or heavy cream instead.
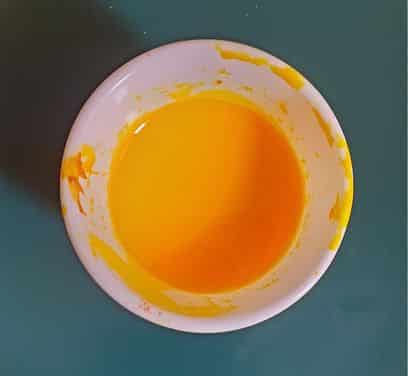
- Food color – The restaurant-style suji halwa has a characteristic amber-yellow color. I use regular powder food coloring (which I use for biryani) for this halwa. You can use bloomed saffron too, or skip coloring entirely if you like.
- Other aromatics (optional) – This recipe doesn’t need it but some people like adding rose water, or saffron to the halwa.
- Garnish – Nuts! Any halwa is incomplete without a good garnish on top. Chop or slice your favorite nuts, almonds, walnuts, pistachios, etc, or add in whole as well.
See the recipe card for full information on ingredients and quantities

How to make Suji ka halwa?
Traditionally, this halwa is made by preparing a sticky sugar syrup separately and roasting the semolina separately. But through trial and error, I realized, hey it can be wayyy simpler than that! Here it is, my one-pot Suji ka halwa.
I’ve put together all the steps in a simple pictorial for you to see how easy this is to make.

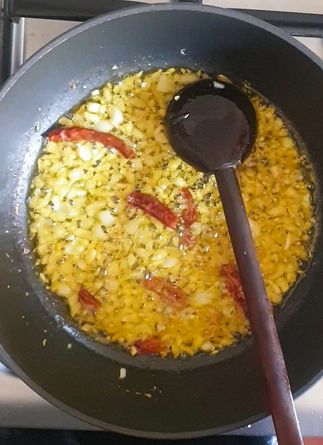
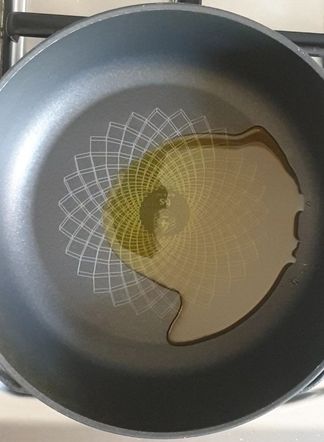
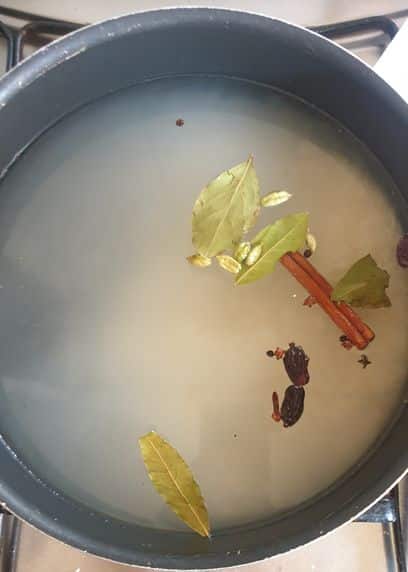
STEP 1: In a thick base cooking pot, add ghee and cardamom at medium heat.

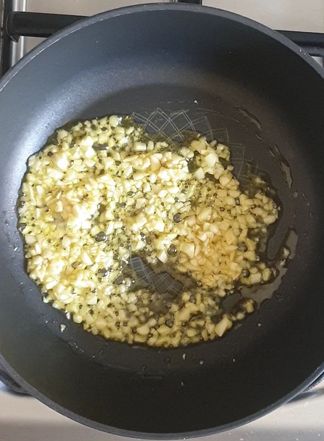
STEP 2: Reduce the heat to low and add semolina.

STEP 3: Roast the semolina till it absorbs all the ghee. Now saute for 5 mins making sure the semolina doesn’t burn.

STEP 4: Add 1/2 cup of water to the semolina and saute until fully absorbed.
NOTE: We don’t want semolina to change its color to brown (that gives you a different kind of Suji halwa). So avoid over-roasting for more than 5 minutes.

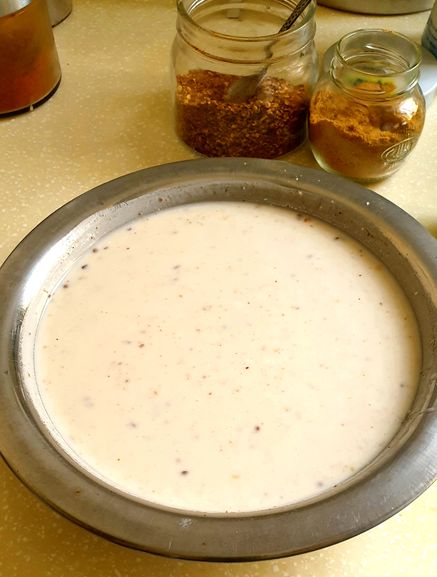
STEP 5: Add another cup of water, stir well to avoid clumps.

STEP 6: Let the semolina fully absorb the water and break any large clumps if you see any.

STEP 7: Add the remaining water.

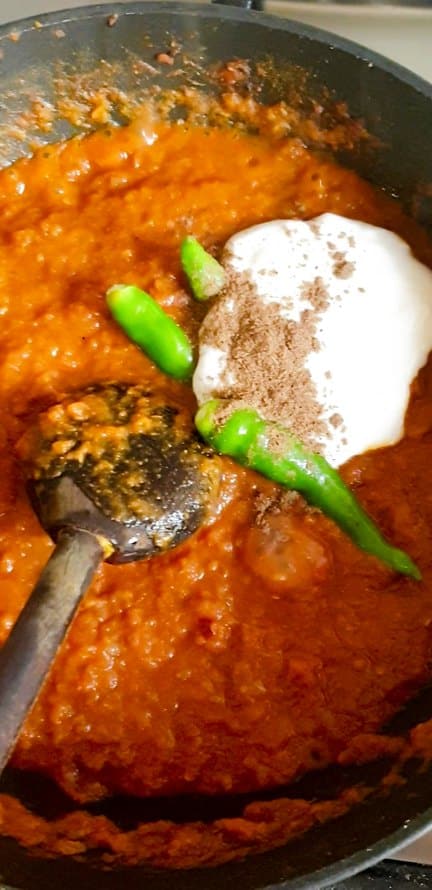
STEP 8: Add sugar.

STEP 9: Add orange food color.

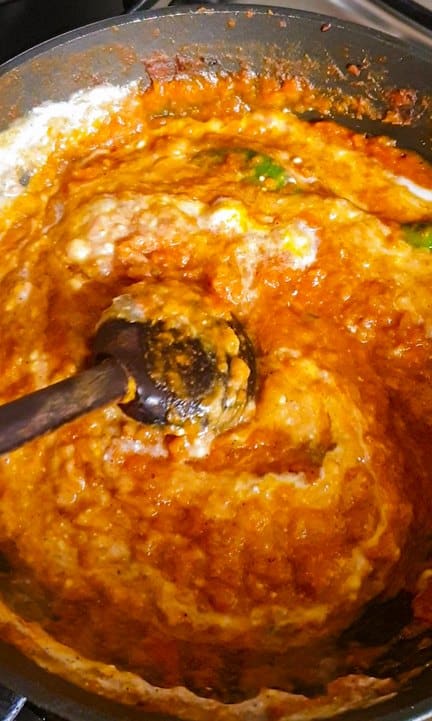
STEP 10: Stir to combine everything well.

STEP 11: Cover the pot and let it simmer at medium heat for 5 mins. Turn the heat to low and cook for another 5 mins.

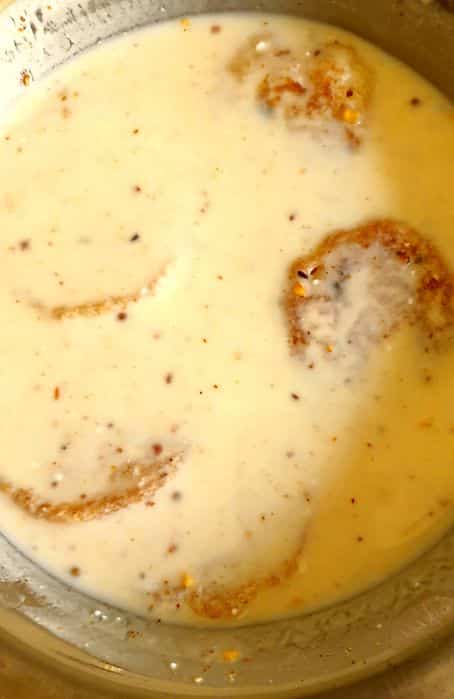
STEP 12: Uncover and stir the halwa around for about a minute.

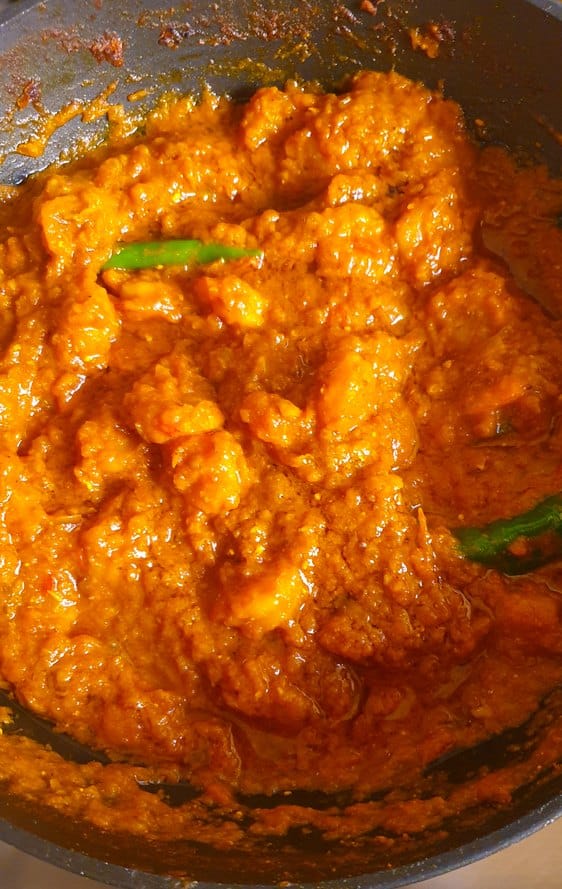
STEP 13: Add milk powder. Stir for another 2 minutes.

STEP 14: Turn off the heat, and sprinkle chopped pistachios, almonds, or walnuts.
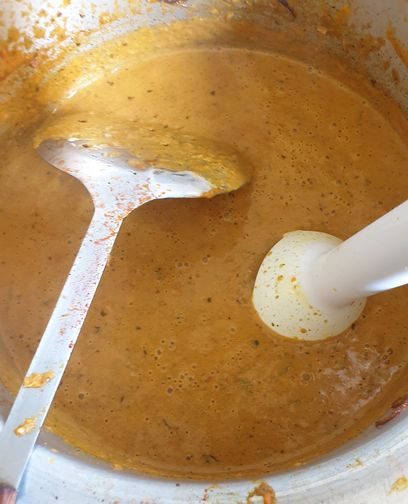
NOTE: When you stir your halwa at the end, you’ll notice that it leaves the sides of the pot and sticks together cohesively. That’s how you know your halwa is done.
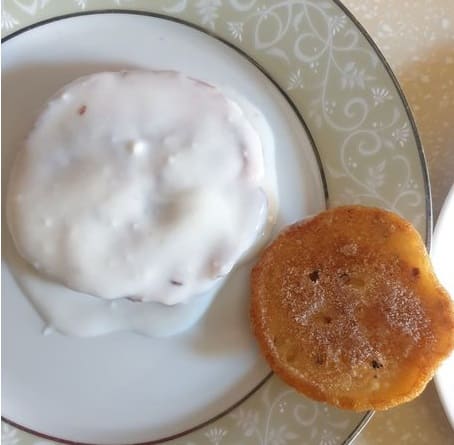
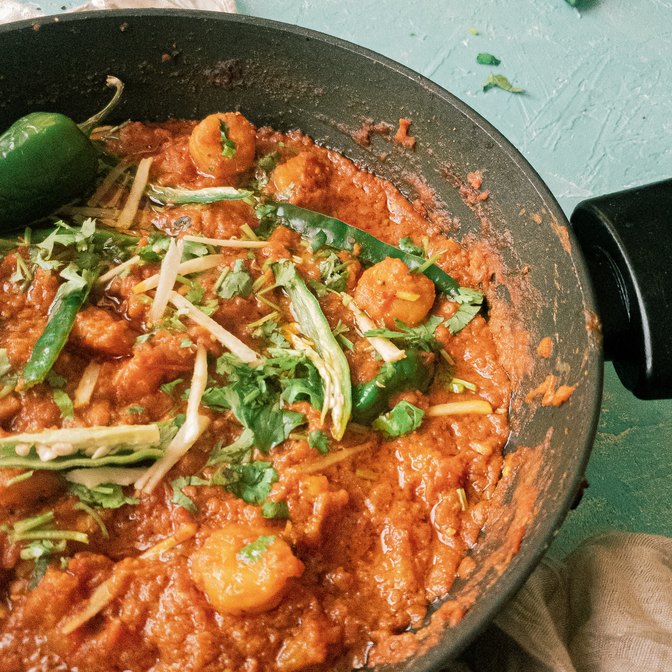
Serve your halwa warm. Top it off with almond shavings or pistachio crumbs and serve with either puri in breakfast or as a dessert.
Expert Tips
- This is a very forgiving Sooji halwa. If you do a taste test at the end, and you feel like its not as sweet as you like, simply add more sugar, and cook for another 3 minutes.
- You can also add more food color (if you are not happy) in the end by mixing color in a little bit of milk and drizzling it all over.
- Sooji halwa always thickens up as it cools down so if you feel your halwa is too runny, just wait it out. And avoid the urge to cook it down more. We also want the halwa to be a little runny to be eaten with puris.

Frequently Asked Questions
I posted this recipe on Instagram and tiktok first, which is great! because now I can put up questions here that I generally go with this recipe.
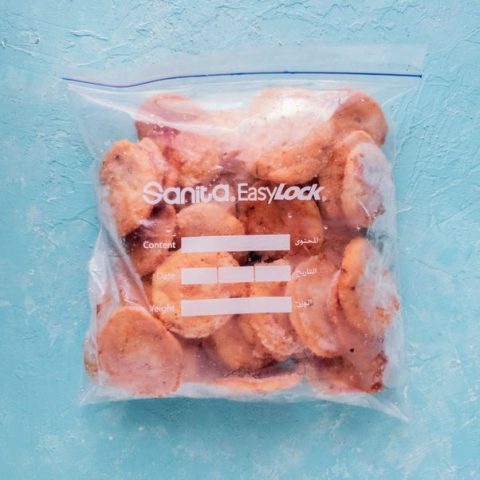
It can survive in the fridge for up to 4 days. It is also totally freezable. You can put it in a zip lock bag and freeze it for a month.
Yes! I prefer ghee, but oil won’t make a very big difference to the recipe tastewise.
Theoretically yes, but the amount of time it’ll take an instant pot and on the stove is going to be the same. It won’t give you much benefit in this recipe.
More Desi Desserts for you to try
I respect the time, ingredients, and effort you spend on cooking. On my part, I’ve tested and tried my recipe over 20 times before giving it to you, these dessert recipes are fool-proof.
Do you have any questions? I’m happy to help! And of course, If you try this recipe, I’d loveeeee to see it or simply hear about it! Hit me up in the comment section below and I’ll get back to asap! Happy Cooking!

sooji ka halwa
Ingredients
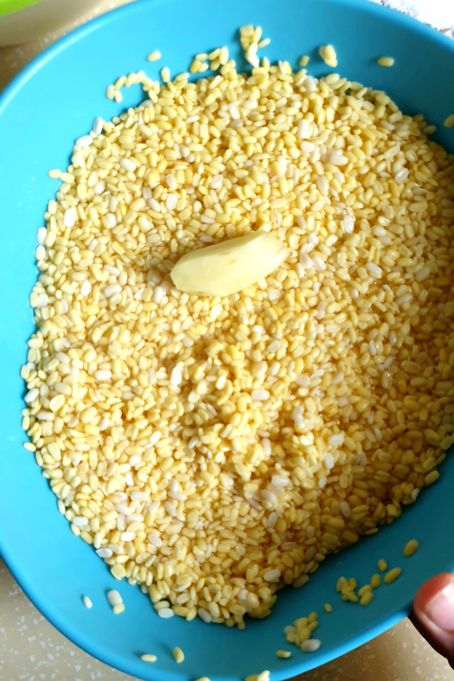
- 1 cup semolina sooji
- 1/2 cup ghee or clarified butter
- 4 to 5 whole green cardamom
- 4 1/2 cup water
- 1 1/2 cup white sugar or to taste
- 2 tbsp full fat milk powder
- yellow food color optional
Instructions
- In a thick base cooking pot, add ghee and cardamom. Keep at medium-low heat on the stove for 2 minutes.
- Reduce the heat to low and add semolina. Roast the semolina till it absorbs all the ghee. Now roast for 5 mins making sure the semolina doesn't burn or change color. If it starts to change color sooner than 5 mins, proceed to the next step immediately.
- Add 1/2 cup of water to the semolina and saute until fully absorbed.
- Add another cup of water, stir well to avoid clumps, and let the semolina fully absorb the water.
- Now add the remaining water, food color and sugar. Mix to combine everything well.
- Cover the pot and let it simmer at medium heat for 5 mins.
- Turn the heat to low and cook for another 5 mins.
- Stir the halwa around for about a minute and add milk powder. Stir for another 2 minutes.
- Turn off the heat, and sprinkle chopped pistachios, almonds, or walnuts.
- Suji halwa is served hot with breakfast or as dessert.
Notes
- Milk powder is the secret ingredient creating depth of flavor. If you have none, use evaporated milk or heavy cream instead.
- This recipe doesn’t need it but some people like adding rose water, or saffron to the halwa.
- We don’t want semolina to change its color to brown (that gives you a different kind of Suji halwa). So avoid over-roasting for more than 5 minutes.
- This is a very forgiving Sooji halwa. If you do a taste test at the end, and you feel like it’s not as sweet as you like, simply add more sugar, and cook for another 3 minutes.
- You can also add more food color (if you are not happy) in the end by mixing color in a little bit of milk and drizzling it all over.
- Sooji halwa always thickens up as it cools down so if you feel your halwa is too runny, just wait it out. And avoid the urge to cook it down more. We also want the halwa to be a little runny to be eaten with puris.
- This halwa stays fresh in the fridge for 3 to 4 days and reheats in the microwave very well.
- You can freeze the halwa for up to a month.