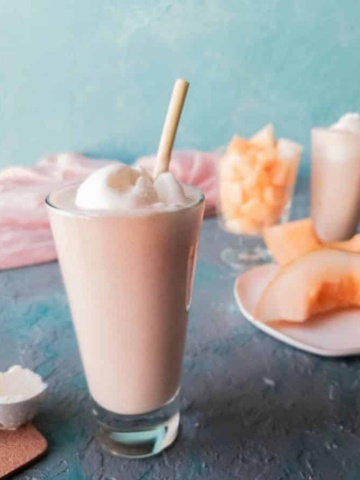
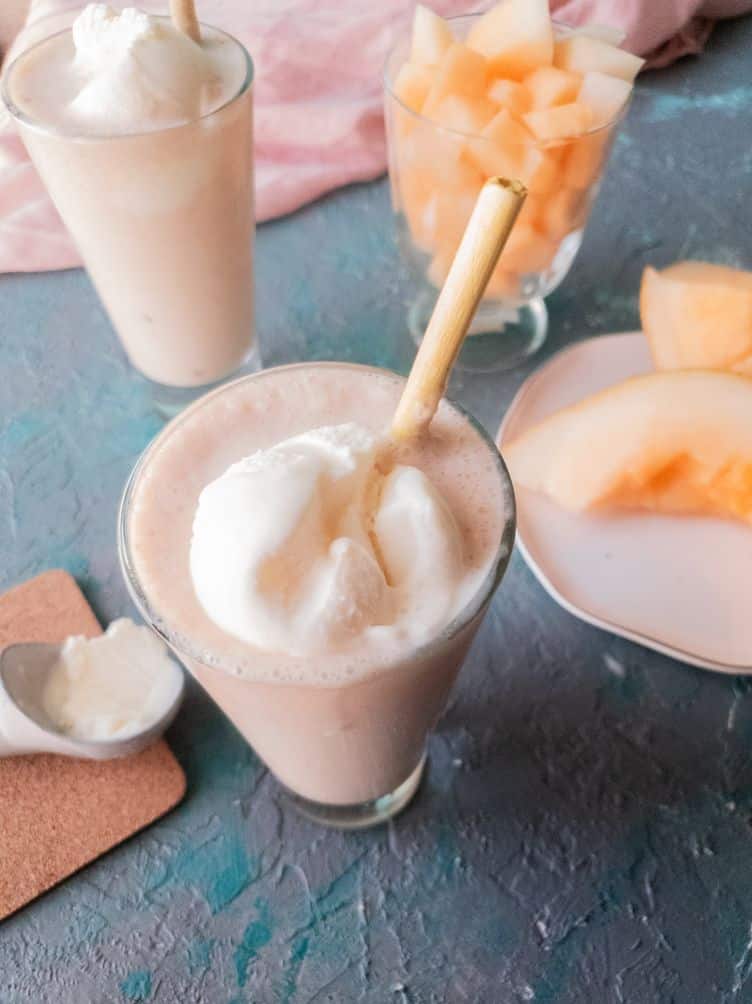
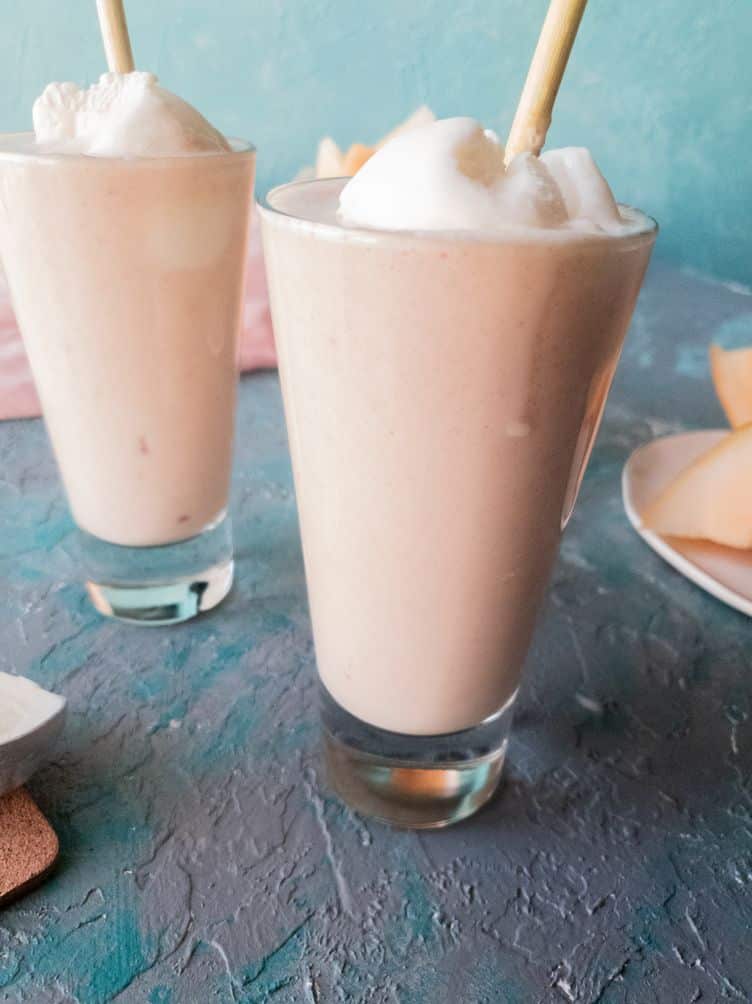
This date-melon shake makes summer that much easier! Light and sweet, this nutritious drink will help you keep that temperature down. Well, internally atleast! I went back and forth between calling it a smoothie or a shake, but I’ve stuck to shake. Lemme know if this, indeed, is a smoothie.
Melons are generally mildly sweet fruits and for this recipe Muskmelon and it’s varieties are the best. With so many different types of melons out there, it can be kind of confusing which ones to chose.
Any type of Musk Melon can be used for this recipe, depending on where you live. You can use:
- Galia melon (also known as Sarda in South Asia)
- Cantaloupes – this is the one I’ve used
- Persian Melon
- Christmas Melon
- Honey Dew
- Casaba
Other fruity drink recipes:
Apple Cinnamon Latte
Saudi Champagne
Substitutions and Remixes
Ingredient Substitutes
- Use nutmilks instead of regular milk if you are on a dairy free diet. You can also use Soy milk or rice milk if you have any nut allergies.
- You can also skip vanilla ice cream and use Greek yogurt instead for a more low-calorie alternative.
- You can use natural sugar syrups like agave nectar or maple instead of sugar and dates.
Spice up the Melon shake
- Pack more nutrient by adding just a little spinach to the mix.
- Sprinkle some roasted crushed flax seeds to add a slight crunch and nutrition to the drink
- You can also add more flavoring to the drink by adding 1/2 tsp of cinnamon powder.
How long will the milkshake last for?
Well, if you taste it, it’ll be gone immediately! ok fine! Kidding. It can last for upto 2 days in the fridge. If you plan to drink it later, keep it in the fridge immediately.
Date & Melon Shake
Ingredients
- 4 to 5 dates
- 1 cup of cut up melon cubes
- 1 cup of milk
- 4 ice cubes
- 2 scoops of regular vanilla ice cream additional 2 scoops for toppings
- Extra Sugar or honey to taste optional
Instructions
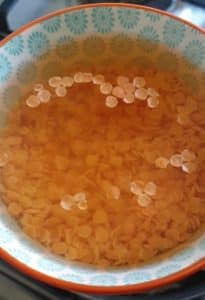
- If the dates that you are using are hard (like ajwa etc), soak them in boiling water for 15 mins before making the shake.
- De-seed the dates
- Add all the ingredients in a blender and blend till all the ice cubes are crushed.
- Taste to check sweetness. Add sugar or honey if needed.
- Serve in glass with additional scoops of icecream. Drink cold.