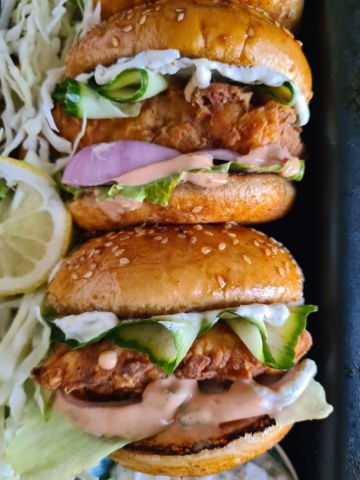
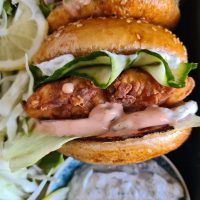
This crispy fried fish burger is something from my dreams. It combines crispy fried fish, tartness coming from the slathered tartar and fry sauce, enclosed in a warm toasted bun. I mean it’s perfect! ummmm ummmmm!!! Let’s dive right in.

STEPS TO PUT TOGETHER A CRISPY FISH BURGER
The components of this recipe are as follows.
- Tartar sauce
- Fry sauce or burger sauce
- Fish coating and frying
- Assembling the burger
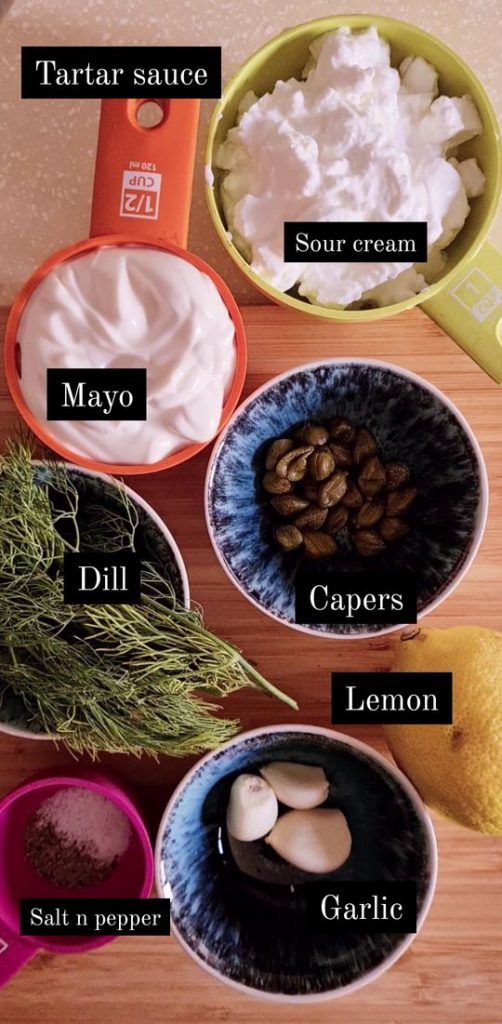
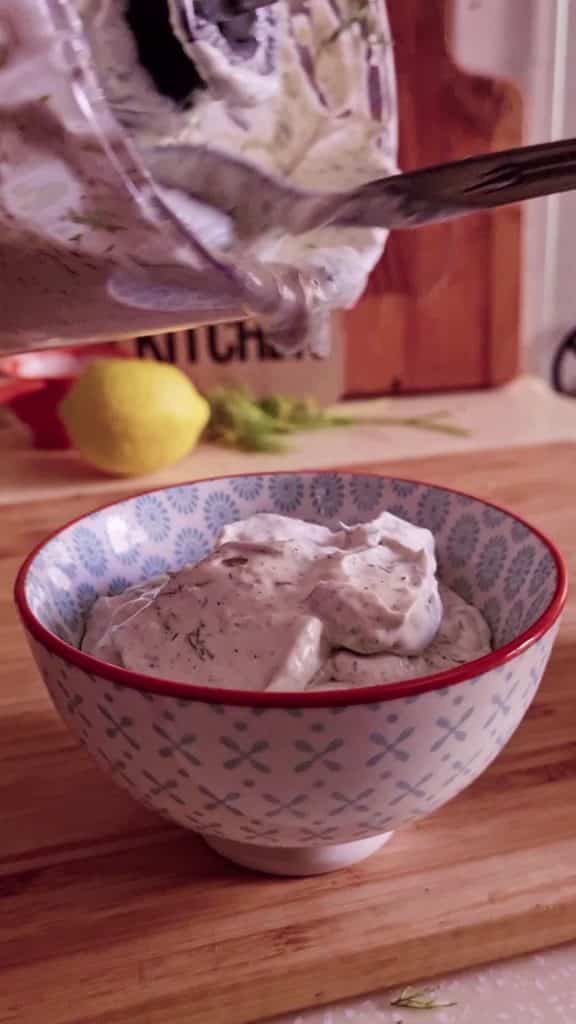
1st component – Quick Tartar Sauce
The tartar sauce in this recipe gives the fish burger that elevation it needs to make an average burger, LIPSMACKING GOOD.
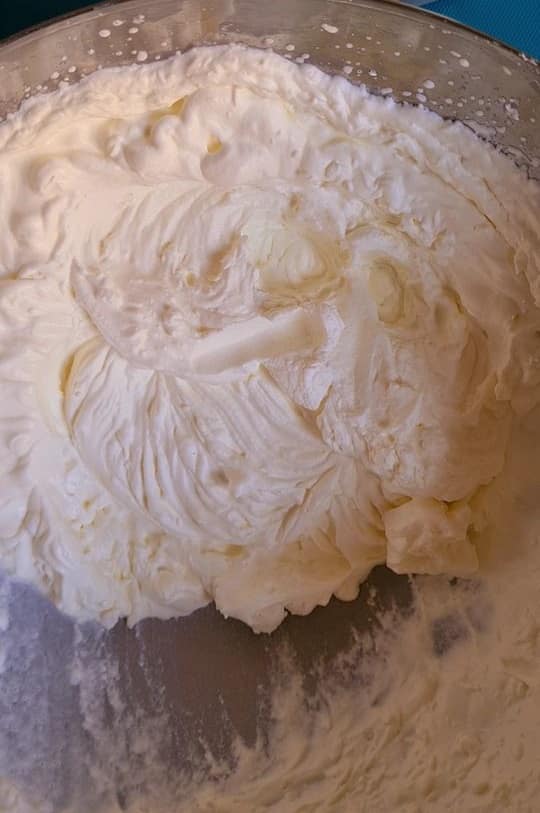
To put this tartar sauce together, all you need are the ingredients and a food processor.
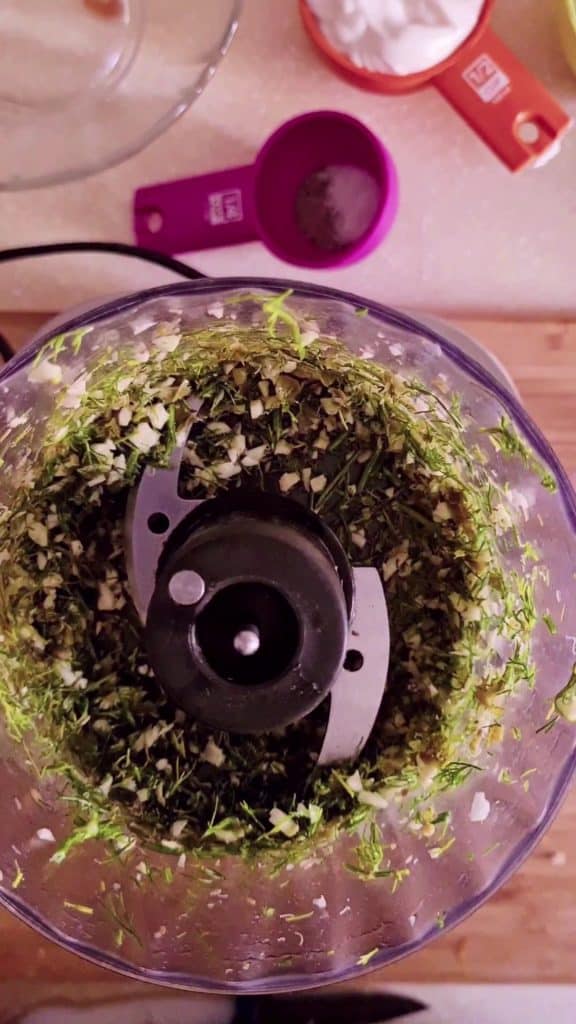
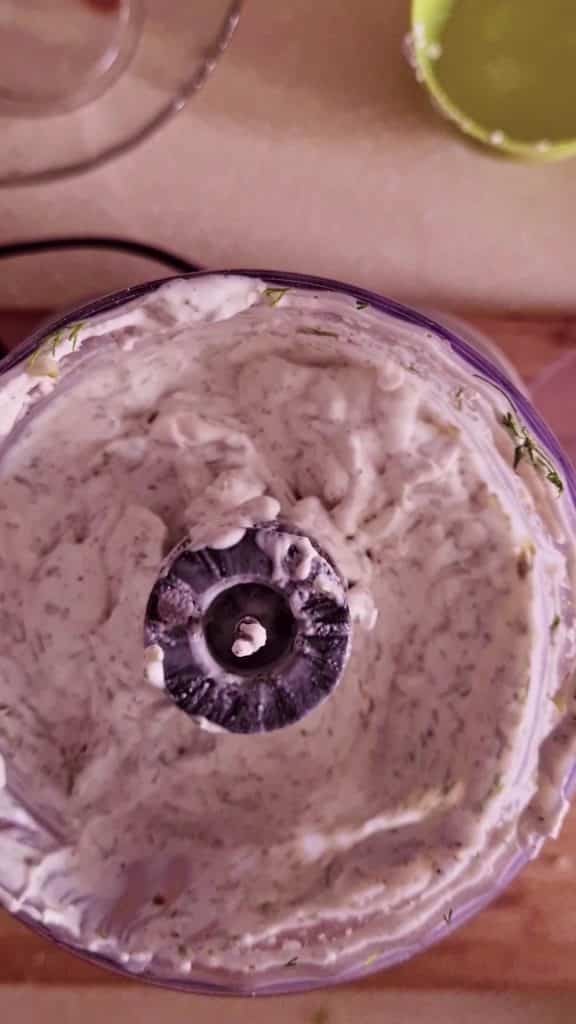
Process garlic, capers and dill in the processor finely. Then add all the remaining ingredients in the processor. And thats it! Pulse it for a minute and you have your sauce ready!
SUBSTITUTIONS FOR INGREDIENTS IN THE TARTAR SAUCE
- You can use greek yogurt instead of Sour cream. Don’t use regular yogurt, as it has a lot of water. Incase you only have regular yogurt, put it in a cheesecloth to drain its water.
- I personally prefer capers for this tartar sauce. But if you don’t have them, you can use pickles, jalapeno pickles, dil pickles or gherkins.
- IF you are on a clean diet, skip out the mayo and use a little fresh cream instead.
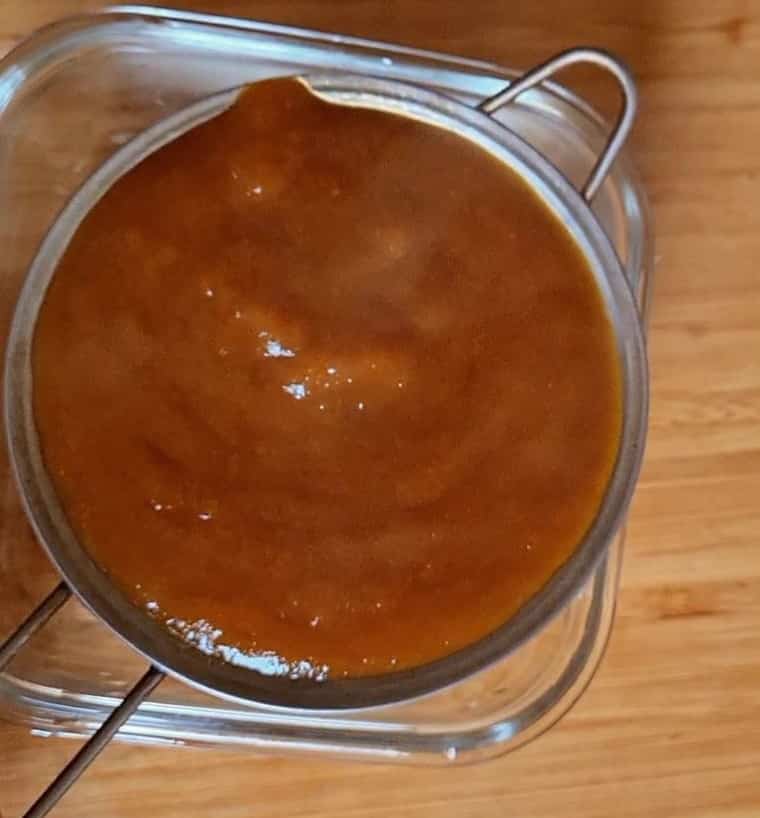
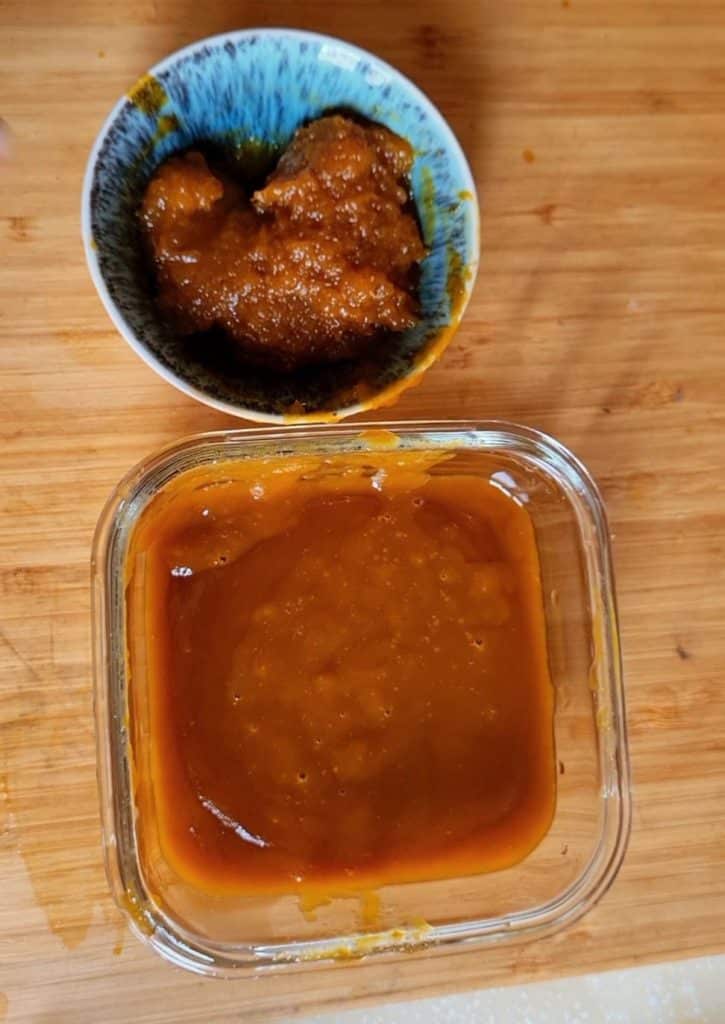
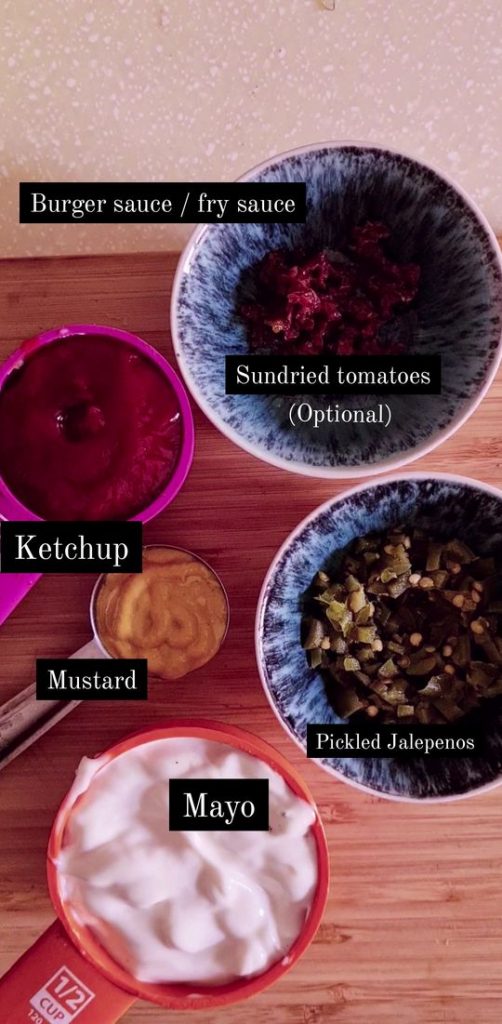
2nd Component – Fry Sauce
Fry sauce also known as burger sauce is a condiment that goes really well with fries and burgers etc. It is super easy to put together and has numerous recipes out there.
I use these ingredients for my fry sauce
- Mayonnaise
- Ketchup
- Mustard
- Pickled Jalapenos chopped
- Sundried tomatoes chopped
You can skip sundried tomatoes if you don’t have any. But I’d definitely recommend to have everything else on hand.
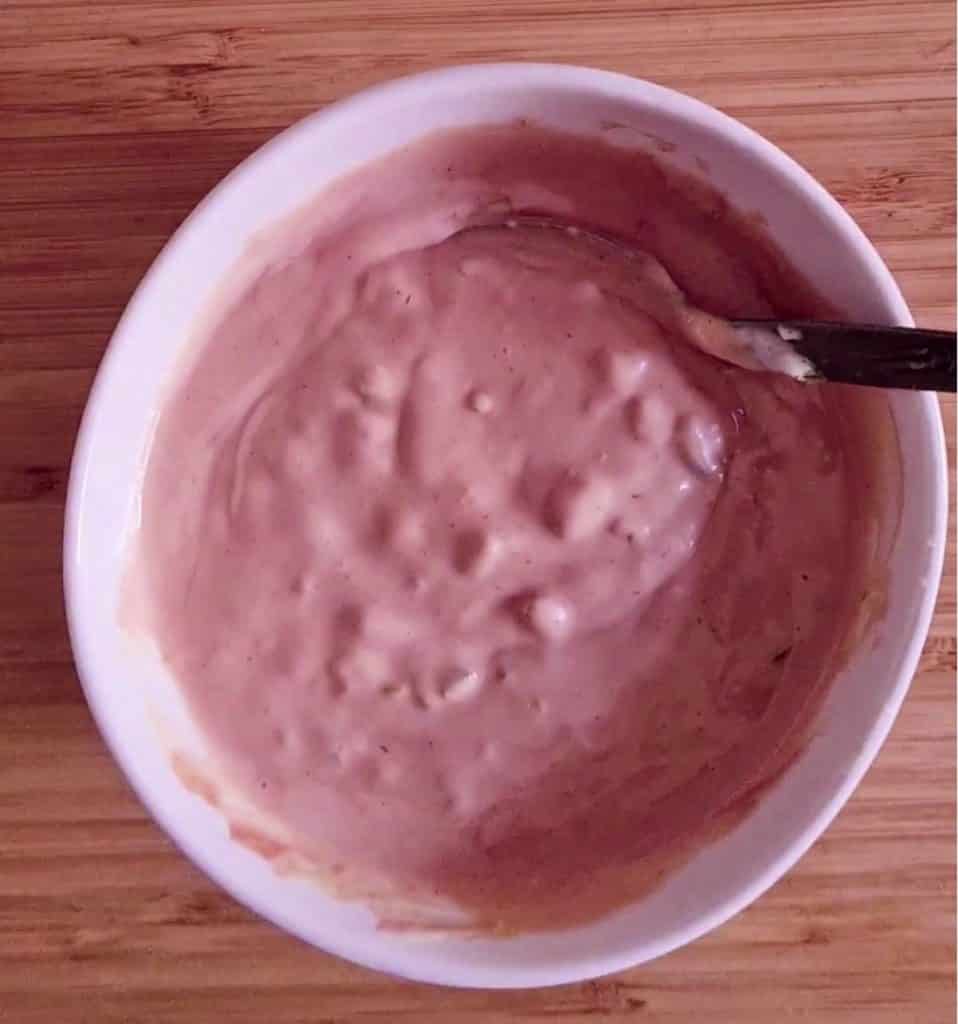
Just dump everything in a bowl and whisk with a spoon. Your fry sauce is ready!
3rd Component – Preparing the crispy fried fish
Selecting the fish
For this recipe, ofcourse you need a boneless fish. I used Dori for this recipe, but you can also go ahead and use Cod, Tilapia or any white fish that you have access too. I cut the fish into bun size squares. If I am using frozen fish, I don’t thaw my fish completely. Infact, I add the frozen fish into the marination. Water content isn’t a big problem in this recipe, so you don’t have to worry about patting your fish dry etc.
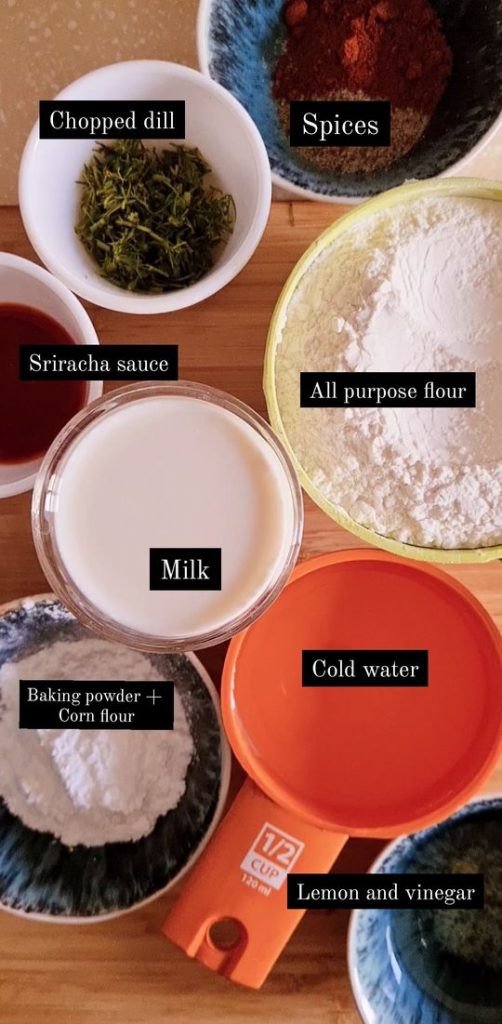
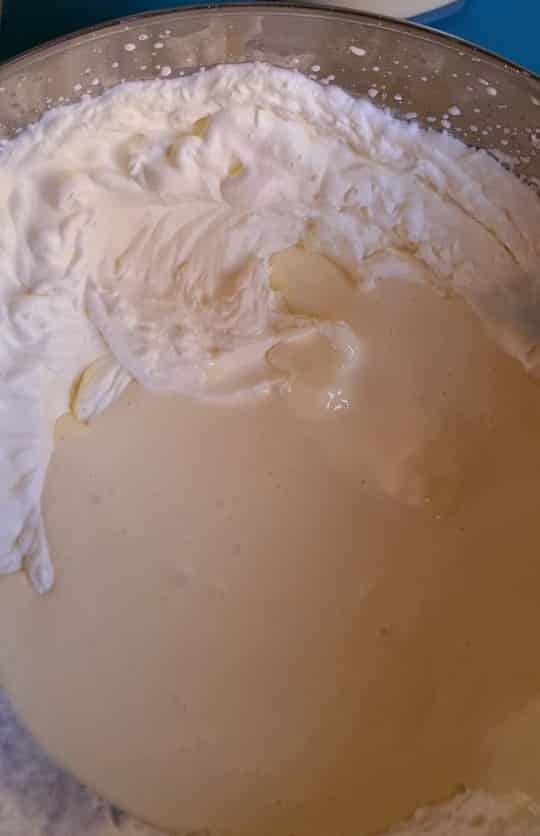
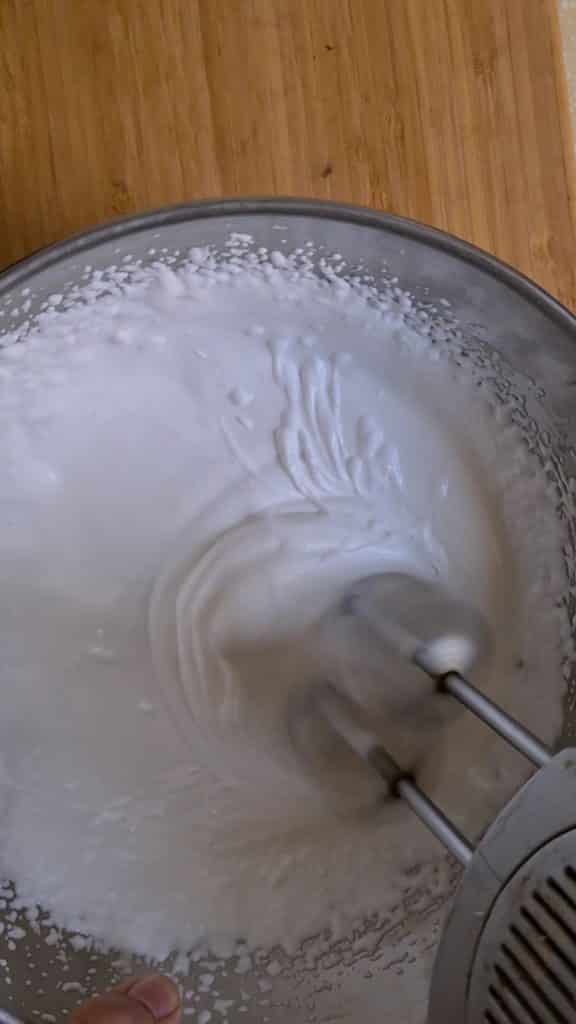
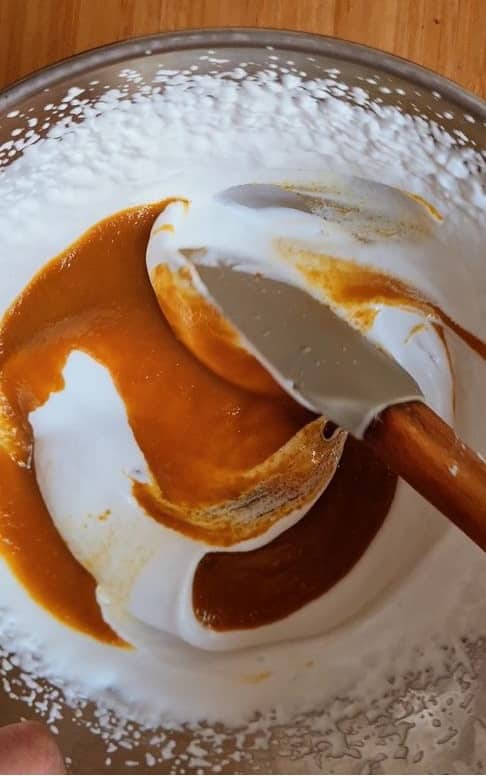
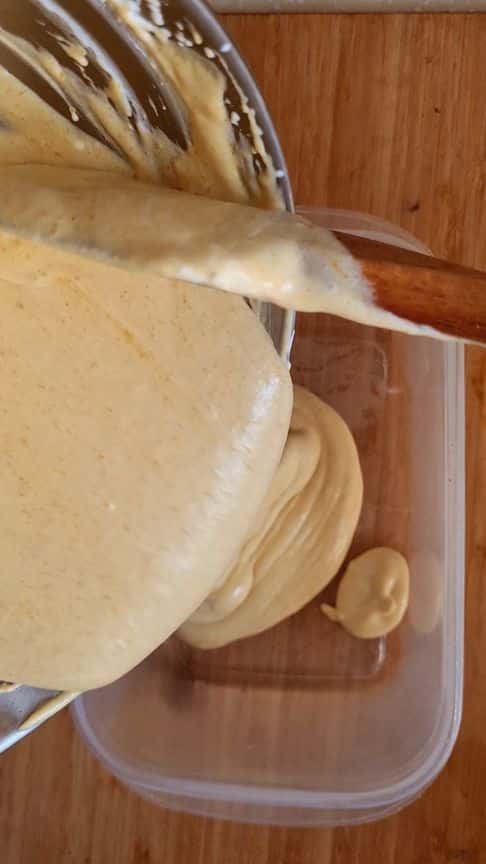
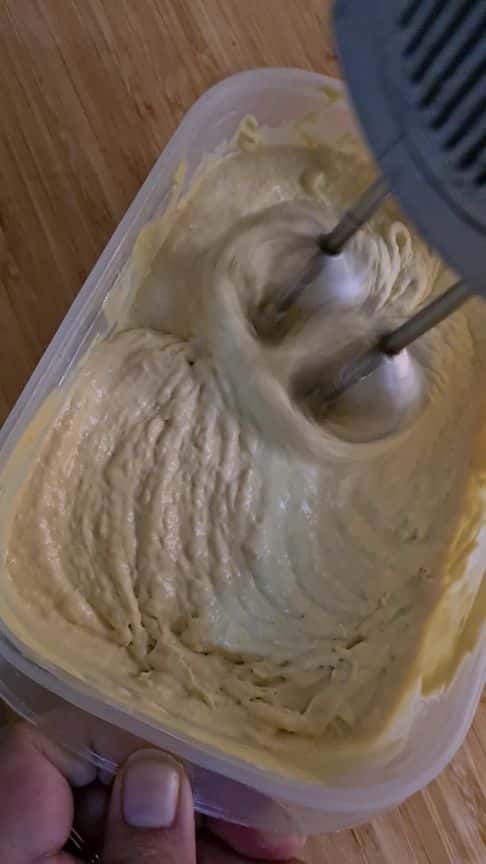
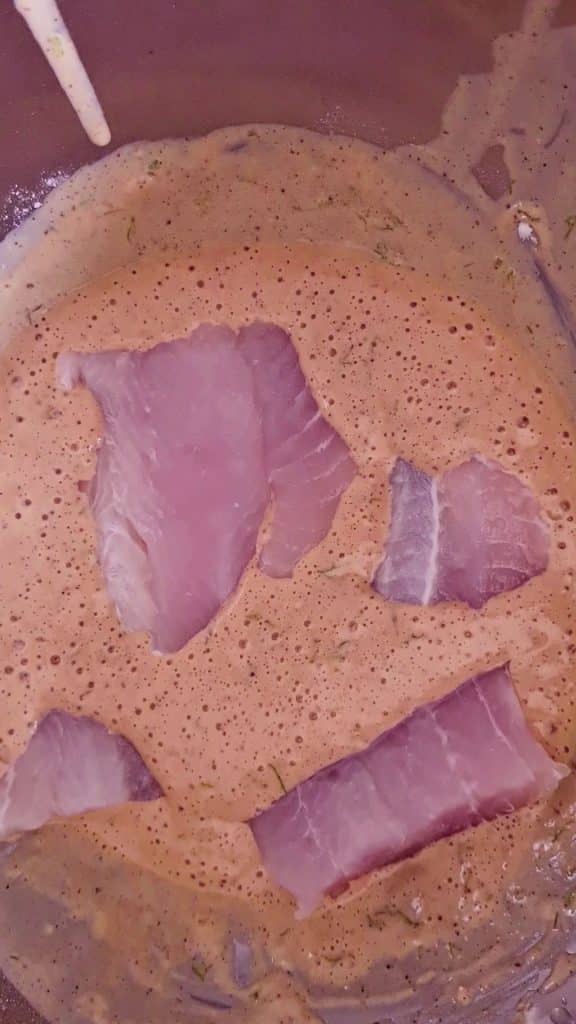
For coating the fish we need 2 layers, a liquid batter in which the fish will be dipped. And another dry layer of cornflour and flour that forms a nice thick layer on the fish.
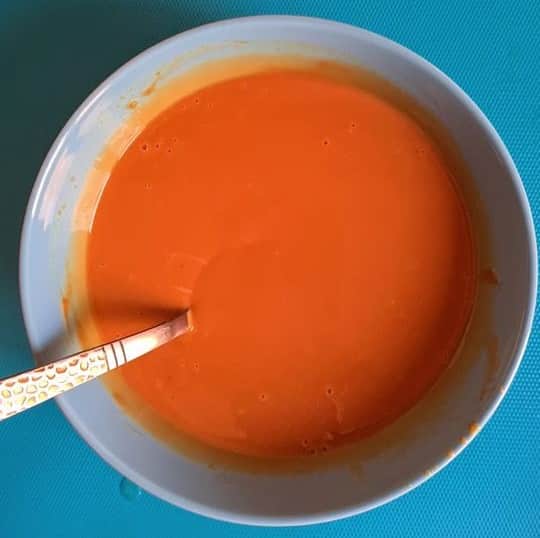
The ingredients for the liquid batter are shown above. I dumped all of these in a large bowl and whisked to form a smooth batter. Then I added my fish fillets and coated them completely in the batter. White fish is very delicate so it doesn’t really need a lot of time for marination. 15 mins is more than enough.
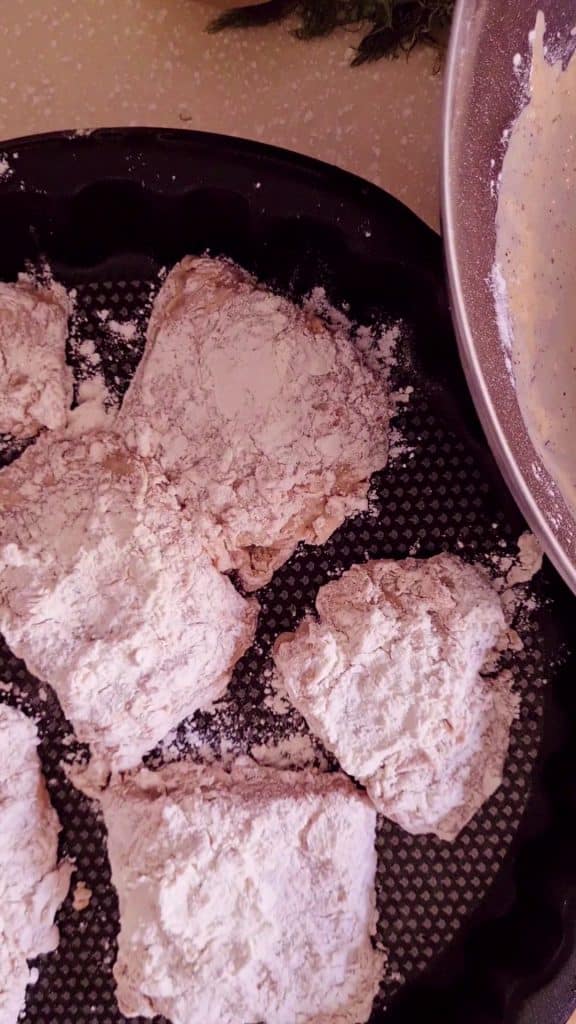
After 15 mins, coat the fish into the dry coat of all purpose flour. Make sure you press the dry mix onto the fish properly to make sure the whole fish is covered nicely.
PROTIP: Always lightly dust the tray or plate with flour which you are placing your coated fish in. Also don’t shake off the excess flour from the fish.
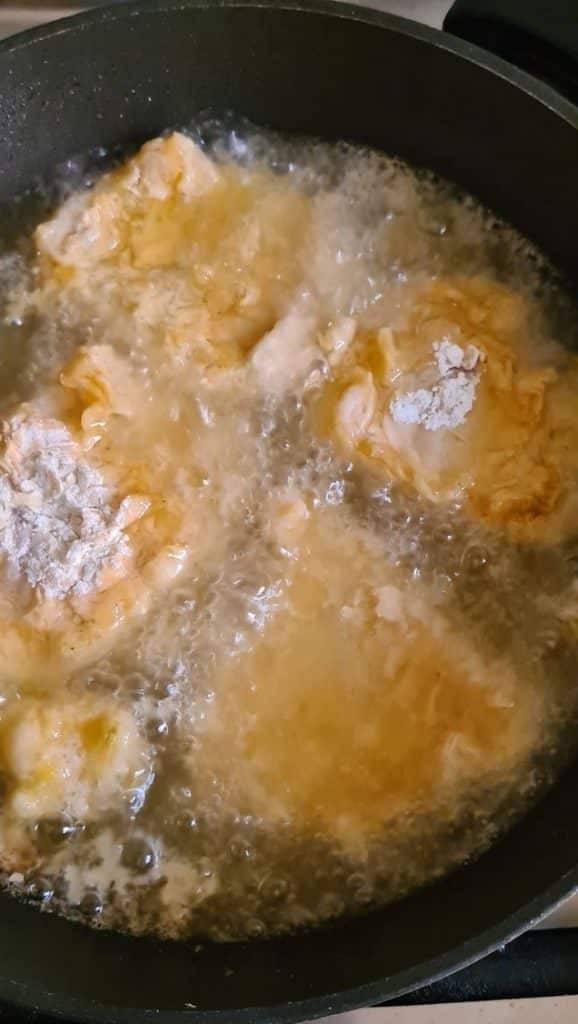
How to fry the fish
Once your wish is coated, it is time to fry. Fish is a delicate protein, especially the white fish varieties. The best way to handle such a fish is to deep fry them in hot oil for 5 to 6 mins max. Flip over after 3 mins and take the fish out as soon as you get your golden color. Don’t let the fish sit in the hot oil for too long, it may get hard and over cooked. Of Course the thickness of the fish fillet will affect the cooking time of the fish. MY fillets were roughly 1/2 an inch thick.
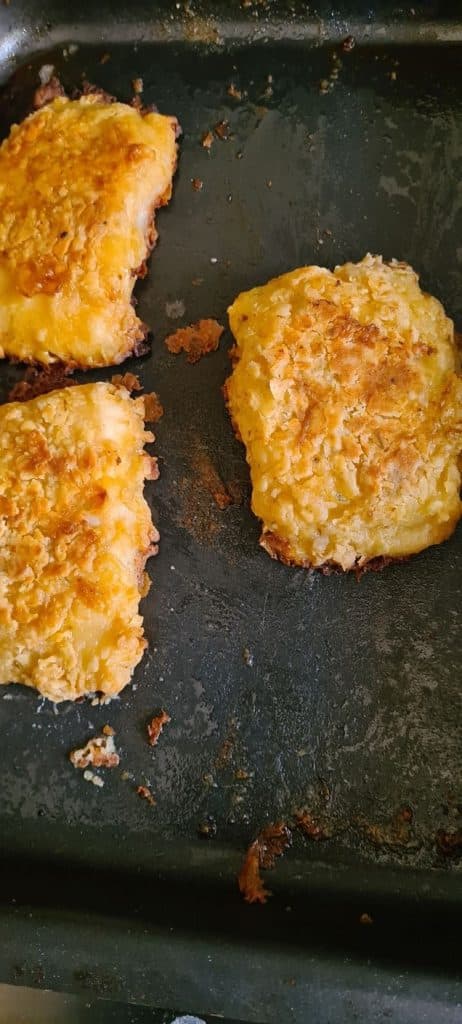
You can also bake the fish in the oven if you don’t want to fry it.

4th component – Assembling
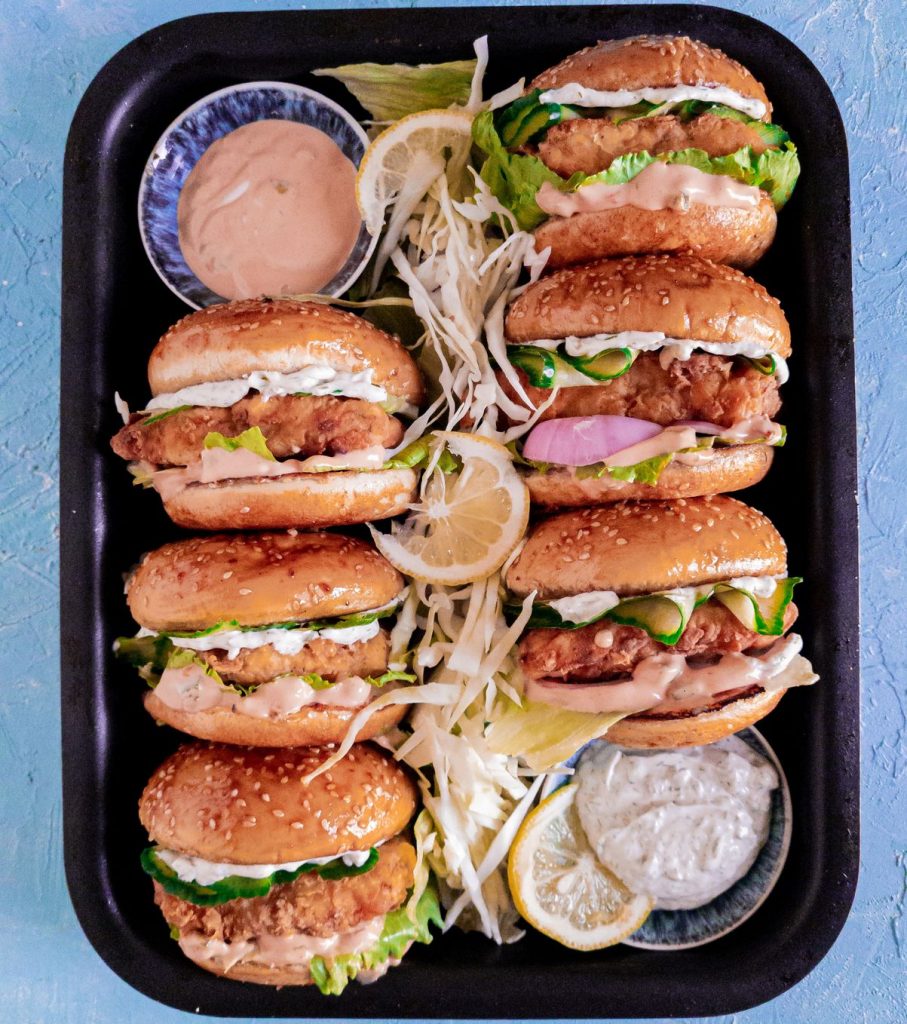
Finally! its time to assemble and dig in!
For assembling the burgers these are the layers I added to my crispy fried fish burger

- Toasted buns
- A layer of tartar sauce
- A layer of iceberg lettuce, onions and cucumbers or cabbage too
- A juicy crispy fried fish fillet in the middle
- A slice of cheese (optional)
- More pickles (optional)
- A layer of fry sauce
- Finish it off with bun.
How to keep your burgers warm?
IF you are preparing a big batch of burgers, it’s a good idea to assemble your burgers in advance. Here are a couple of things you can do to serve restaurant level hot fresh burgers.
- Wrap your burgers immediately in foil.
- Preheat your oven at 60 C C and place your wrapped burgers in the oven to keep them warm till you are ready to serve.
- If you’ve fried french fries or wedges etc, place them in a tray in the oven too.
- If you plan to re-heat it in the microwave later, then use a wax paper to wrap the burger instead of foil. Only heat for 30 secs at high.
How long can the burgers stay in the fridge?
Any cooked seafood can safely stay in the fridge for 3 to 4 days. The sauces can stay upto a week in the fridge, if they are kept covered.
Can I freeze the fillets before frying?
Definitely! But the marinate has lemon, vinegar etc which can cook the fish even in the fridge. IF you really want to prepare in advance, I’d say you can freeze the fish for upto a week but shouldn’t do more than that. Don’t thaw your fish, just let it sit in the counter for 10 mins and then fry like you would normally do.
Sides that will go SUPER WELL with these crispy fish burgers
- French fries or steak fries.
- Cole slaw
- Corn on the cobs
- Tartar sauce and fry sauce
- Russian salad
- Potato salad.
- Pasta salad
Other similar recipes that you may like


Fish burger
Ingredients
Fish marinade
- 2 kg any white fish fillets cut into burger size
- 1/2 cup milk
- 1/2 cup cold water
- 2 tsp salt
- 1 tsp black pepper powder
- 2 tbsp lemon juice
- 2 tbsp vinegar
- 2 tsp paprika powder
- 2 tbsp hot sauce
- 1 cup all purpose flour
Fish dry coat
- 1/2 cup corn starch
- 1 cup all purpose flour
- 1 tsp salt pr to taste
Tartar sauce
- 1 cup sour cream
- 1/2 cup mayo
- 1/2 tsp salt
- 1/2 tsp black pepper crushed or powder
- 3 cloves of garlic
- 1 tbsp dill chopped
- 1 tbsp capers or any pickles
- 2 tsp lemon juice
Fry sauce
- 1/2 cup Mayonnaise
- 1/2 cup Ketchup
- 1 tbsp Mustard
- 1 large jalapeno 24gm
- 1 tbsp chopped sundried tomatoes optional
Assembly
- 10 burger buns
- Iceberg leaves or any salad leaves
- sliced cucumbers
- Oil for frying
- sliced onions
- any vegetable of your liking
Instructions
Tartar Sauce
- In a chopper, add garlic, lemon juice, dill and capers. Process it till everything is chopped finely.
- Add the remaining ingredients and process again to get a nice tartar sauce. Set aside
Fry Sauce (burger sauce)
- Add all ingredients in a bowl and whisk together. Set aside
Prepare Fish
- Add all the ingredients for fish marinade in a large bowl and whisk together to form a smooth mix.
- Drop in your fish and make sure they are all fully coated. Let it rest for 15 to 20 mins.
- In another bowl, add in all the ingredients for fish coat and mix together.
- Pick up one piece of fish and drop in the fish coat bowl. Coat the fish piece properly pressing the coating deep into the fish. Flip over multiple times.
- Lightly dust a clean tray with the coating mix. Place the coated fish in a the tray. DO NOT SHAKE OFF excess flour mix.
- Deep fry fish in hot oil at high flame. Fry till fish turns golden brown. About 5 mins.
- You can also bake the fish. Spray a baking tray with oil and place your coated fish on it. Make sure to spray oil on top of the fillets too. Bake at 200 C (400F) on the lowest rack. Flip the fillets over after 7 mins.
Assemble Burgers
- Lightly toast buns if you want.
- Layer fry sauce on the bottom bun.
- Place lettuce , other toppings and a piece of fish on the burger.
- Layer the top half of the bun with tartar sauce and close the burger.
- Wrap the burger with foil or a wrap to keep it warm.
- Serve with fries, both sauces and salad on the side.