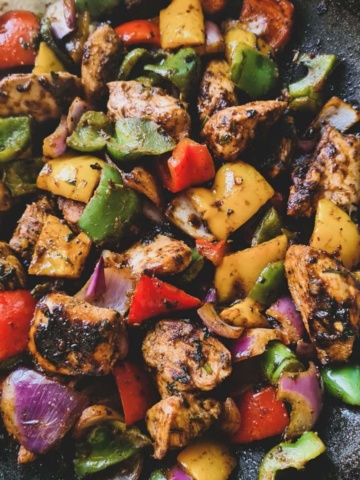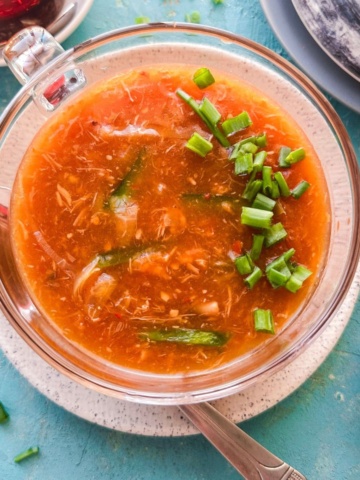
This Indo-Chinese style chicken hot and sour soup is delicious! It hits the spot, totally adaptable to personal taste, and is a restaurant classic! Doesn’t hurt that it’s full of nutrition!

My love for recreating restaurant-style recipes is REAL! I can control the ingredients and lighten them up as I like. The Nando’s Peri Peri chicken livers and Karachi’s famous Chicken Tikka Samosas are two such recipes I’ve adapted to be lighter and still delicious.
[feast_advanced_jump_to]Difference between Indo-Chinese & Traditional Chinese Hot ‘n Sour Soup.
The traditional Chinese recipe features pork, tofu, dried Shiitake mushrooms, dried lilies, and other Asian ingredients, resulting in a rich, umami-flavored broth with a sour undertone. This is the soup you get when you order from any Chinese restaurant outside of South Asia.
The Indo-Chinese, aka Desi-style, hot and sour soup has a tomatoey and chili-based broth. It has a characteristic vibrant red color that sets it apart from all the other soups of the region. One of the popular street-style foods available in India and Pakistan. It is served with a special spiced vinegar that has green chilies cut in it! But don’t worry, you can totally control how much heat you want in your soup.
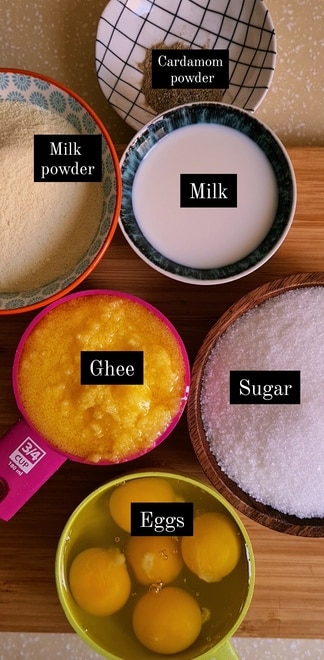
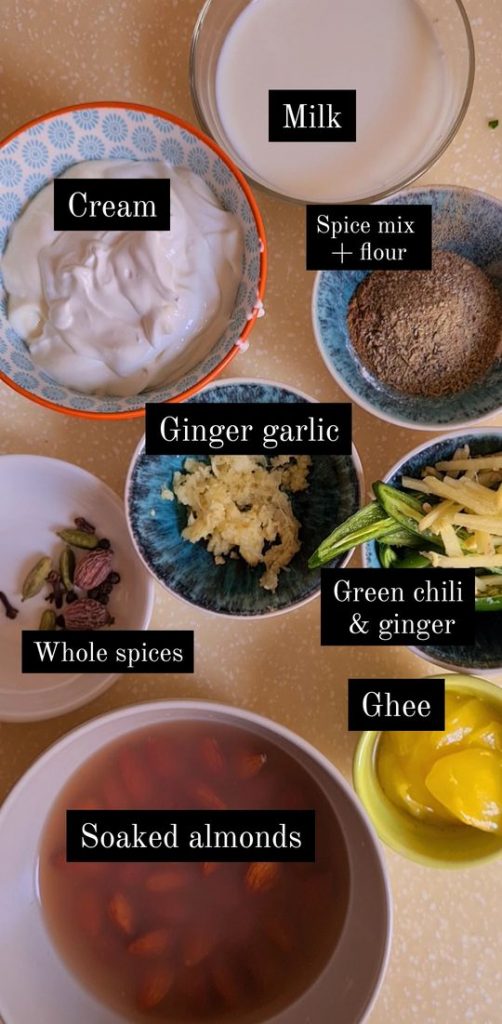
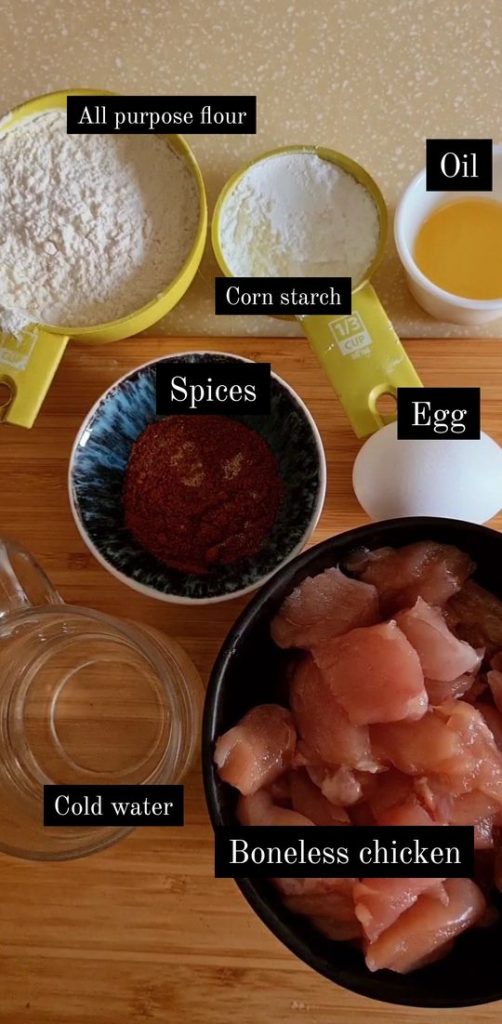
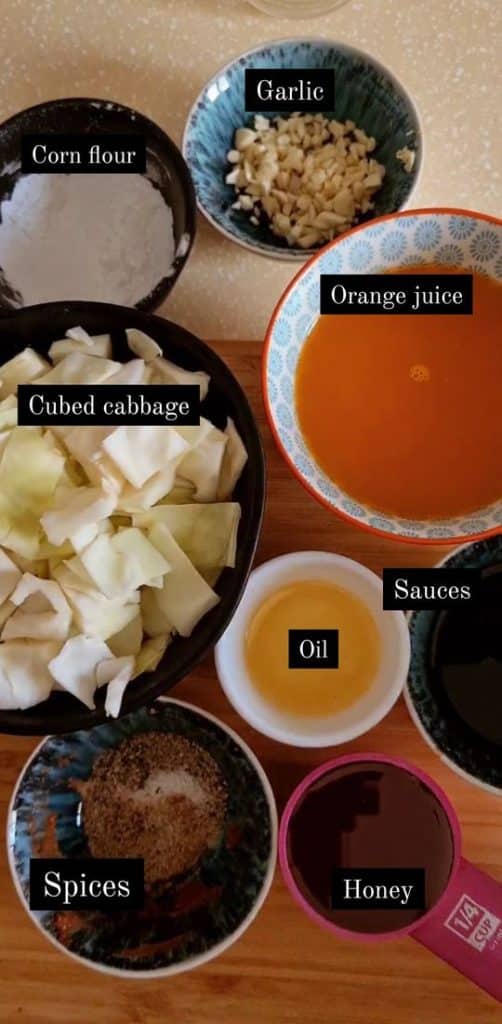
Ingredients and Substitutions
Here are a couple of pointers and notes about the ingredients.

- Chicken broth – I’ve used my own broth recipe for this soup. But you can use pre-made vegetable stock or chicken stock, too.
- Shredded Chicken – The shredded chicken in this recipe comes from my broth, too. You can use any leftover chicken if you are using pre-made broth (or boil a chicken breast separately in salt and garlic powder).
- Chili oil – This is a Chinese condiment that adds a subtle layer of heat to the dish. I make my own chili oil at home, which I use. You can use any store-bought ones, too, or use regular oil instead.
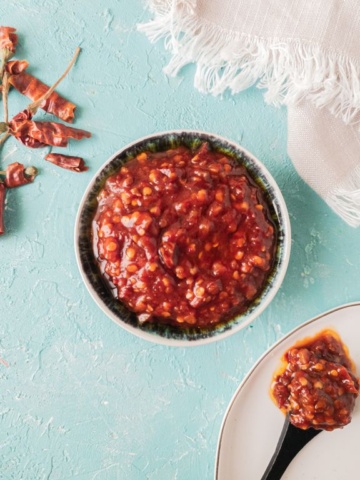
- Chili garlic sauce – This is one of the main ingredients; it gives the soup its color, flavor, and heat. Chili garlic sauce is a type of ketchup that has tomato paste, garlic, and chili in it. The one I use is either homemade or from Knorr, easily available in South Asian stores. You can also make your own (see notes).
- Vegetables & Mushrooms – The standard veggies used in this dish are bell peppers, cabbage, and carrots. But this is your soup! Feel free to use any mushrooms and veggies you like to eat.
- Condiments – The soup uses all the basic condiments like vinegar, hot sauce, soy sauce, Worcestershire sauce, and brown sugar.
- Thickener – Cornflour or Cornstarch is used to make this soup thick.
See the recipe card for full information on ingredients and quantities
How to make Desi Hot and Sour soup
Here’s a simple pictorial for you to make this soup easily.
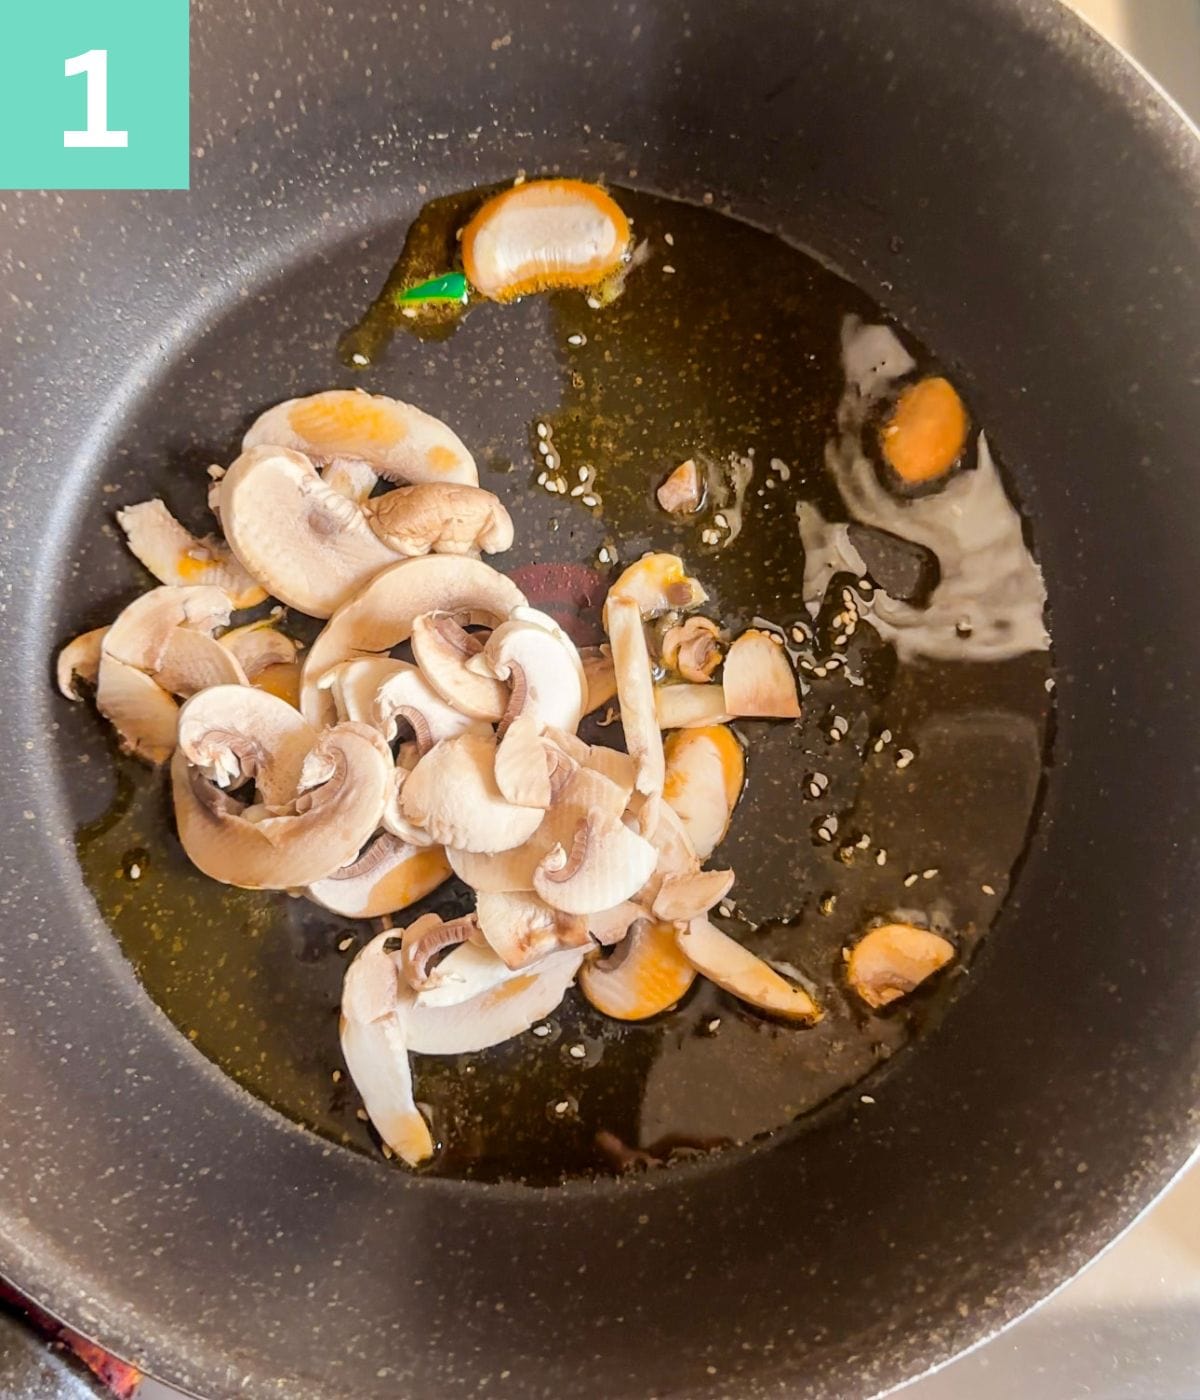
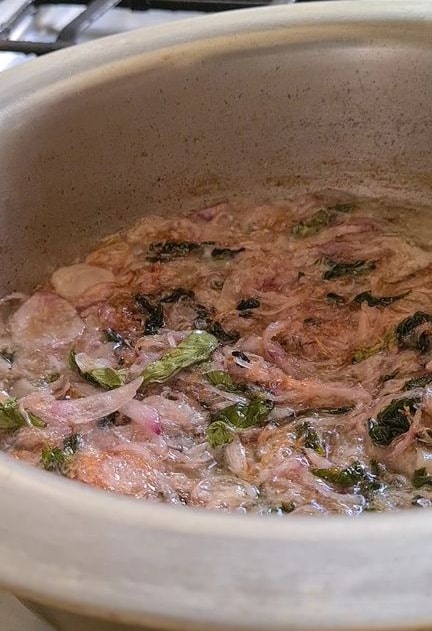
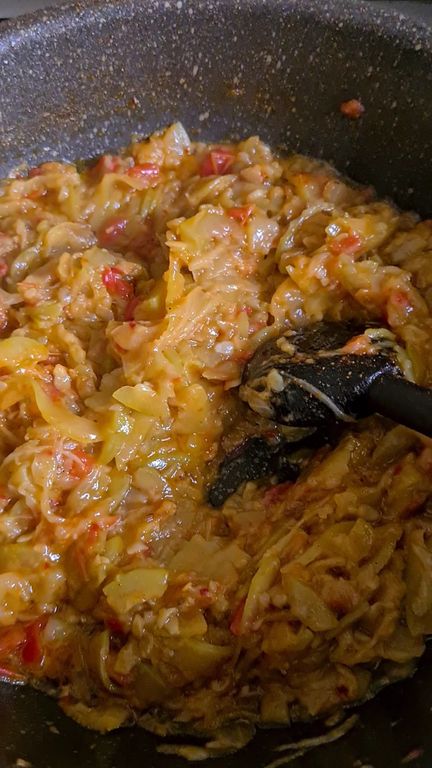
Step 1: Sauté the mushrooms in chili oil in a deep pot.
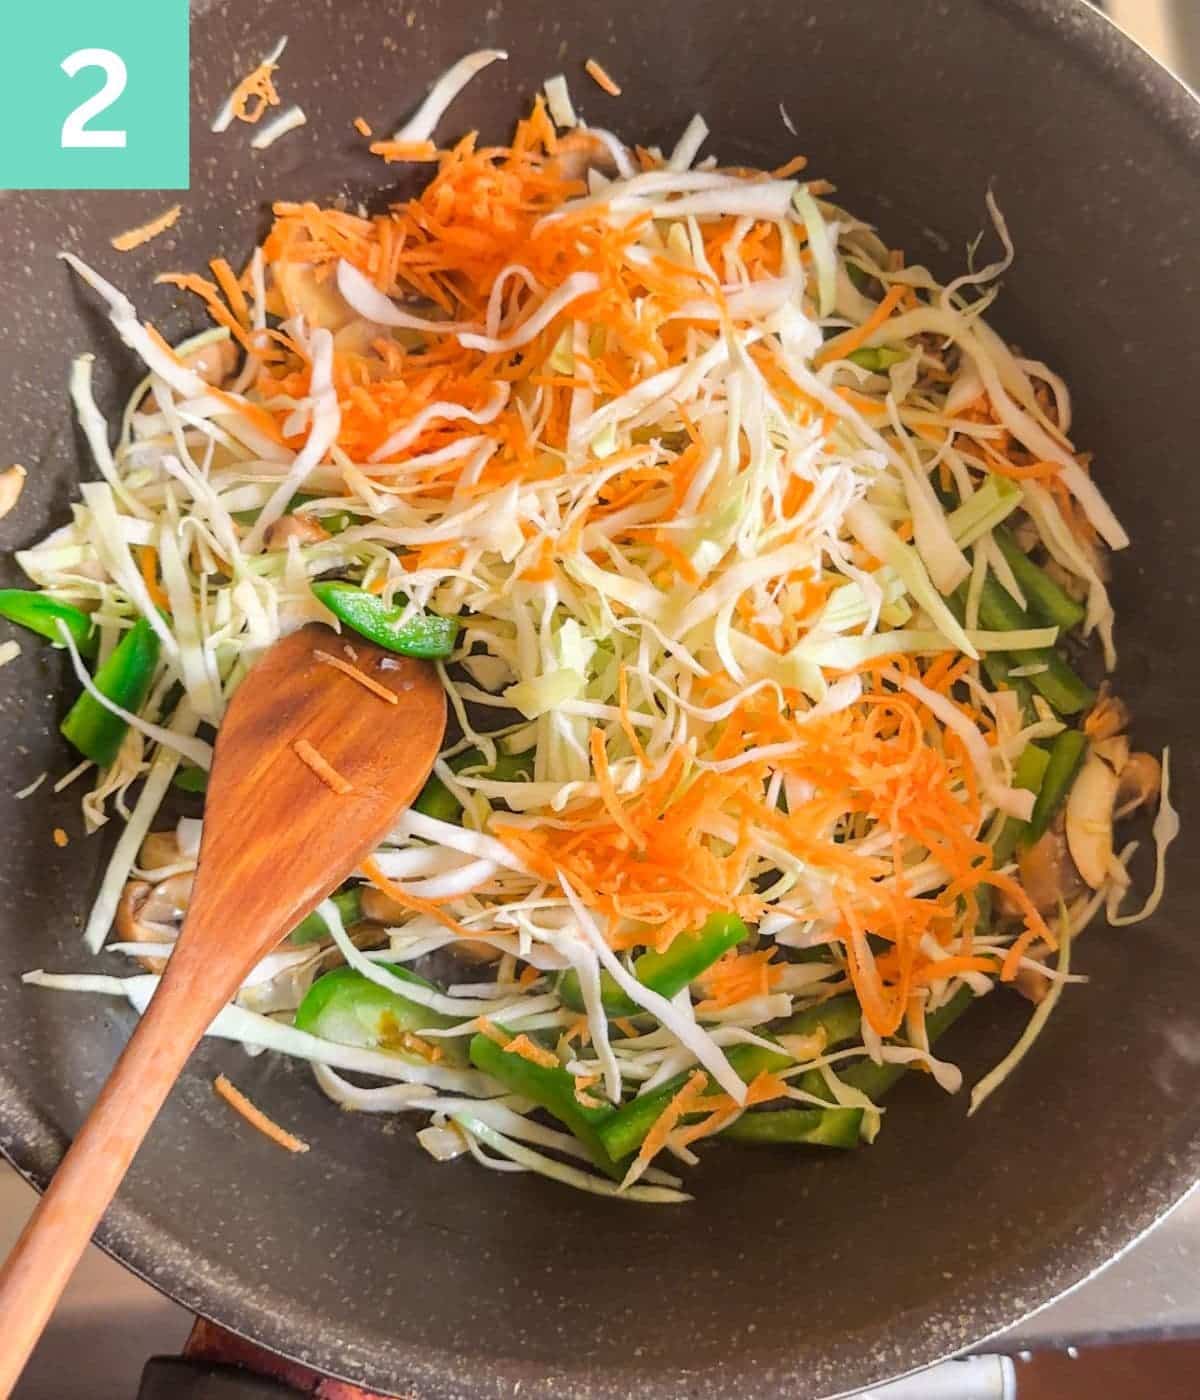
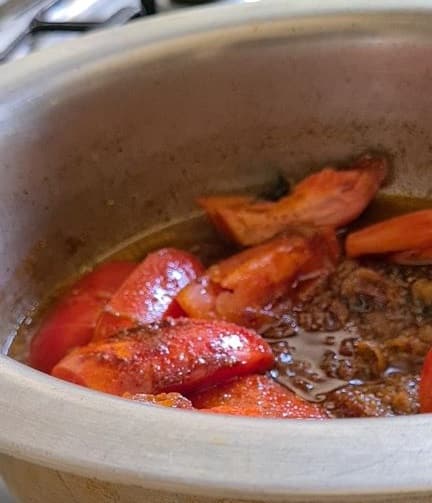
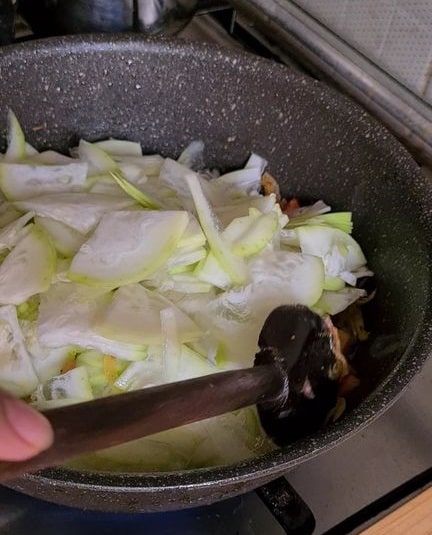
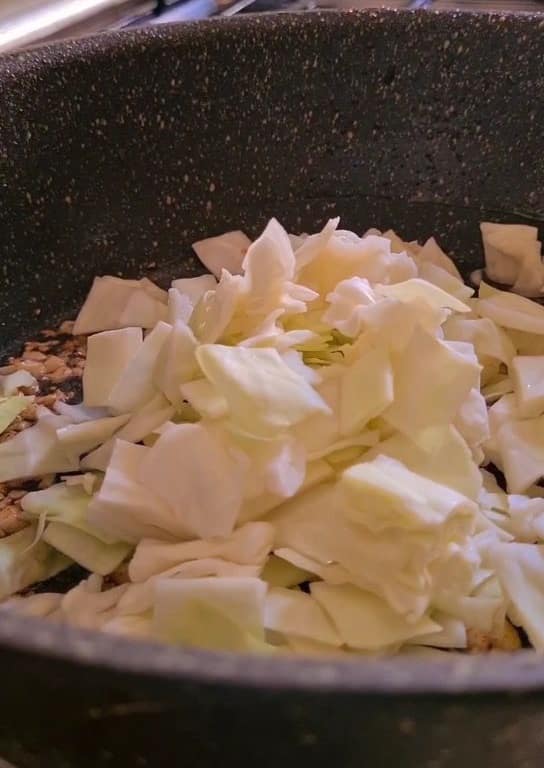
Step 2: Add the vegetables and sweat them at high heat until all the moisture evaporates.
NOTE: Sweating and sauteing the vegetables gives you crunchier veggies and a longer shelf life.

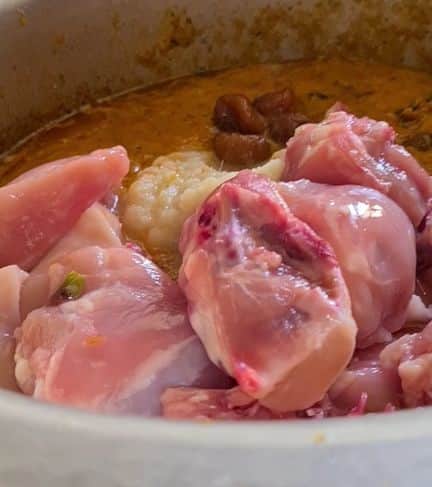
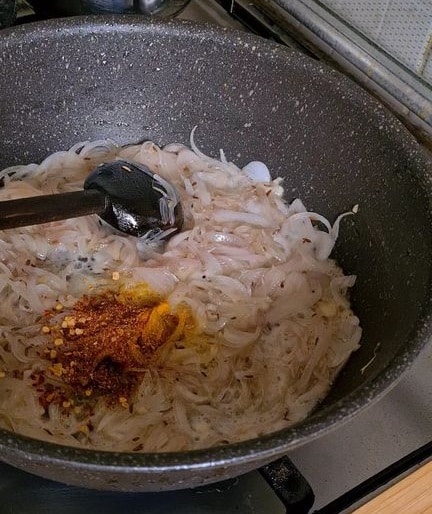
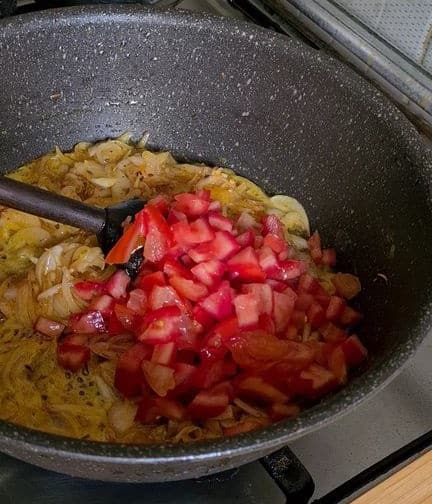
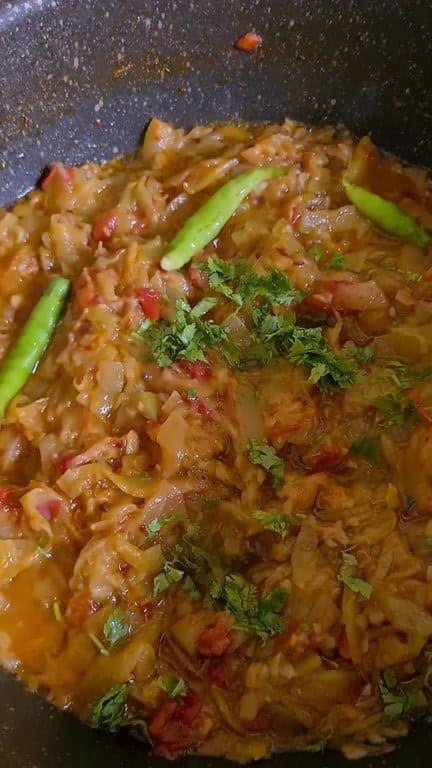
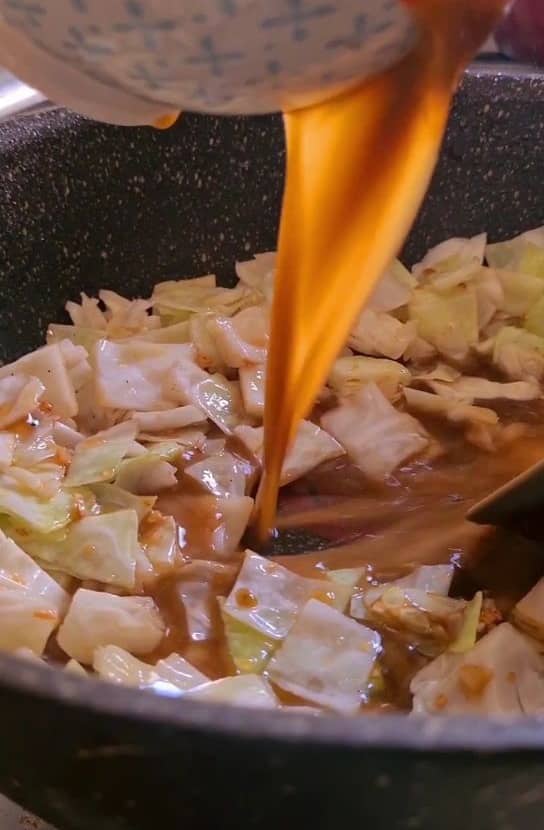
Step 3: Add the shredded chicken, all the seasonings, and sauces to the pot.

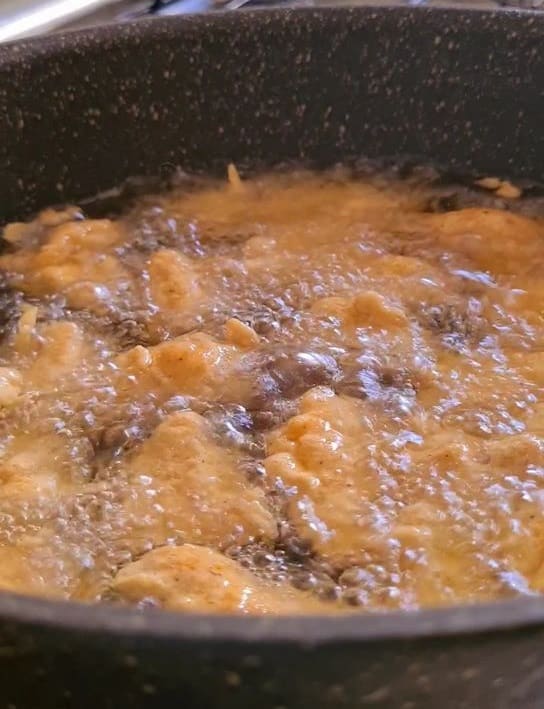
Step 4: Add chicken broth and water to the soup and simmer for 3 to 4 minutes.
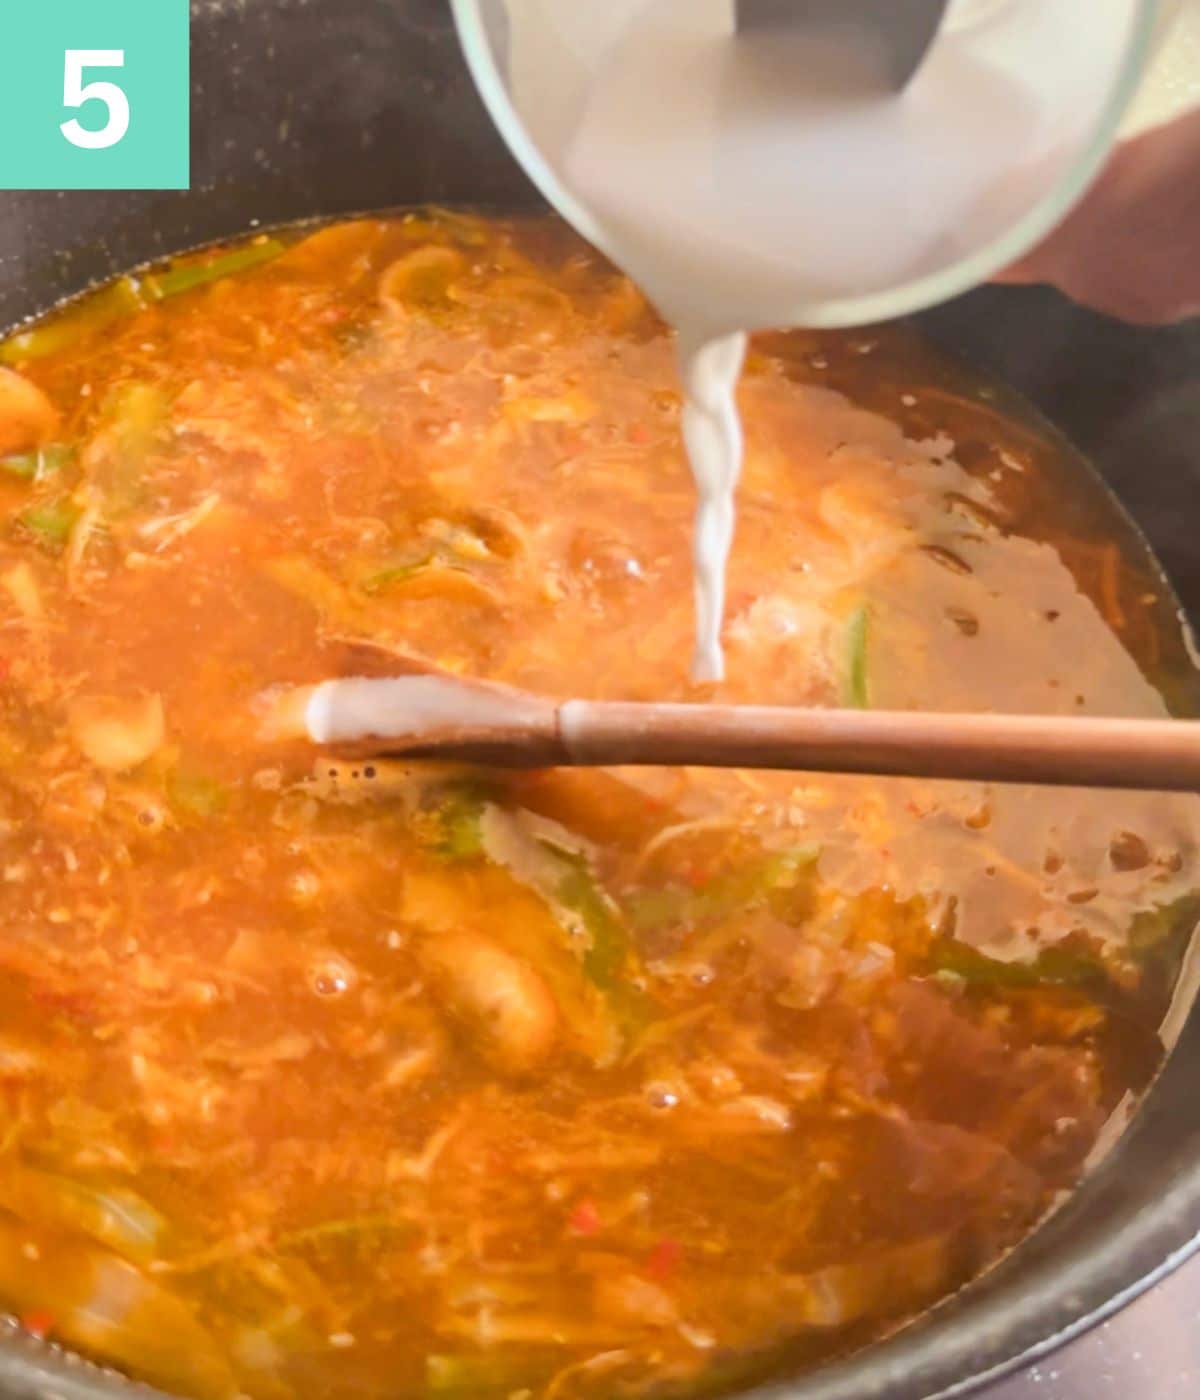
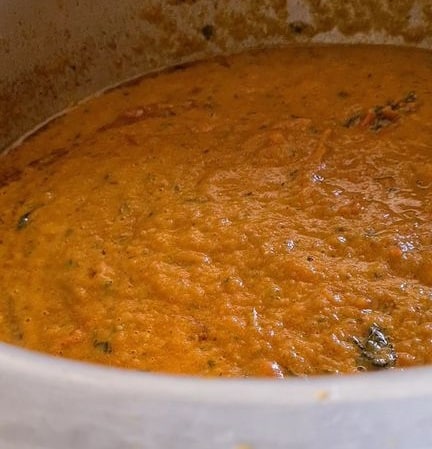
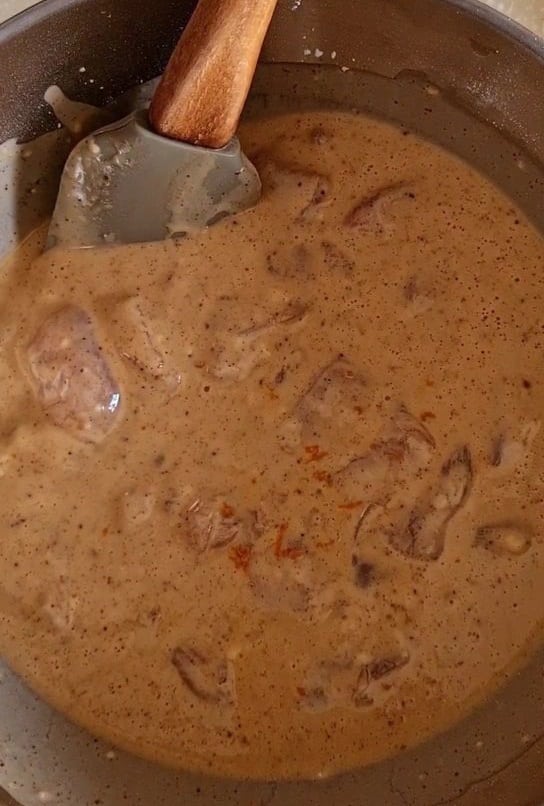
Step 5: Add cornflour slurry to the soup and cook at medium-high heat.

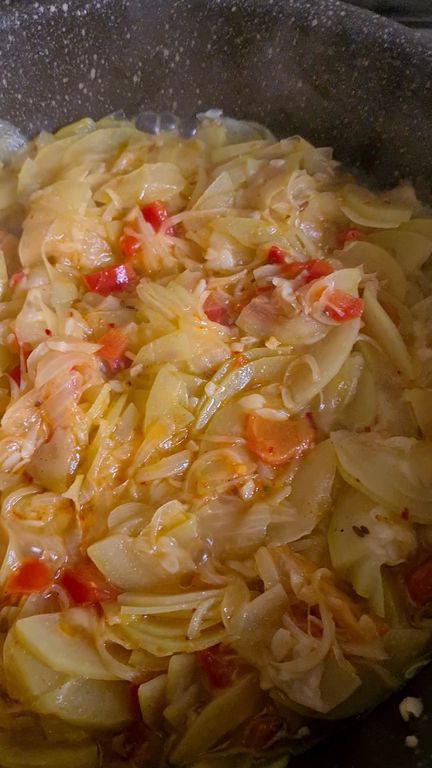
Step 6: Allow the soup to thicken and add more cornflour if needed.
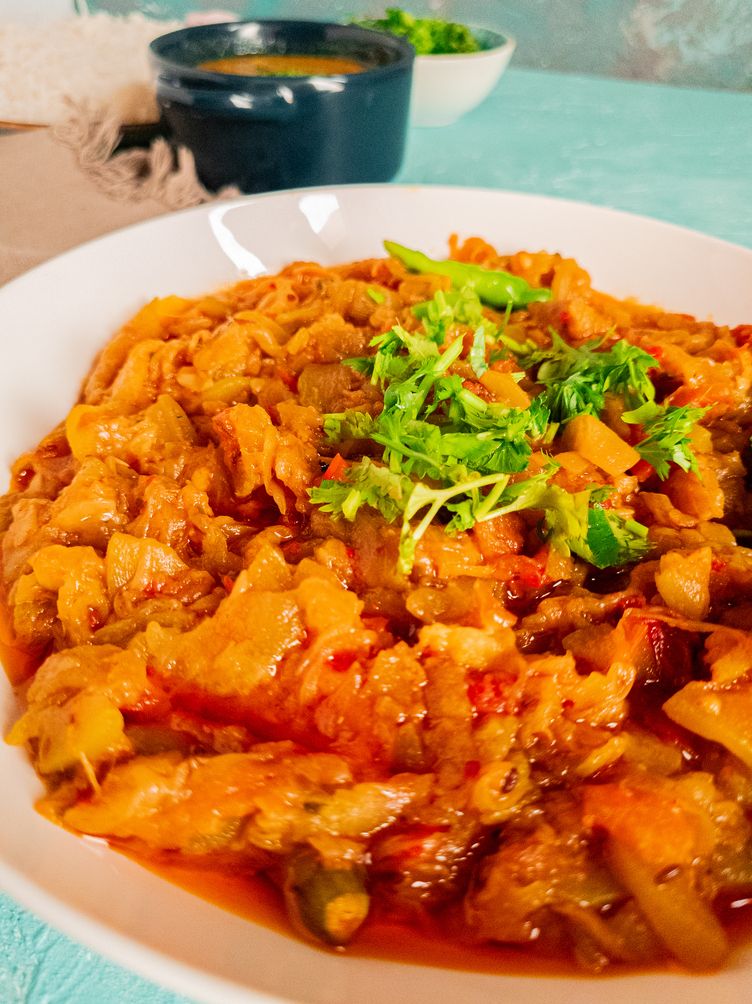
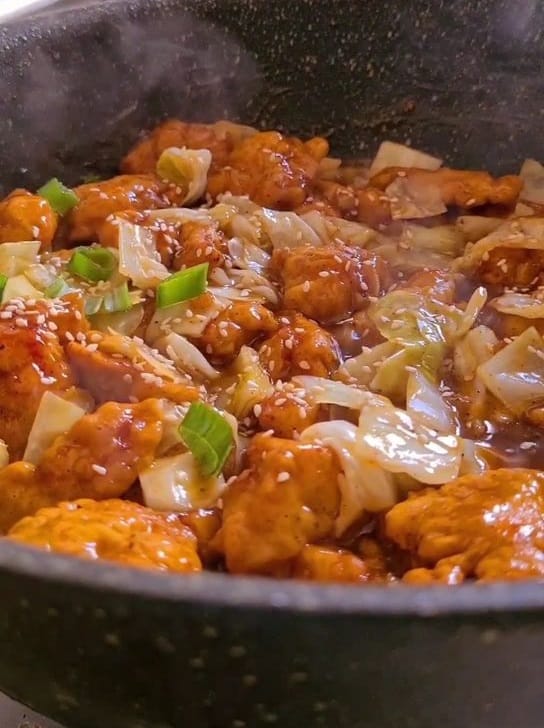
Serving
I like to garnish my soup with spring onions, but that is totally optional. This Desi version of the Hot n Sour soup is served with vinegar spiced with sliced green chilies, prawn crackers, and some soy sauce on the side.
You can serve it with some spicy Chicken Shashlik skewers to make a full meal!

Expert Tips
- Stir-frying the vegetables and mushrooms removes all the water they carry. It also kills microbes in the produce. It adds more flavor to the dish and helps increase the shelf life of the soup.
- If you are using store-bought chicken or vegetable stock, don’t add salt till you do a taste test, as store-bought stocks are generally high in sodium.
- I didn’t add any extra salt because all the sauces and the broth carry salt with them. Only season extra after tasting.
Modify Soup for Clean-Eating
Cooking at home already makes your food THAT much more nutritious because you’ll be using fresh, real ingredients to make it.
Here are some things to make your soup even more nutritious:
- Make the Chicken broth at home with organic or grass-fed chicken.
- Use low-sodium Soy sauce and Natural vinegar.
- Make your own chili garlic sauce with the measurements provided.
- Use fresh vegetables and mushrooms.
- You can use oats instead of cornflour as a thickener for your soup. Grind some oats to make powder and add 1 tsp to your soup. Let the oats cook for 10 mins, and you will have a nice, thick soup. Add more if needed.
Frequently Asked Questions
This soup has fresh vegetables and mushrooms in it. It should be ideally consumed within 2 to 3 days. Keep any leftover soup straight away in the fridge as soon as it cools down. Use an airtight container to store the soup.
If you want to make this soup for a gathering, you can make the broth in advance and chop the vegetables and mushrooms. Just assemble on the day of the event.
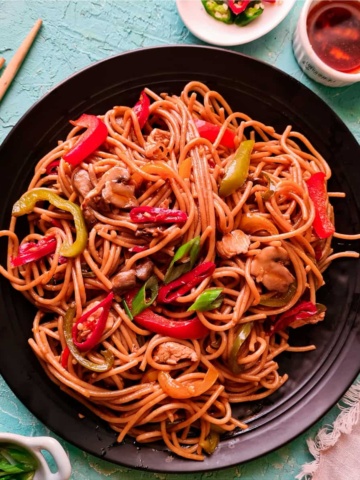
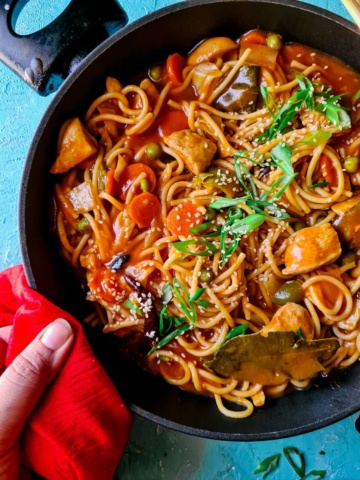
You can easily throw in some boiled noodles in the leftover soup to create a spicy noodle soup or dry it out a bit to create a saucy noodle stir fry.
Since the soup has cornflour in it, it’s best heated in a pan and not the microwave. Add a splash of water to the soup and let it simmer for 2 to 3 minutes or until hot.
More Indo-Chinese recipes
Here are some top-notch recipes that I think you will love:

Do you have any questions? I’m happy to help! And of course, If you try this recipe, I’d loveeeee to see it or simply hear about it! Hit me up in the comment section below and I’ll get back to asap! Happy Cooking!

Chicken Hot and Sour soup
Ingredients
- 2 tablespoon chili oil see notes
- 1 Litre Chicken Broth see notes
- 2 cup water
- 1 cup Shredded chicken see notes
- 4-6 tablespoon corn starch Start with 4 and see if you need more.
- 1 tablespoon brown sugar
Vegetables
- 1/2 cup shredded carrot
- 1/2 cup julienned green bell pepper
- 1 cup thinly sliced cabbage
- 1/3 cup sliced mushrooms canned or fresh
Sauces
- 2 tablespoon soy sauce
- 2 tablespoon worcestershire sauce
- 4 tablespoon vinegar
- 2 tablespoon hot sauce
- 1/2 cup chili garlic sauce see note 2
Instructions
- In a pot, add chili oil and all the vegetables and mushroom. Saute at high heat for 3 to 4 mins or until all the water from the vegetables evaporate.
- Reduce heat to low and add the shredded chicken and all the sauces. Mix everything together.
- Add chicken broth and water to the pot and turn the heat back to high. Simmer for 3 to 4 minutes or until the soup starts bubbling.
- Mix cornstarch with about 1/2 cup of water to make a smooth slurry and add it to the soup.
- Simmer for another 2-3 mins and allow the cornstarch to cook through and the soup to thicken.
- Adjust seasoning and add salt if needed.
- Serve with prawn crackers, soy sauce and vinegar with sliced green chilies cut into it.
Notes
- 3/4 cup of leftover chicken, shredded
- Grill 1 chicken breast with salt, pepper, and garlic, then shred it to use.
- 3 cups of premade broth
- Any homemade broth or stock (you can use my chicken broth recipe to do this)
- 2 chicken bouillon cubes with added garlic powder per Litre of Water.
Note 2
Substitute for Chili garlic sauce (make your own sauce):- 1/3 cup of tomato paste/ketchup
- + 2 tbsp of any red chili paste (like Sichuan sauce, sambal oelek)
- + 2 cloves of finely chopped garlic This is a spicy soup. If you’d like to make a milder version, use regular ketchup instead of chili garlic sauce.
Other notes
- I didn’t add any extra salt to the soup, because the broth and sauces carry enough salt. Only season extra after you do a taste test.
- You can use regular oil instead of chili oil.