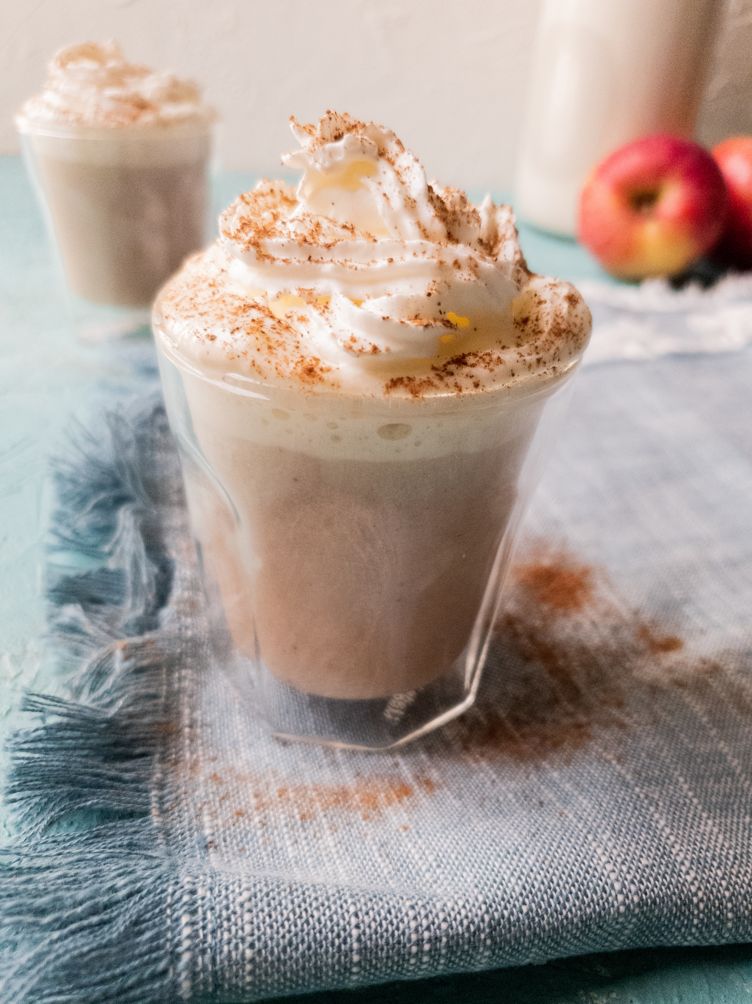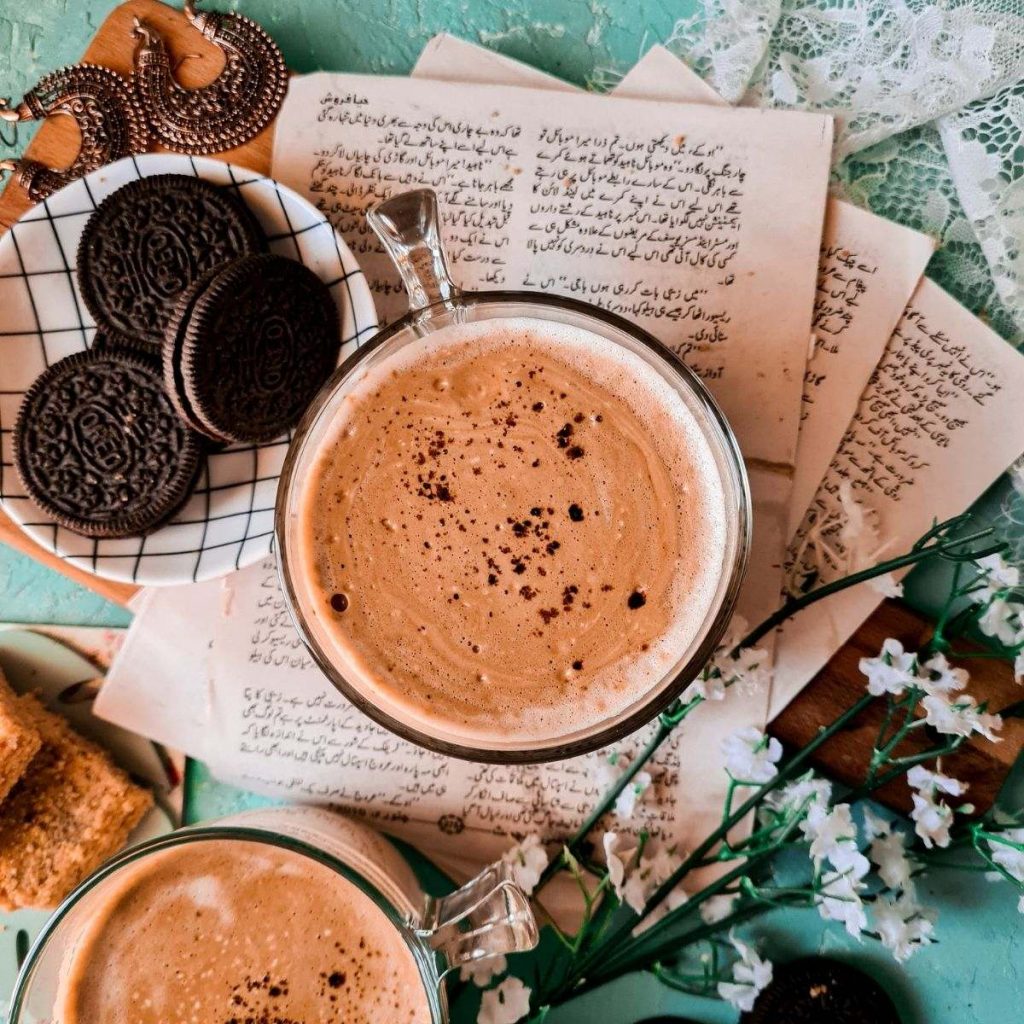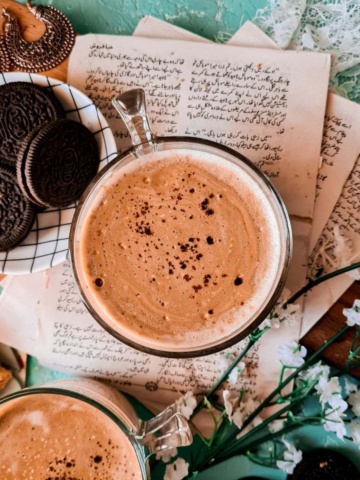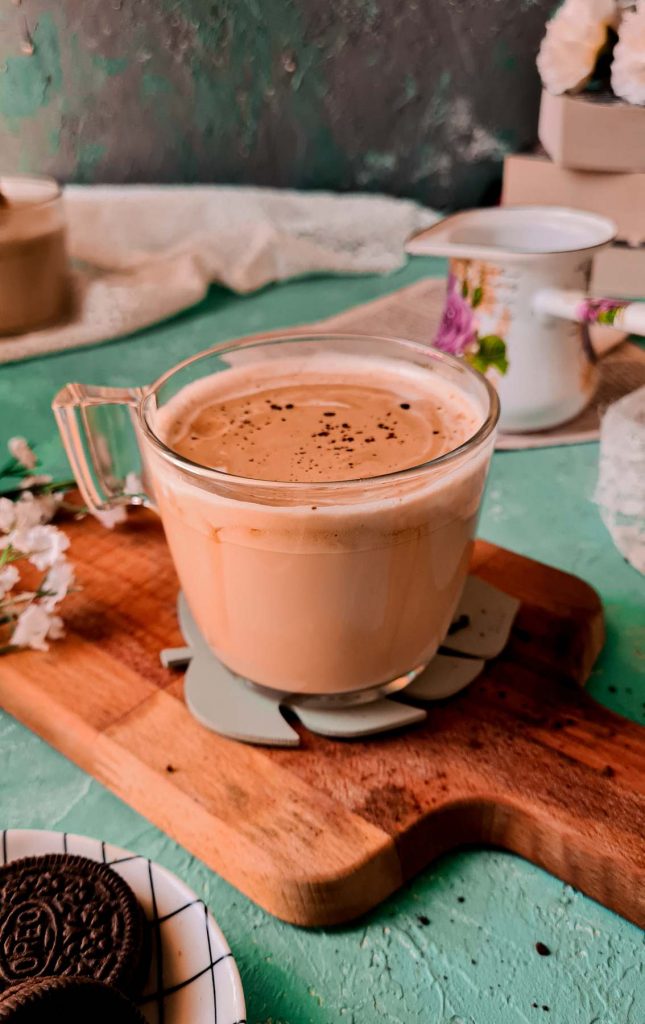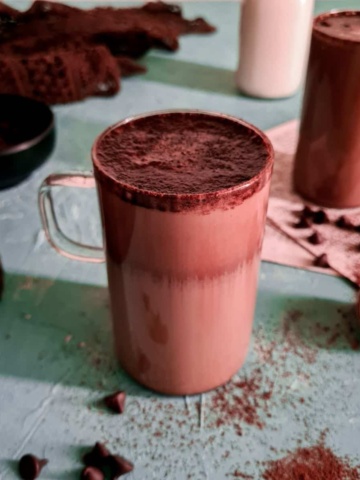
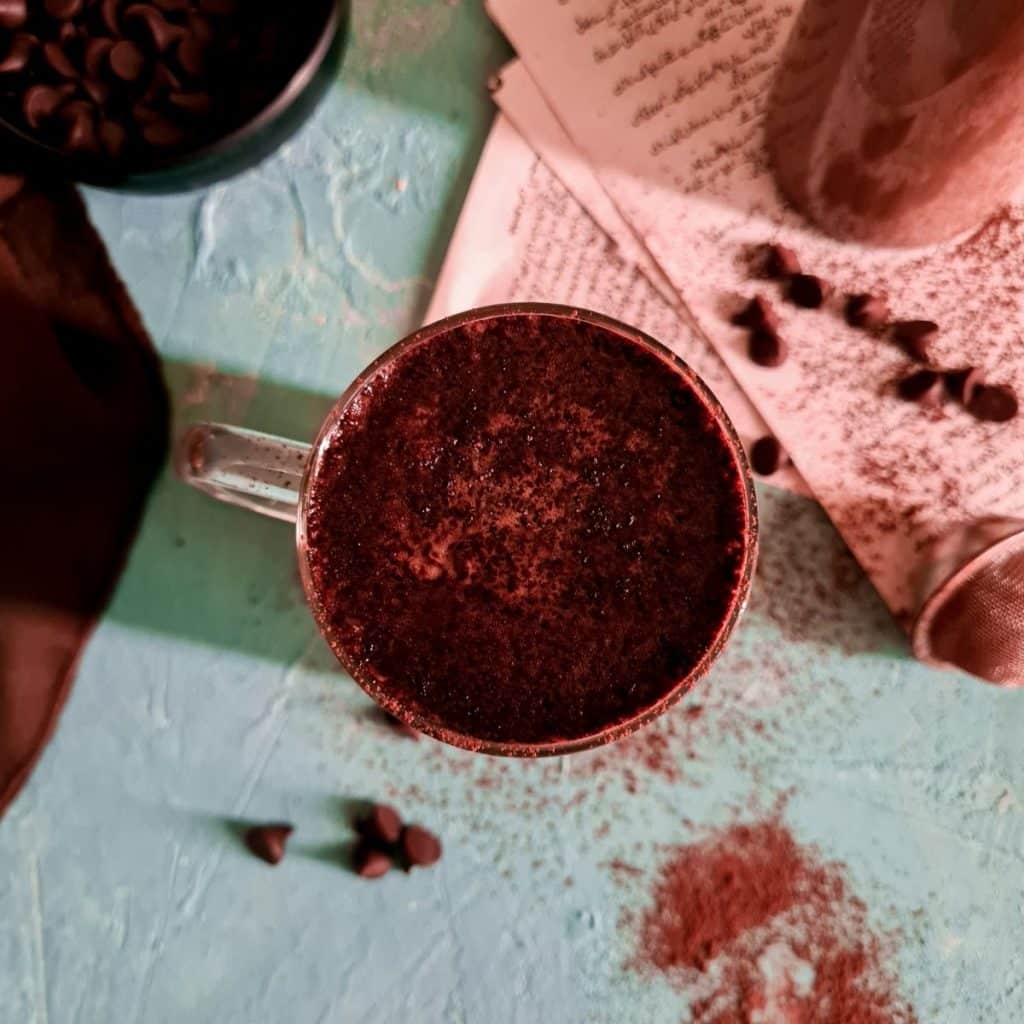
This Delicious frothy, creamy Whipped Mocha Latte is going to make your winters and blanket cuddles so much more delicious! This recipe gives you the deadly combo of chocolate and Pakistani style whipped coffee, and my friend, beware! you are about to get addicted!
What is Pakistani Mocha Latte?
A Mocha Latte is a flavored drink that combines coffee and chocolate together. It is often confused with MOCHA, which a high quality coffee bean from Yemen.
If you’ve read my post about Pakistani Whipped Coffee, then you know the origin of whipped coffee. A Pakistani Mocha Latte is just a twist on the regular whipped coffee which is made with sugar, water and instant coffee, beaten together to make a frothy milk texture. Mocha means coffee plus chocolate. And that’s really what this recipe is! Adding a little chocolate to the classic whipped coffee! But of course this one’s warm, unlike Dalgona (read more on the differences here.)
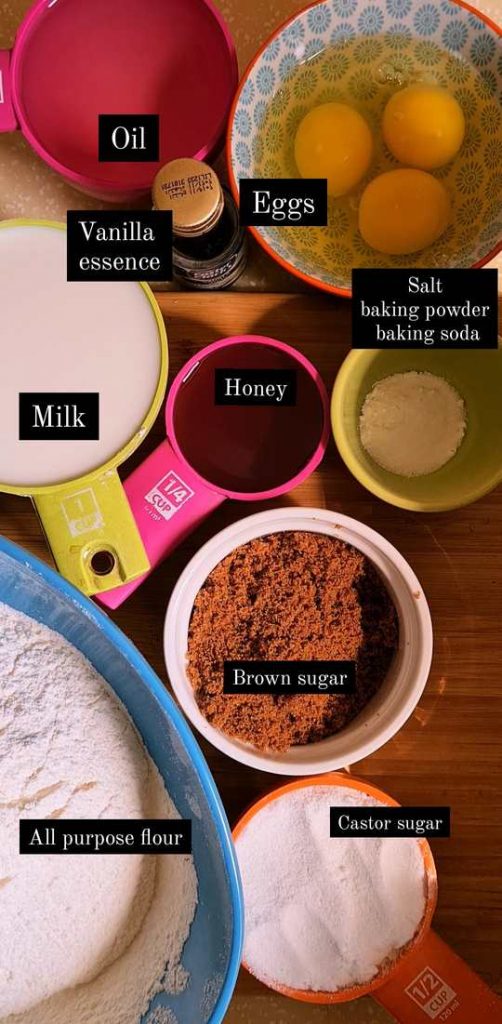
Ingredients for Whipped Mocha Latte
- Instant coffee powder – So if you’ve made whipped coffee before, you know it needs instant coffee. No other kind of coffee is going to work for this. You can use any brand of instant coffee.
- Water – Warm to hot water is ideal to make the perfect whipped coffee! This is the small amount of water that you will need to whip up your coffee.
- Sugar – You can use regular sugar or sugar alternatives as well. Sugar substitutes include: brown sugar, coconut sugar, honey and artificial sweeteners like Stevia. Keep in mind, that white sugar gives the best results but you can still get a pretty good amount of air in your coffee with sugar substitutes as well.
- Cocoa powder / Hot chocolate Mix – Regular and Dark cocoa powder, both will work perfectly well for this recipe. I personally like making this recipe with cocoa powder, but you can use a hot chocolate mix powder instead. Keep in mind, that hot chocolate mixes are already sweetened, so you will need to adjust your sugar accordingly.
- Cream – Mixing cream with cocoa or hot chocolate mix adds a layer of depth and smoothness to the mocha latte. You can use any cream you have at hand. Double, whipp, fresh, canned. You can also use non-dairy cream substitutes like cashew or coconut cream.
- Milk and water (half and half) – Once your mocha coffee base is ready, you can decide what you want to pour into it. Take equal parts of hot water and milk for this recipe. You can also do full milk if you want, or 3:1 milk and water ratio as well. You can also use non-dairy options instead.
- Chocolate (optional) – If you want to create a stronger chocolate flavor, you can even add a few tablespoons of grated chocolate in the mix. Any chocolate of your liking will work just fine. I didn’t use any this time.
How to make Desi Mocha Latte
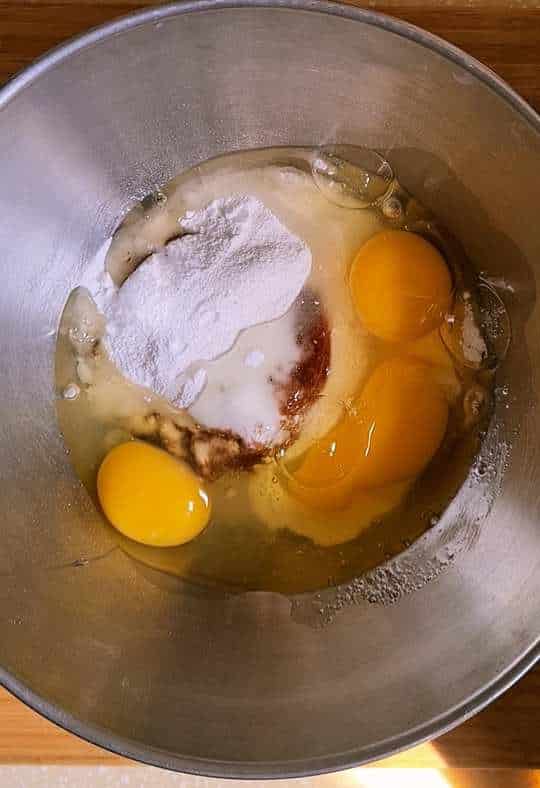
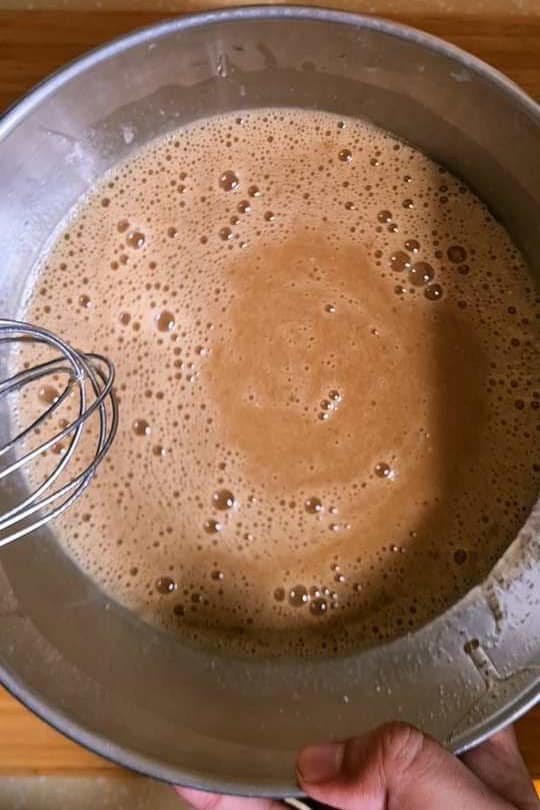
STEP 1 – Whip the coffee
All you have to do is put almost equal parts of sugar, coffee and hot water in a mug and whip it up. You can use a milk frother to do this. If you are making a big batch, you can do the same step with an electric beater and use a large bowl instead.
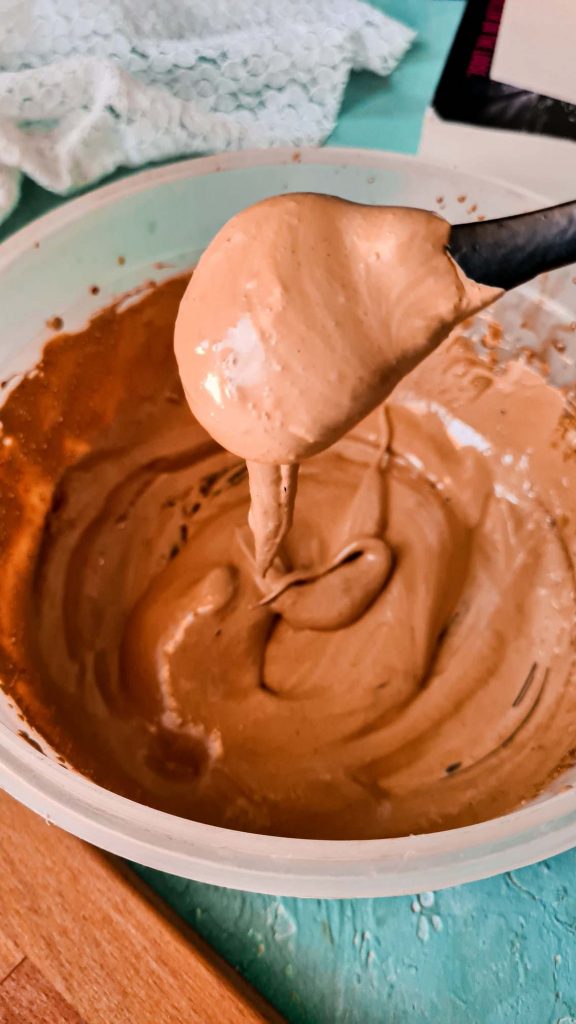
STEP 2 – Make it Mocha
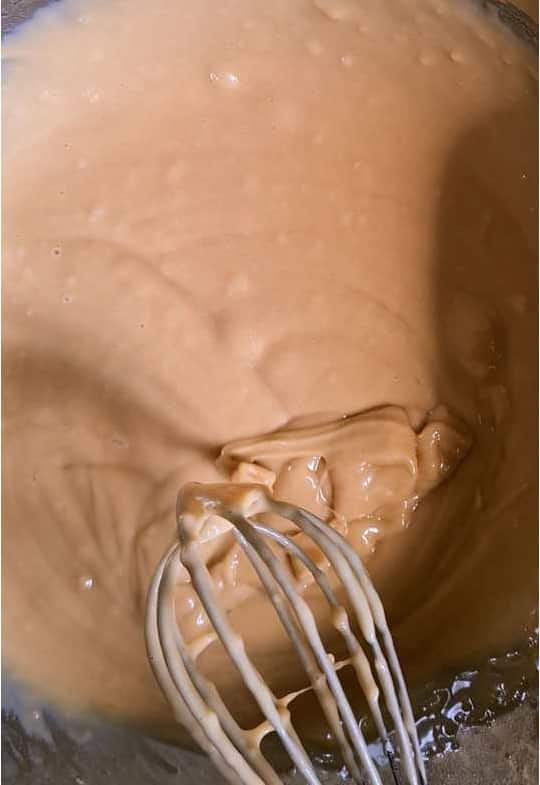
Now you are going to add your cocoa powder and cream into the whipped coffee and simply stir to combine. IF you want your coffee to taste more “chocolatey”, you can also add some chopped chocolate at this point. I’d suggest to go with some dark chocolate variety.
STEP 3 – Assemble
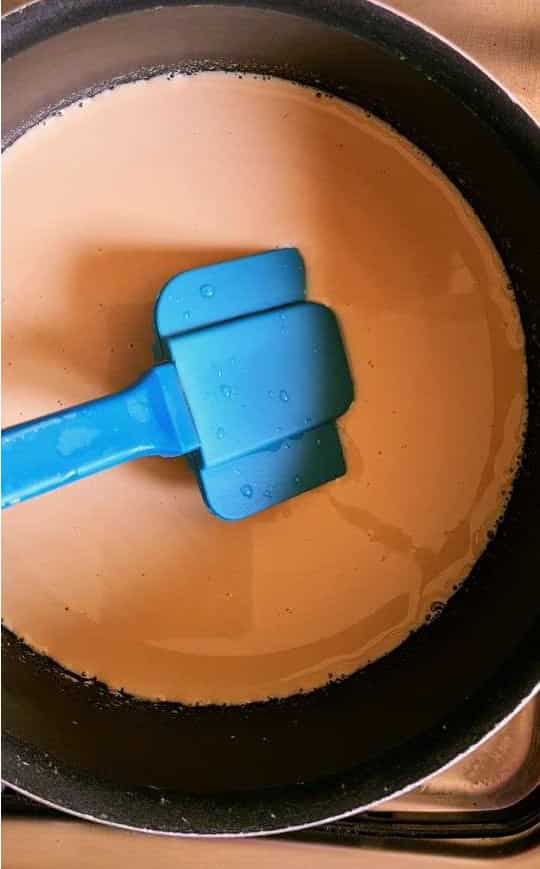
Warm up some equal parts milk and equal parts water. Pour it over your whipped mocha coffee and stir to mix well.
STEP 4 – Make it fancy
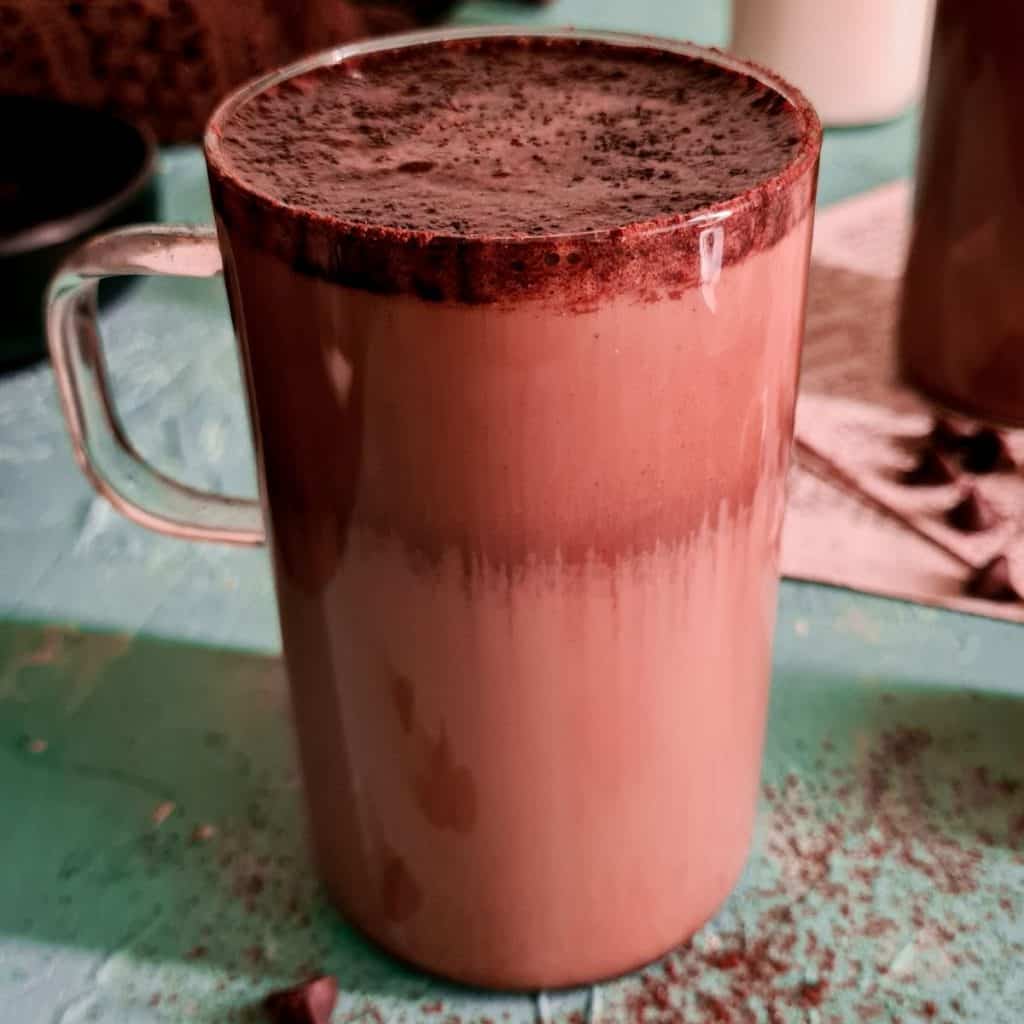
If you want, you can also add some whipped cream or marshmallows on top to give you hot chocolate feels. And then dust with some cocoa powder.
FAQS about Whipped Mocha Latte
Can I make a big batch of Mocha Coffee?
Yes, you can bulk prepare the whipped mocha coffee for a larger gathering. Just drop 2 tablespoons of mocha coffee mix in every mug when you are ready to serve, and pour your milk on it.
Can I make this Pakistani Mocha Latte into Iced Mocha ?
Absolutely. Of course that makes it Chocolate Dalgona. But besides the nomenclature, you can use cold milk and ice instead of hot milk.
How long can the whipped coffee stay in the fridge?
You can bulk prepare whipped coffee and keep it in the fridge for 4 to 5 days easy. Just make sure the bowl is covered properly with a lid or cling wrap.
How to make a lite version of the Pakistani Mocha Latte coffee
- Use sugar alternatives like Stevia, honey or coconut sugar. Or skip sugar altogether
- Go dairy free for cream and use cashew cream or coconut cream instead.
- Use nut milk, oat milk or soy milk instead of regular milk
- If you are cutting on caffeine, use the decaf instant coffee option.
- Use dark cocoa instead of hot chocolate mix
Other similar recipes for you to try
Pakistani whipped coffee
Apple Cinnamon Latte
Date and Melon Shake

Pakistani Whipped Mocha Latte
Ingredients
- 1 tsp instant coffee powder
- 1 tsp sugar see notes
- 1 tsp cocoa powder or hot chocolate powder (see notes)
- 1 tbsp cream
- 1/2 cup warm water
- 1/2 cup warm milk
Instructions
- In a cup, add instant coffee, sugar and 1 tbsp of hot water. Use a milk frother to whip the coffee up until light, and fluffy. This will take about 2 to 3 mins.
- Add cocoa powder and cream. Use a spoon to mix everything together briefly.
- Pour a mix of warm water and milk. Stir to combine. Top it off with more cream, chocolate or instant coffee powder.
Notes
- You can use sugar alternatives like honey, stevia or coconut sugar.
- If you use hot chocolate mix, instead of cocoa powder, reduce the level of sugar by half.
- To make the recipe dairy free, use nut milks and coconut cream or cashew cream instead.
- You can use decaf coffee powder as well.