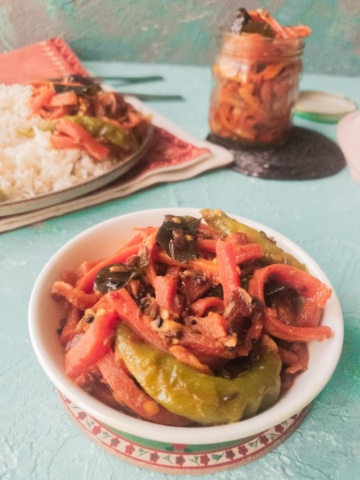
Literally the best thing to come out of South Asia. This version of the picked onions is quick, tangy and perfect to pair with dal chawal or put in salads.
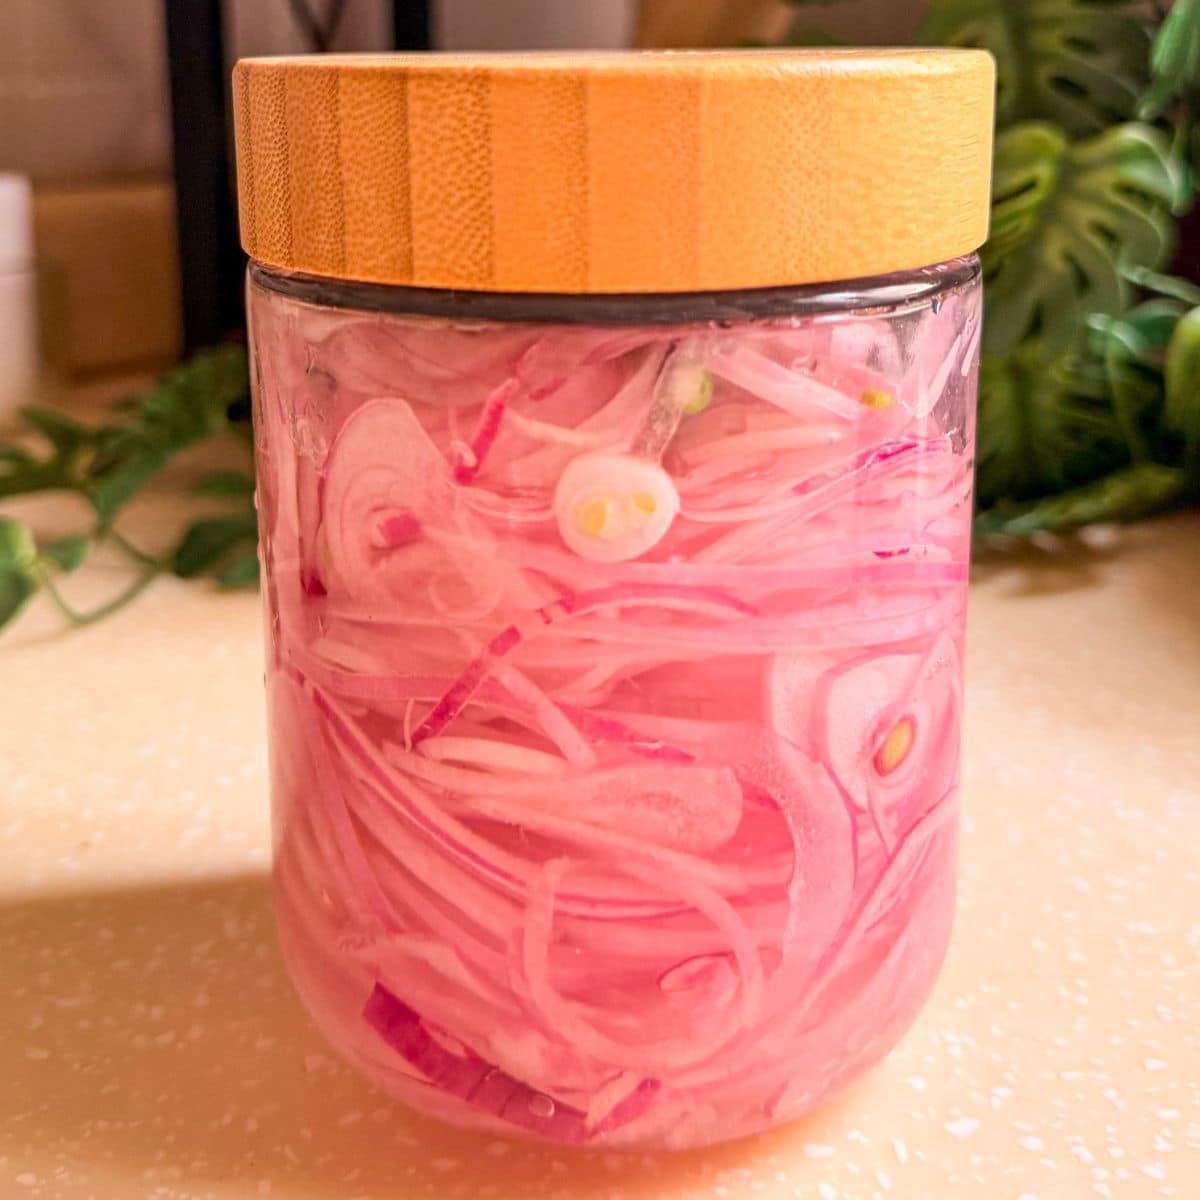
The way people pickle things is mostly based on where they are from. So, for example, Chinese or Korean cuisines usually add sugar to their pickled vegetables. This desi version is called “sirkay wali piyaz” in Urdu and commonly made on the spot to eat with simple house meals like dal chawal or parathas.
My mom, like all brown moms, always has a couple of our favourite condiments made and kept in the fridge. My own fav staples are gajar ka achaar (spicy pickled carrots), green mint chutney and dahi bara masala (spice mix) to top on everything.
[feast_advanced_jump_to]Notes on Ingredients
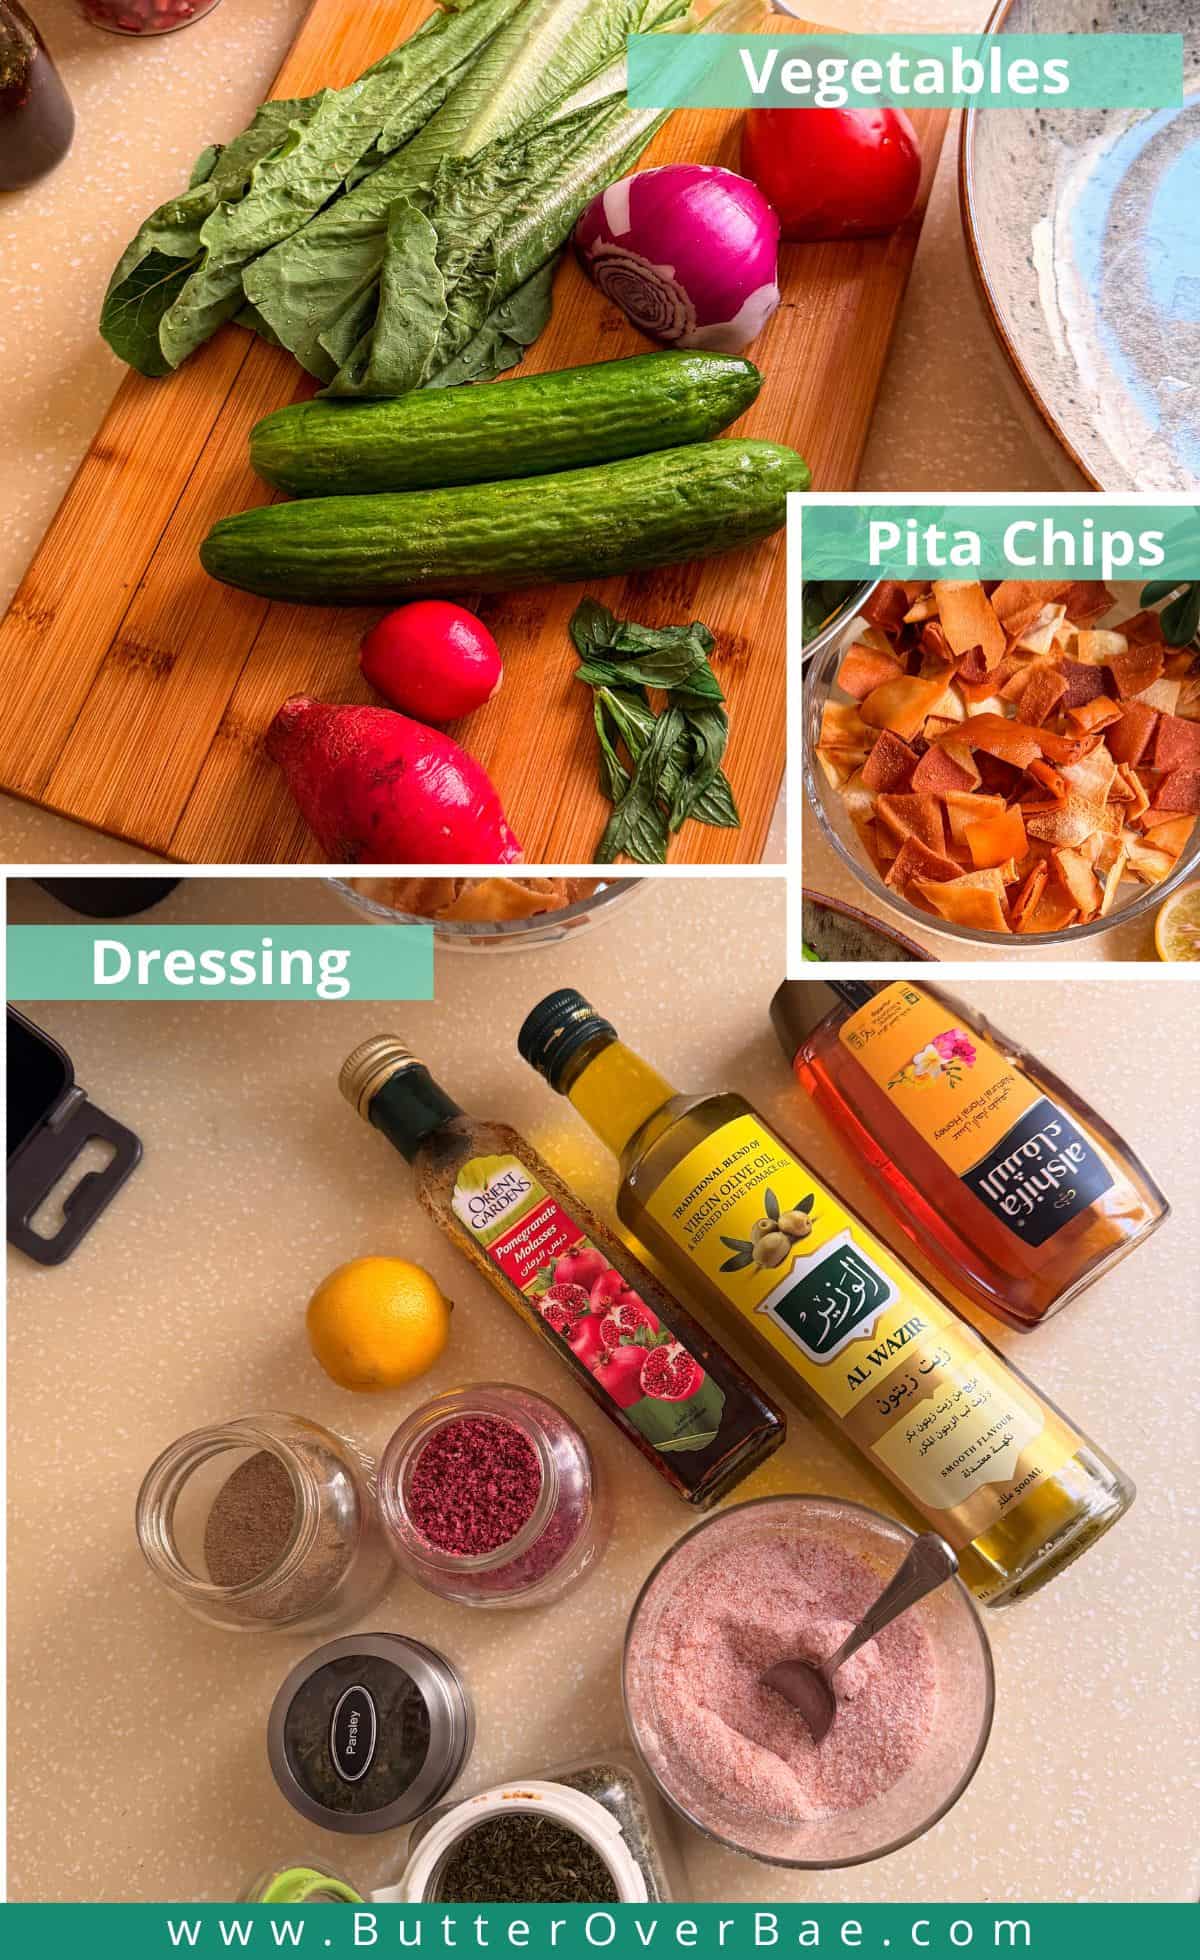
To pickle onions, you really only need an acid and onions; everything else is for flavour infusion.
- Vinegar – I use white vinegar for my regular pickled onions that go with all my desi food. If I need it for other cuisines or salads, I sometimes use red wine vinegar or white vinegar and apple cider vinegar half and half.
- Green Chilli – For a mild chilli infusion, you can use red chillies or jalapenos too.
- Garlic – For a mild kick, you can skip this if you want.
- Whole Black peppercorns – Enhances all the flavours.
- Salt – For seasoning
- Water – For soaking and flavour moderation.
See the recipe card for full information on ingredients and quantities
Instructions
Here is a simple pictorial for my visual people:
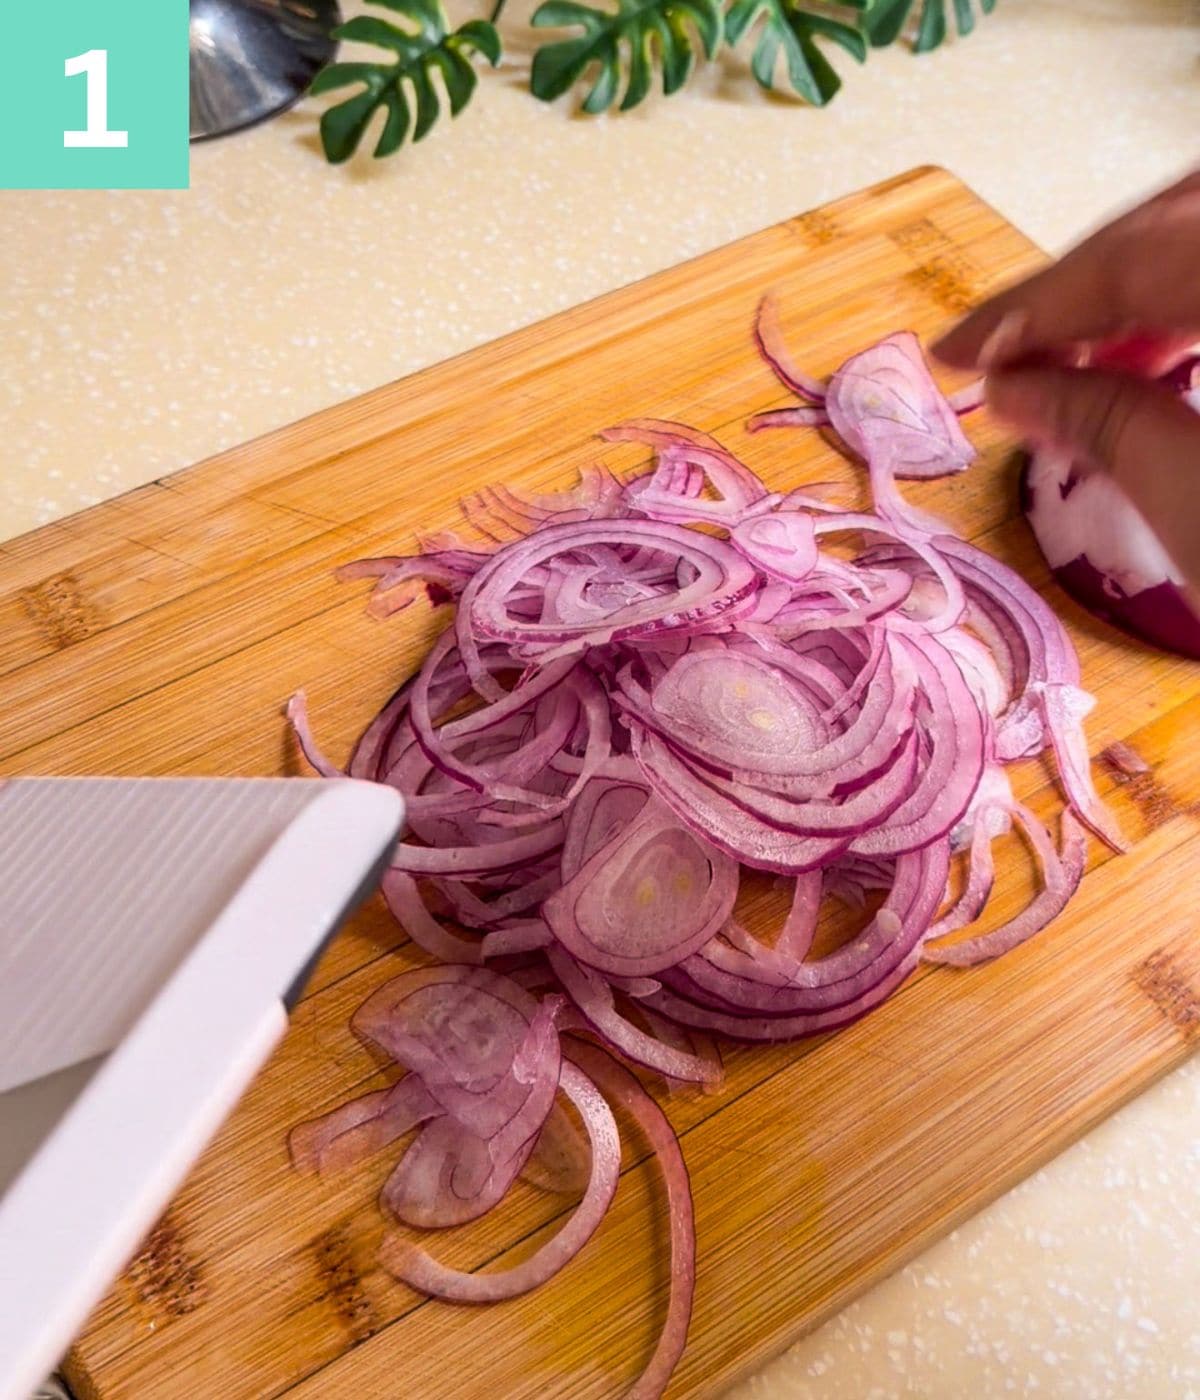
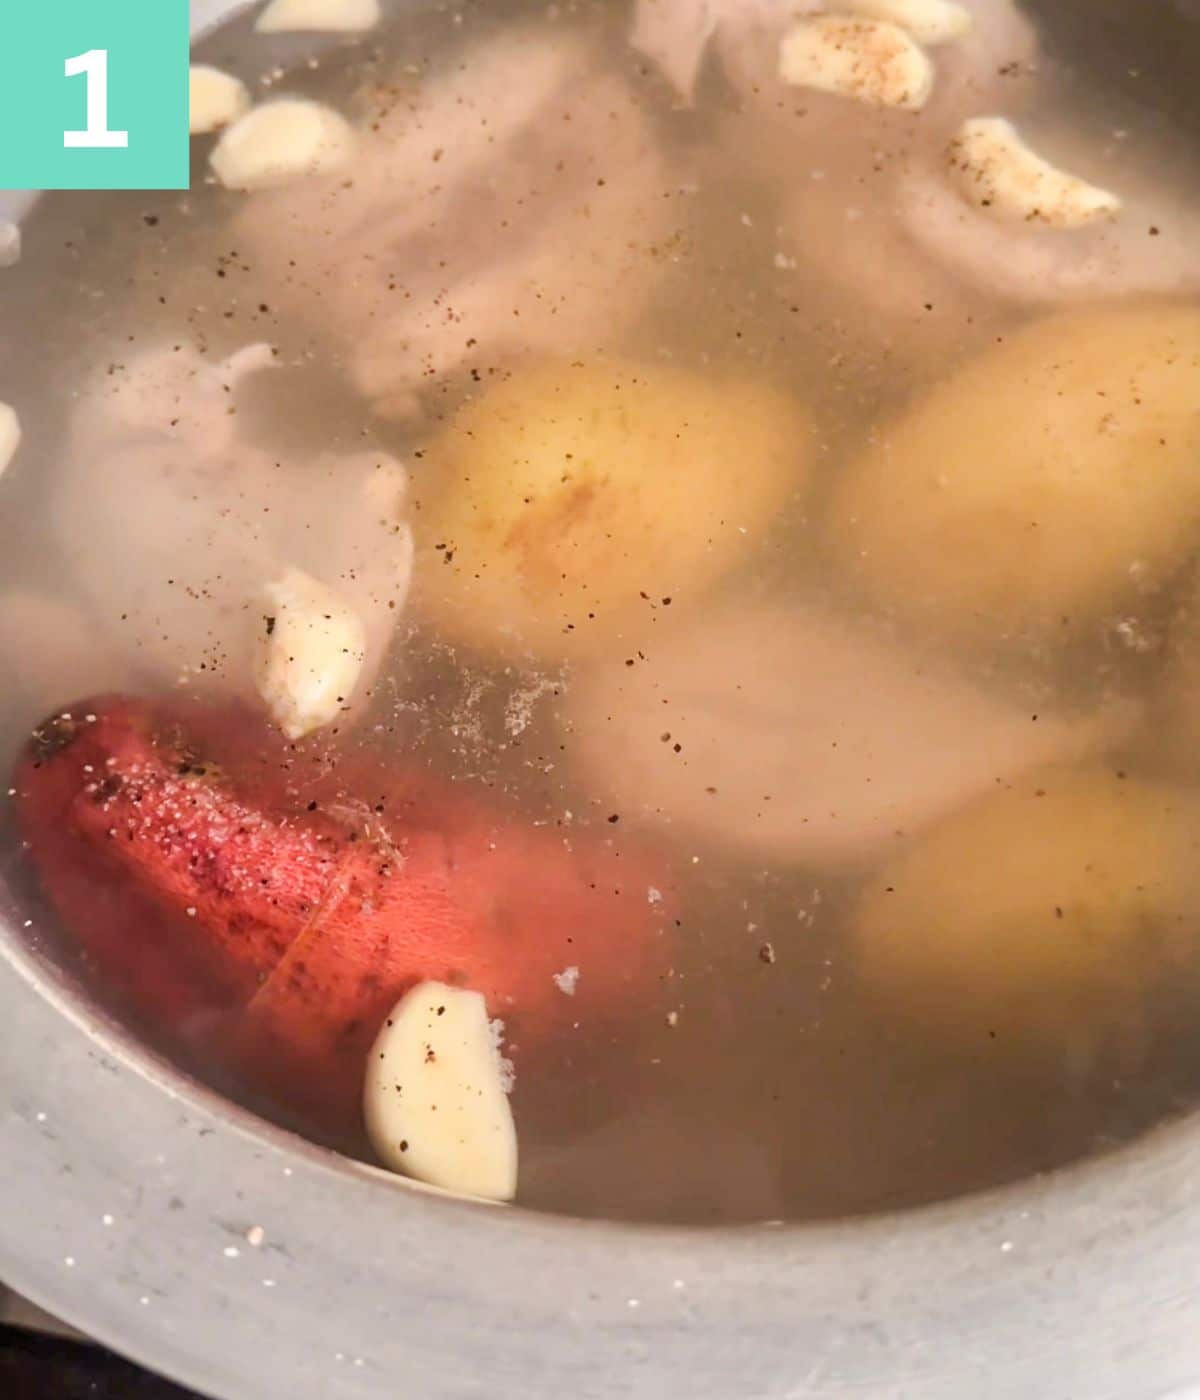
Step 1: Peel the onion and slice it using a mandoline.
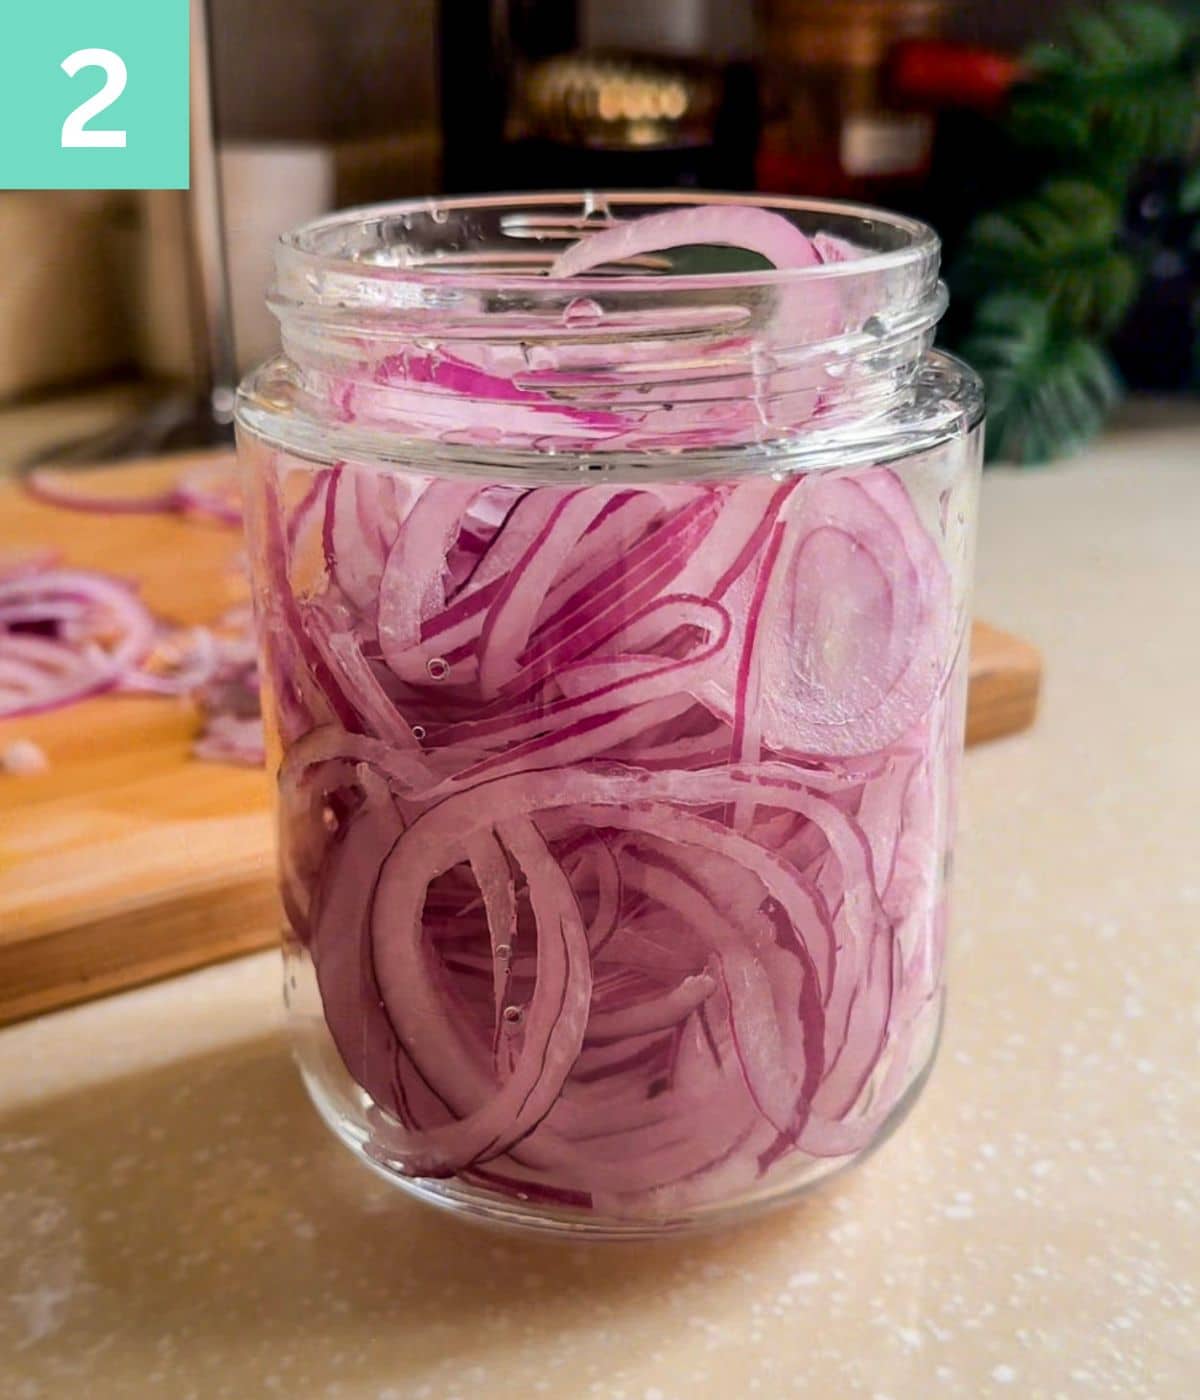
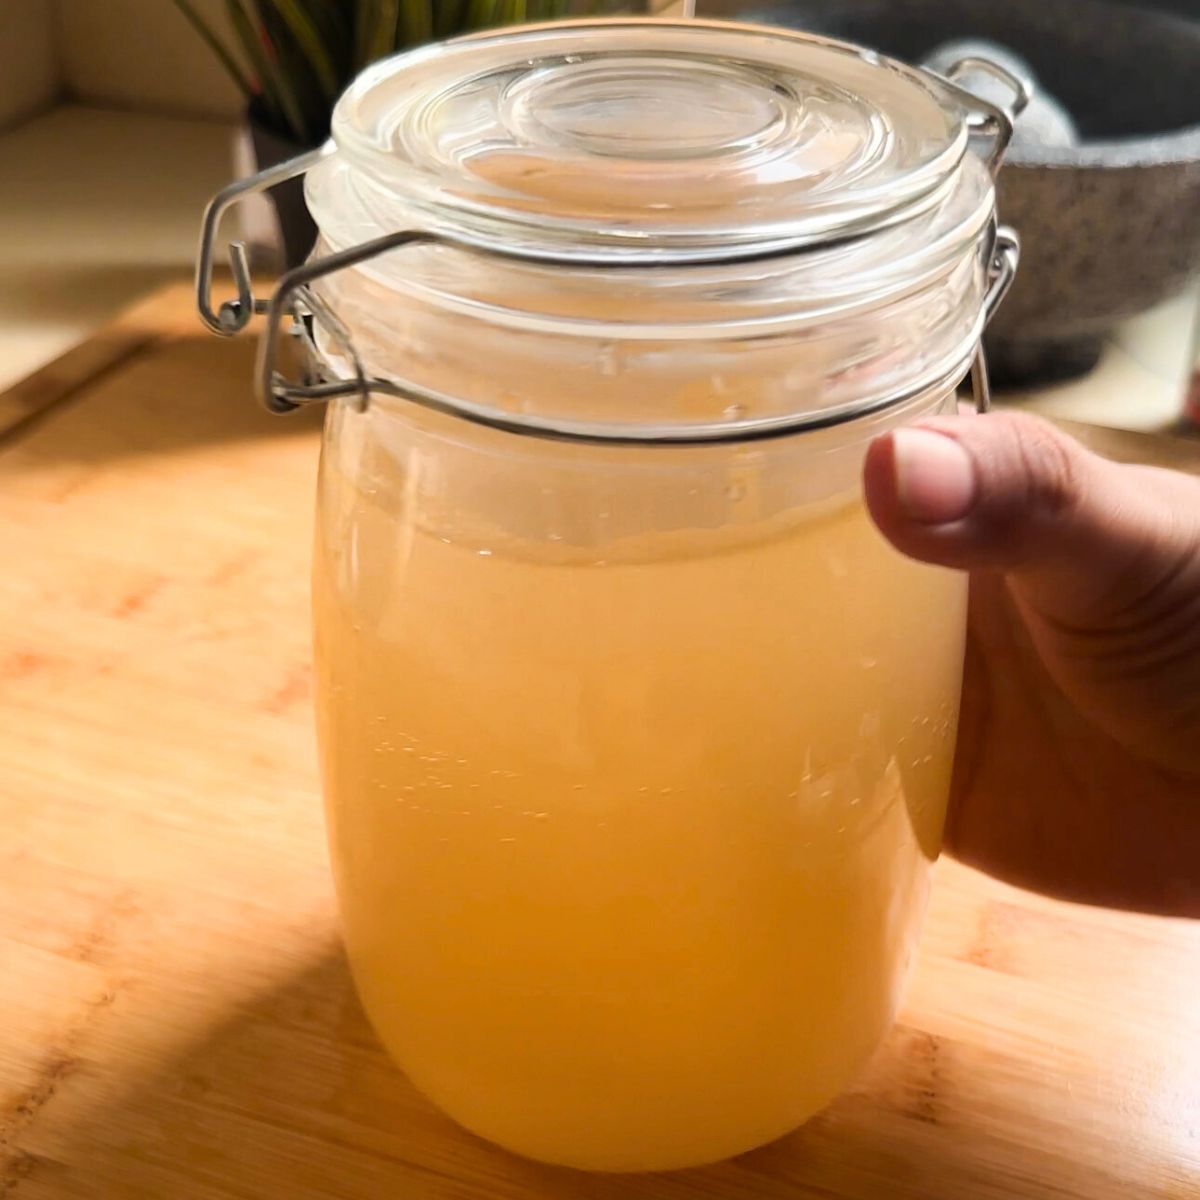
Step 2: Stuff the onions into a heat-resistant jar made of glass, steel or ceramic.
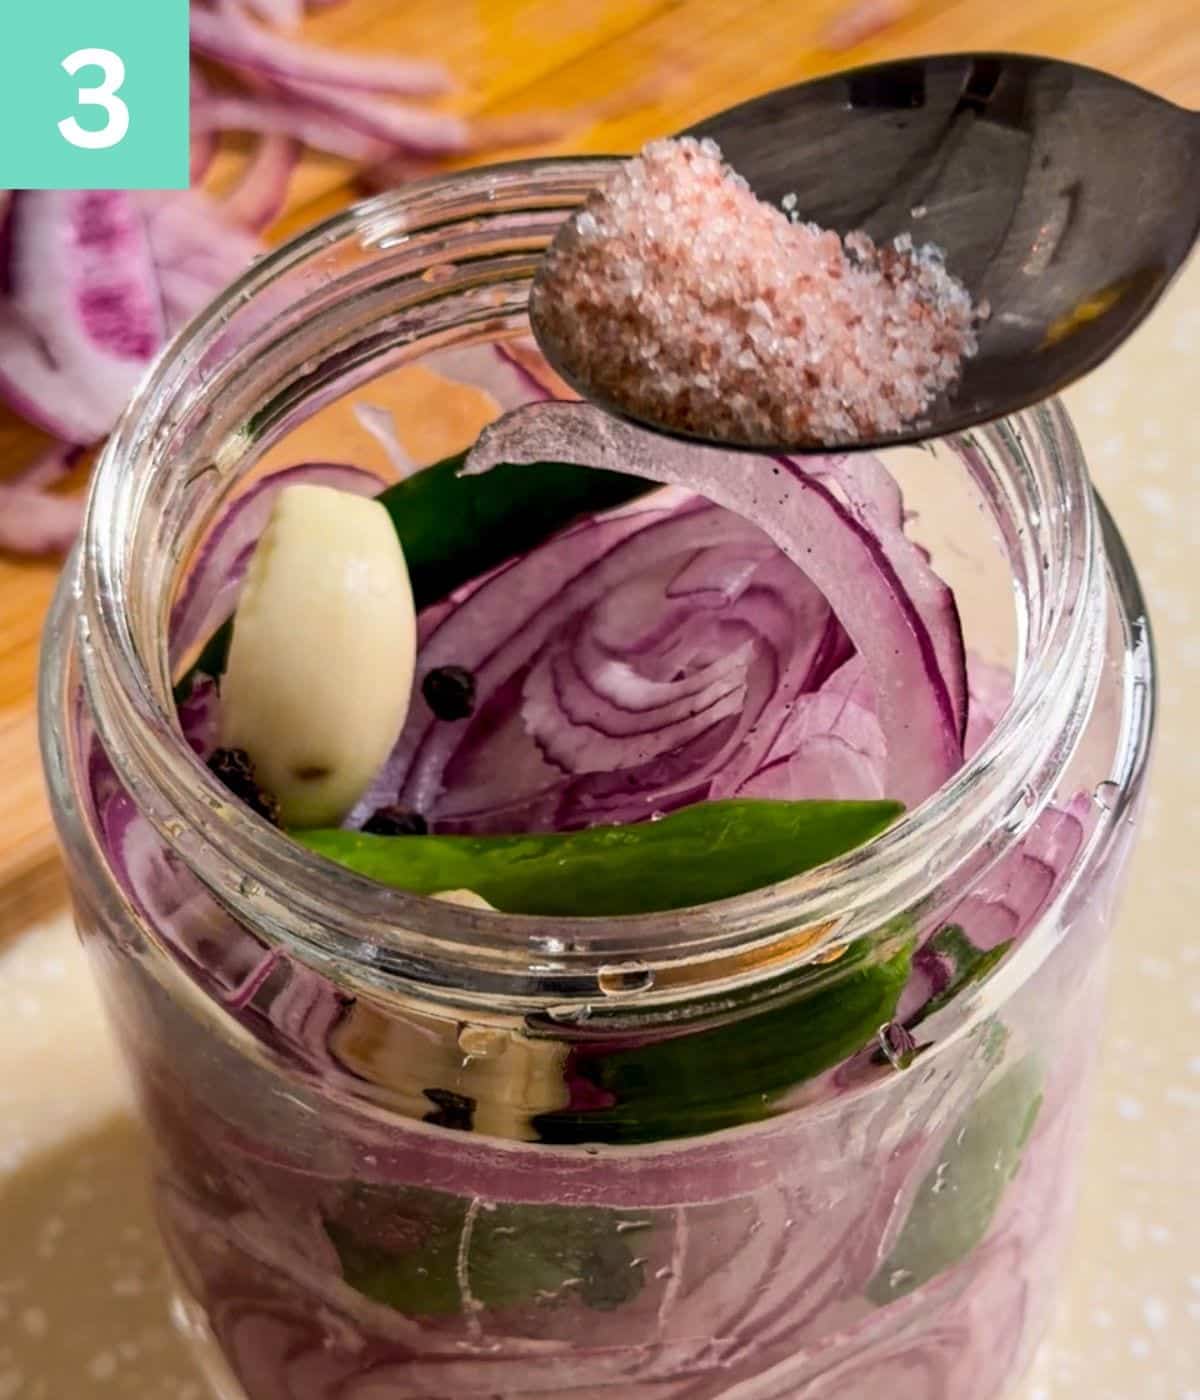
Step 3: Add salt, garlic, black peppercorns and green chillies.
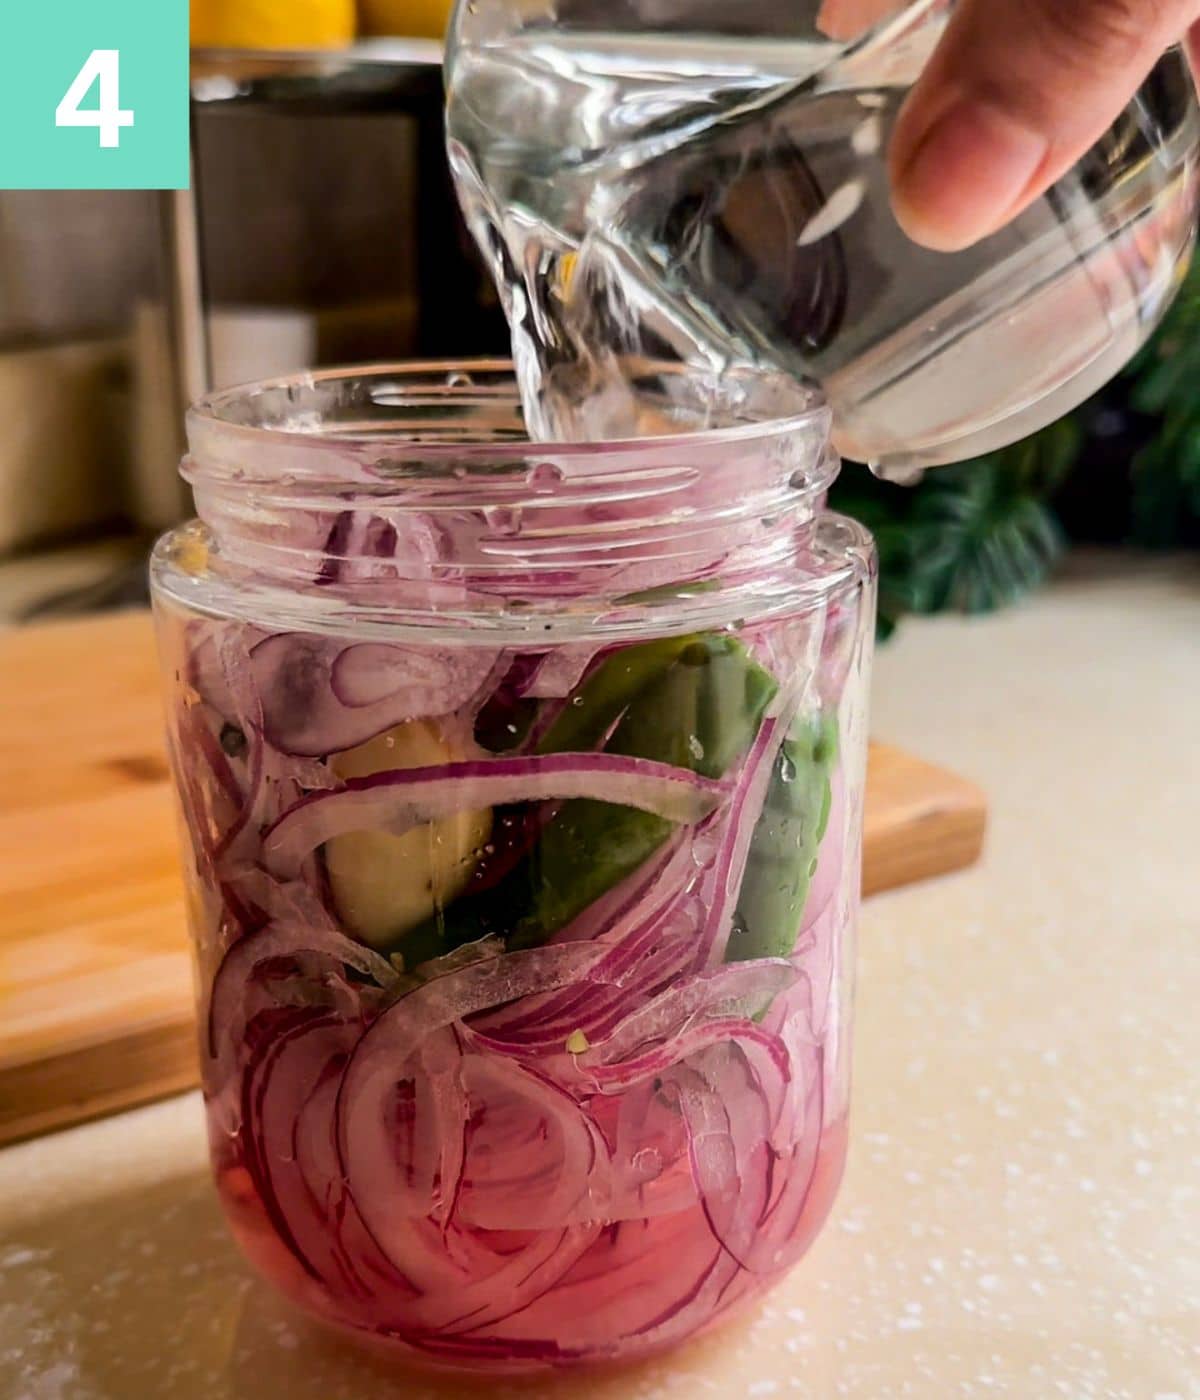
Step 4: Pour in vinegar and hot water.
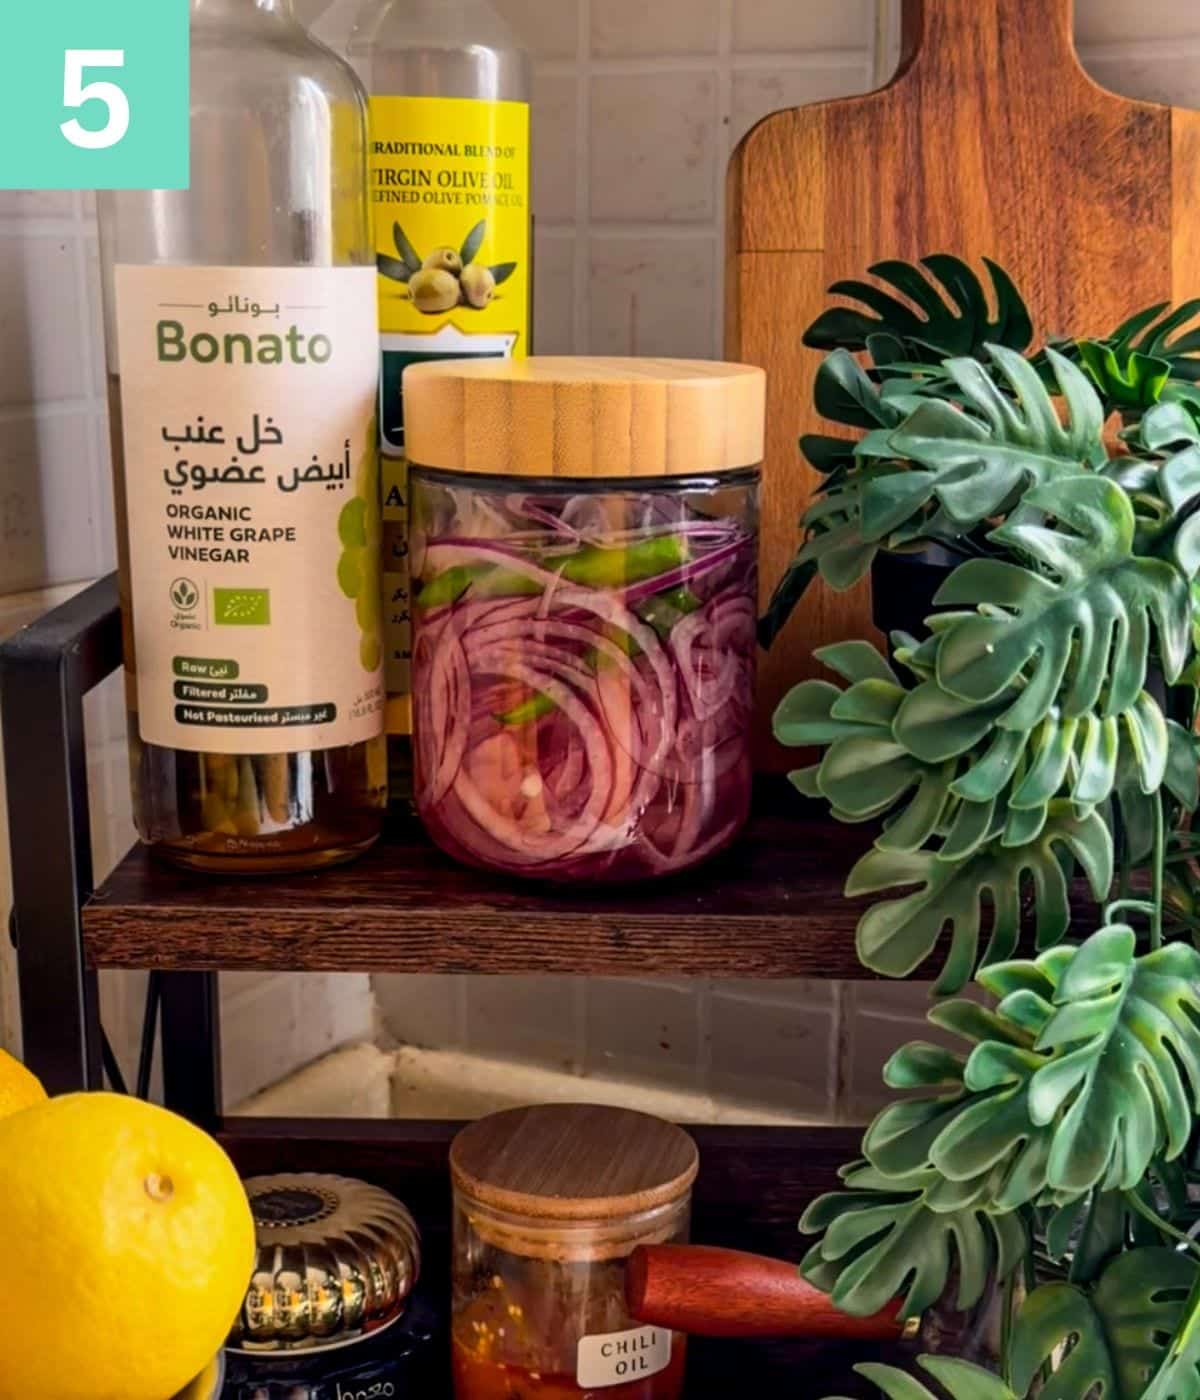
Step 5: Let the onions sit on the counter for 30 minutes.
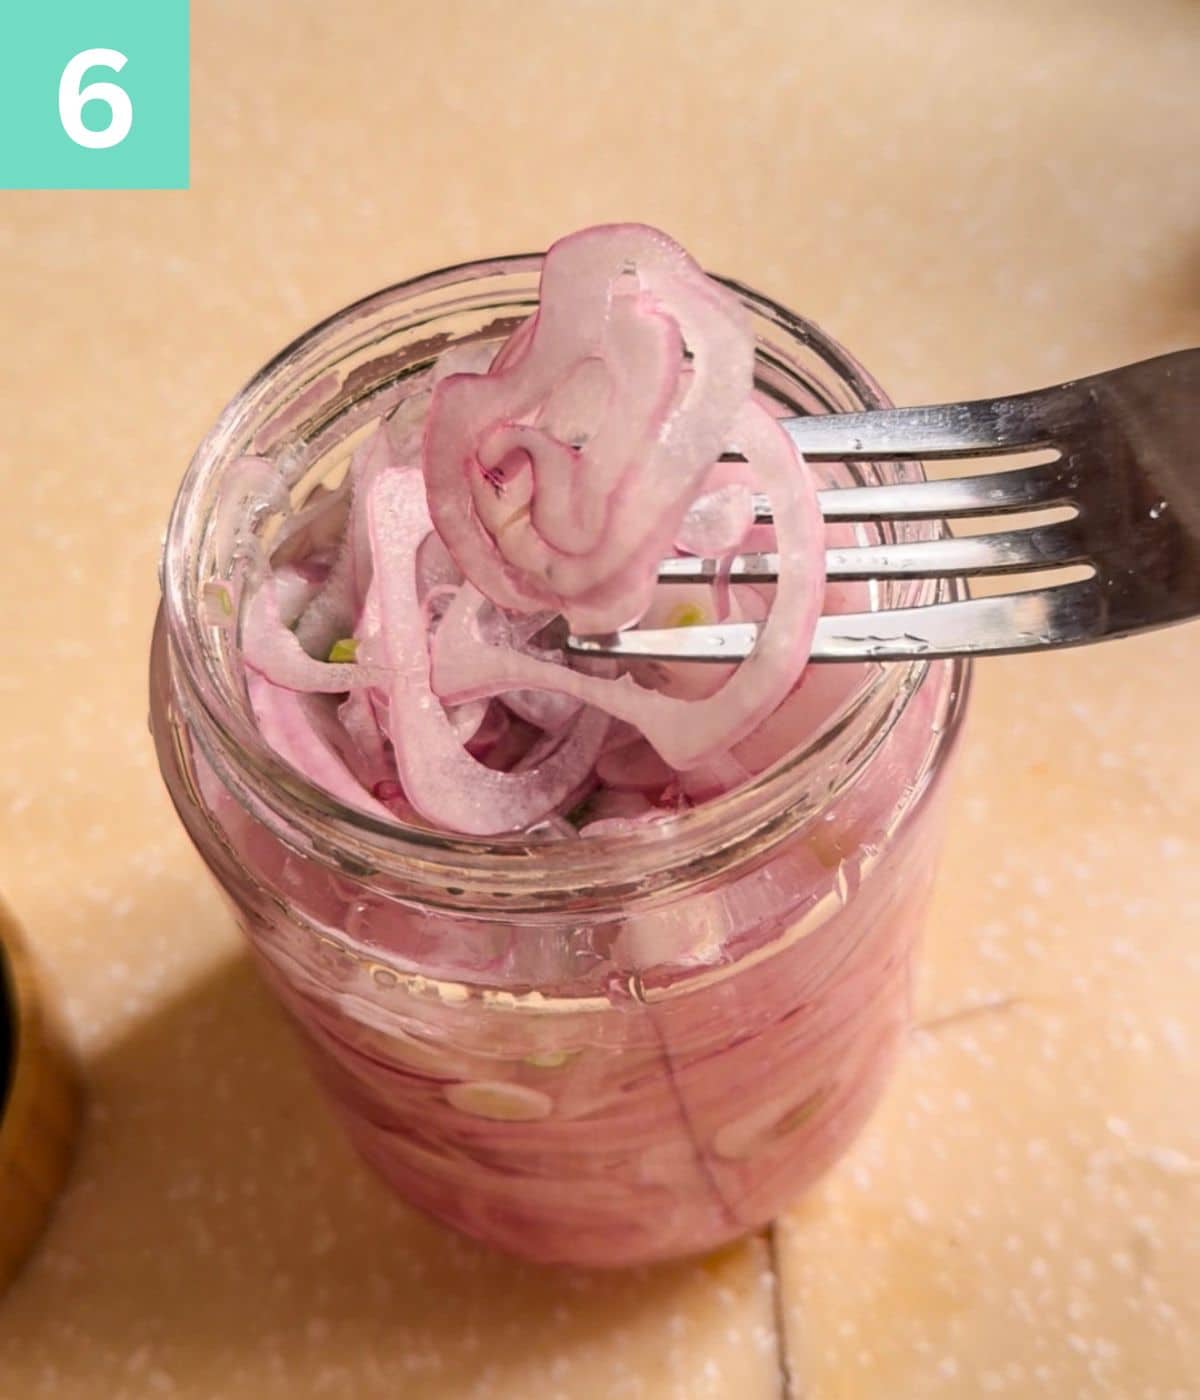
Step 6: Dig in!
When ready, store in the fridge to use for later for months. If you live in a colder region, you can leave the pickles on the counter, too.
Variations
The best thing about this recipe and all pickling recipes is that they are completely open to being revamped! I’ve given you the basic blueprint of what you will need. Now feel free to add more complex flavours and make your own versions. Here are some variations for you to try:
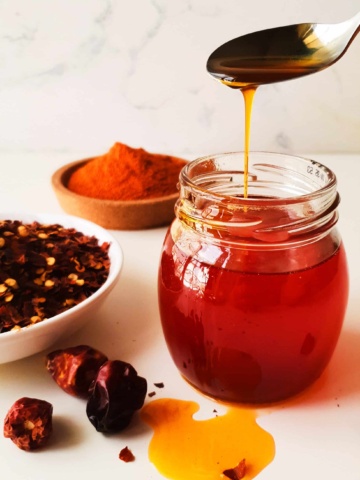
- Spicy – Add red chilli powder and red chilli flakes to the water for a spice kick.
- Colour – Some of my aunties like to add beetroot juice or a piece of beetroot to the liquid to make the onions pink and aesthetic.
- Asian – Add sugar or honey for a sweet-and-tangy pickle, perfect for eating with Korean BBQs and Chinese food.
- Other vegetables: You can make a mix pickle batch with onions, carrots, cabbage and cucumbers.
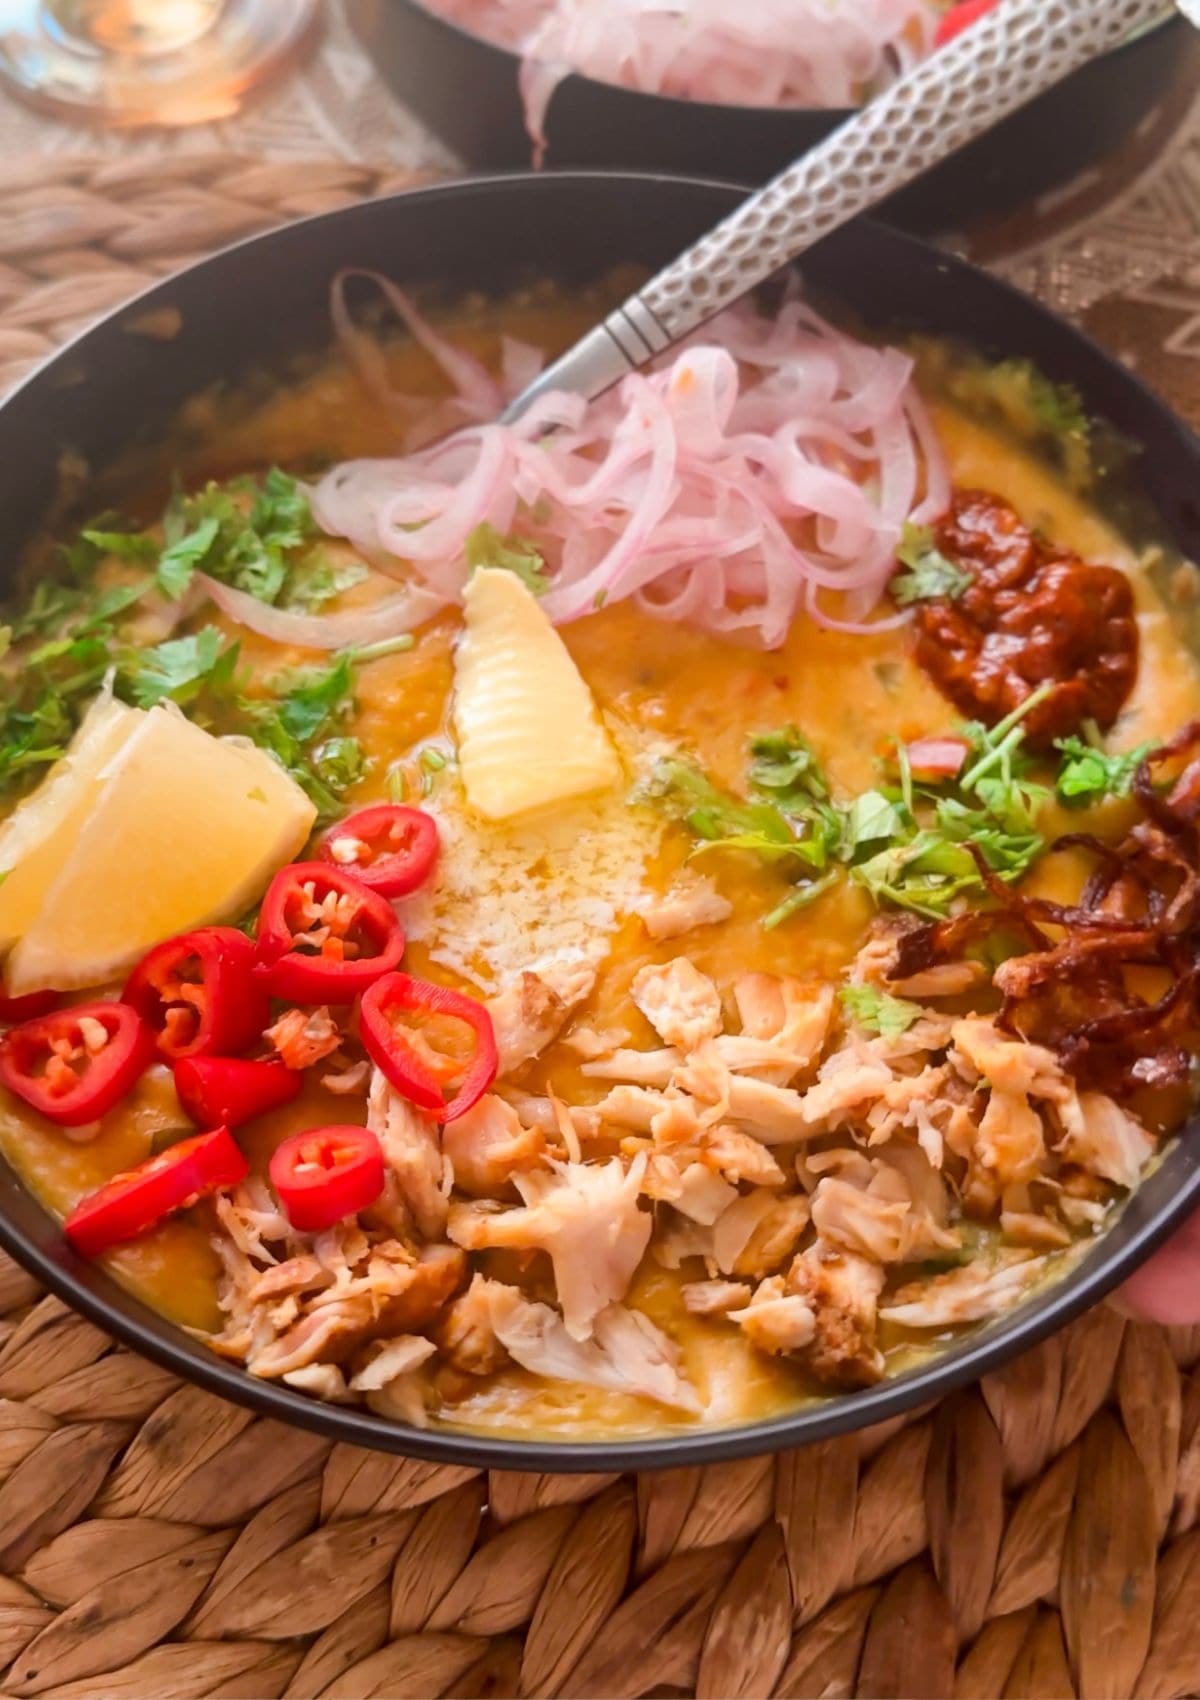
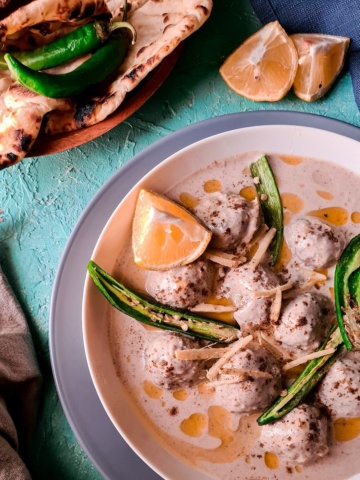
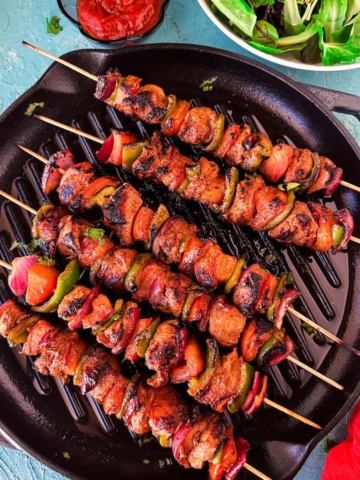
What to serve pickled onions with
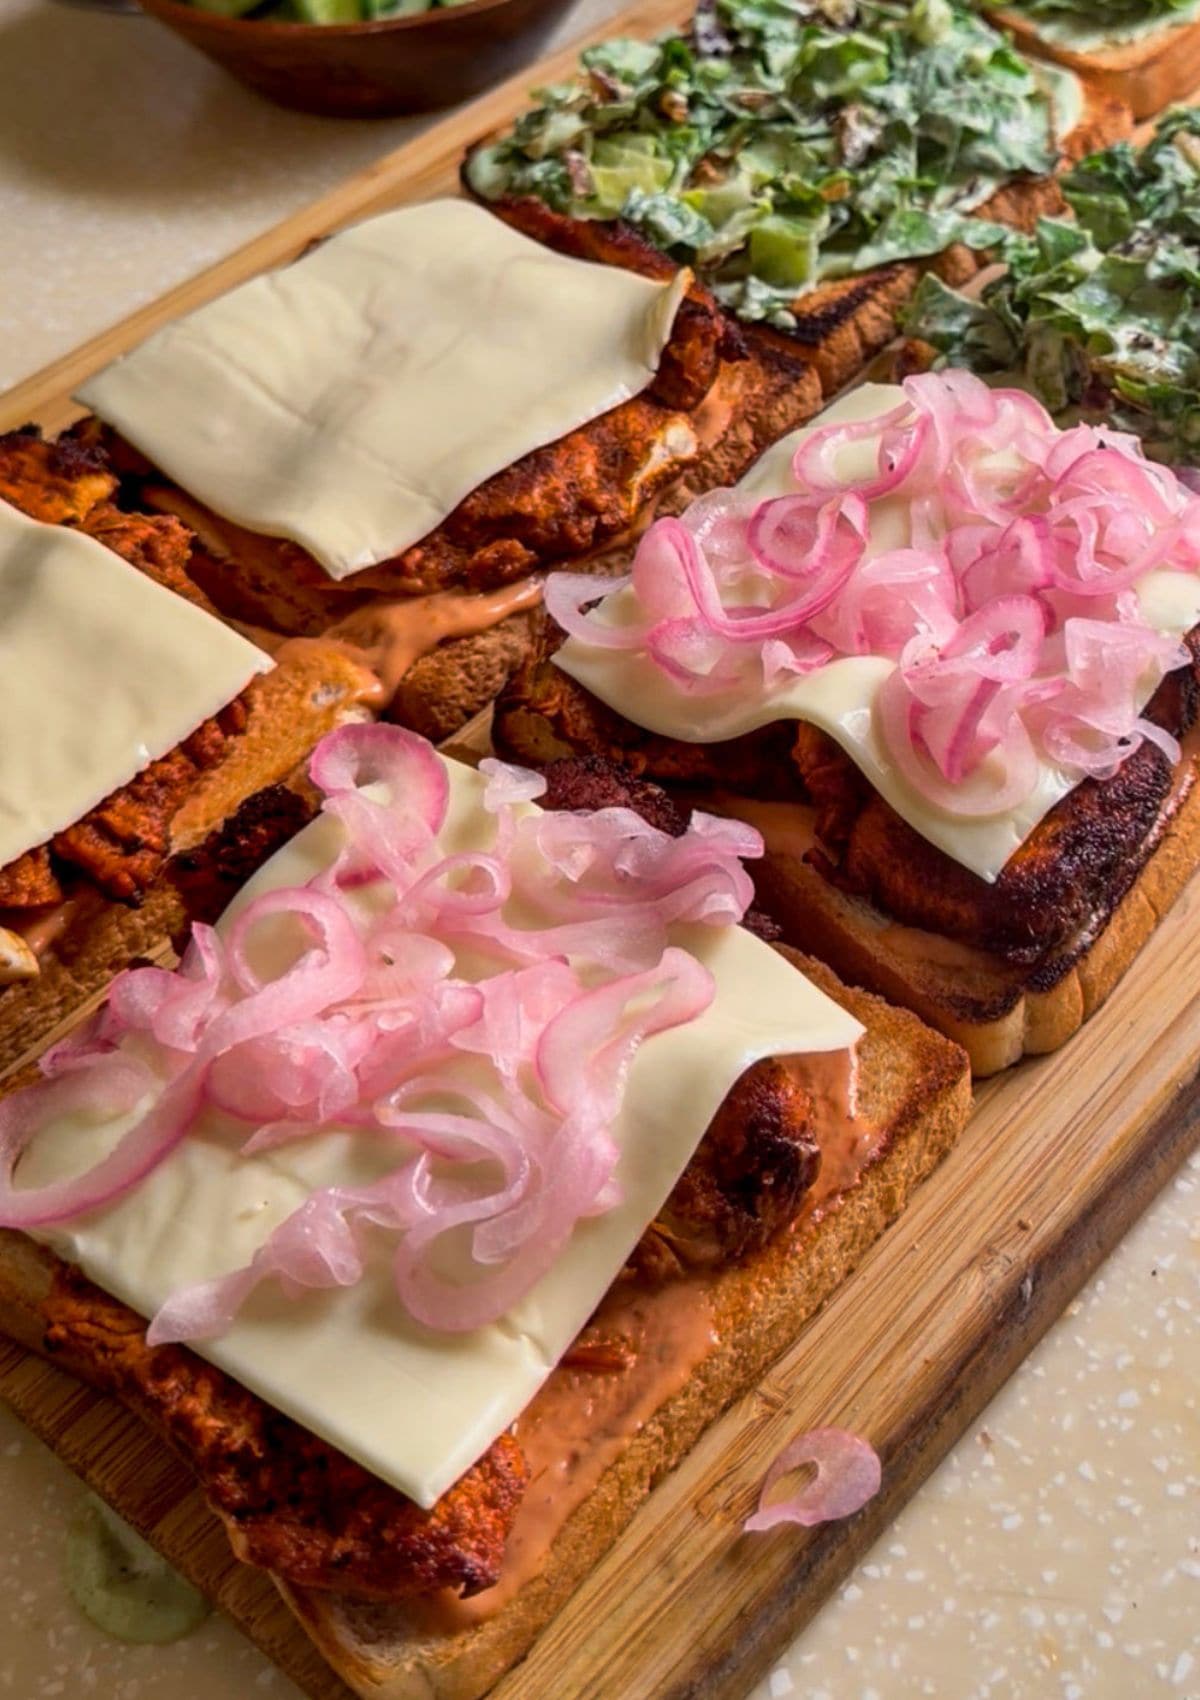
We usually serve it on the side with lots of our mains, and I mean it’s just there, we don’t even think about it as such, lemme give you some favourite combos:
- With all kinds of Daal chawal and achaar.
- With aloo ko paratha.
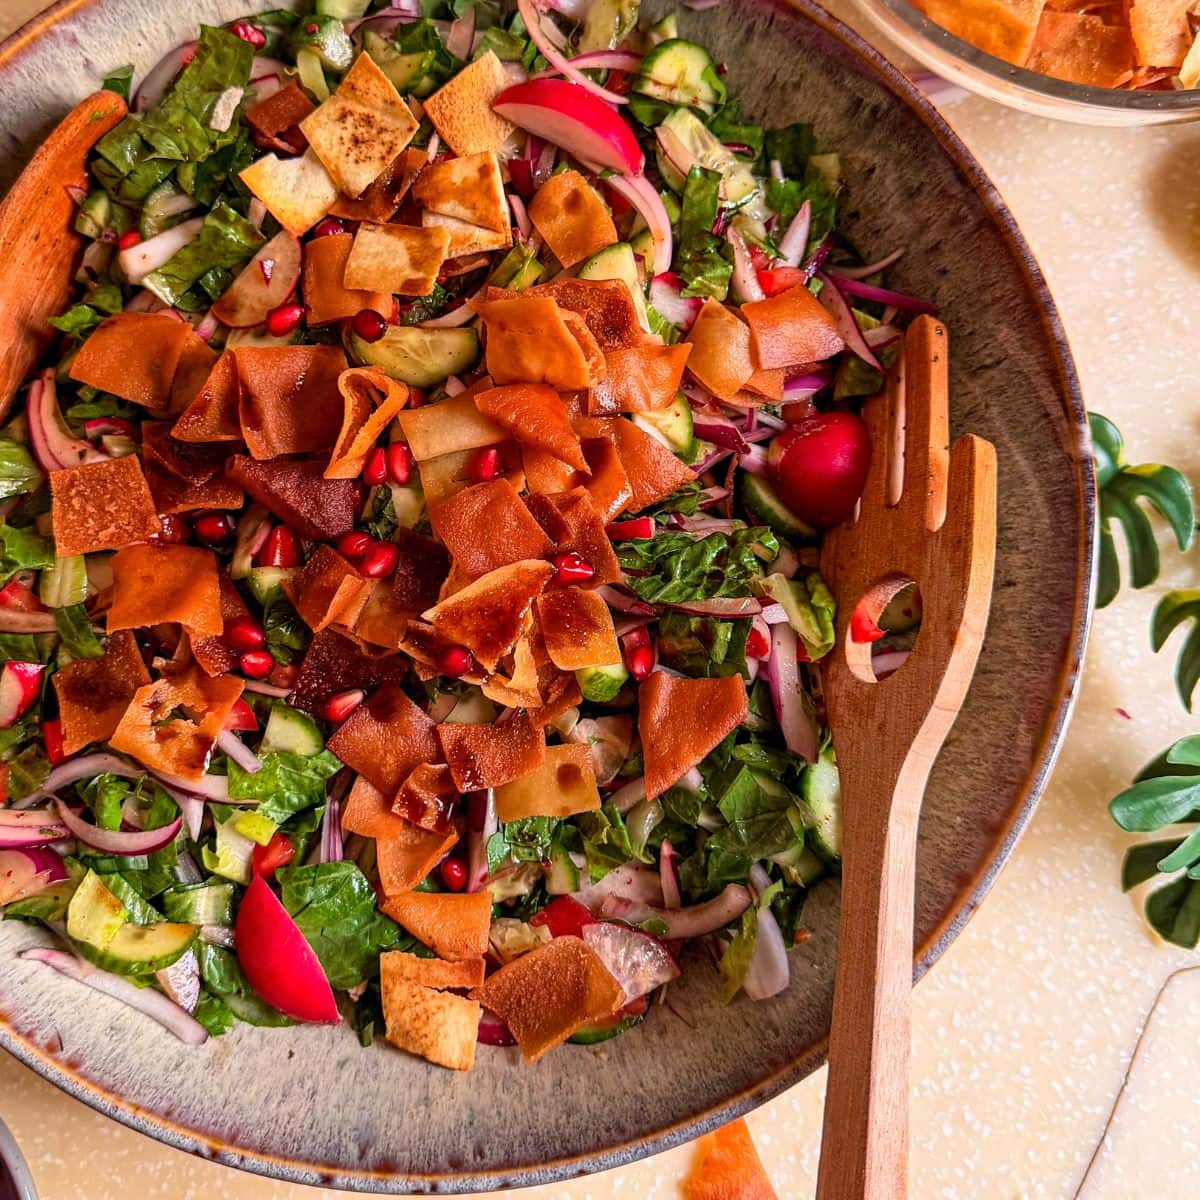
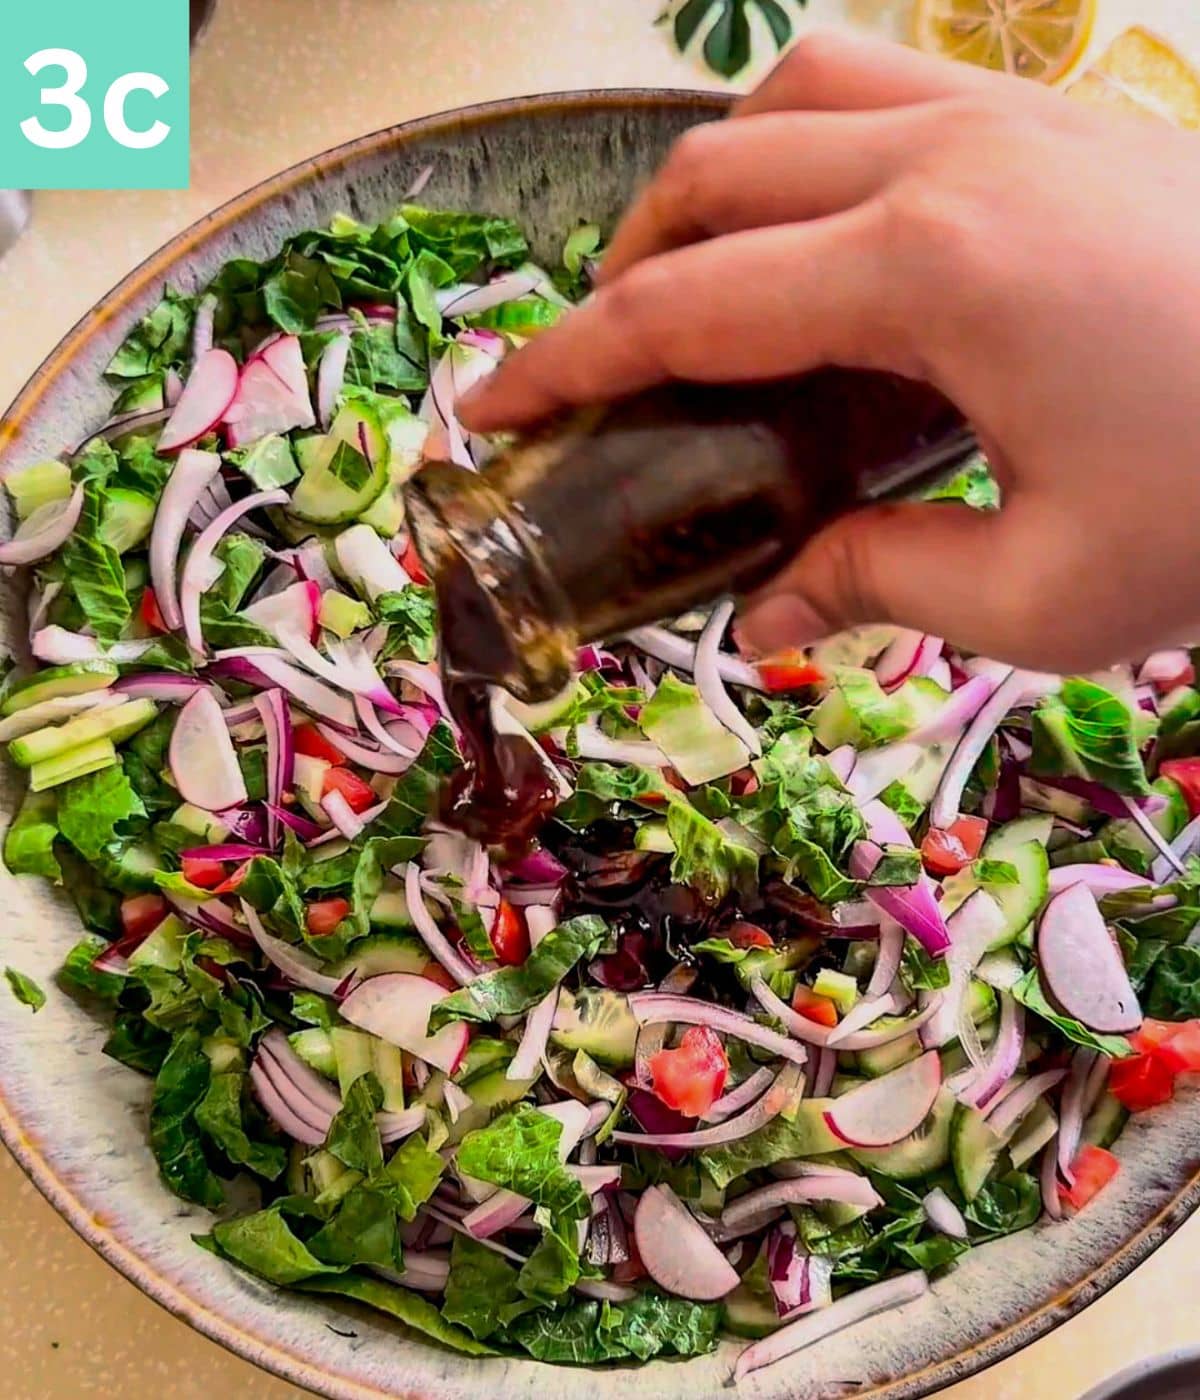
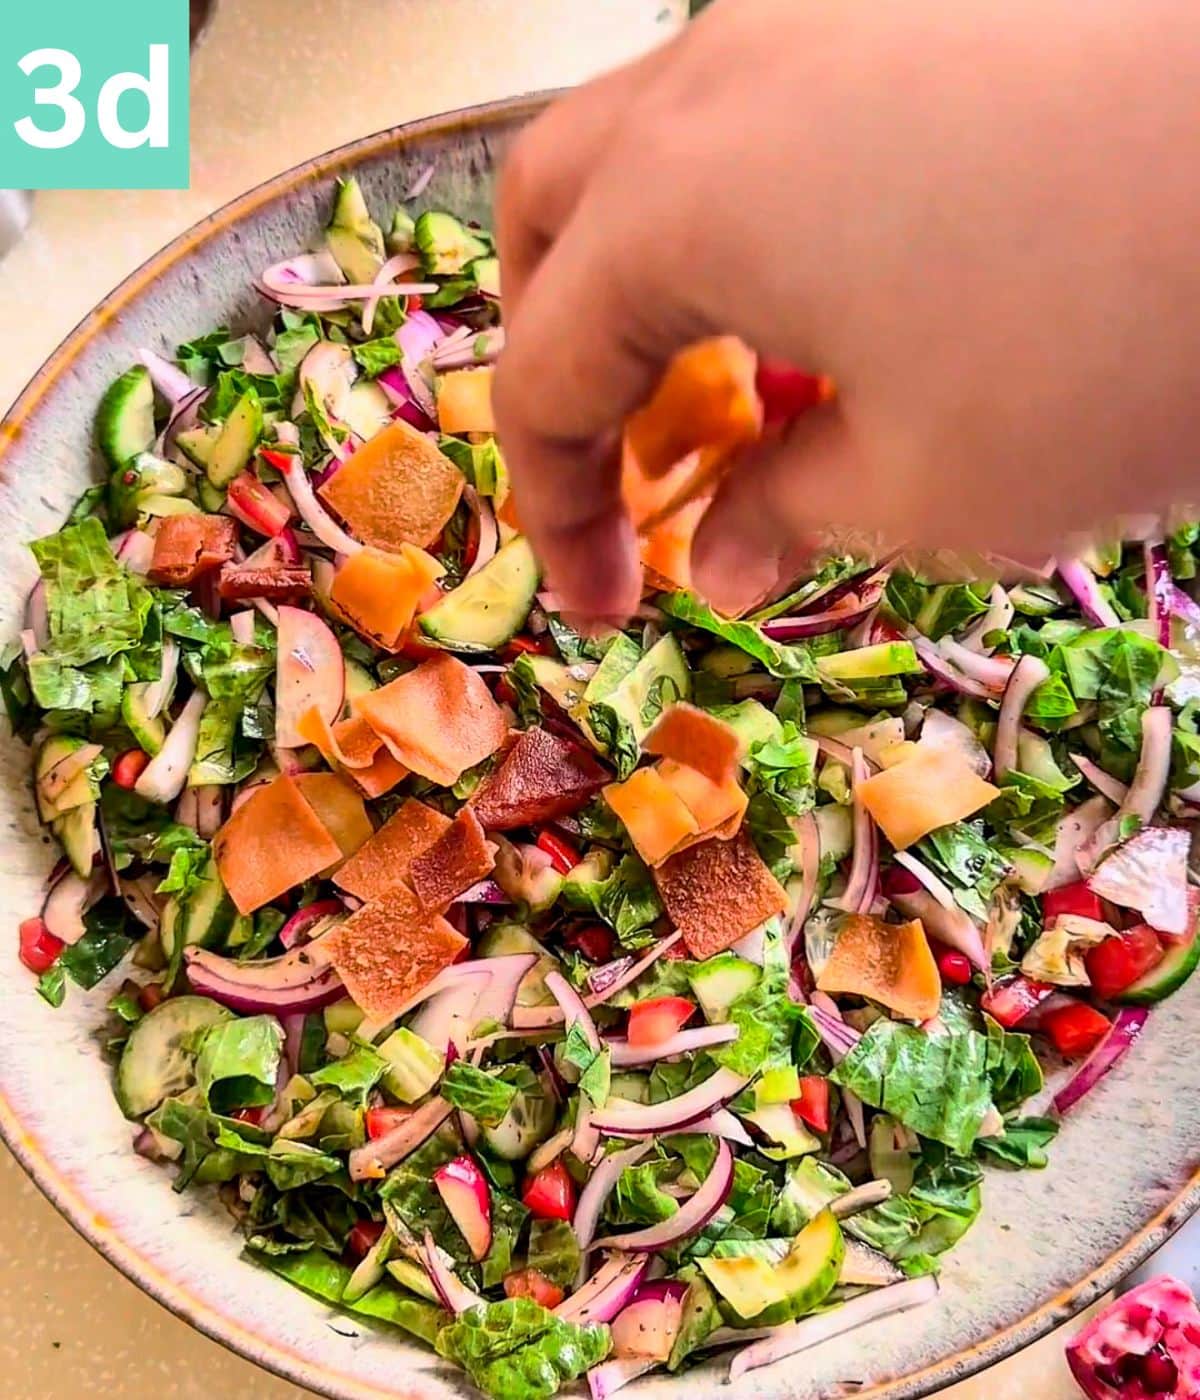
- In tossed Salads
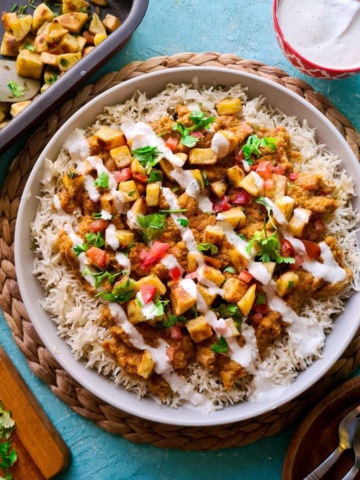
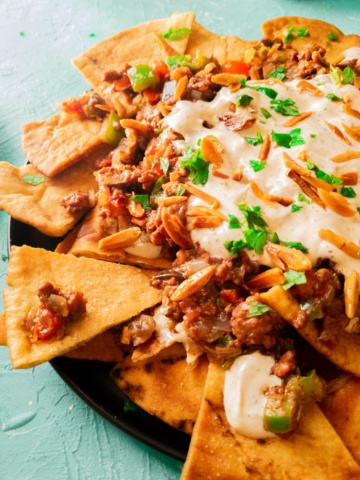
- In fusion-style sandwiches like the Chicken Tikka Sandwich
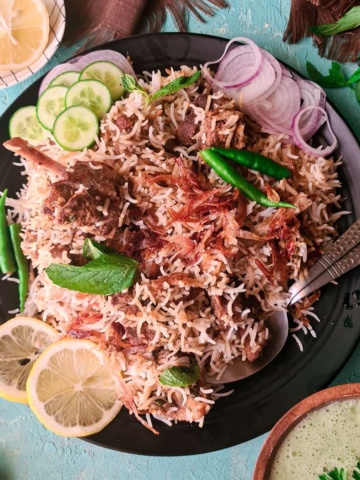
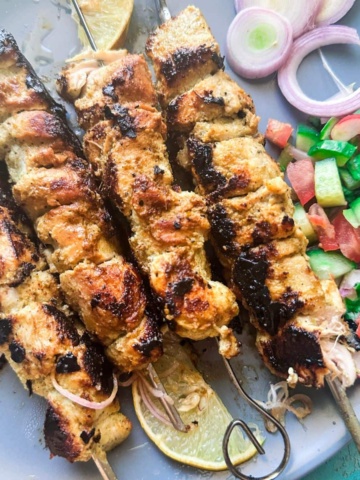
- Serve with all kinds of barbecue, like Malai boti or Chicken Tikka
Frequently Asked Questions
On the counter, for 2 or 3 days. IF you keep it in the fridge than easily upto a month. Make a big batch and keep in the fridge for later use.
You can use the pickling juice WHILE the onions are in it for sauces, dressings or salads. However, it’s best to discard the liquid once your onions are finished.
Absolutely! You can use the same method to make pickled carrots, cucumbers or any other vegetable you fancy.
More Condiments on the blog
These are my favourite desi condiments:
Do you have any questions? I’m happy to help! And of course, If you try this recipe, I’d loveeeee to see it or simply hear about it! Hit me up in the comment section below and I’ll get back to asap! Happy Cooking!

Pickled Onions
Equipment
Ingredients
- 1 1/2 Large onion peeled
- 1/2 teaspoon salt or to taste
- 1/2 cup white vinegar
- 1 cup hot water
- 2 cloves garlic
- 4 whole green chilies with stems removed
- 5 whole black peppercorns
Instructions
- Slice the onions thinly using a knife or a mandoline slicer.
- Add the sliced onions to a glass jar.
- Drop green chilies, garlic, salt and black peppercorns in the jar and press the onions to the bottom.
- Add vinegar and hot water to the jar. Close the lid of the jar and give it a shake.
- Leave the jar on the counter for about 30 minutes or until the water cools down.
- Consume the pickled onions right away or store in fridge to use later.
Notes
- The pickled onions can last for 2-3 months in the fridge and 2-3 days on the counter.
- You can use the same technique to pickle other vegetables.
- We pair it with dal chawal, barbecue etc, and sometimes put it in sandwiches.