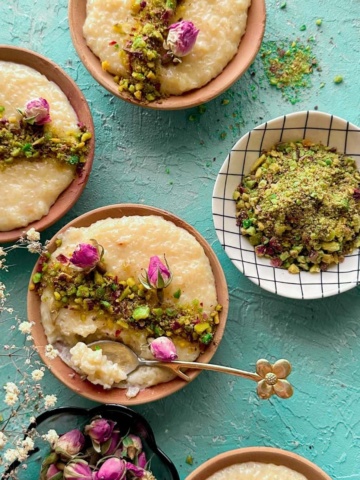
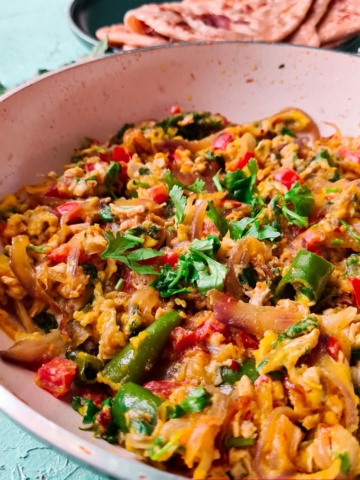
Crispy potatoes with minimal spices and 10 minutes on the clock! If that’s your feel, this Crispy Aloo ki bhujia recipe is the one for you! You probably already have everything you need to make this in your pantry. Lets go!

With this recipe, I tip my hat to my Bihari roots. Crispy aloo bhujia fry is a popular dish in Bihar and Uttar Pradesh in India (where my dadi is originally from). And now I make it in my very Pakistani home and love it just as much. You can pair it with dal chawal, or have it with paratha roti or any flat bread of your choice. A chutney on the side and you have the perfect meal!
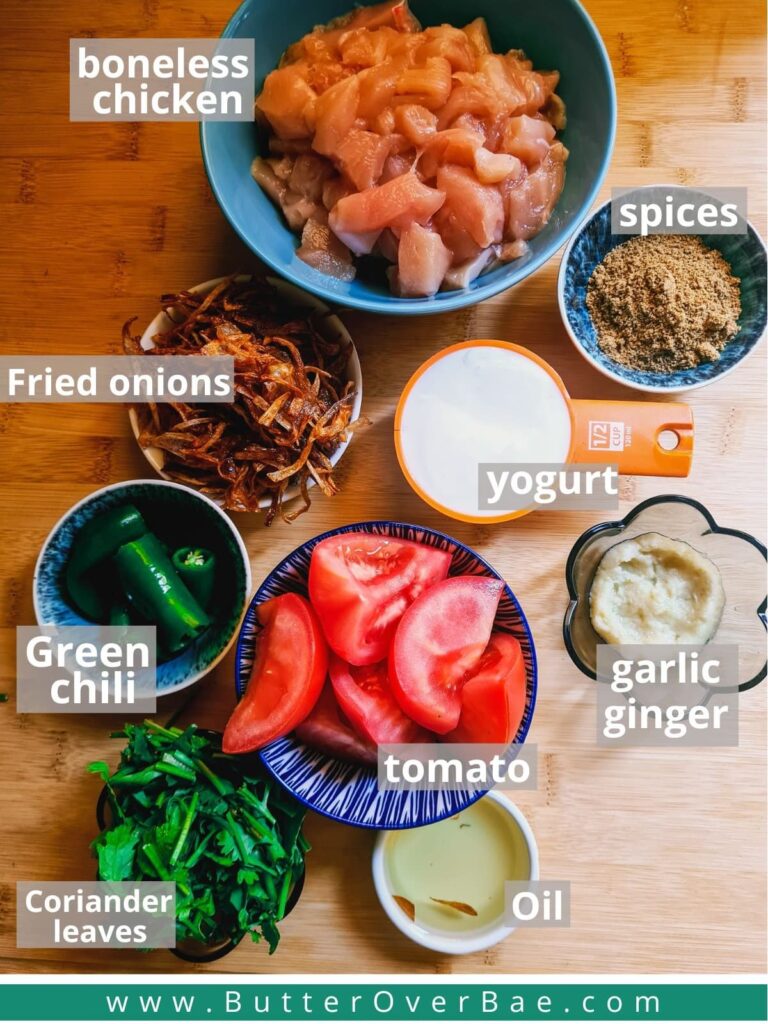
[feast_advanced_jump_to]Ingredients
Here are a couple of pointers and notes about the ingredients.

- Potatoes – Use the potatoes that you are most comfortable cooking with. This is a very easy and forgiving recipe.
- Spices – Whole red chili, cumin seeds, and turmeric are the spices that add flavor to this recipe. They are used in very little quantities only to add some fragrance and subtle flavor.
- Oil – Any neutral oil works. You can also go for olive oil or ghee.
See the recipe card for full information on ingredients and quantities
Instructions
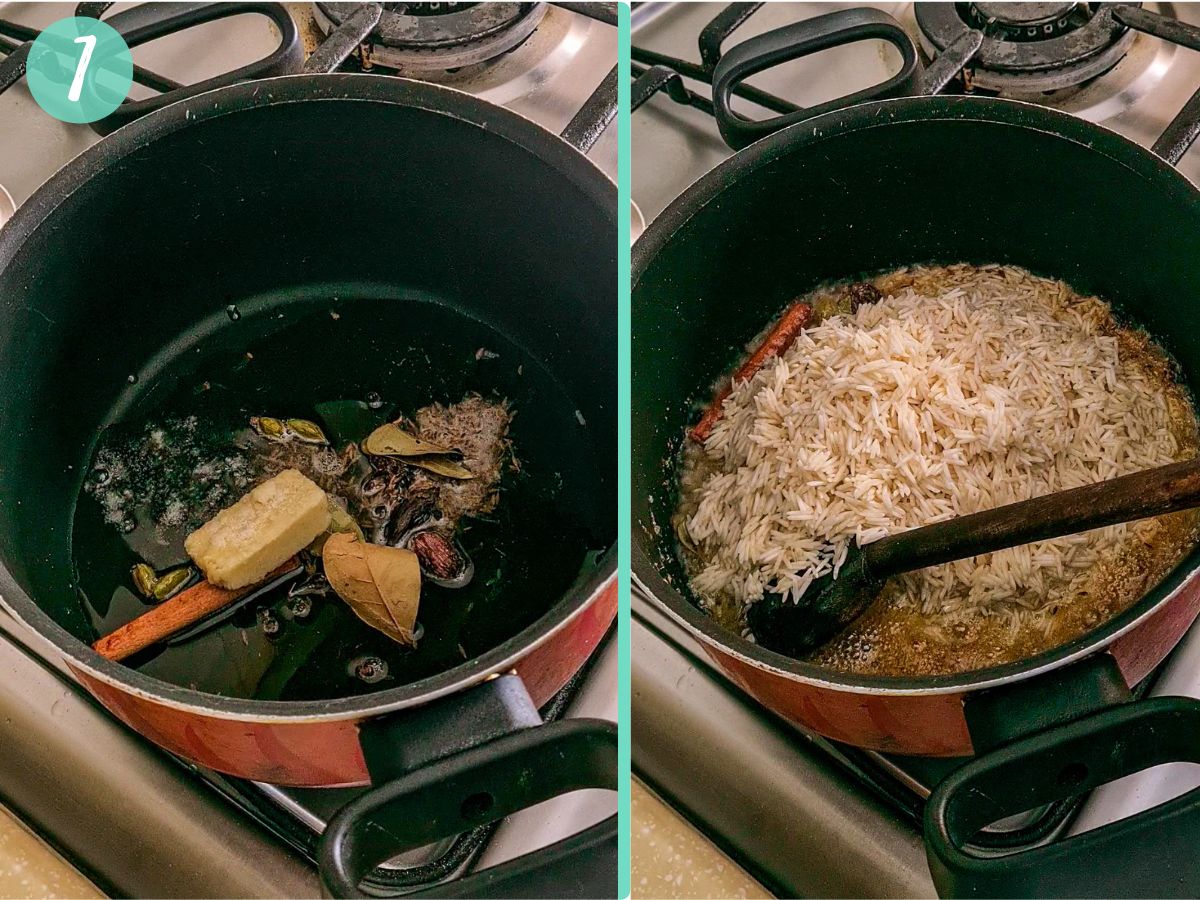
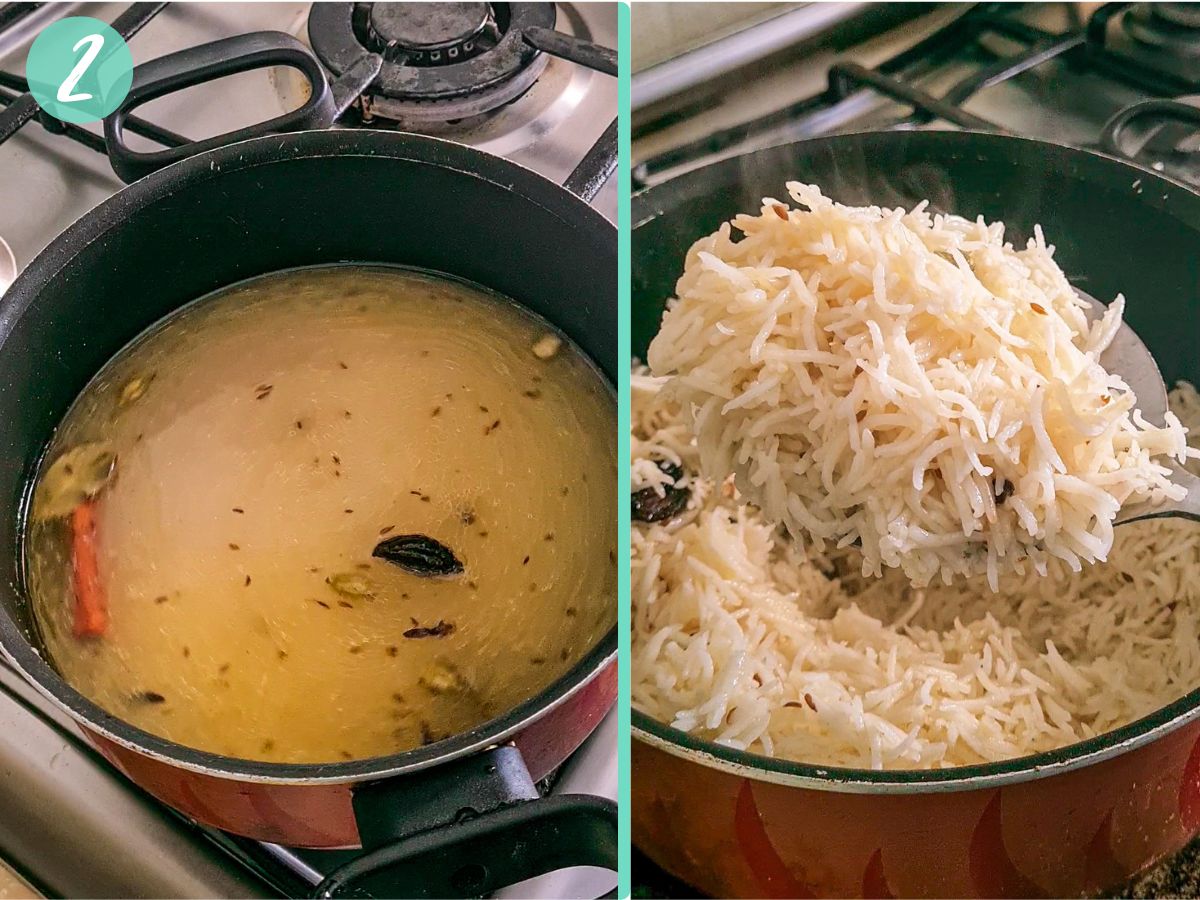
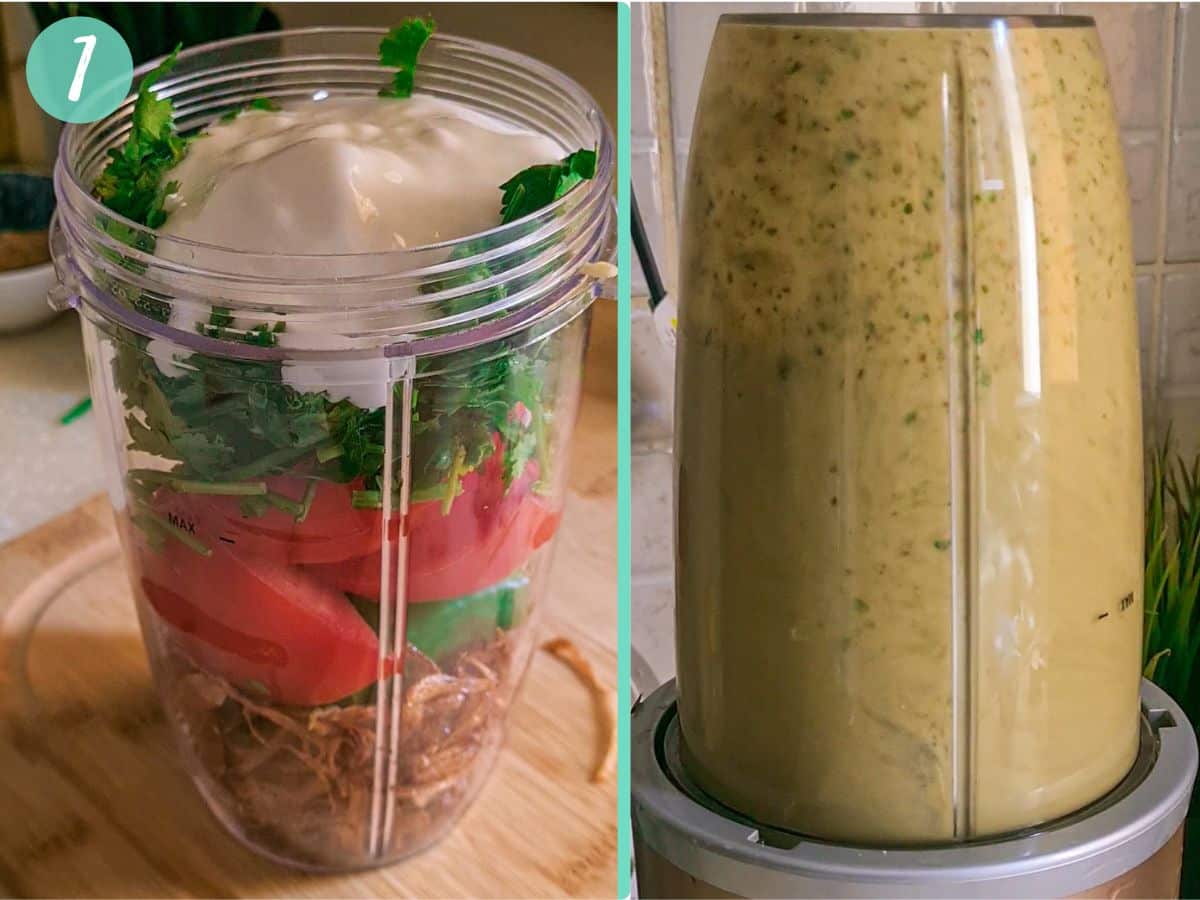
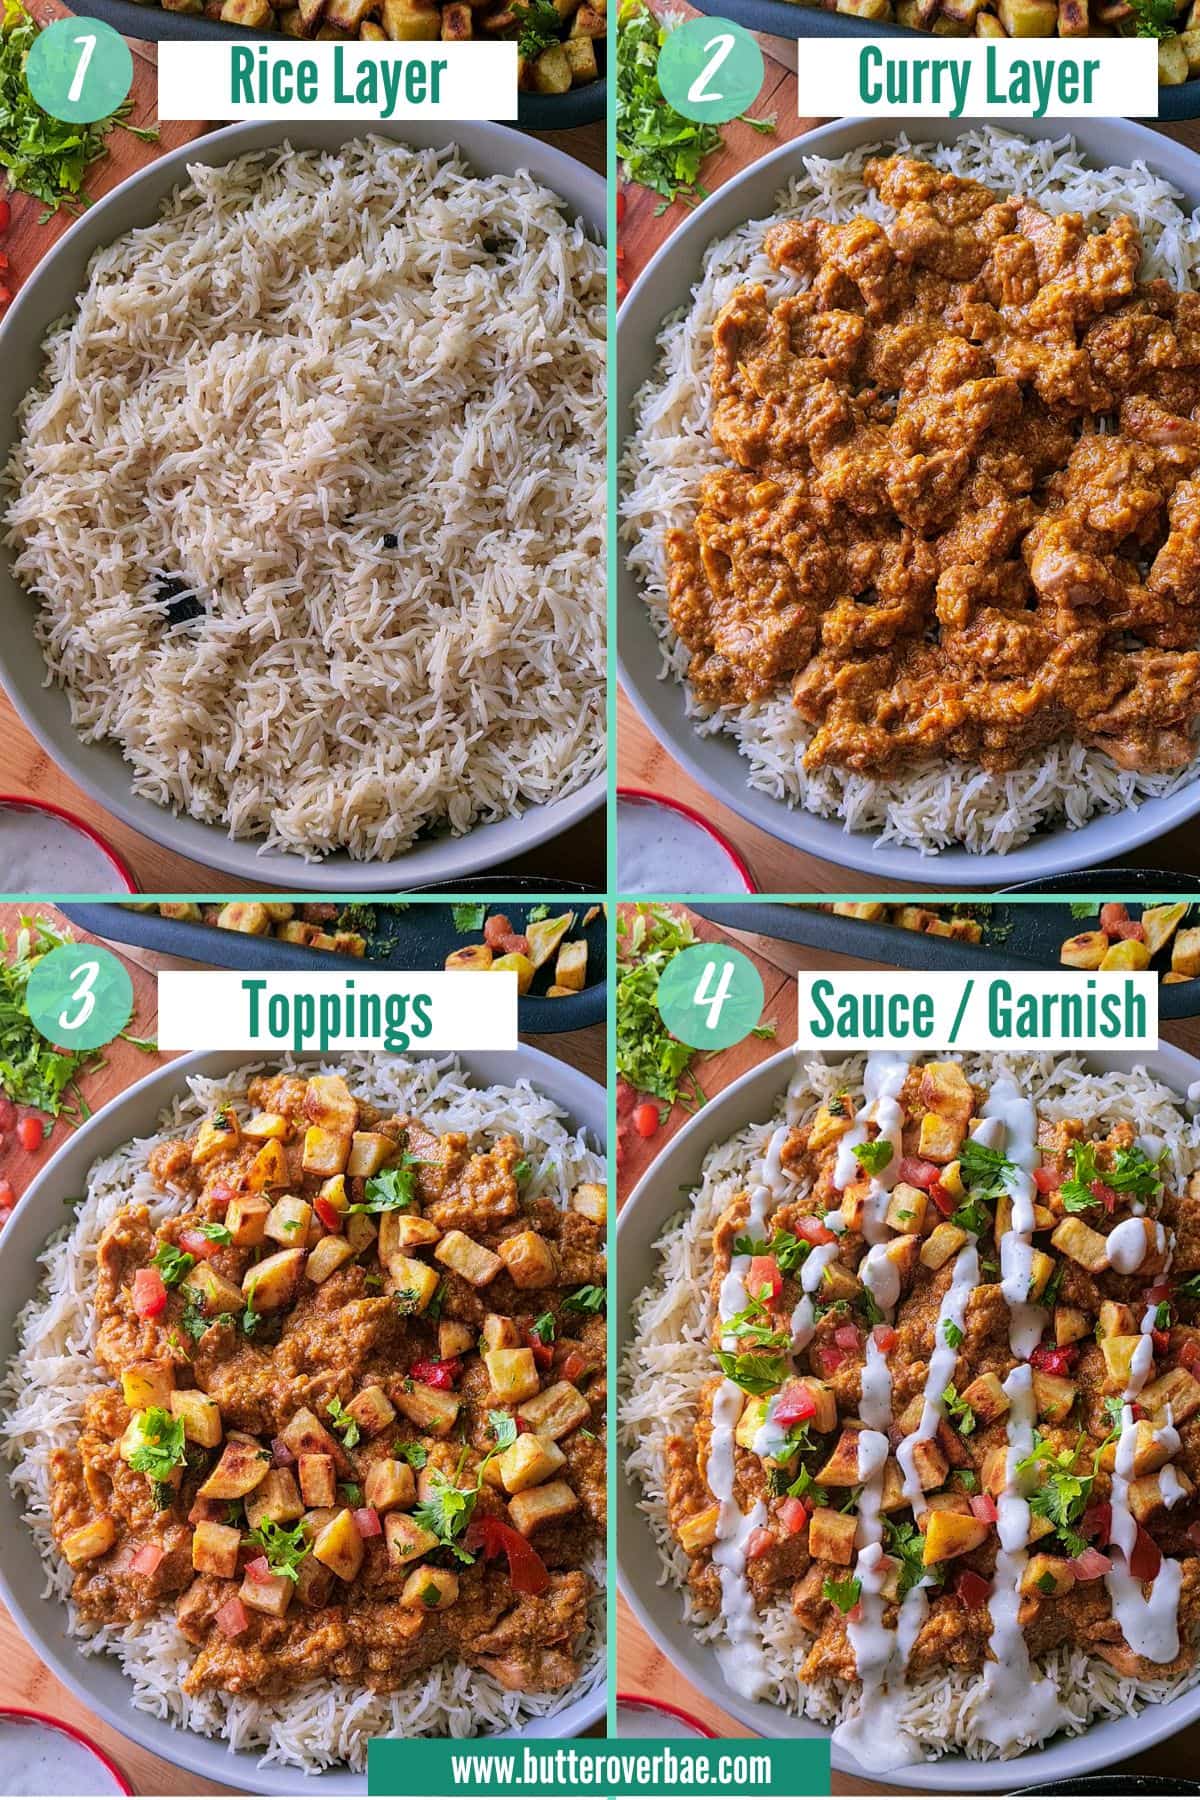
I’ve put together all the steps in a simple pictorial for you to see how easy this is to make.

Step 1: Cut the potatoes into 4 thick wedges.

Step 2: Slice the potatoes into thin sections.
NOTE: If you don’t want to do it manually, you can use a mandolin or a slicer to make thin potato slices.

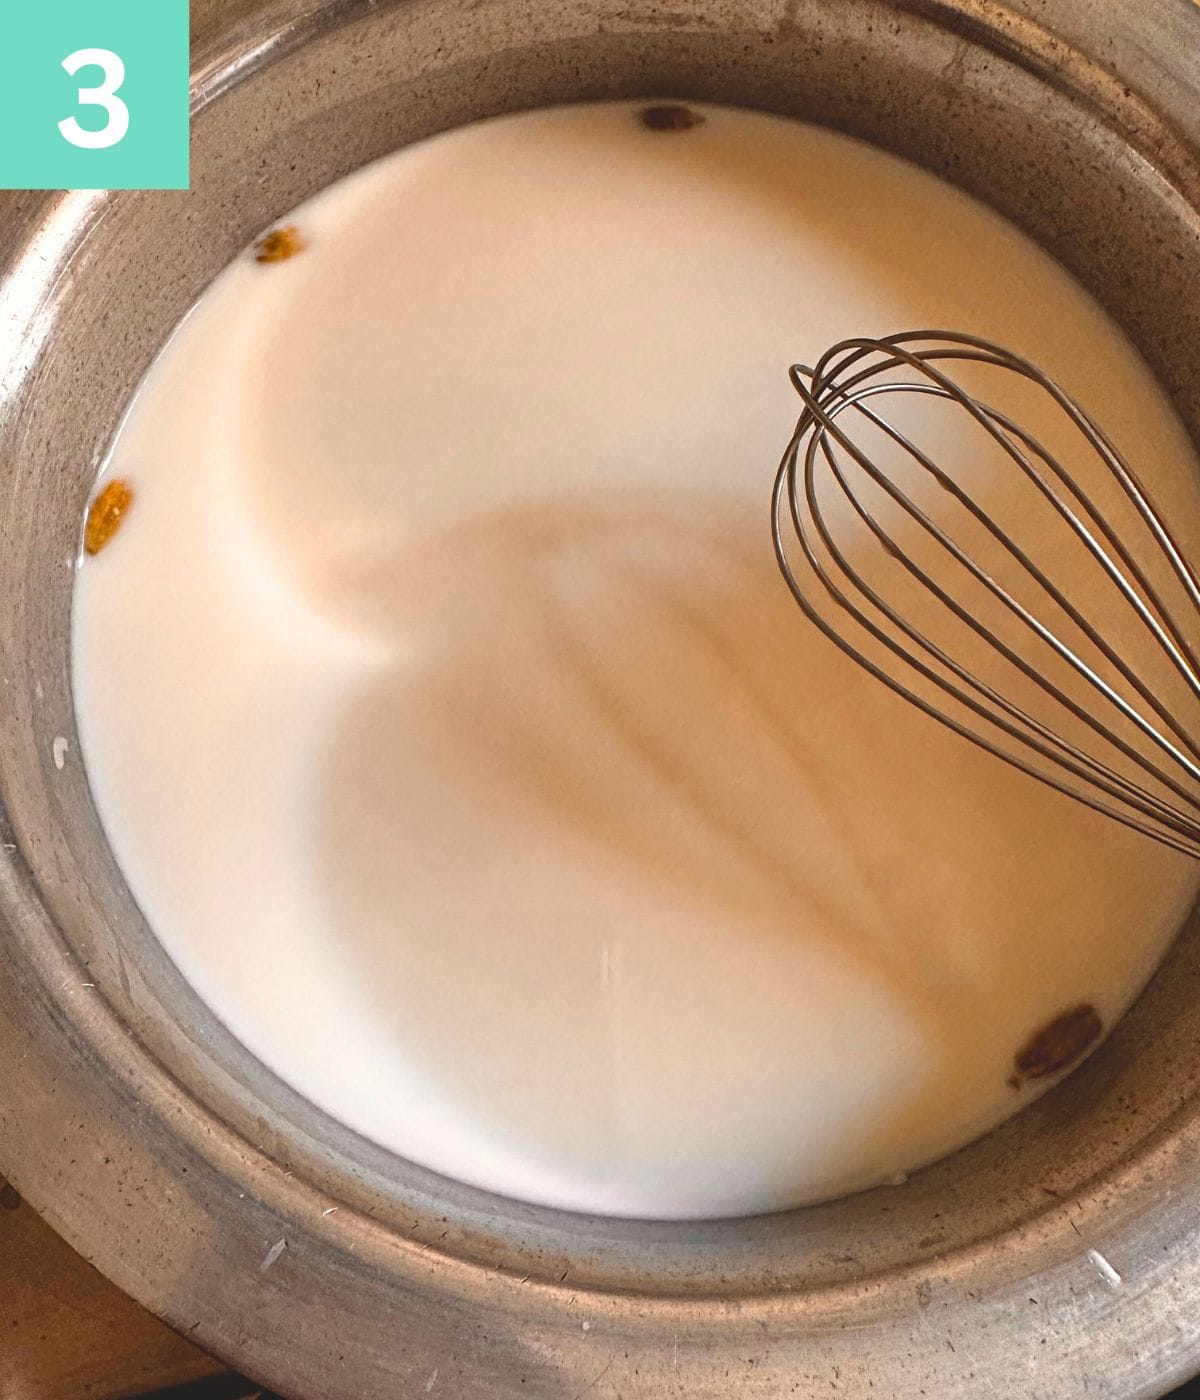
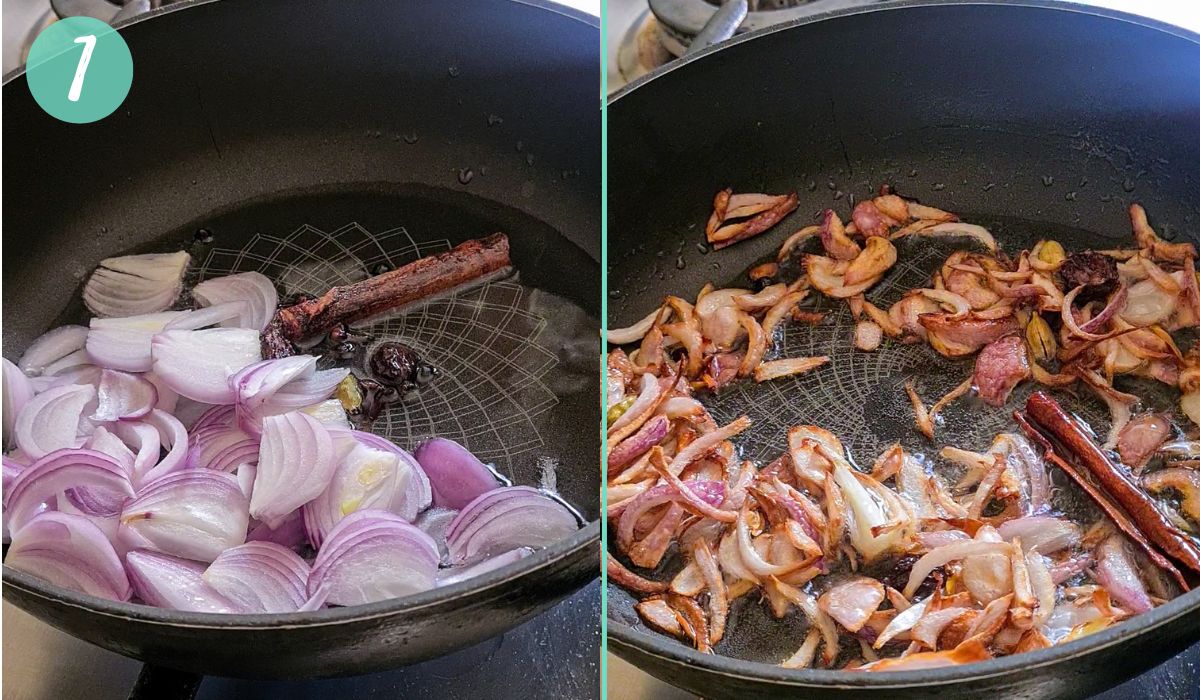
Step 3: Add oil, cumin seeds, and whole red chilies to a skillet or wok. Fry at medium flame for a minute.

Step 4: Add sliced onions.

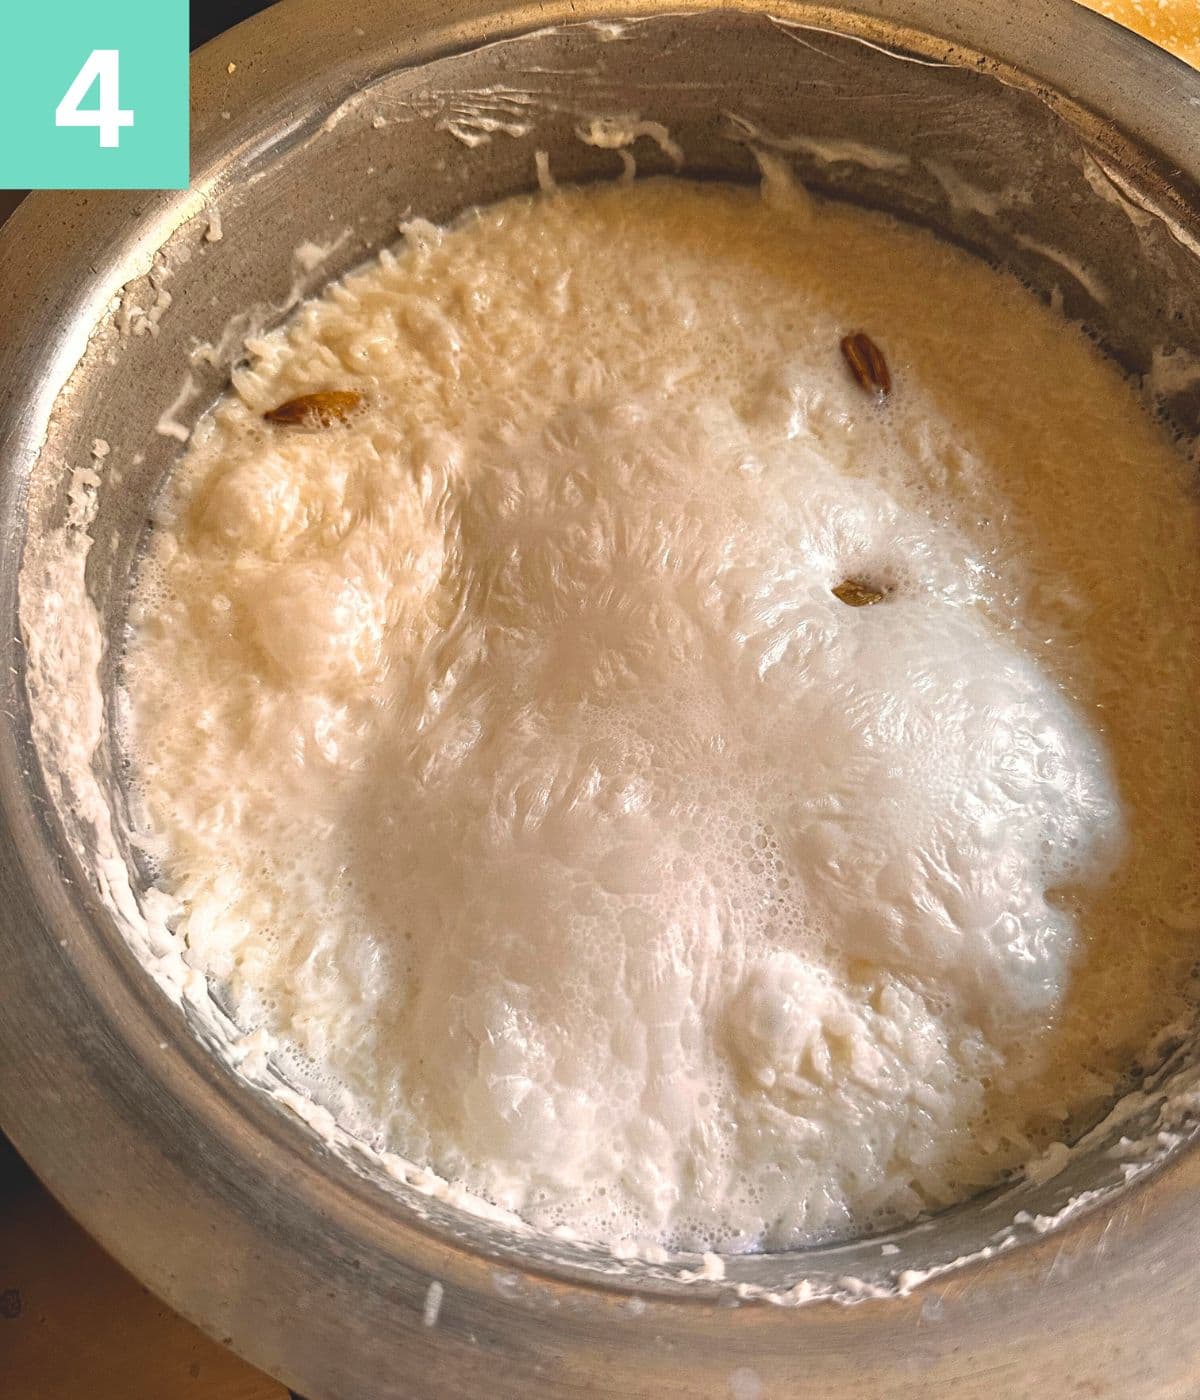
Step 5: Allow the onions to fry for 2 to 3 minutes or until translucent.

Step 6: Add sliced potatoes.

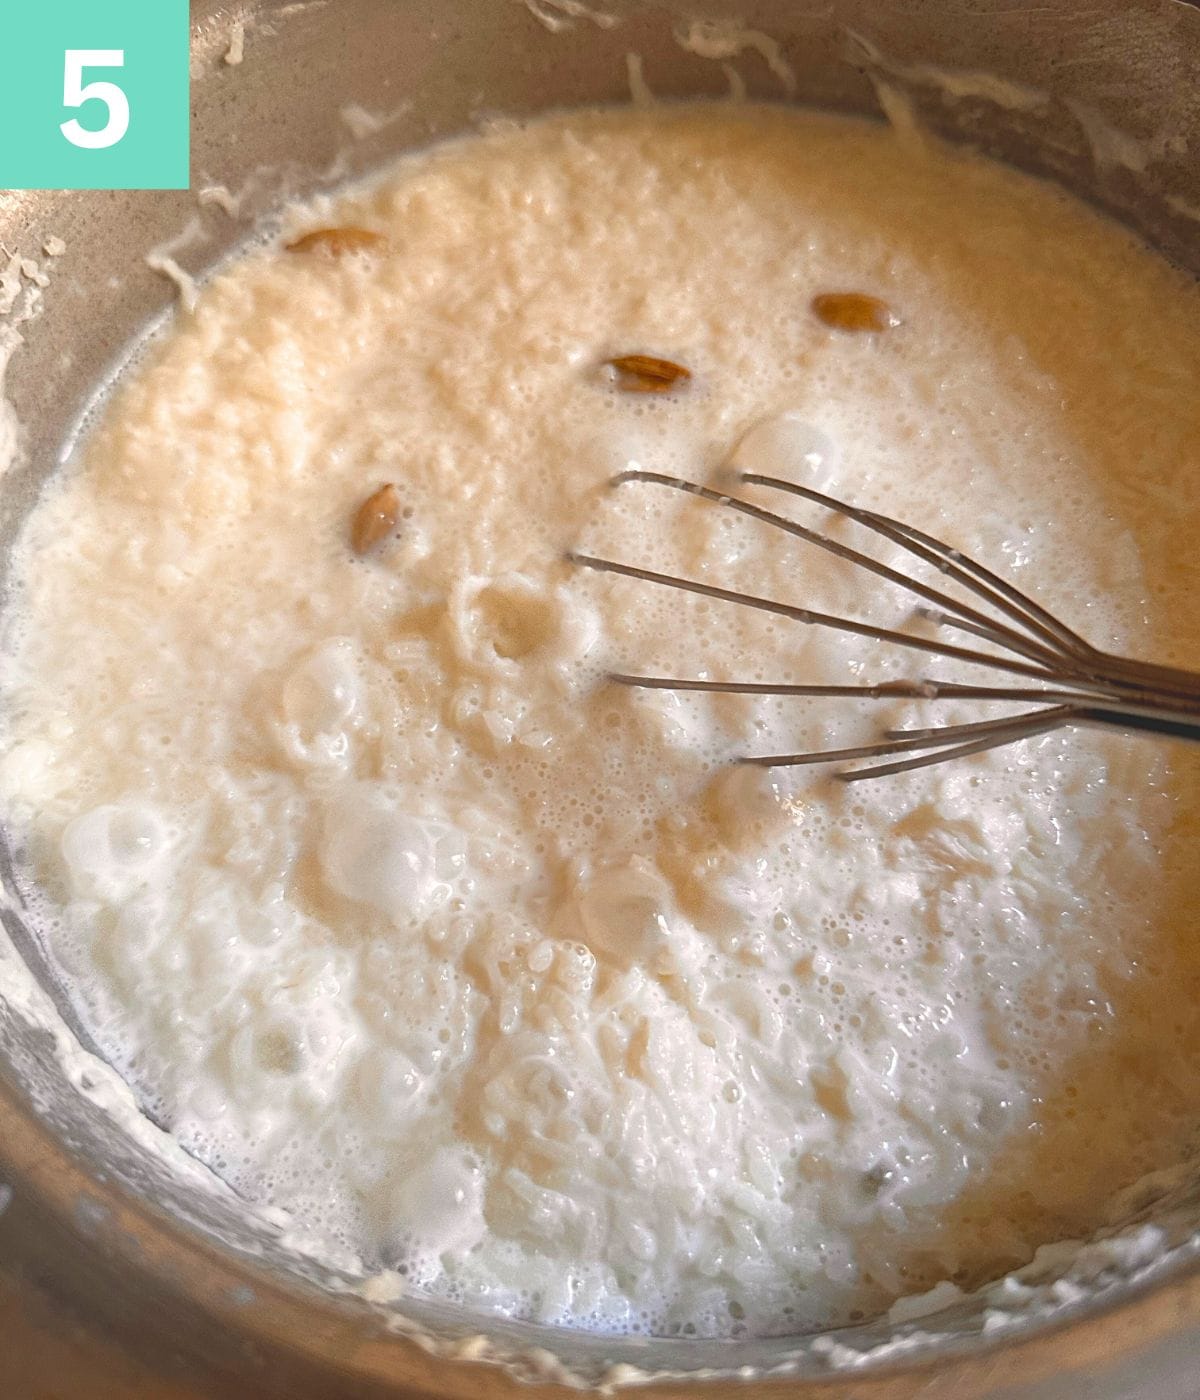
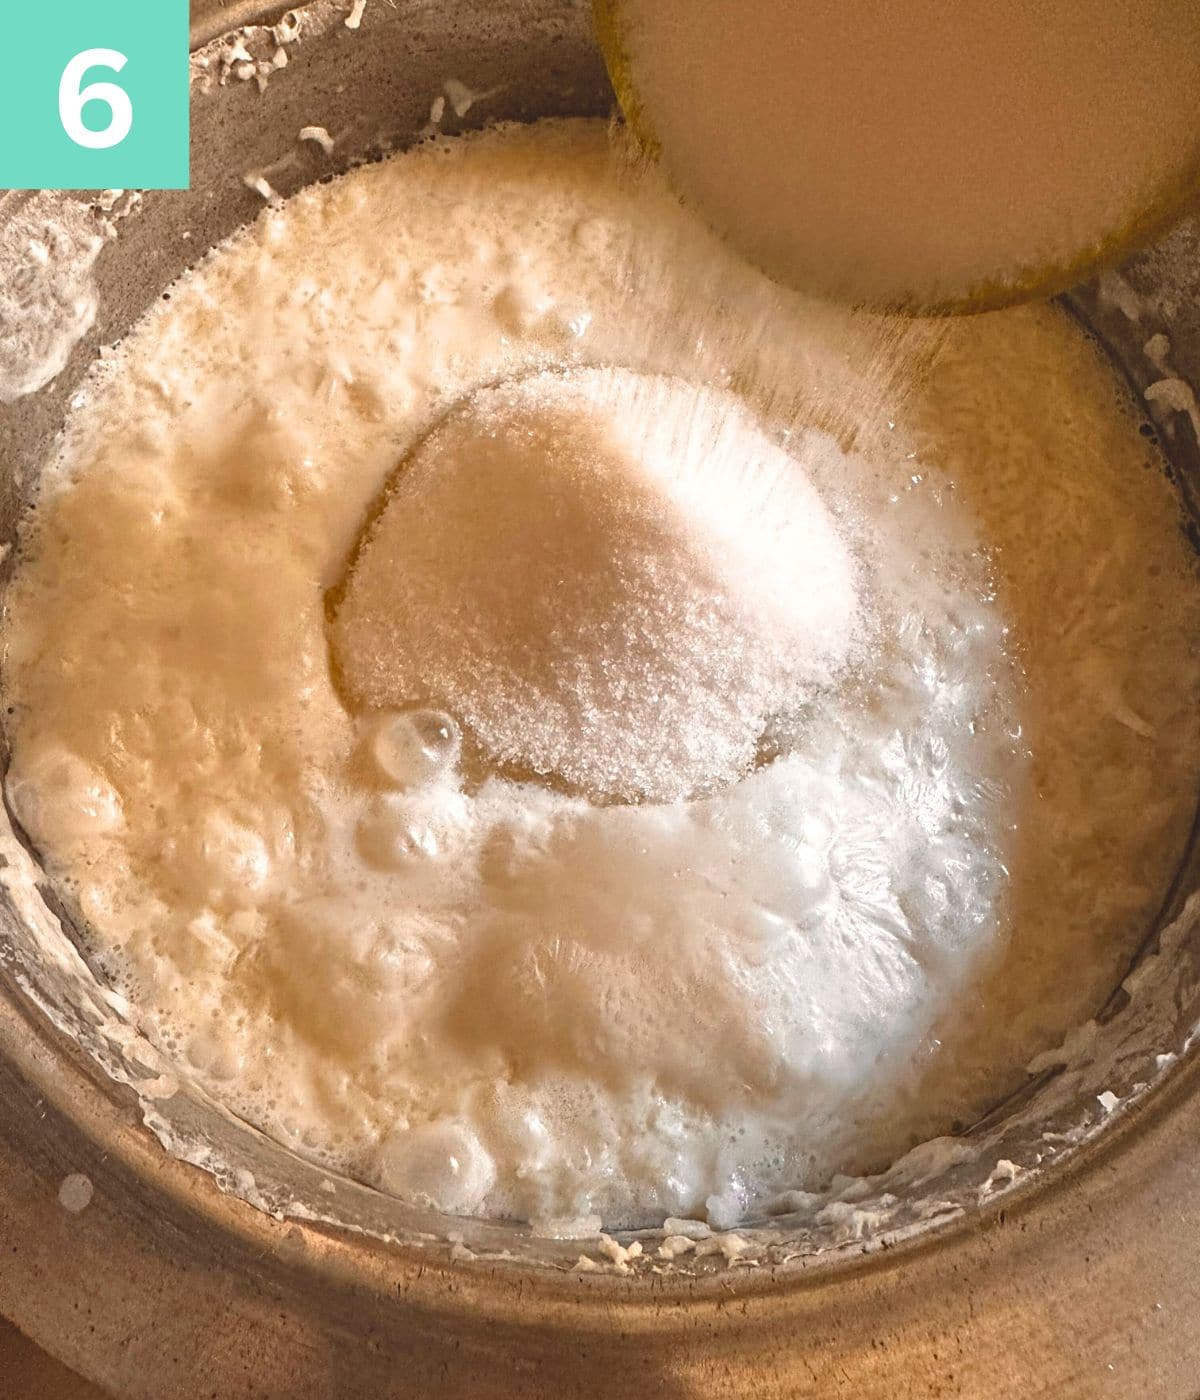
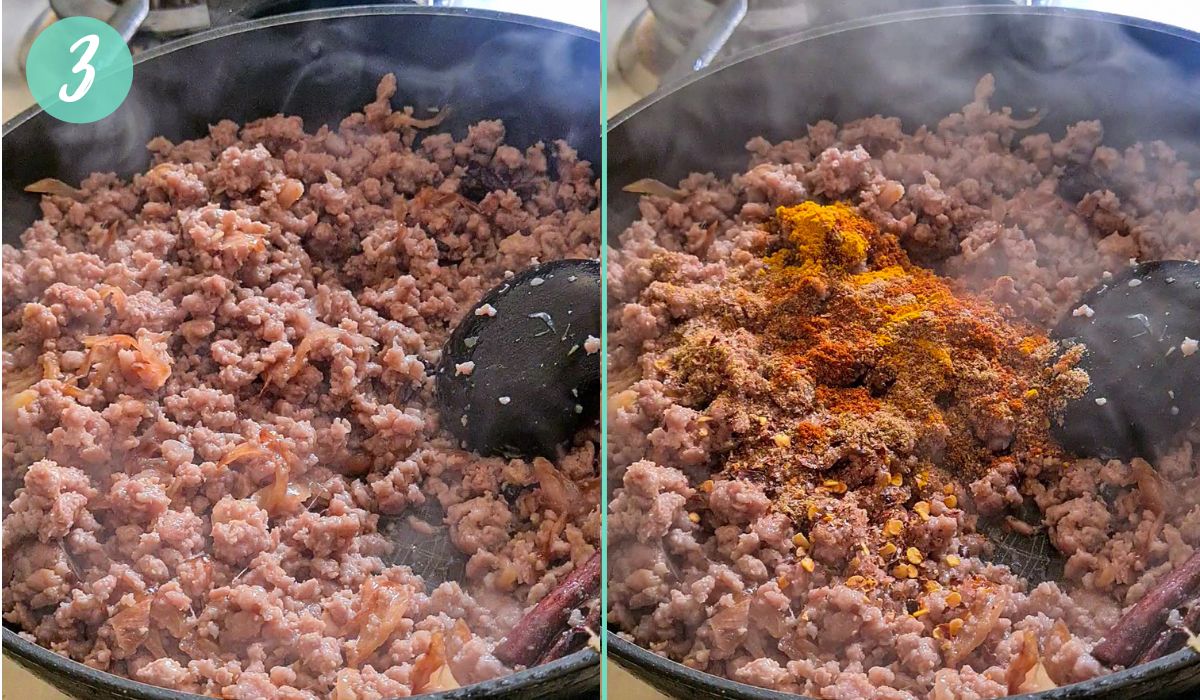
Step 7: Add spices and mix.

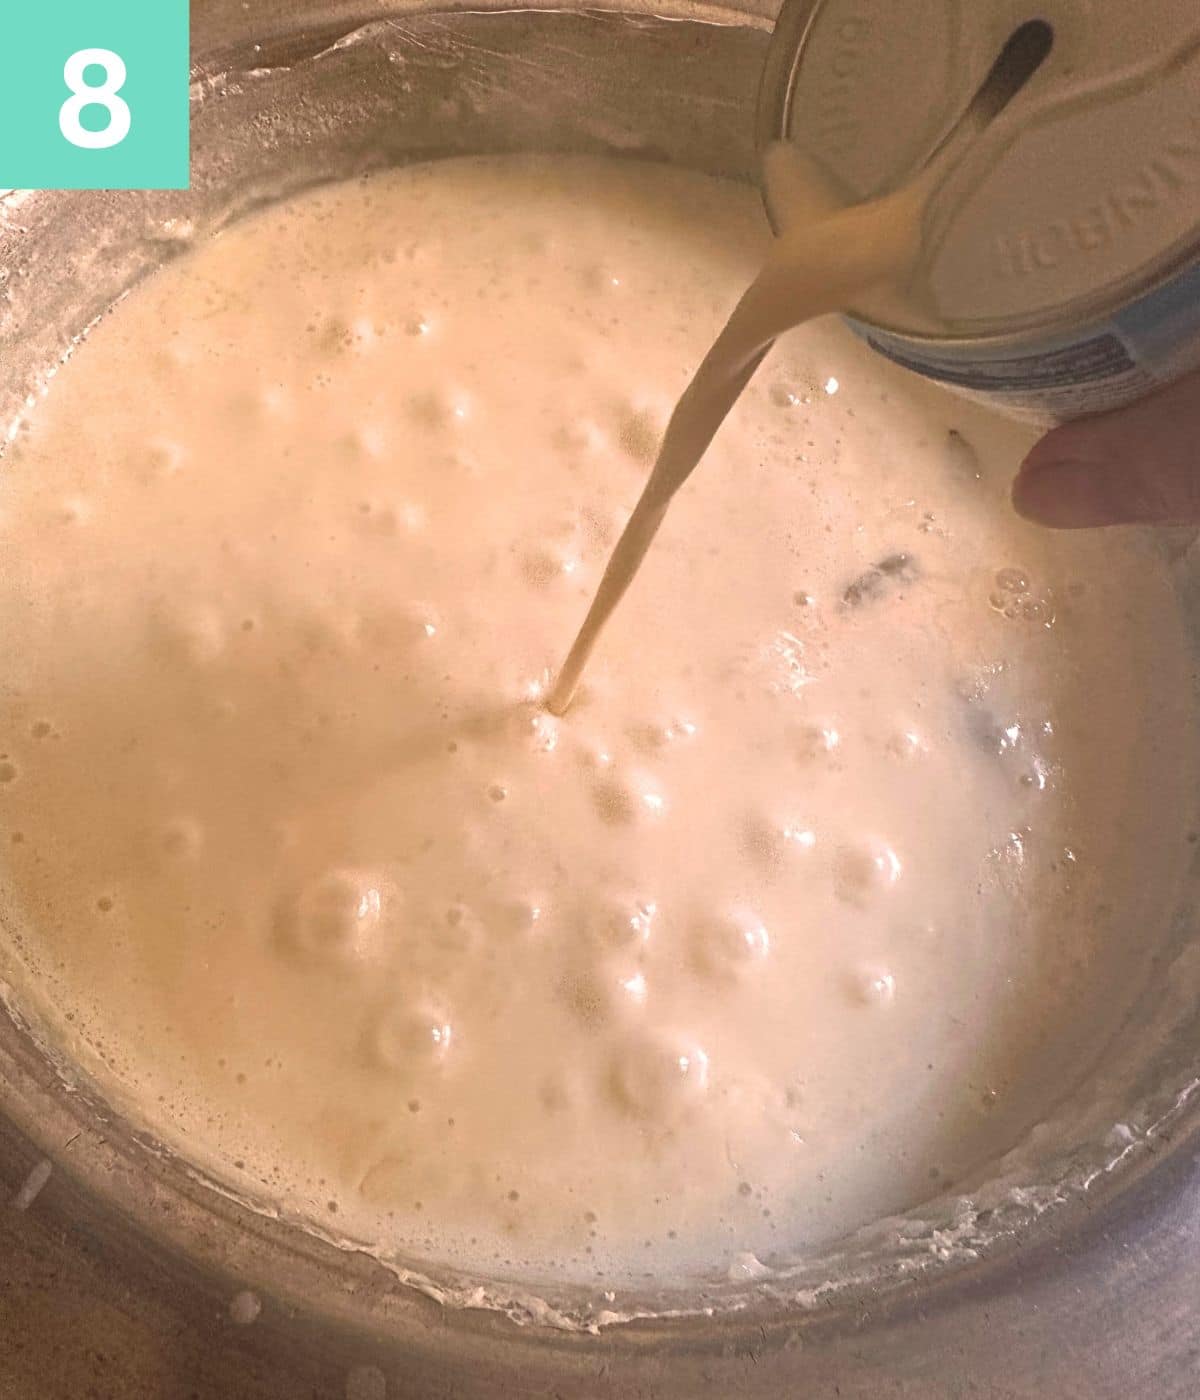
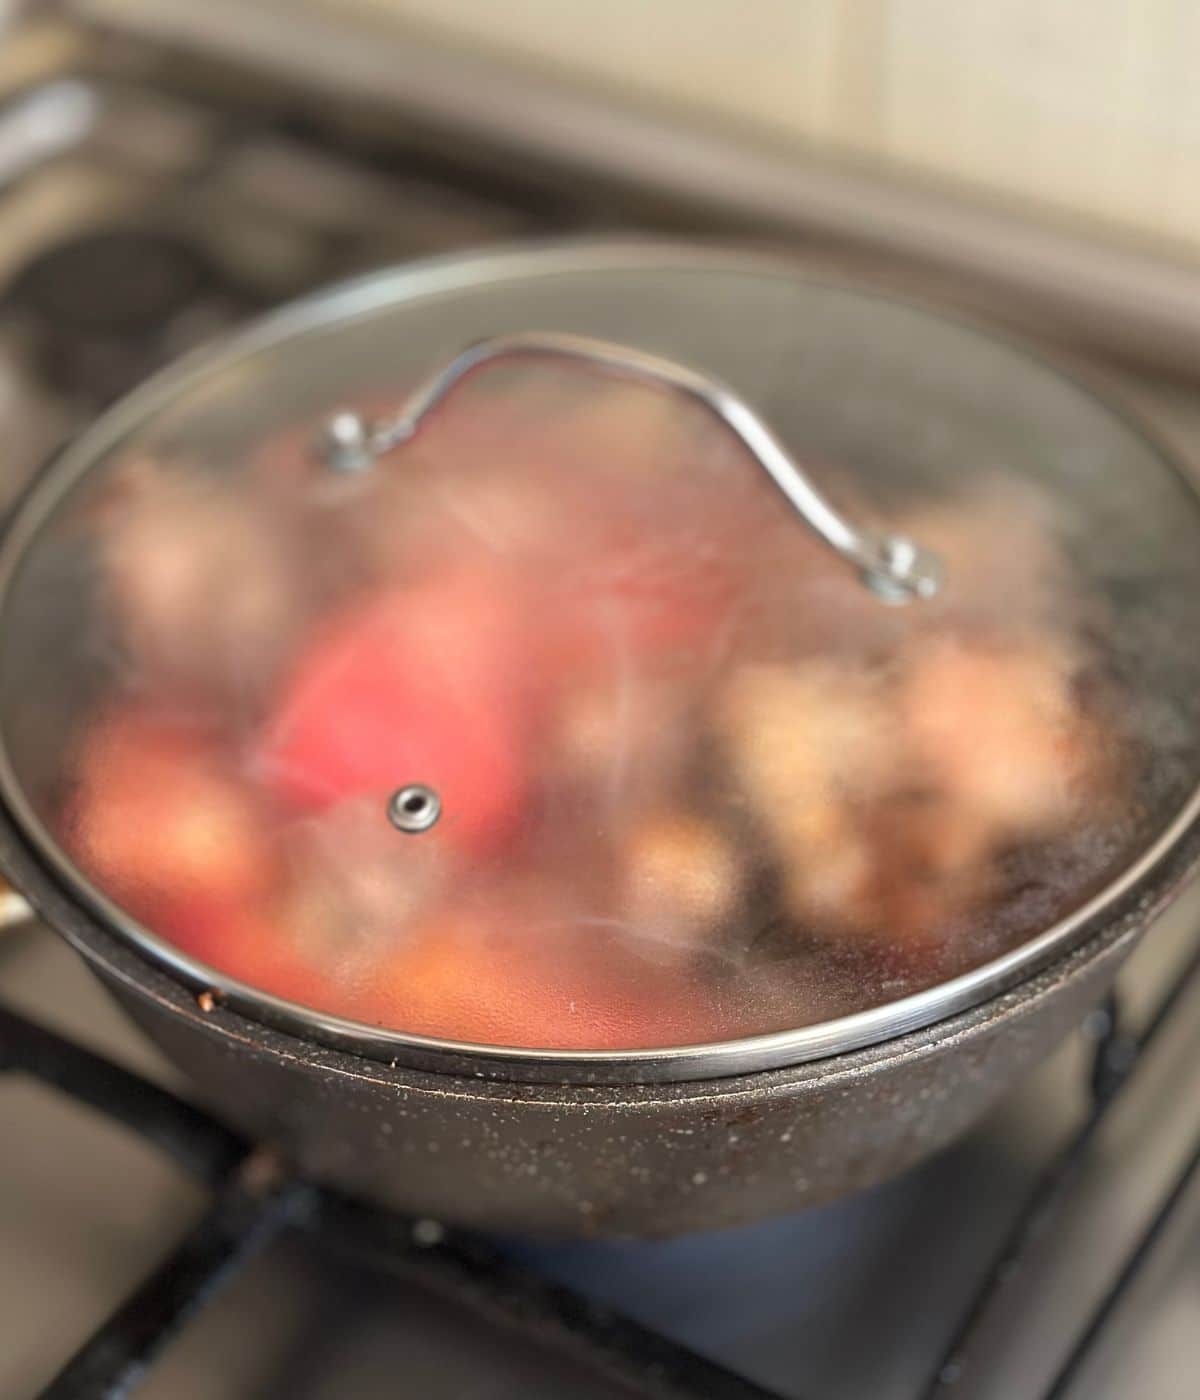
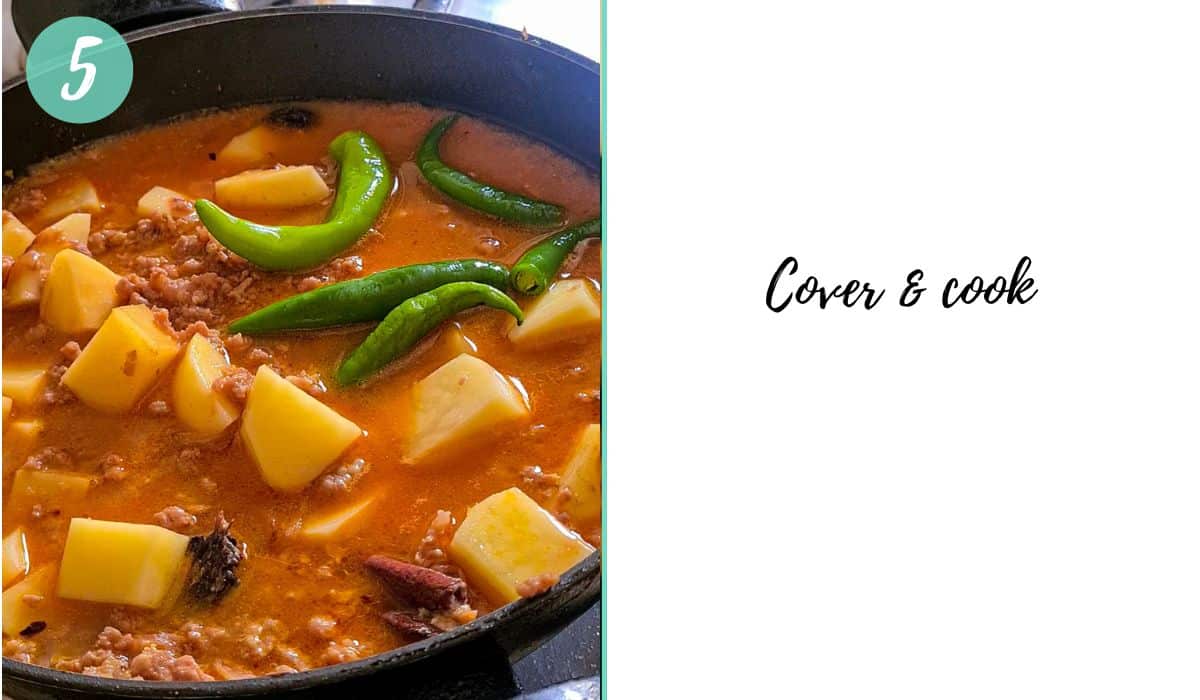
Step 8: Cover the lid of the skillet for 10 minutes and reduce the heat to low.

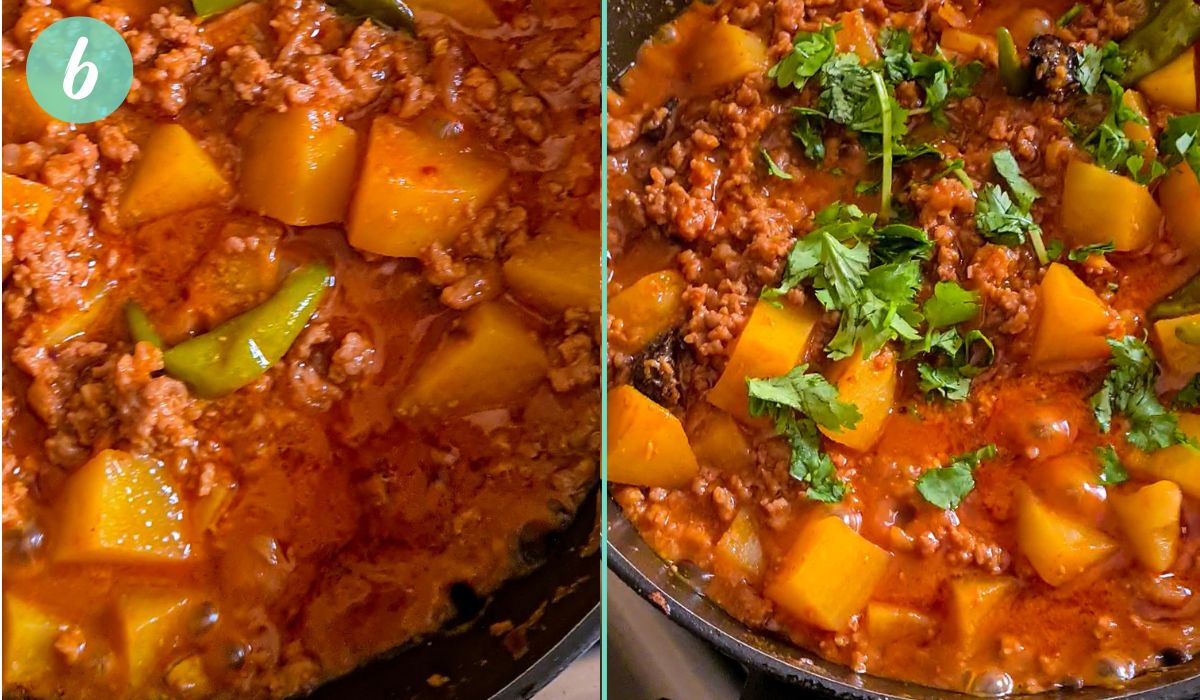
Step 9: Remove the lid and adjust the salt.

Step 10: Finish cooking immediately or fry bhujia for another 5 minutes at high heat to create some crispy pieces of potatoes at the bottom of the pan.
Pairing
- I love serving my aloo bhujia with paratha for breakfast.
- My in-laws have it with rice and dal on the side.
- This recipe works with all types of flatbreads: roti, chapati, paratha, puri or even toasted bread.

Variations
Giving the visitor ideas on how they can change this recipe to better suit their dinner guests, or their cultural cuisine, is a great way to increase the chances they will make the recipe
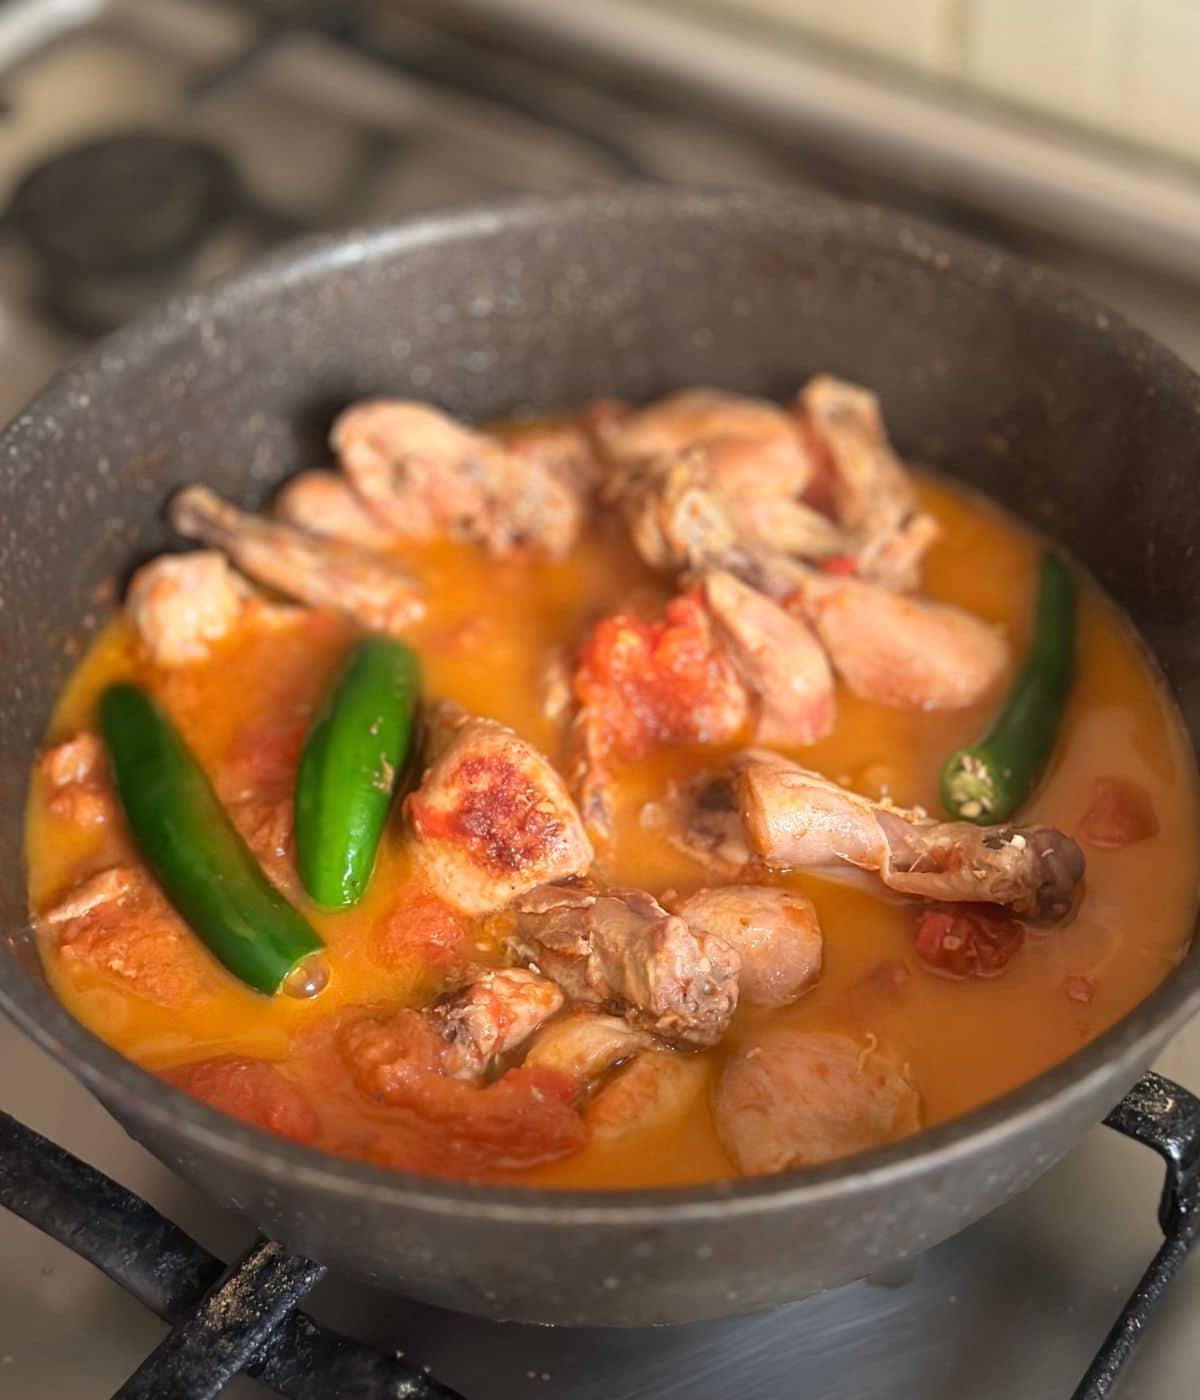
- Spicy – This recipe is generally mild heat-wise. To pack more heat, add chopped up serrano green chilies or more red chili flakes.
- Other Vegetables: I have added sliced carrots and peas in the past to this recipe, which works beautifully.
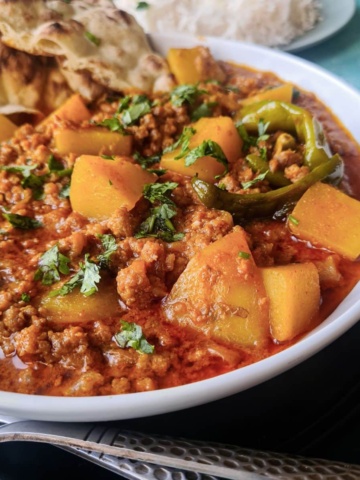
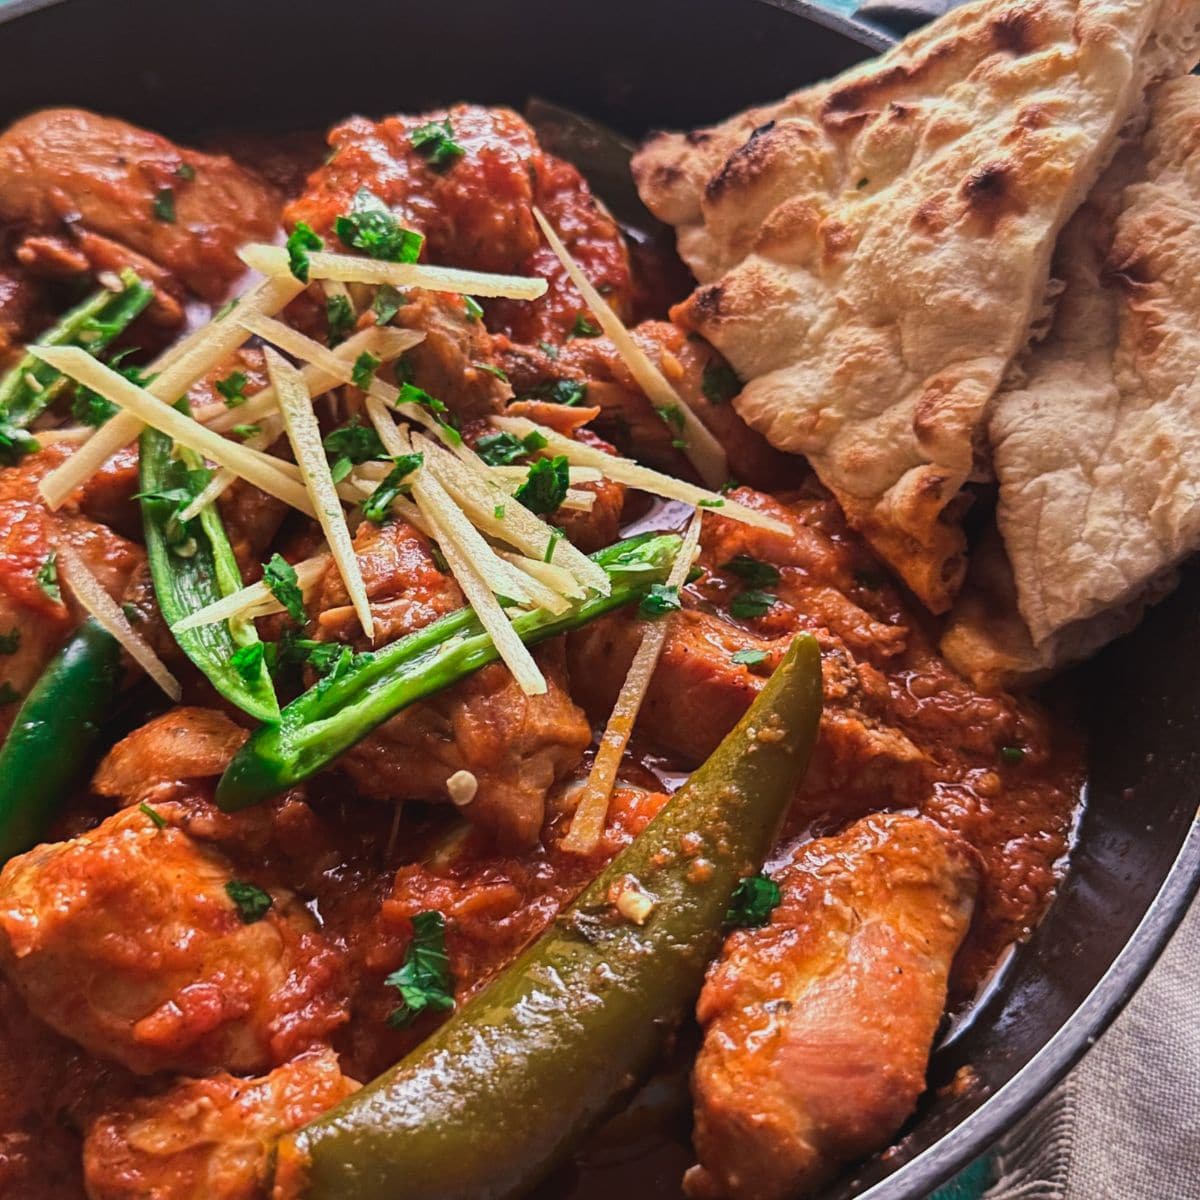
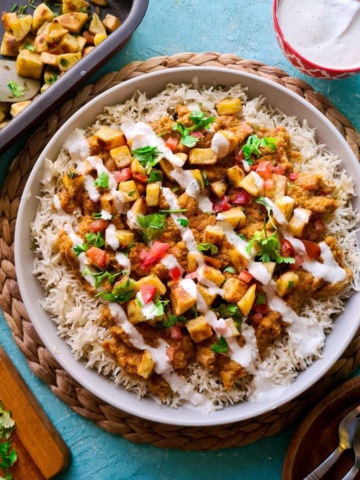
- Tomato: For a more saucy/wet bhujia, you can add chopped tomato to the onions in the beginning. For a more curry-style potato, try my aloo ki tarkari (potato curry), eaten at brunches.
- Egg: Once your bhujia is ready, create a little space on the skillet and add an egg, topped with salt and pepper.
Top Tip
- DO NOT be heavy-handed with seasonings on this recipe, especially with salt. The potatoes tend to get oversalted very quickly. If in doubt, add less seasoning in the beginning and adjust later towards the end.
- A mandolin or a slicer is better if you want even thin slices.
- This potato fry is made essentially in steam and oil. If you’d like it to be crispy or CRISPIER, let it fry for longer, tossing it once or twice. An additional 5 minutes in the pan will give you a nice golden, crispy potato base and soft potatoes on top. Mix ’em up and you have the perfect combo of both.
Frequently Asked Questions
Any hard vegetable that can be sliced will work great in combination. Like carrots, zucchini.
The cut I’ve shown in the picture is the traditional way, but feel free to make this dish your own. Make sure the potatoes are thinly sliced, whichever way you choose to slice your potatoes.
So theoretically, the aloo bhujia can last in the fridge for up to 3 days, but practically, the taste and texture get compromised once it’s refrigerated. I’d suggest only making enough quantity that you can consume in one sitting.
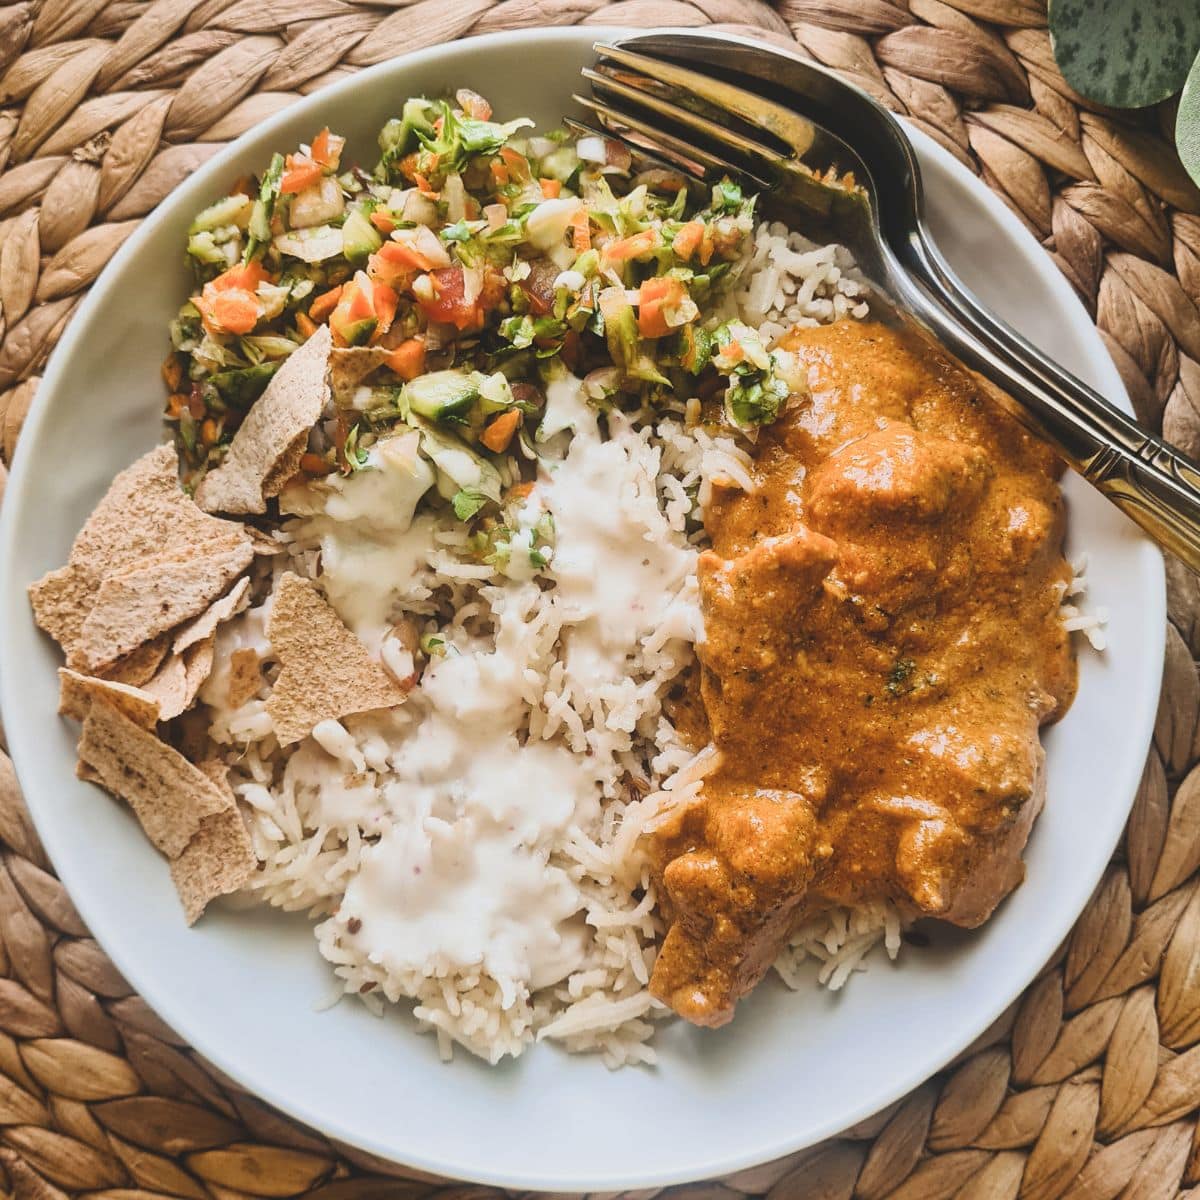
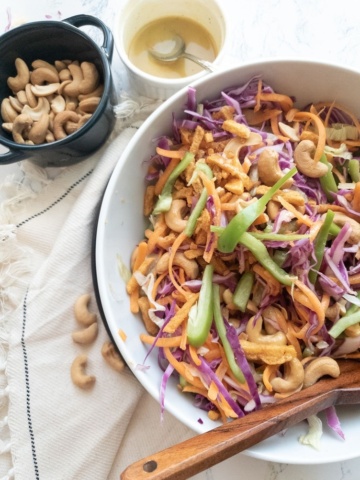
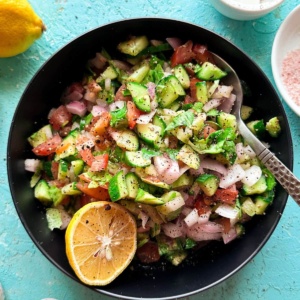
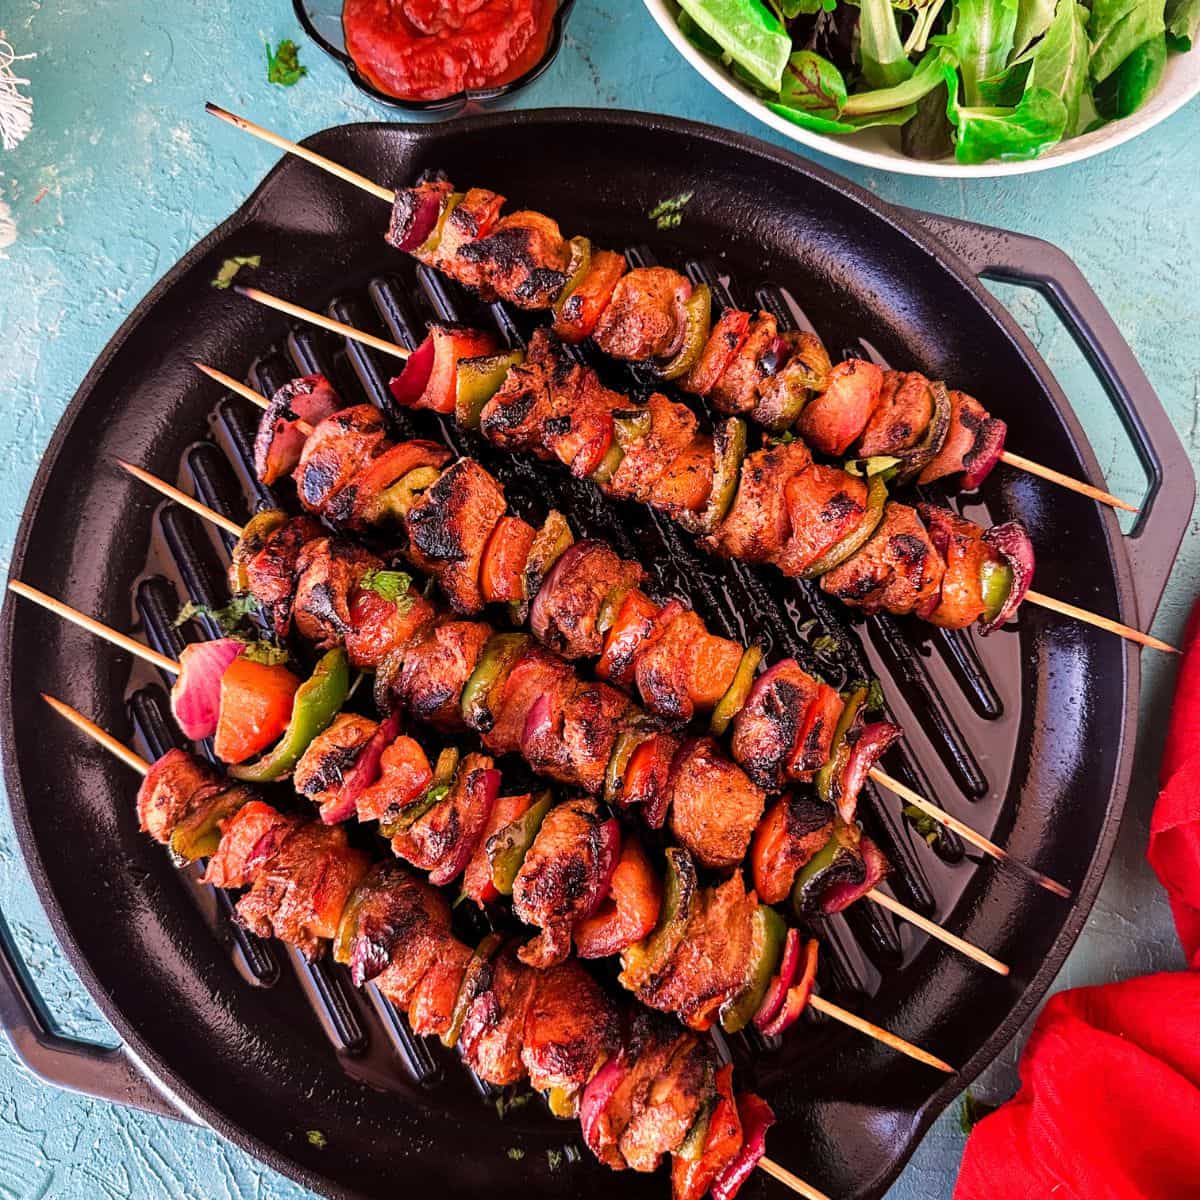
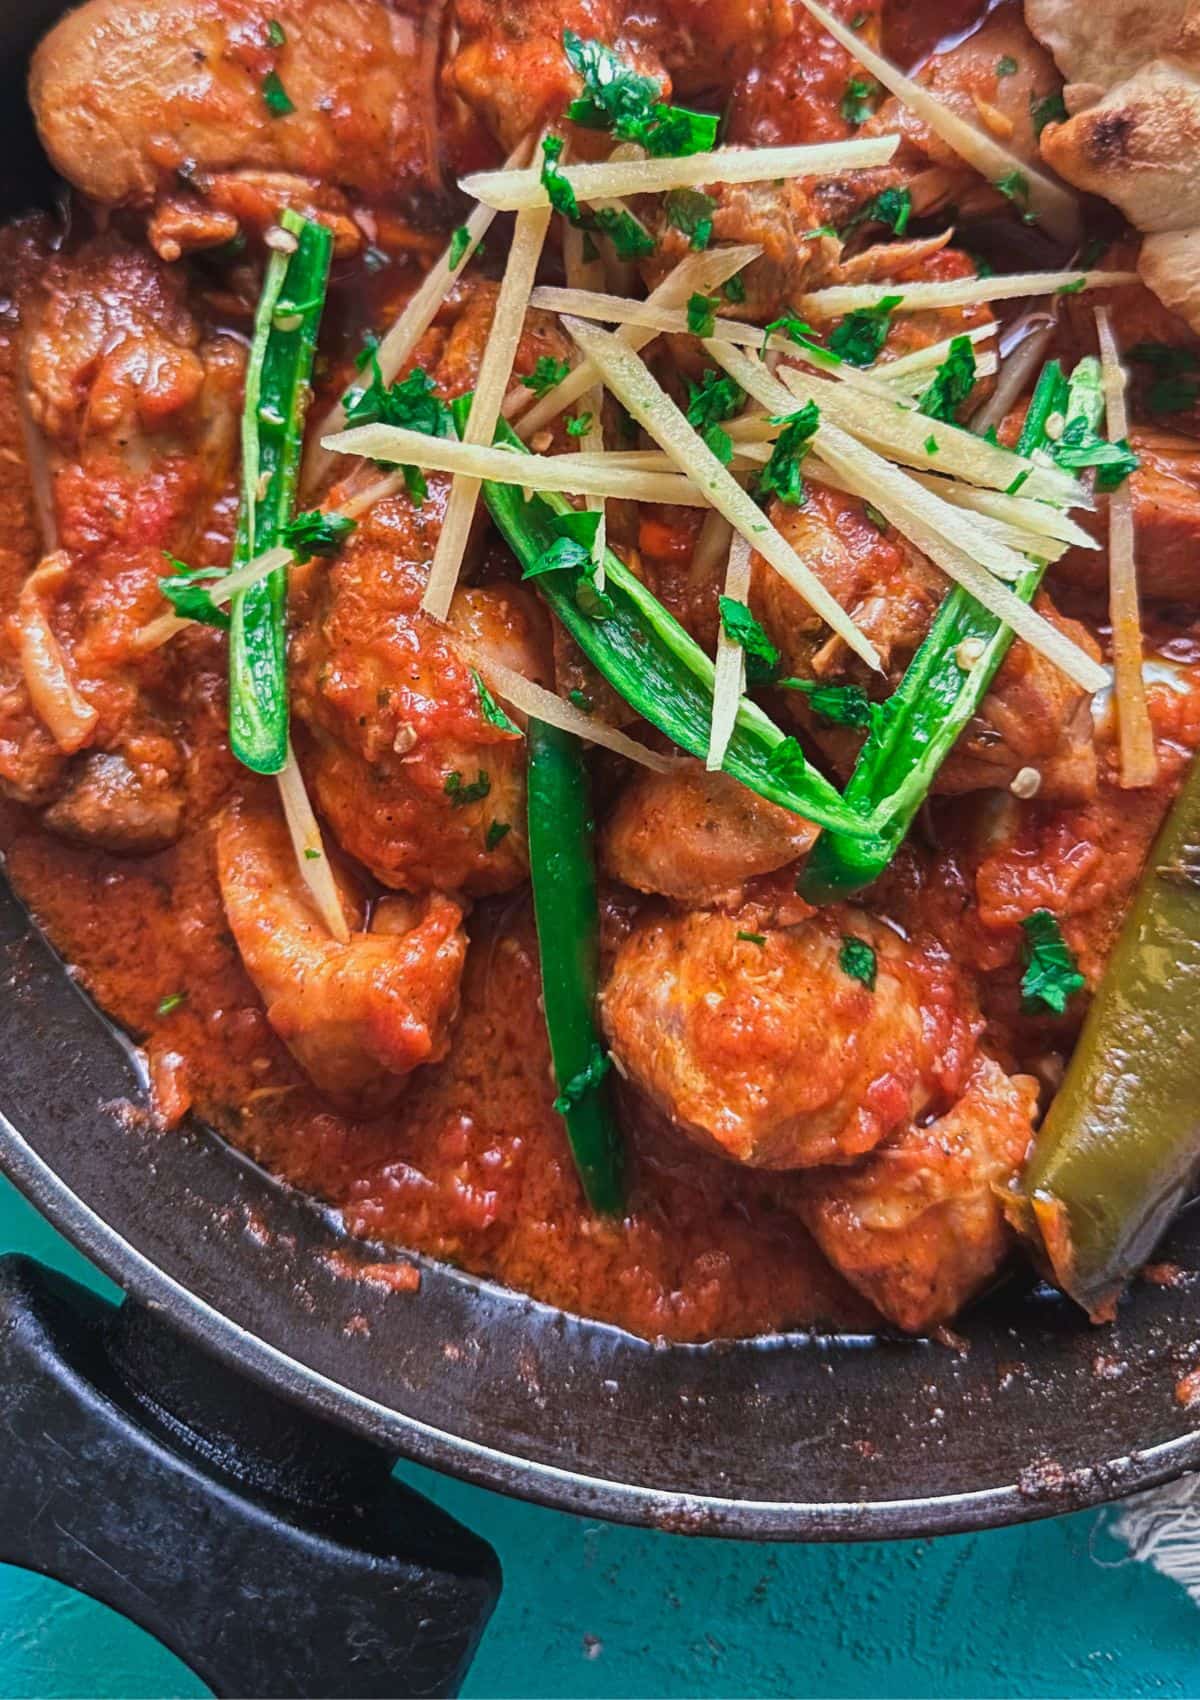
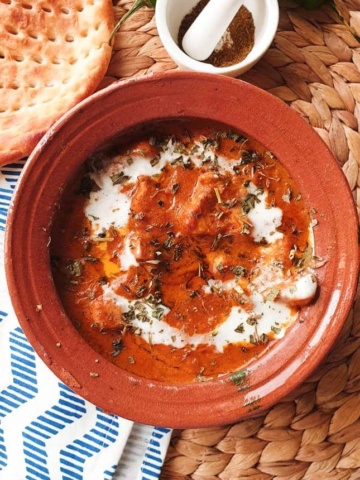
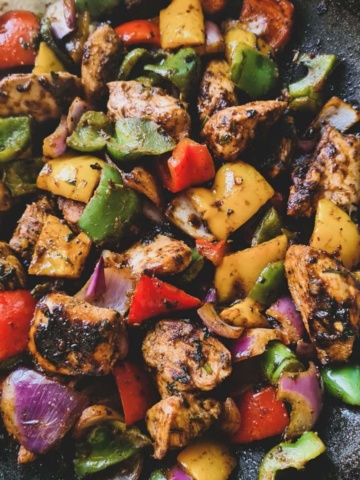
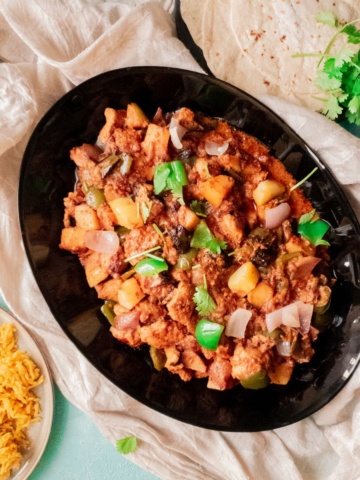
More Recipes on the blog
Looking for other recipes like this? Try these:

Do you have any questions? I’m happy to help! And of course, If you try this recipe, I’d loveeeee to see it or simply hear about it! Hit me up in the comment section below and I’ll get back to asap! Happy Cooking!

Aloo Bhujia
Ingredients
- 1 large onion sliced
- 2 medium potatoes peeled
- 2 teaspoon cumin seeds zeera
- 1/2 teaspoon salt or to taste
- 4 whole button red chilies dried
- 1/4 teaspoon turmeric powder haldi
- 1/2 teaspoon crushed red chili flakes or to taste
- 4 tablespoon cooking oil or ghee
Instructions
- Cut your potatoes into 4 equal wedges. Slice those wedges cross-sectionally as thin as you can. Set aside.
- Add oil to a wok/karhayii or skillet. On medium heat, add cumin seeds, whole red chilies to the oil.
- Add sliced onions and saute till the onions become translucent.
- Add the potatoes and remaining seasoning to the skillet and stirfry for 2 minutes.
- Reduce the heat to low and cover the skillet with a lid. Let the potatoes cook for 10 minutes.
- Remove the lid and check one potato slice to see if its cooked.
- Now you can finish cooking here or stirfry the potatoes for another 5 minutes at medium heat to get some bits to get crispy and golden on the bottom.
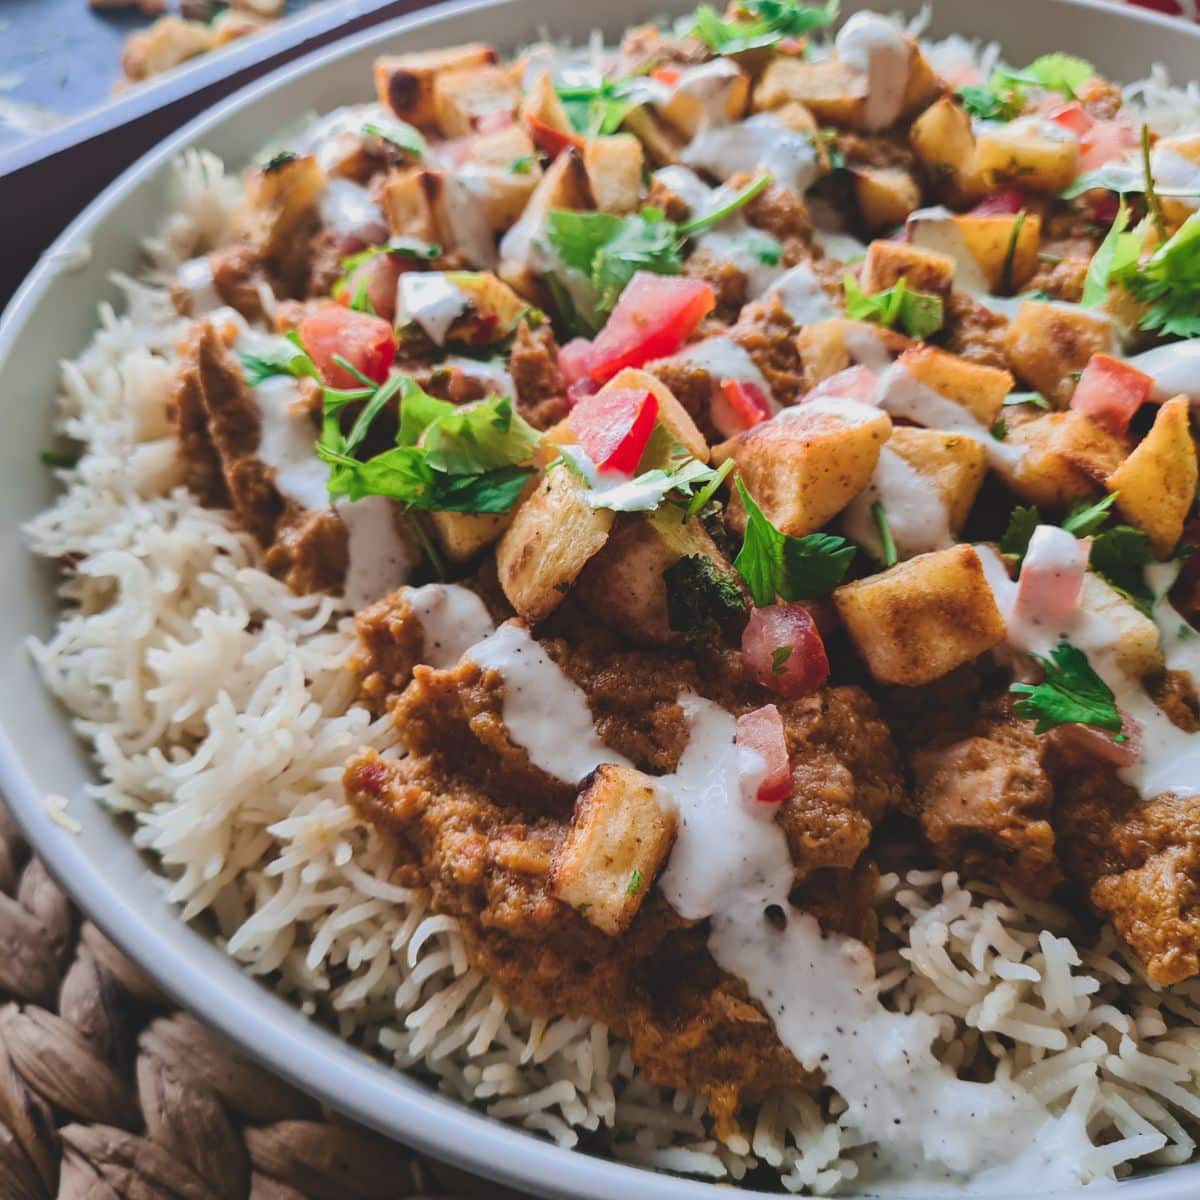
- Garnish with coriander and serve hot with roti, or dal and rice.
Notes
- DO NOT be heavy-handed with seasonings on this recipe, especially with salt. Add less seasoning and adjust later towards the end.
- A mandolin or a slicer is better if you want even thin slices.
- This potato fry is made essentially in steam and oil. If you’d like it to be crispy or CRISPIER, let it fry for longer, tossing it once or twice. An additional 5 minutes in the pan will give you a nice golden, crispy potato base and soft potatoes on top. Mix ’em up and you have the perfect combo of both.
- For more variations, try adding sliced carrots.
- This bhujia is best eaten fresh and loses its crispiness if refrigerated.