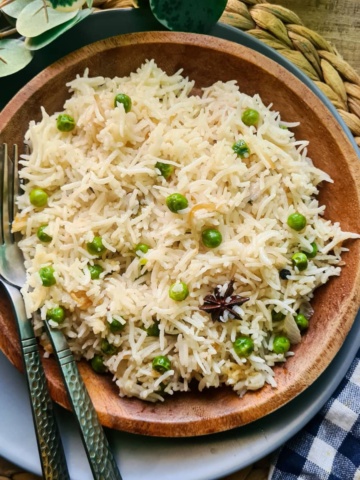
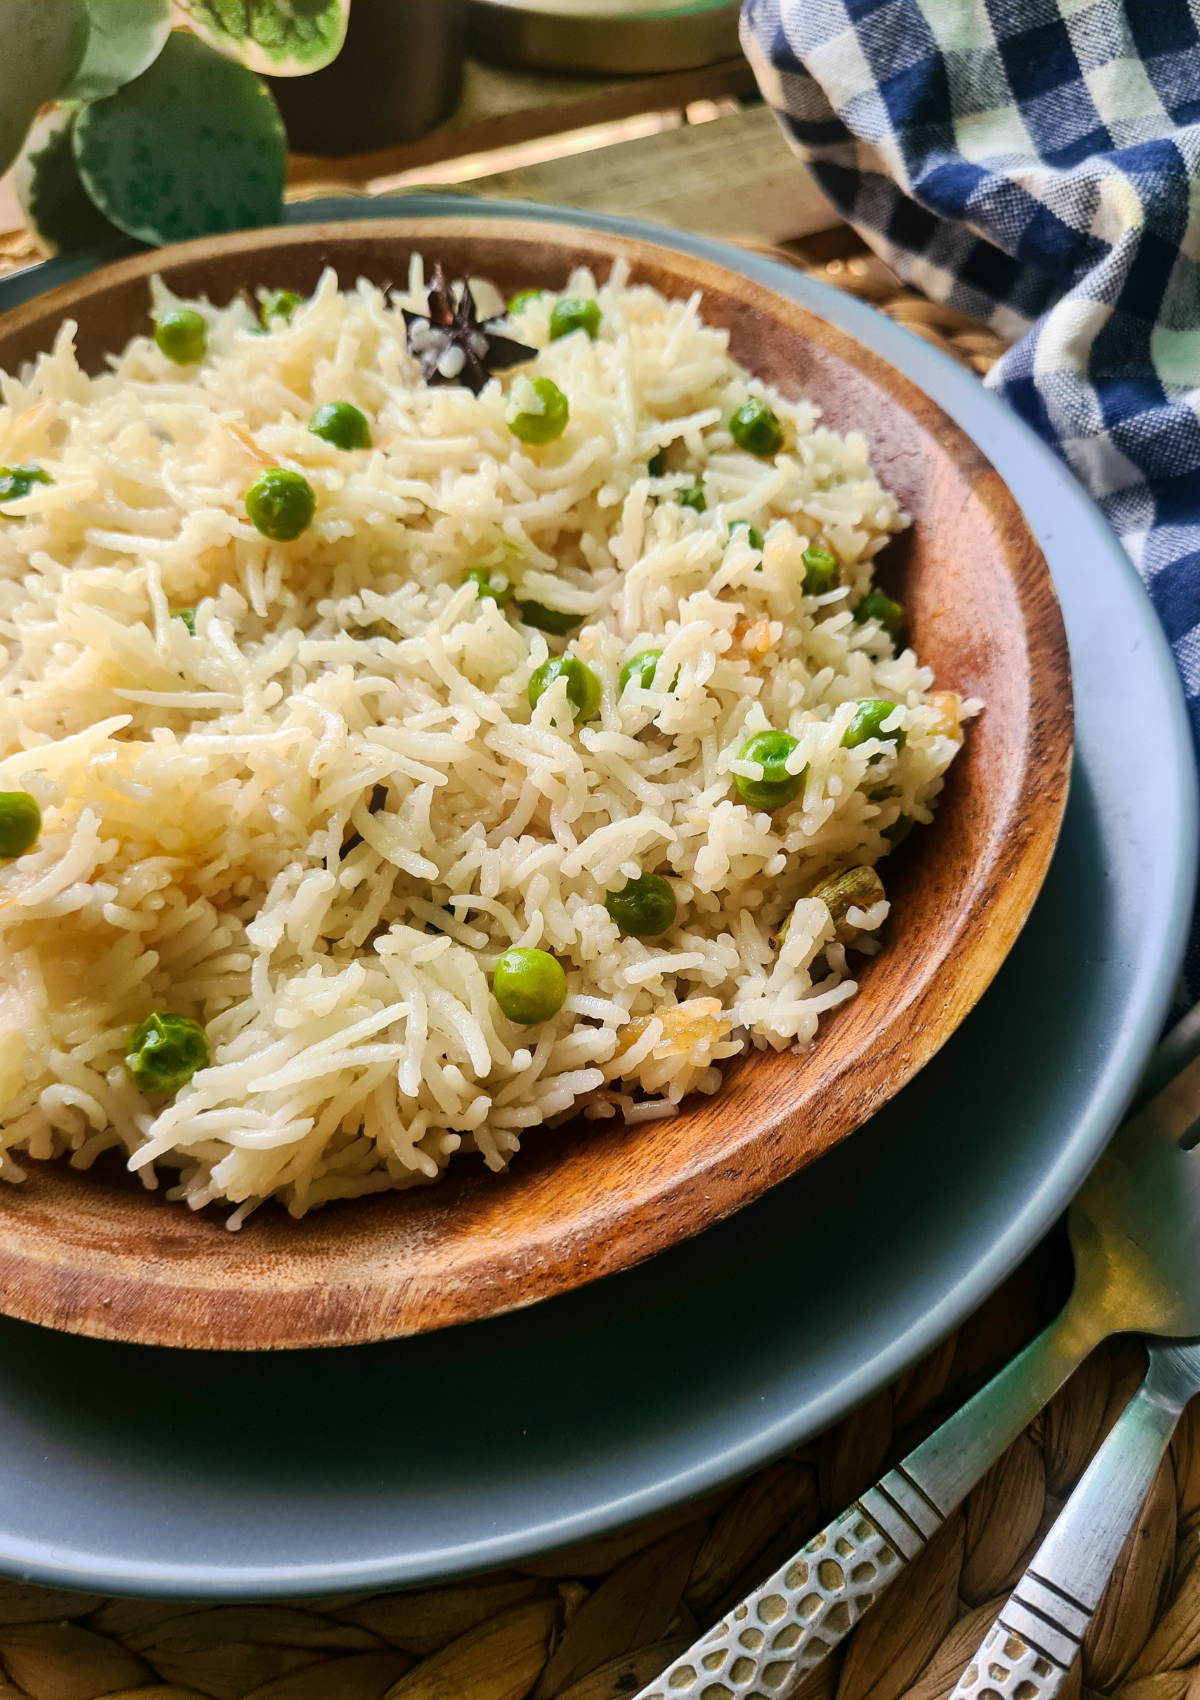
This classic Matar pulao recipe is as OG as any rice dish gets in South Asia. Simple whole spices for aroma, and peas for its name, you can whip this dish up in less than 30 mins! All beginner cooks welcome!
It boasts to be the safety net of every brown mother, who runs out of ideas of what to cook in the middle of the week. But it also works for potlucks and get togethers when paired with heavier curries.
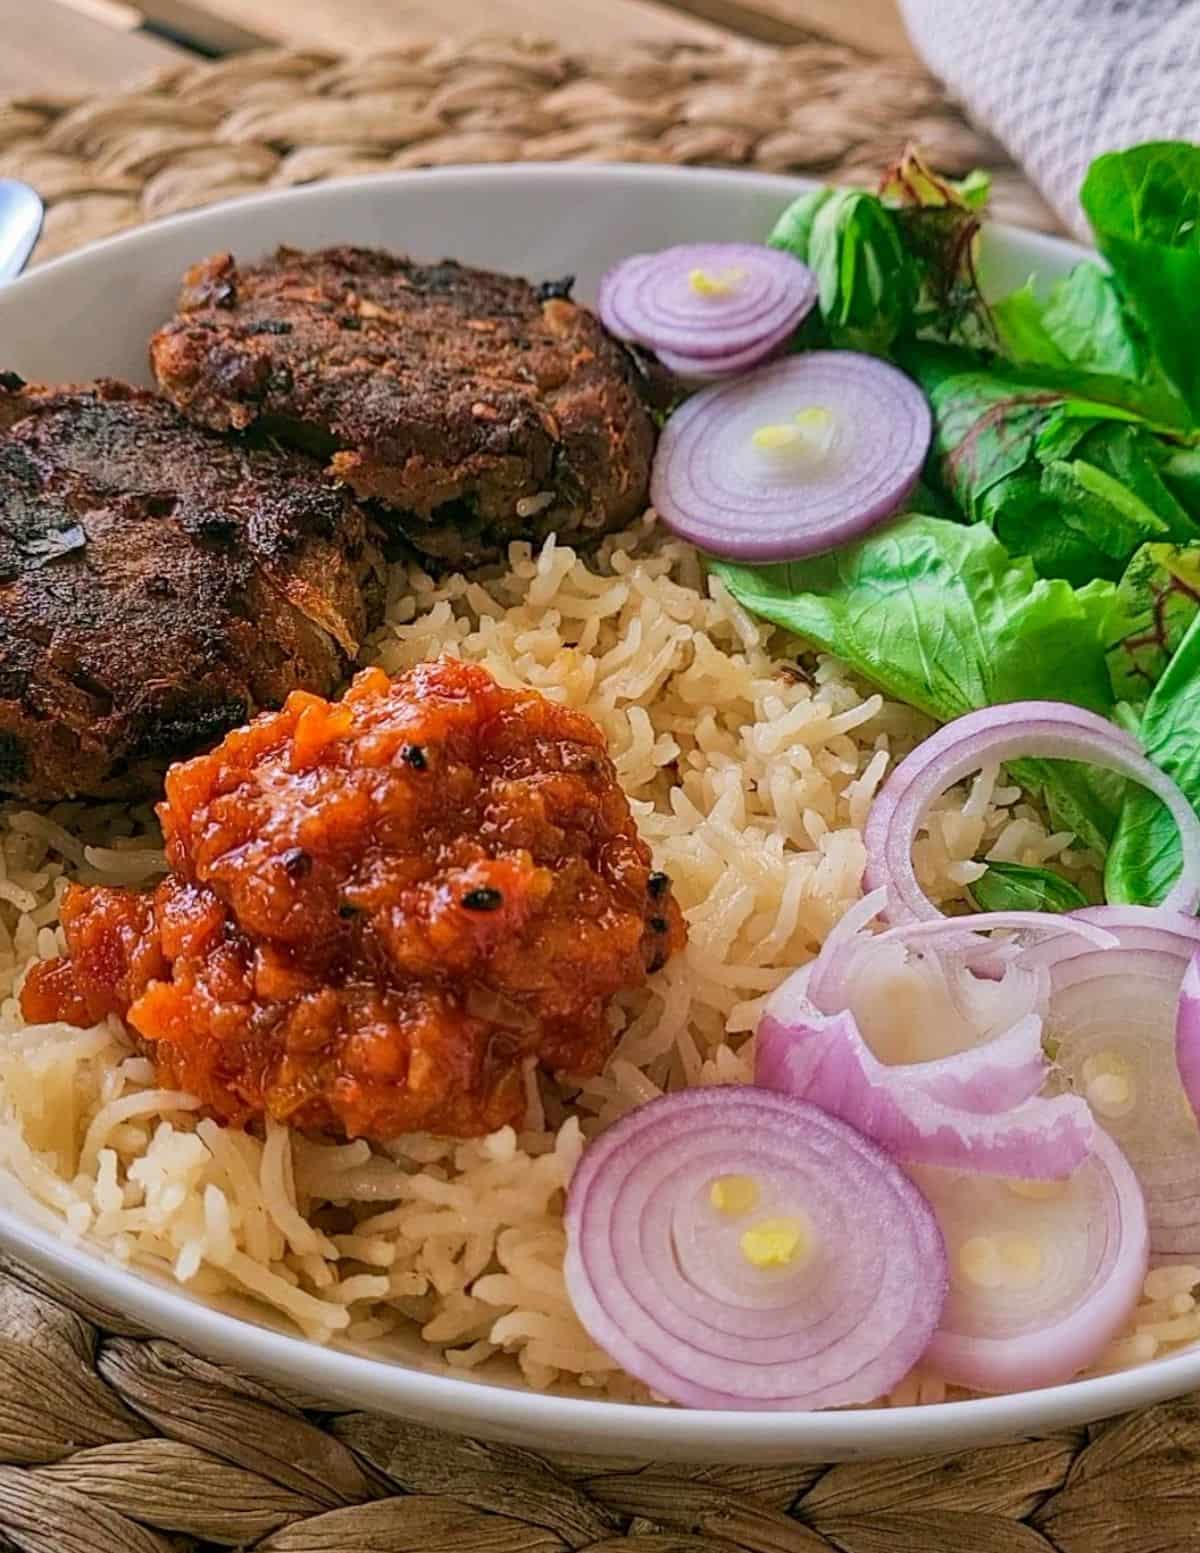
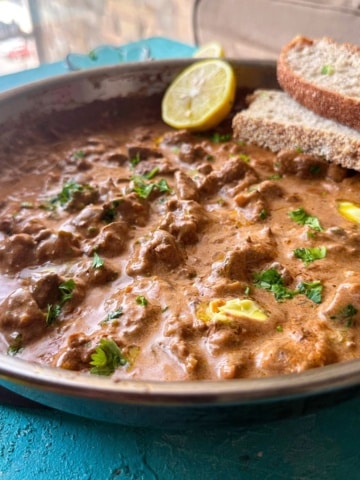
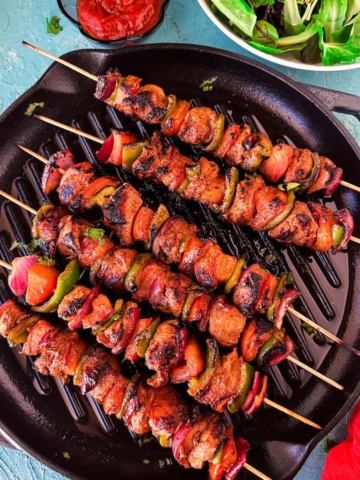
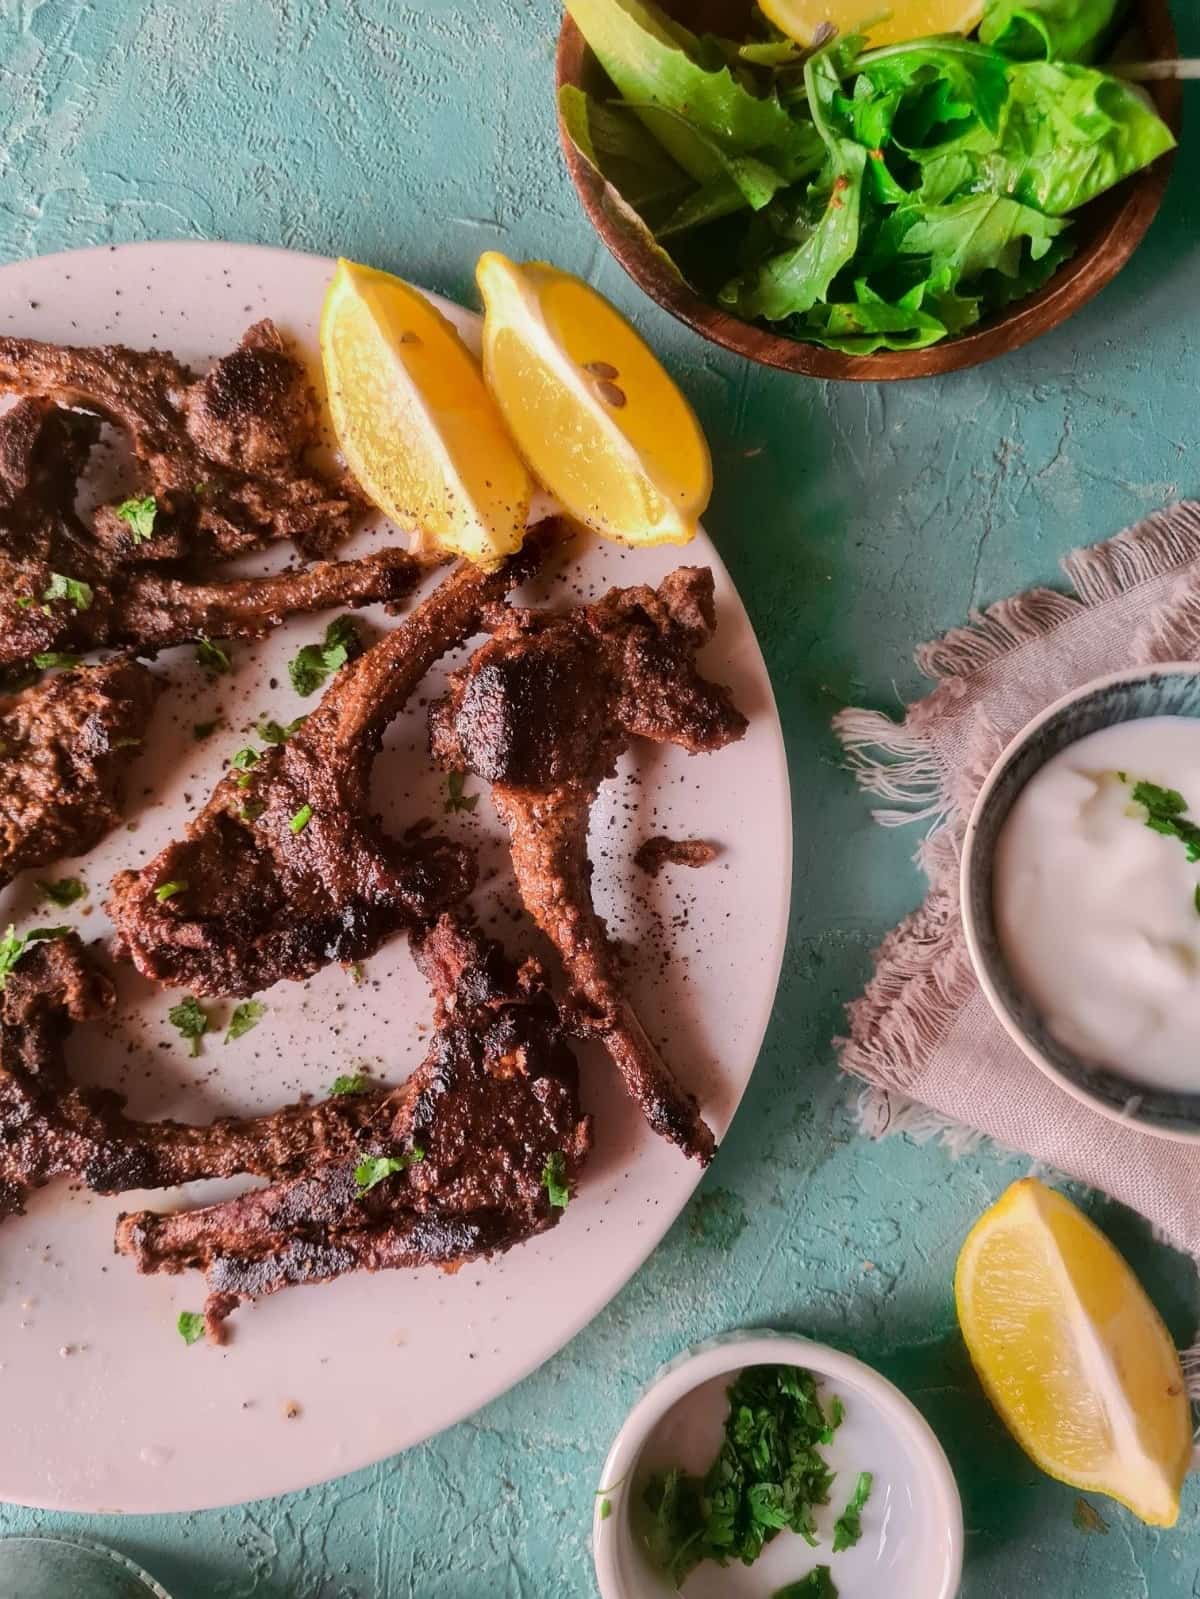
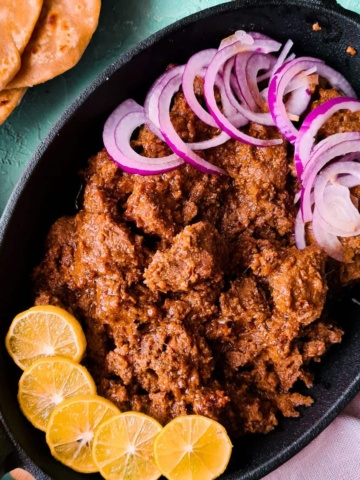
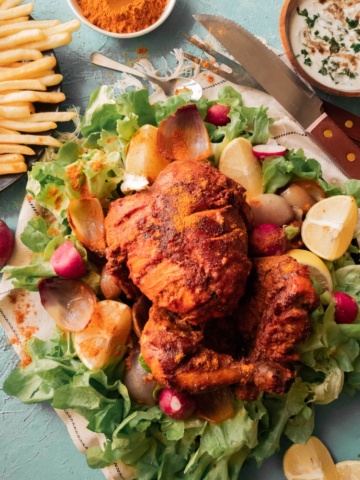
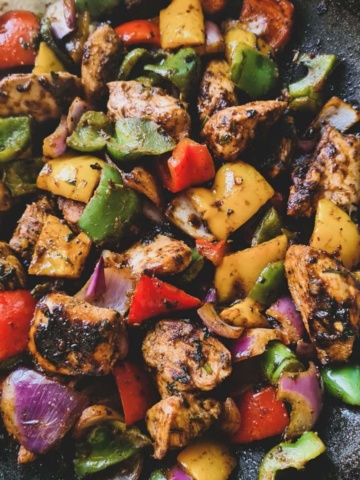
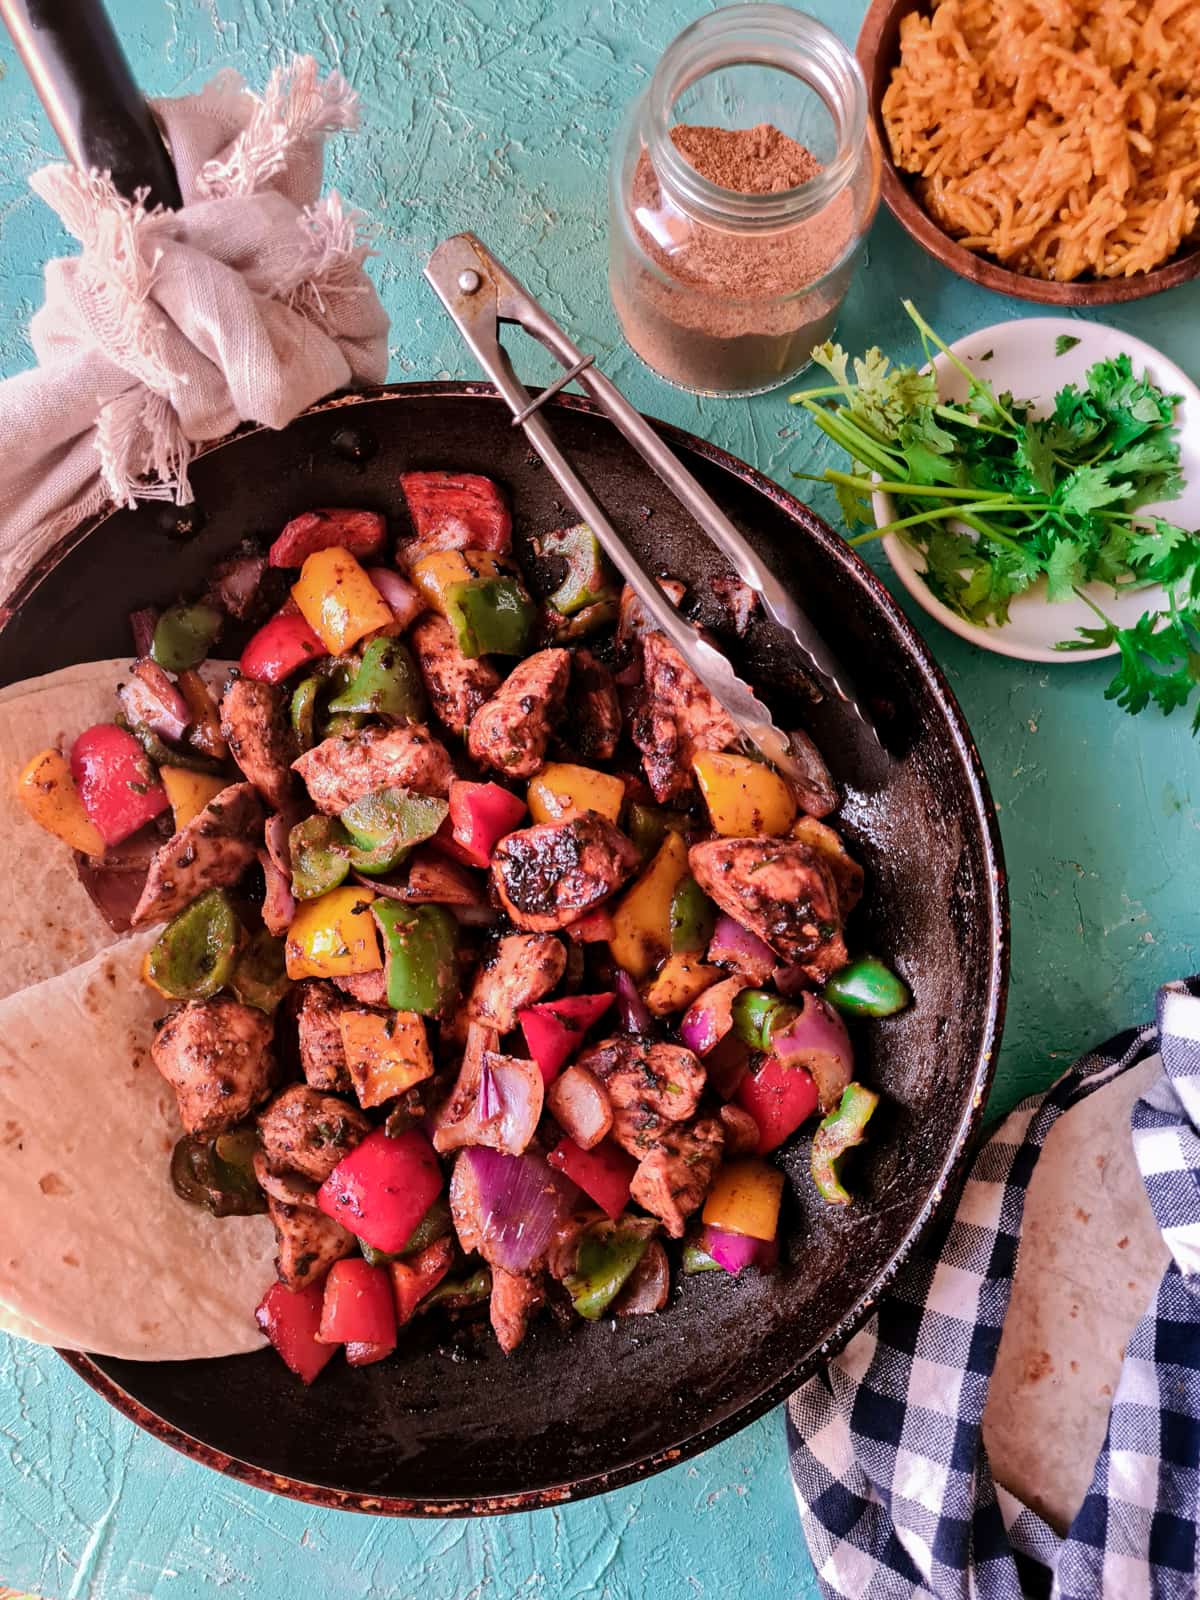
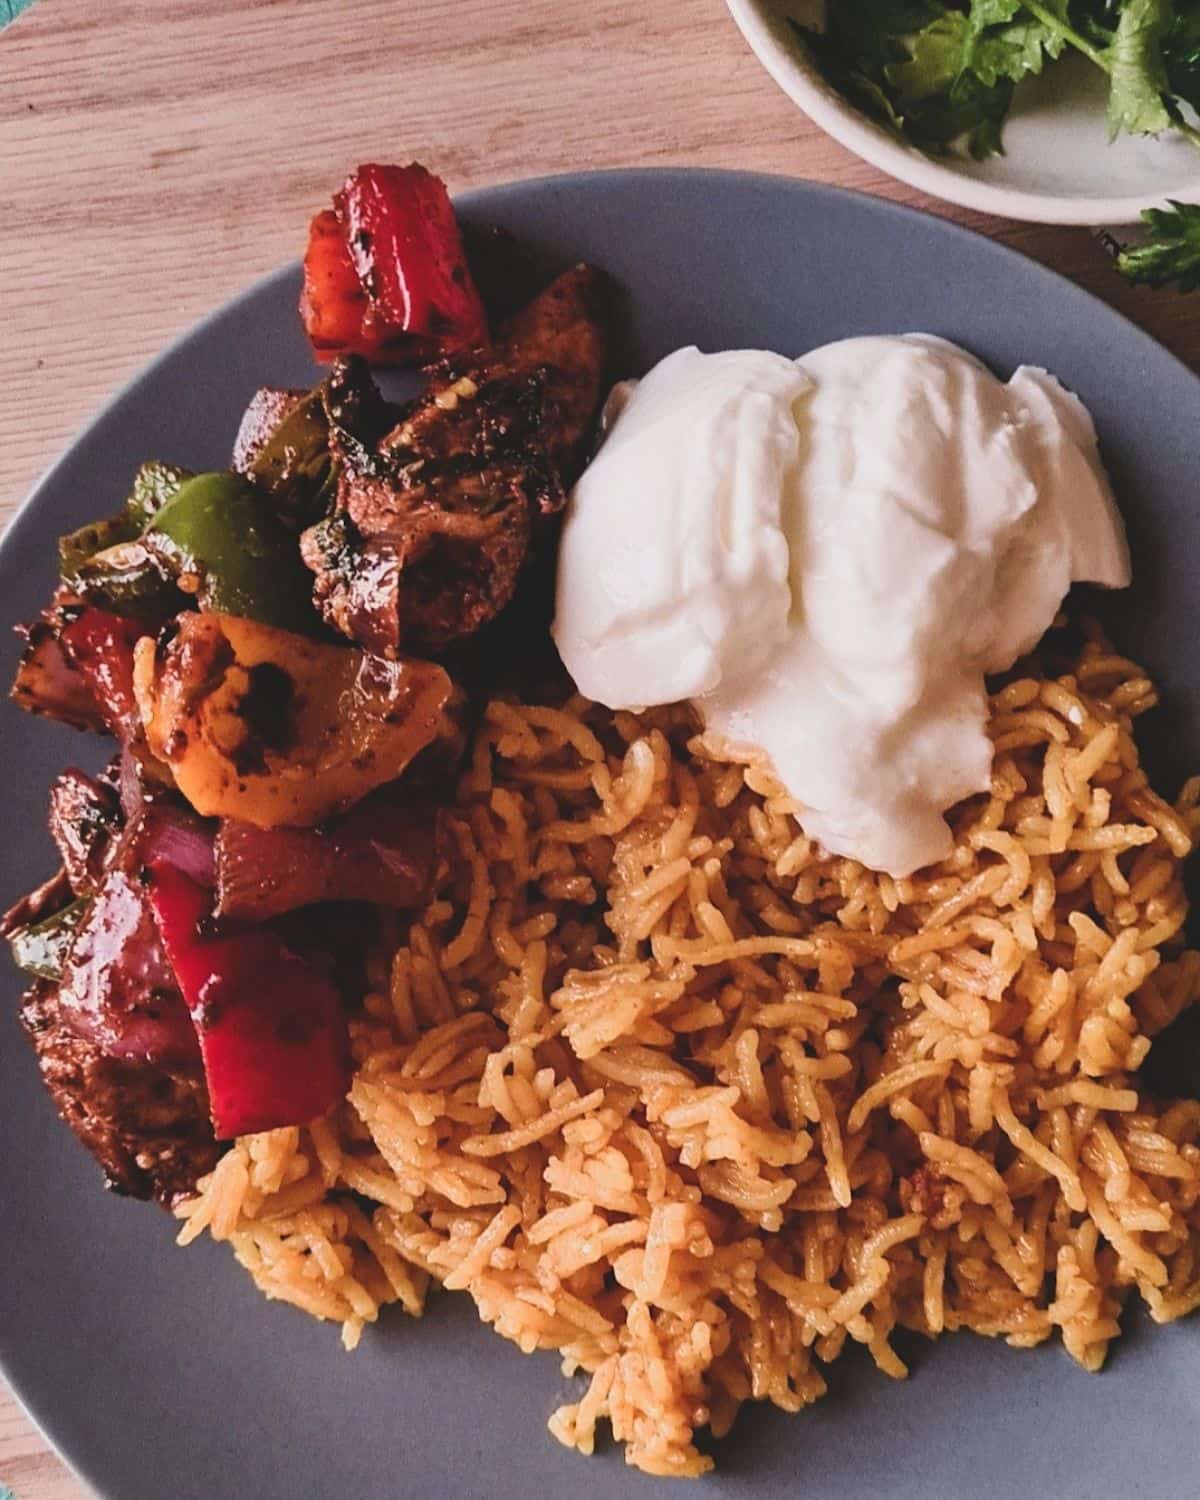
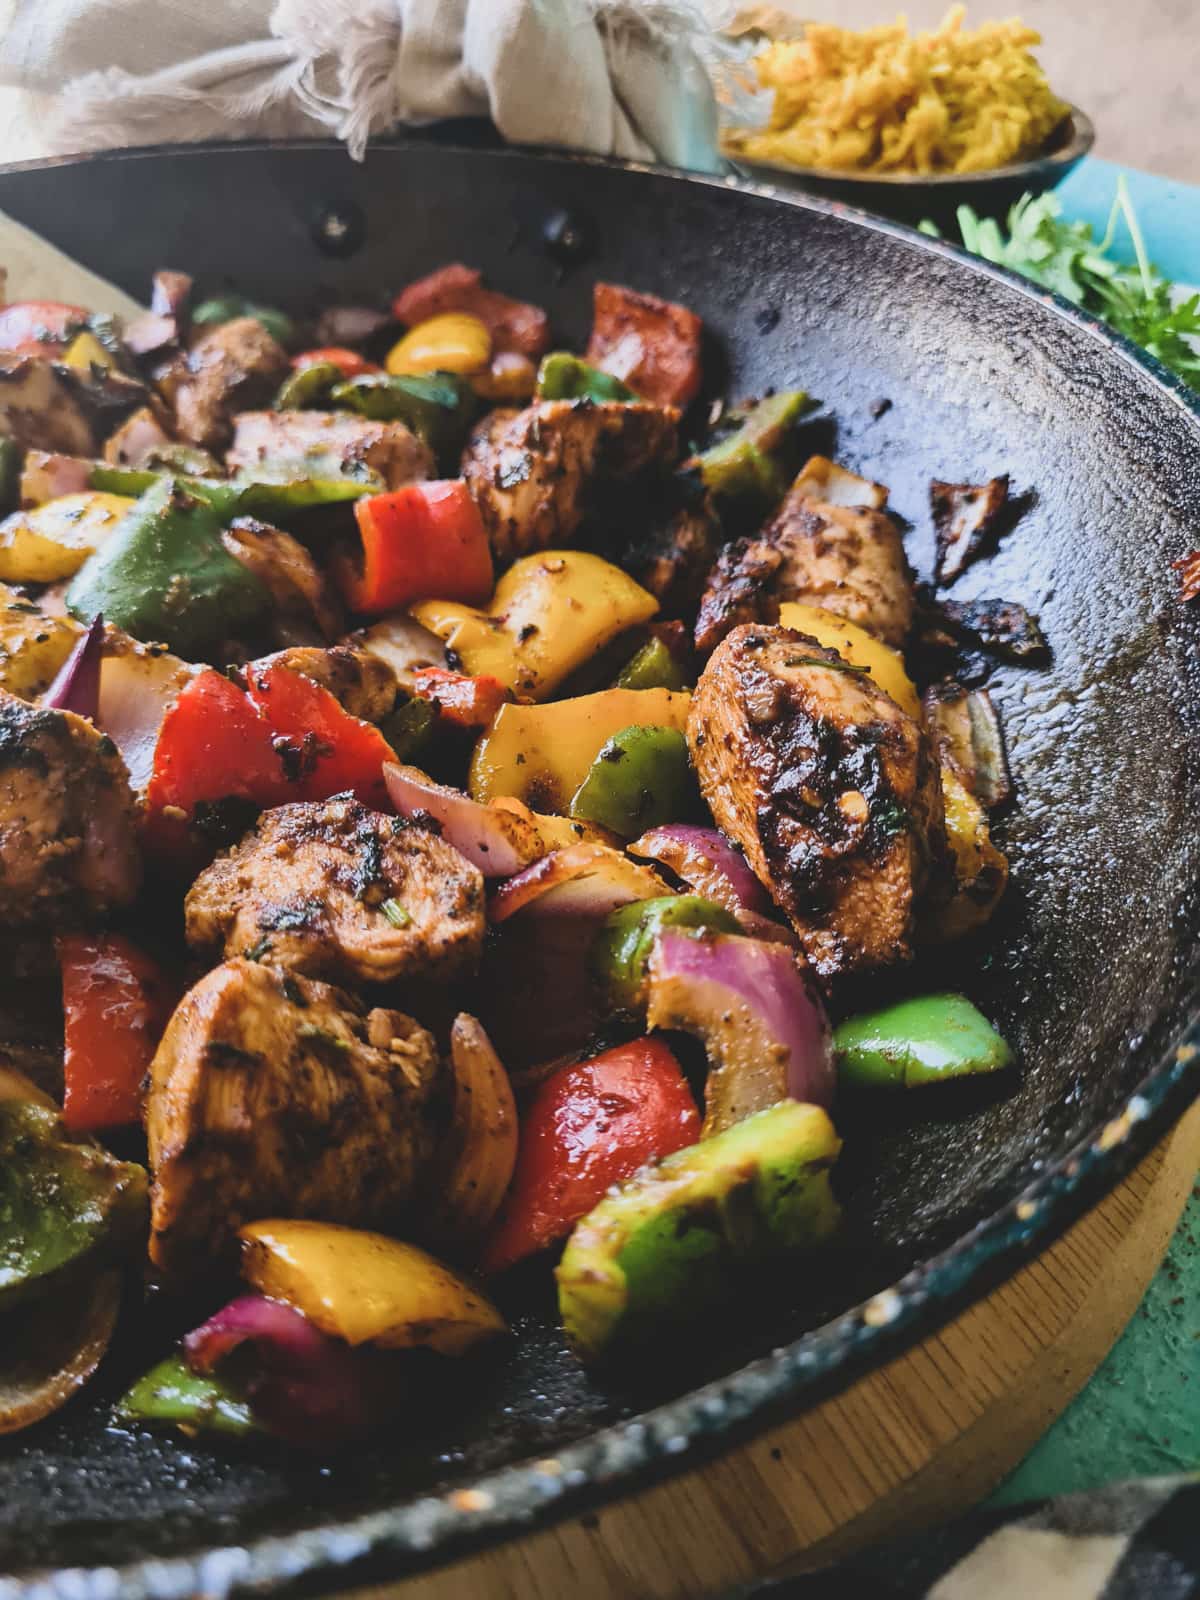
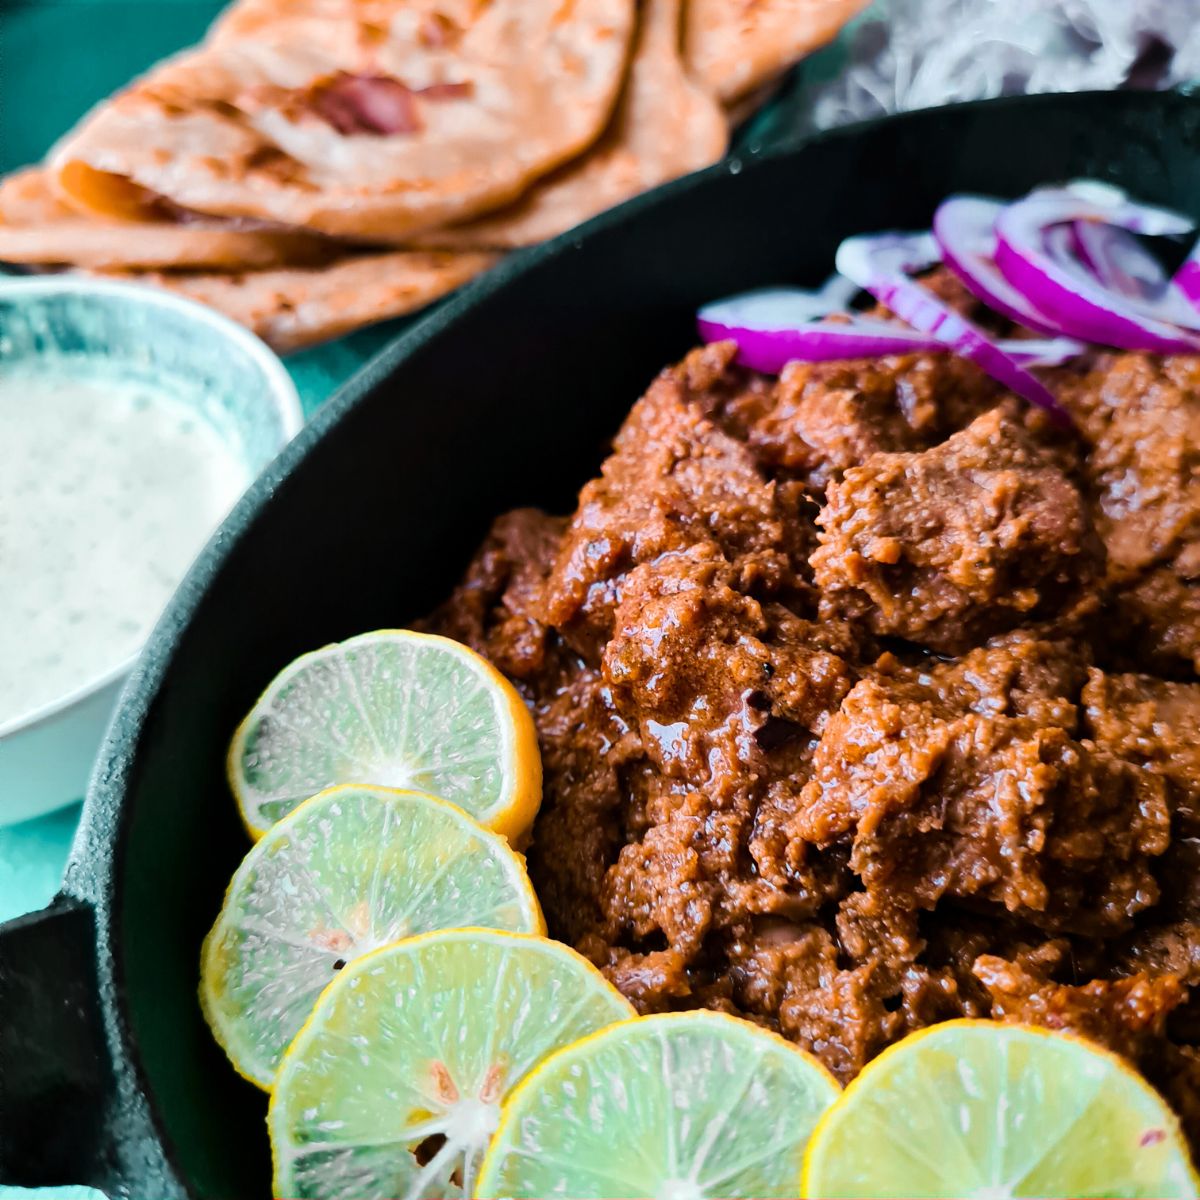
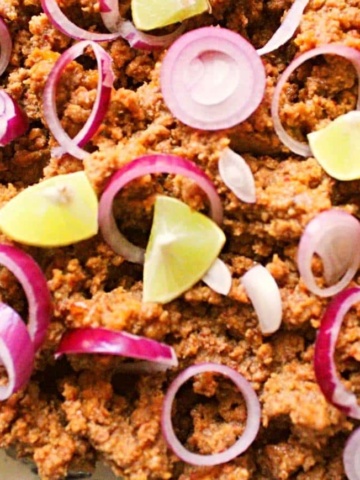
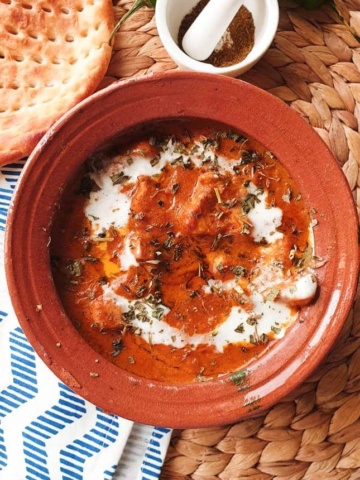
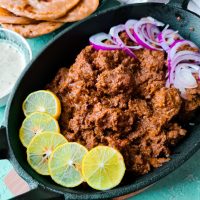
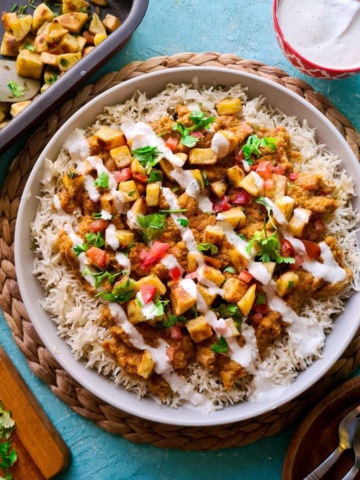
My favorite Matar pulao combo is with Chicken Handi or the Chicken Shashlik and pickled onions
What is Matar pulao?
Matar means “peas” in Urdu or Hindi. Pilaf/Pulao/Pilav is essentially a generic rice dish, where the rice is cooked in any type of broth or stock. The broth is flavored by adding whole spices, vegetables and sometimes protein (like meat, fish, chicken). Some of you might have even heard of the popular Spanish dish called Paella, which is yet another variation of the pulao. This matar pulao is a simple version of the pulao, and is usually paired with a curry. More exotic pulaos like Malai Boti Pulao act as stand-alone dishes. They are an extraordinarily commonly made dish in every North Indian and Pakistani household.
How is pulao different than biryani?
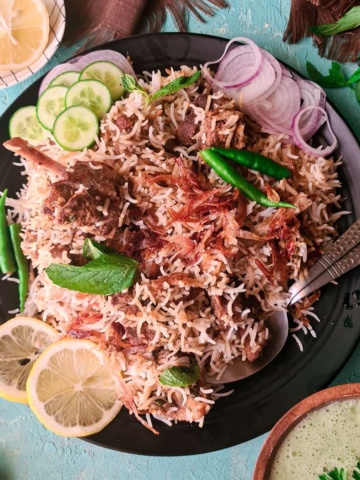
This is probably the most debated topic amongst food lovers who’ve been confused when watching youtube videos with the wrong labels or went into a restaurant which served them Pulao when they ordered Biryani. The confusion between the two is common and it made sense to address it over here. Here’s how to spot the difference.
| PULAO | Biryani |
|---|---|
| One pot dish, where rice is cooked in the flavored broth | A layered rice dish where rice is cooked seperately and the curry seperately and simply assembled together while steaming. |
| Appears as homogenous evenly colored rice grains | Appears as a mixture of some spicy rice, some plain, some white, and some colored. |
| Made with simple whole spices | Made with heavier powdered spices and with heavy curry base. |
| Easier to make | Requires a few additional steps |
Bonus points for Matar Pulao
- ONE POT RECIPE : Unlike biryanis, you can make a pulav in one pot, like this one.
- WORKS ALONE: Usually simple pulaos are paired with heavier curries, but pea pulao can be had on its own with just yogurt and salad on the side
- SIMPLE AND QUICK: I have a seperate category on the blog for under 30 min meals and my friend, this one falls into it.
- The ingredients are pantry staples, and even if you are short on some whole spices, you will still be able to make it perfectly.
- This is by far the universally kid approved recipe.
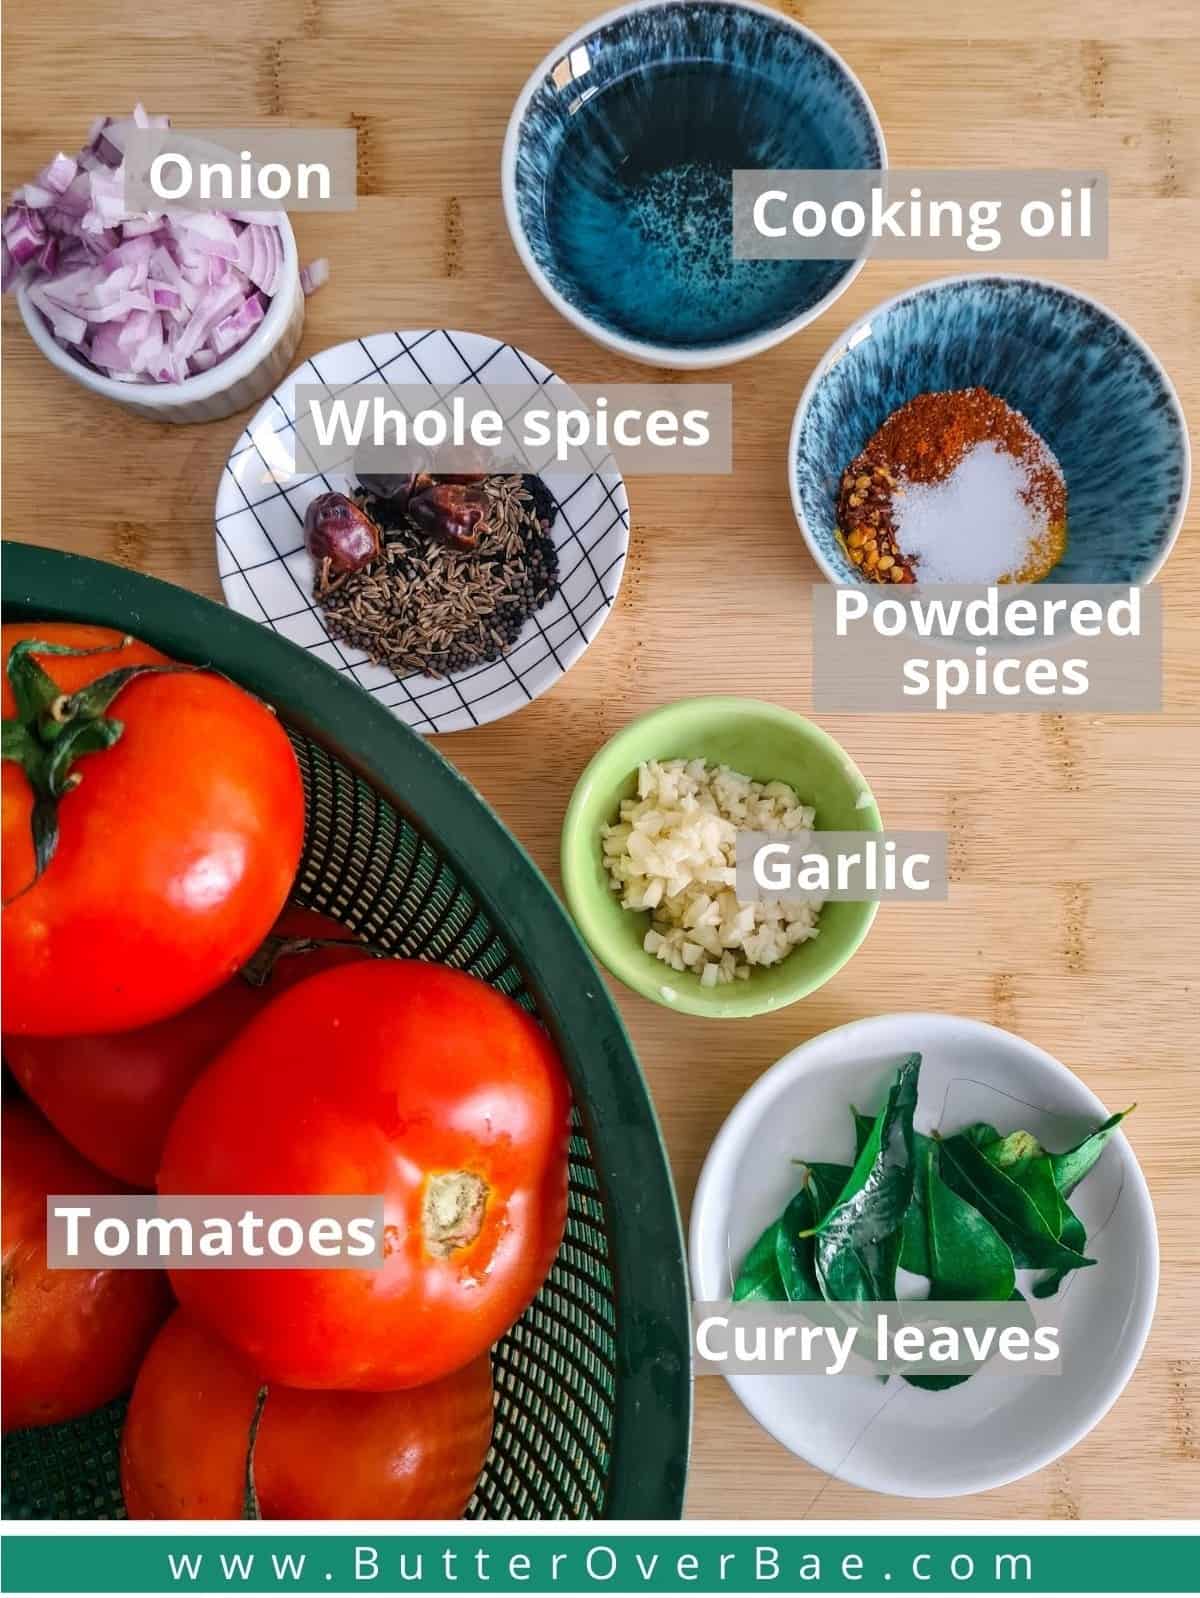
Ingredients and Substitutions
- Rice – Like most of my recipes, I recommend using long grain Basmati rice for pulaos as well. Short grain Basmati rice works perfectly too. You should be able to find Basmati rice in Asian grocery stores.
- Whole spices – You will need cloves, black and green cardamoms, black peppercorns, bayleaves, cinnamon stick, star anise. These will infuse flavor into your broth. You might not have all of these at home at all times, and it is perfectly fine to skip them if you don’t have any. Just simple black peppercorns will work too.
- Oil – I’ve made pulaos using ghee (clarified butter), oil and they both work perfectly. For best results, I always recommend ghee because of the added aroma. But any neutral oil would work too. If you are avoiding vegetable oil for health reasons, you can use aromaless coconut oil or aromaless olive oil as well!
- Peas – Fresh or frozen peas, both can be used to make this recipe. You don’t need to thaw frozen peas incase you are using them. You can also use any other vegetable that you enjoy, like carrots or beans.
- Ginger Garlic Paste – This is another household staple in South Asian cuisine. You can also chop an inch of ginger and 3 cloves of garlic instead if you are out of ginger garlic paste
- Onion – Sliced onion adds the depth of flavor that all good pulaos have. Use any type of onion available to you. Red, white, or any really. You can use pre-fried onions that are now readily available in Asian stores. I also like to sprinkle some fried onions on top of the pulao as garnish, but is something completely optional.
PROTIP:
After soaking rice in water for 20 mins, rinse and wash 2 more times. This helps in removing excess starch and reduces your pulao’s tendency to be clumpy.
Instructions
The method to make this pulao is fairly straightforward but I’ve put in a pictorial for all you visual learners out there.
Preparing the broth
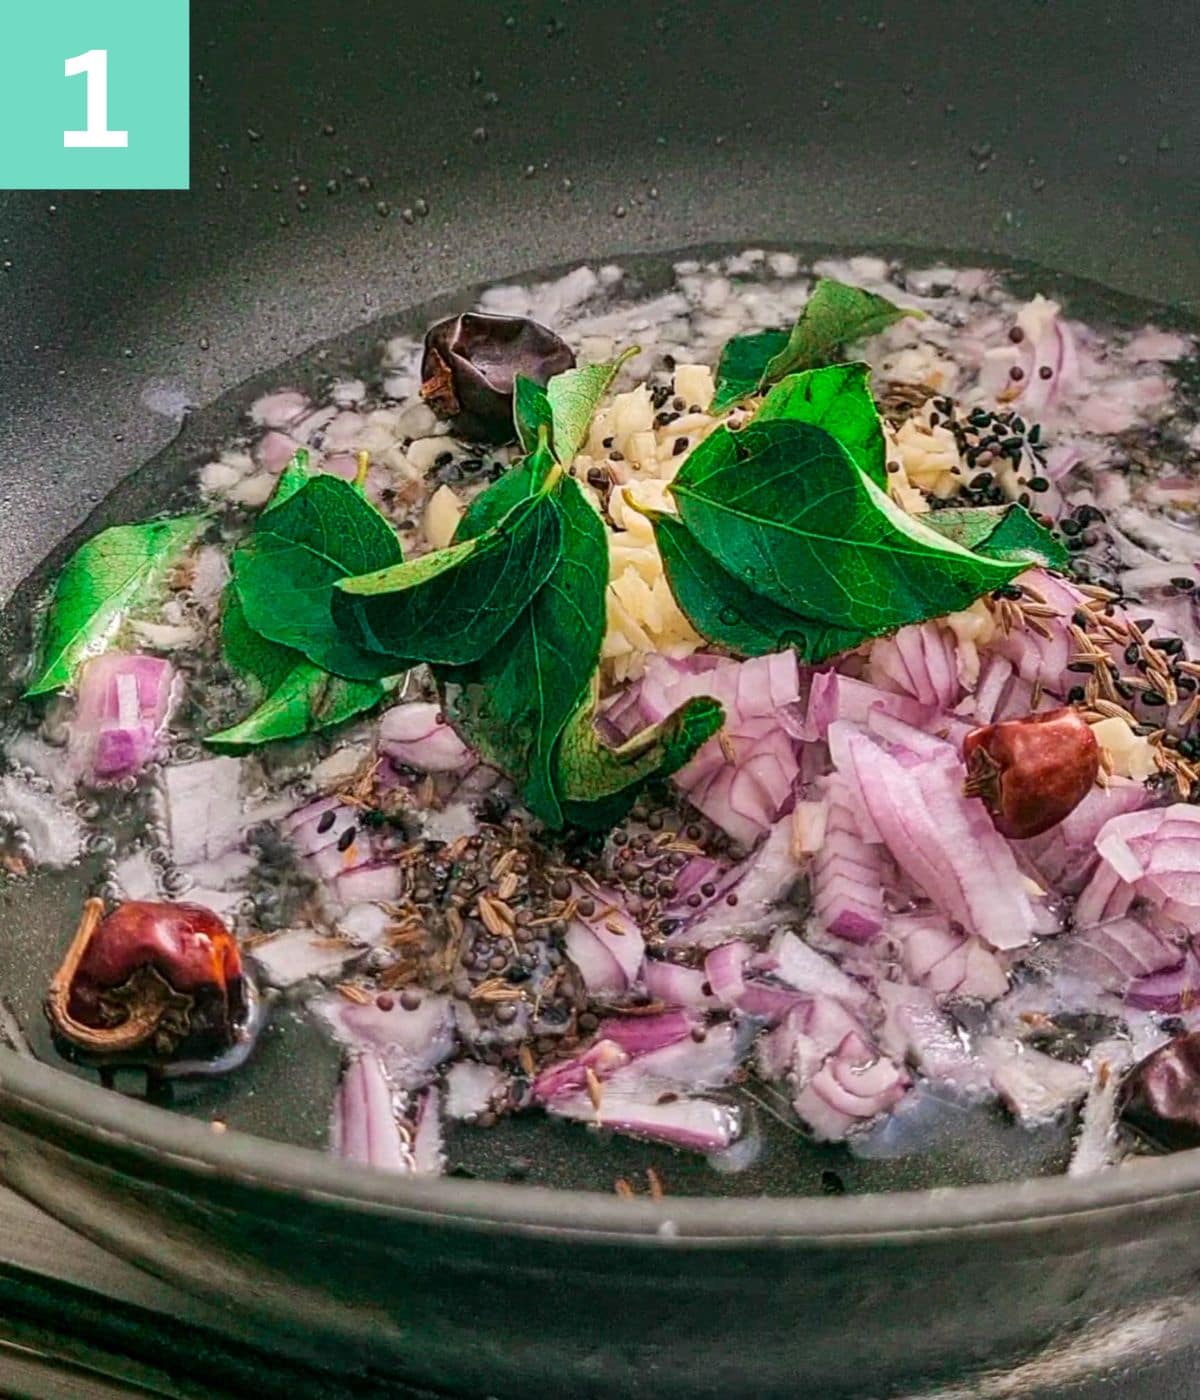
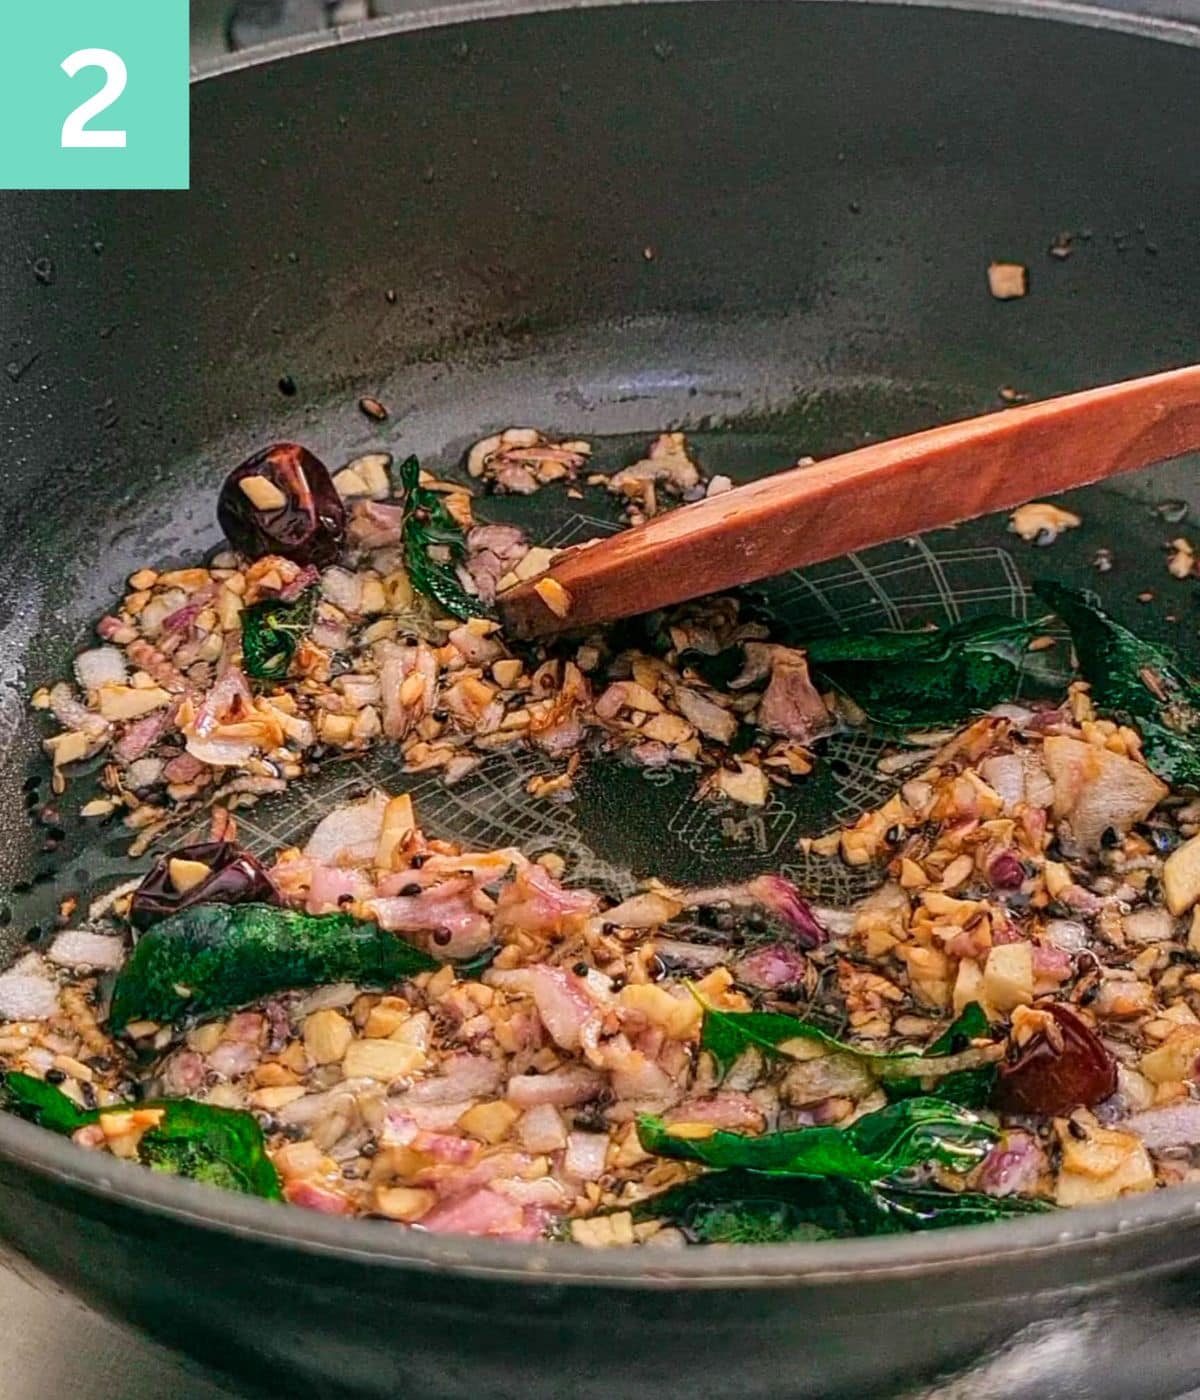
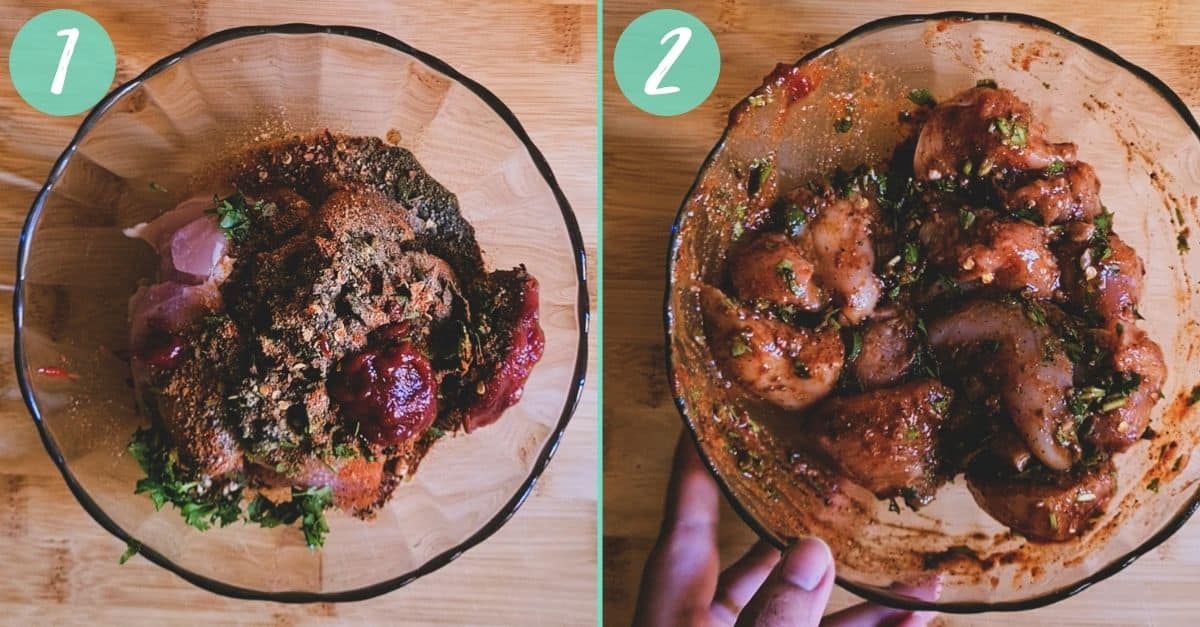
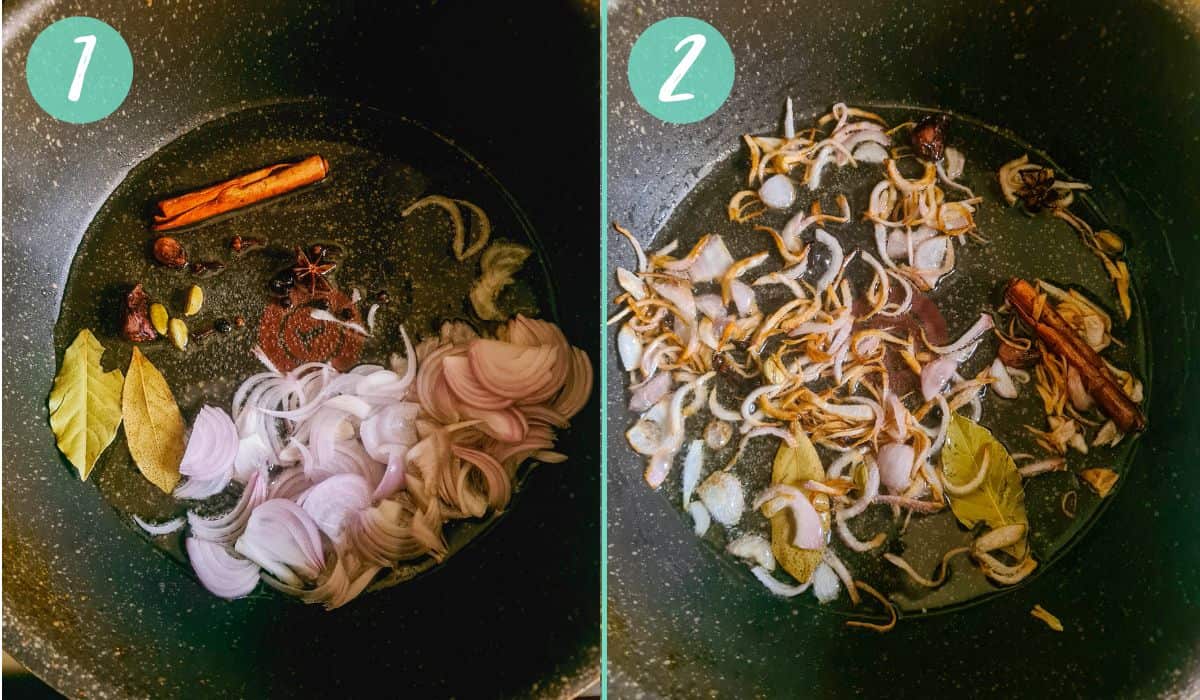
1 and 2 – Saute and Temper
Add oil in a large thick bottom pot and heat it for a minute at medium heat. Then go ahead and add all your whole spices and onions. Allow the onions to caramelize and turn golden brown. This also gives your spices enough time to infuse flavor into the oil.
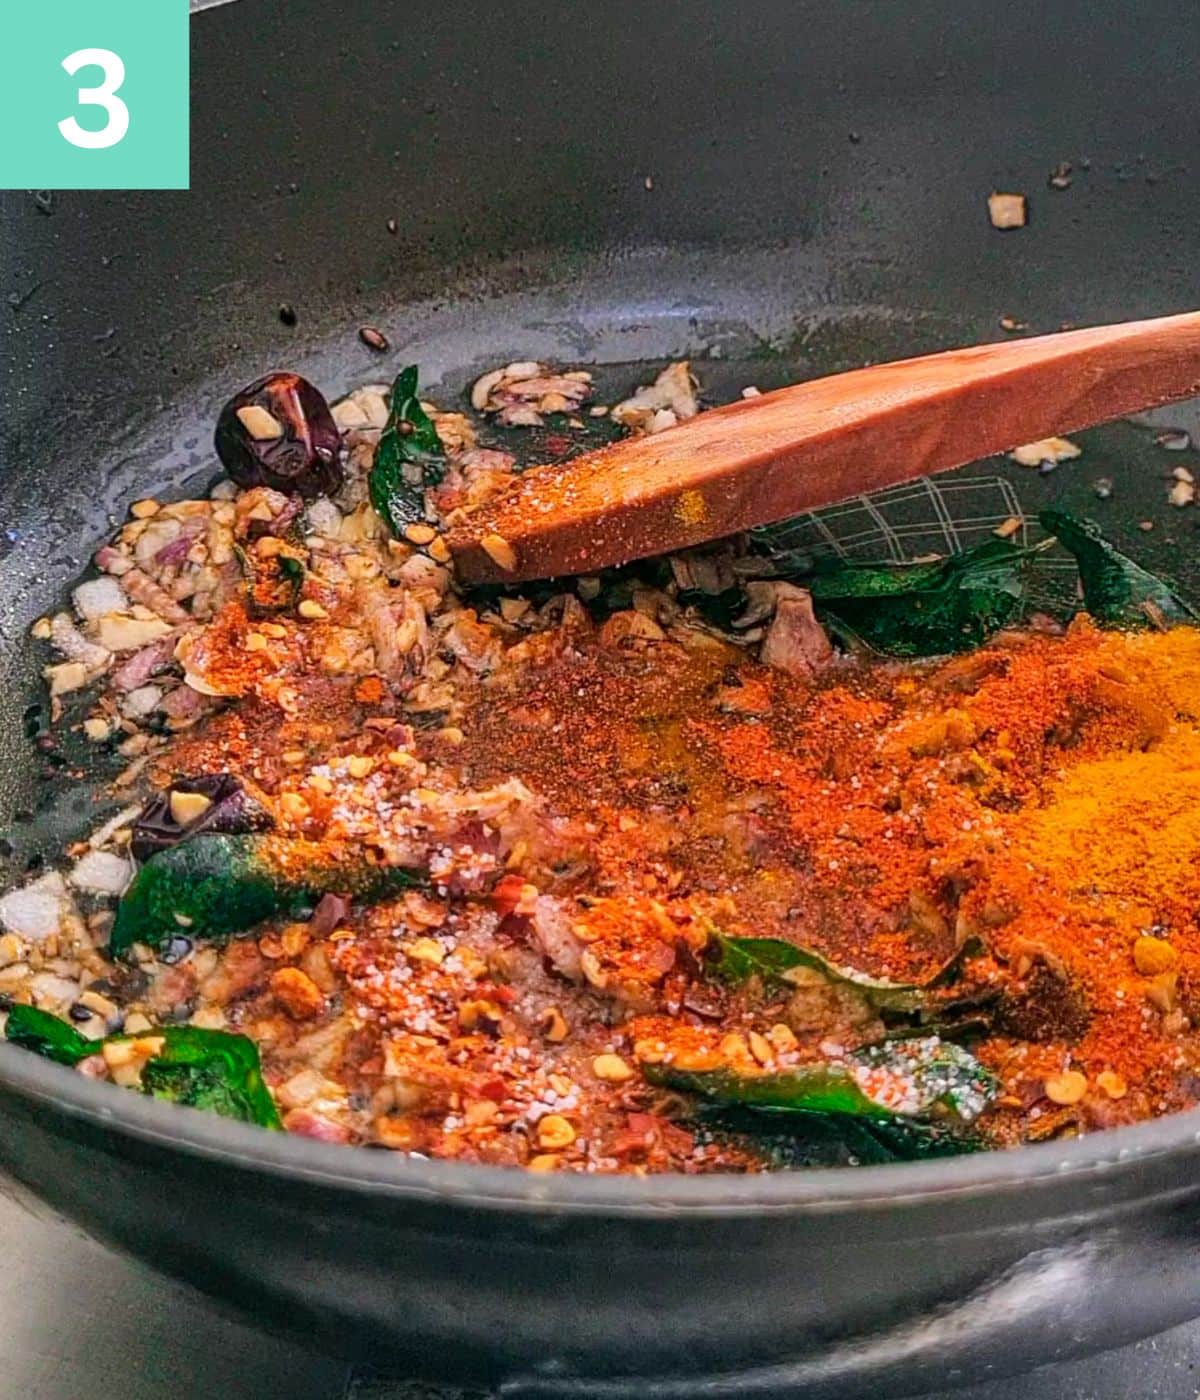
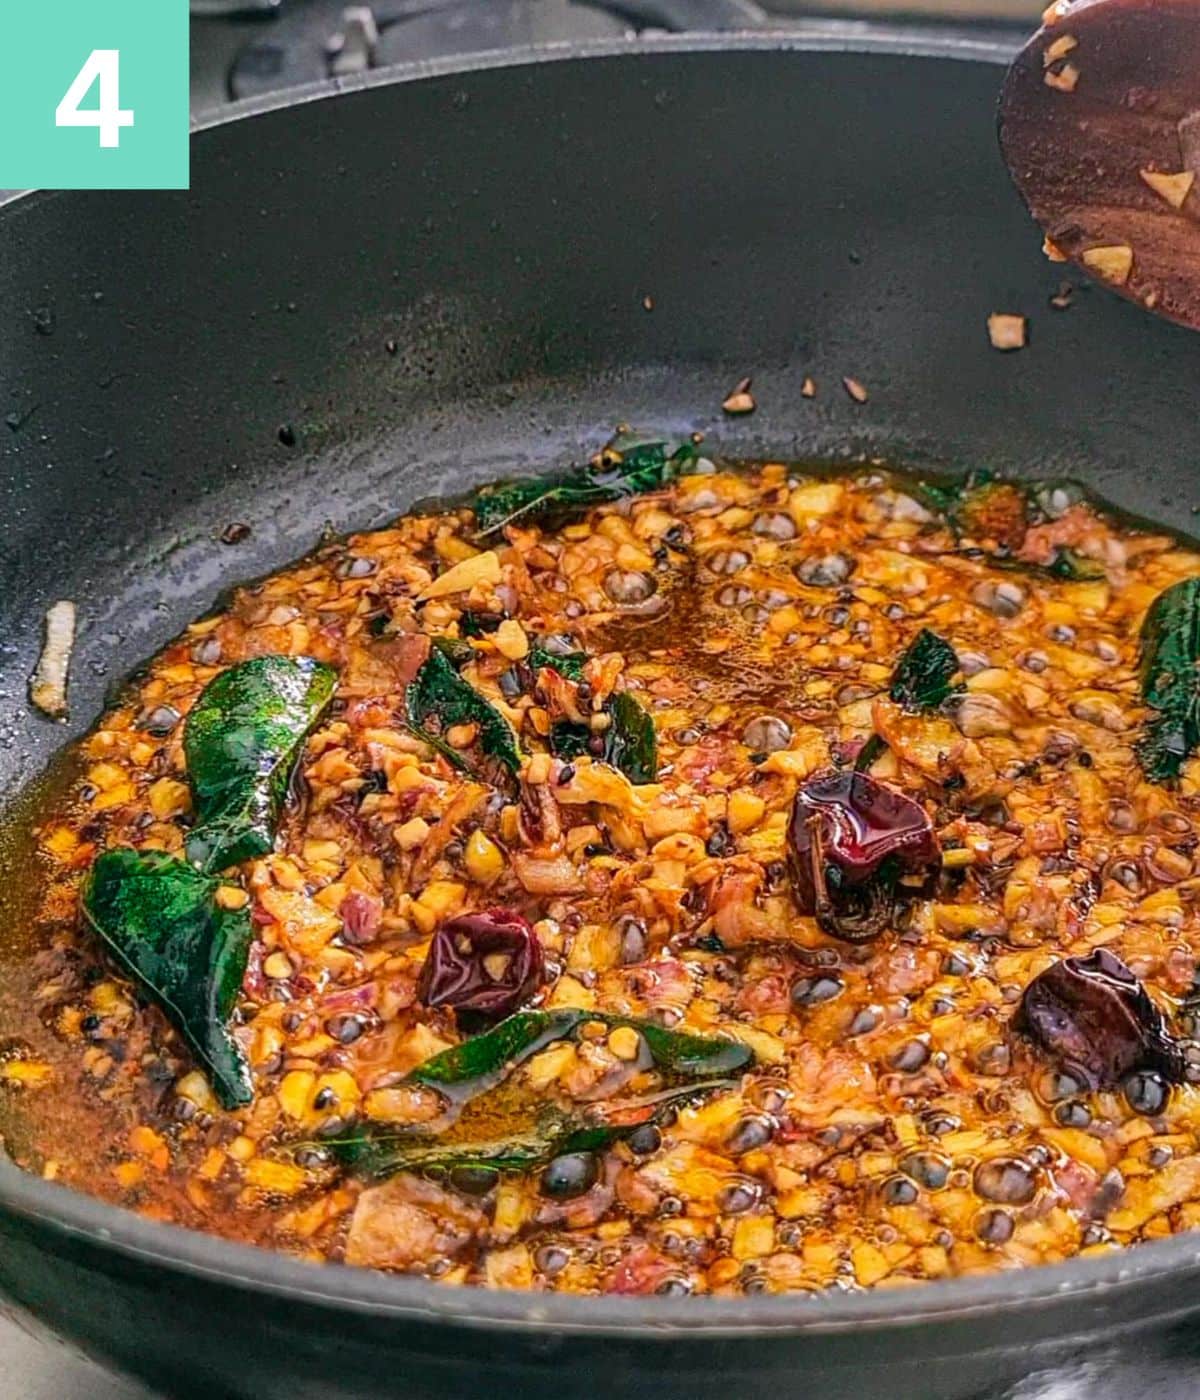
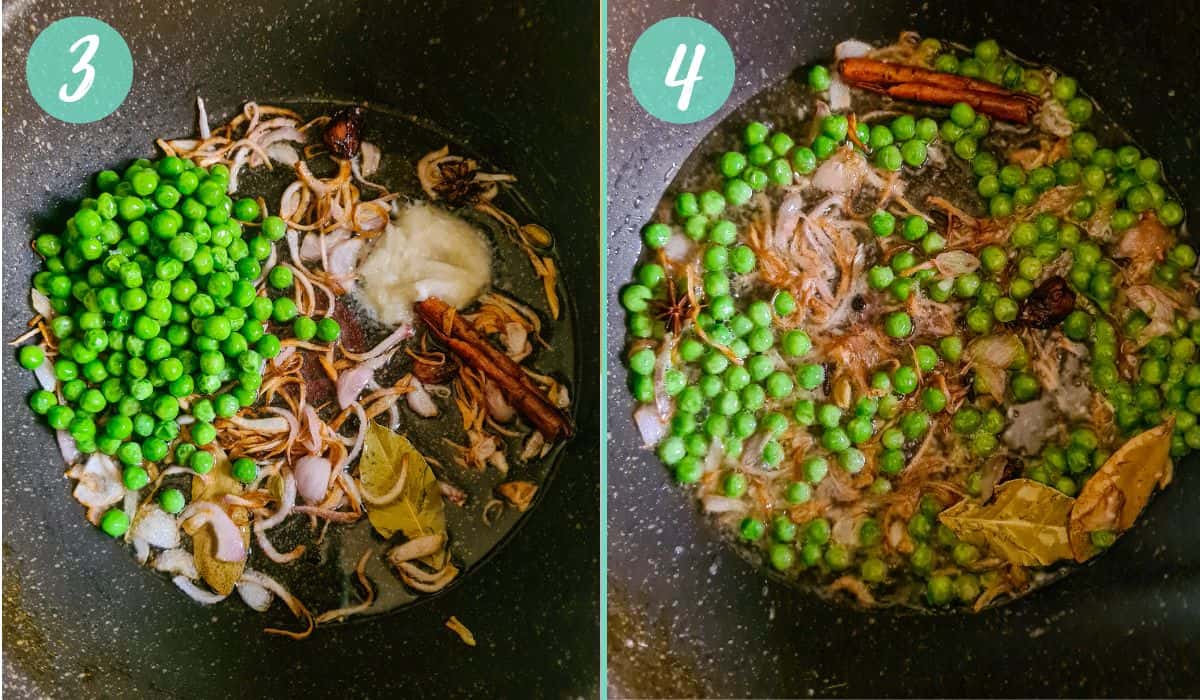
3 and 4 – Cooking peas
Add your peas, and garlic ginger paste to your onions. Cook for 2 to 4 minutes or until the peas have released all their water and change their color slightly.
Cooking the rice
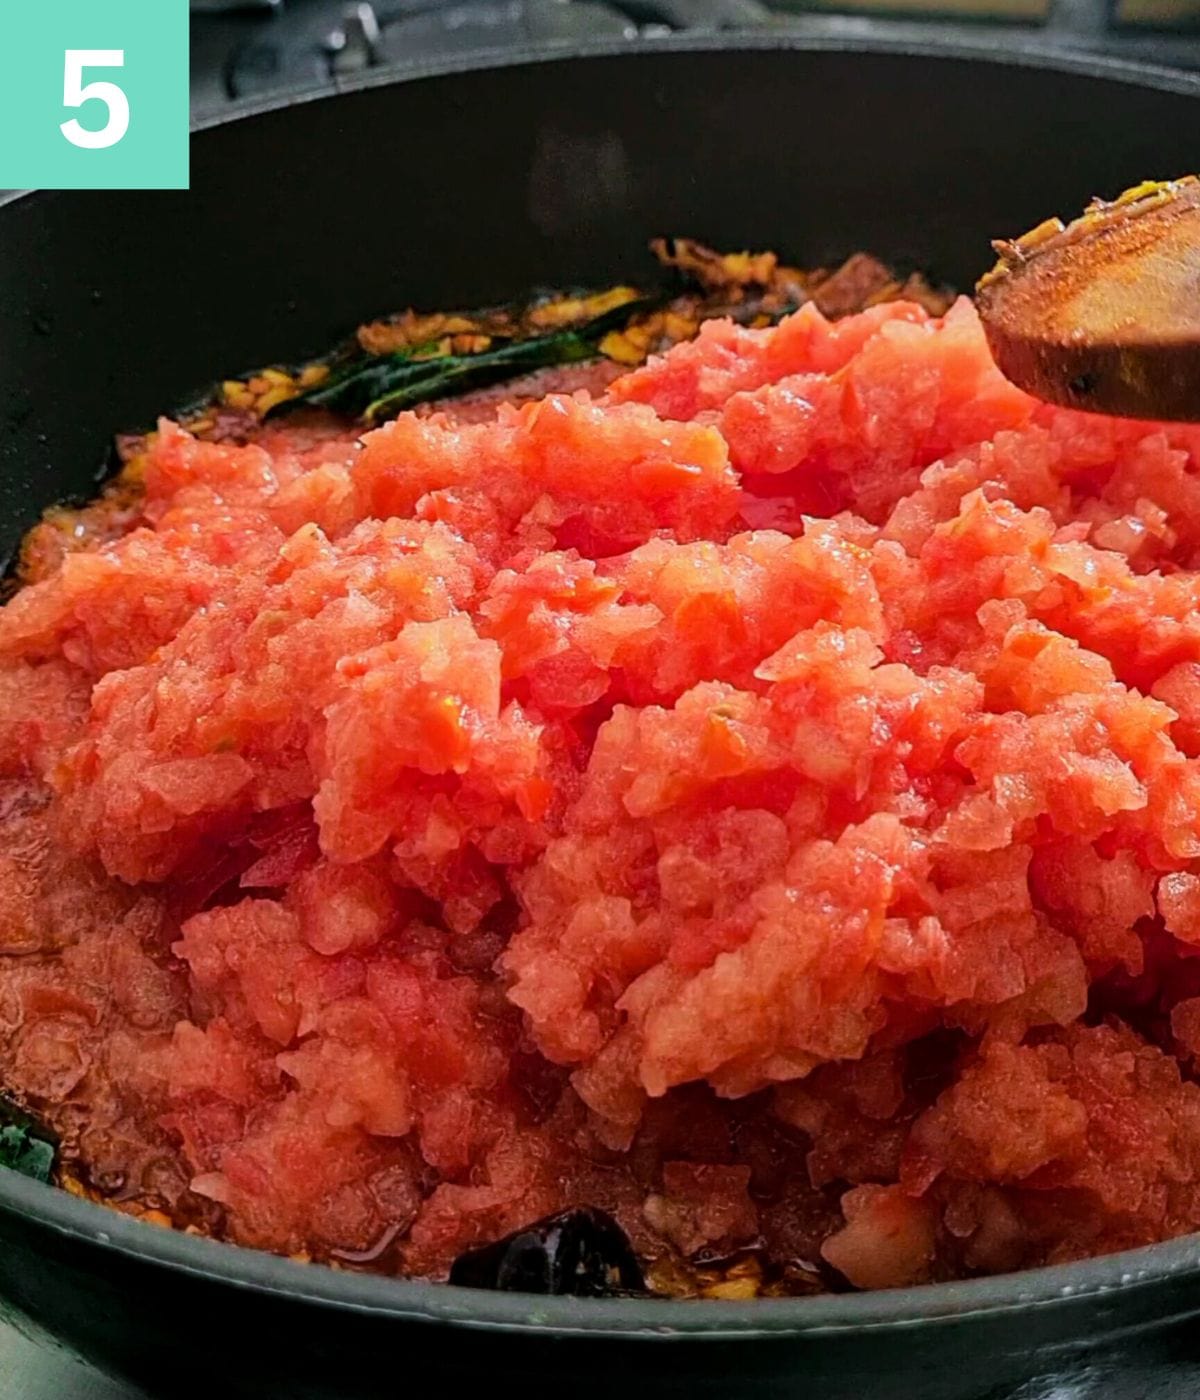
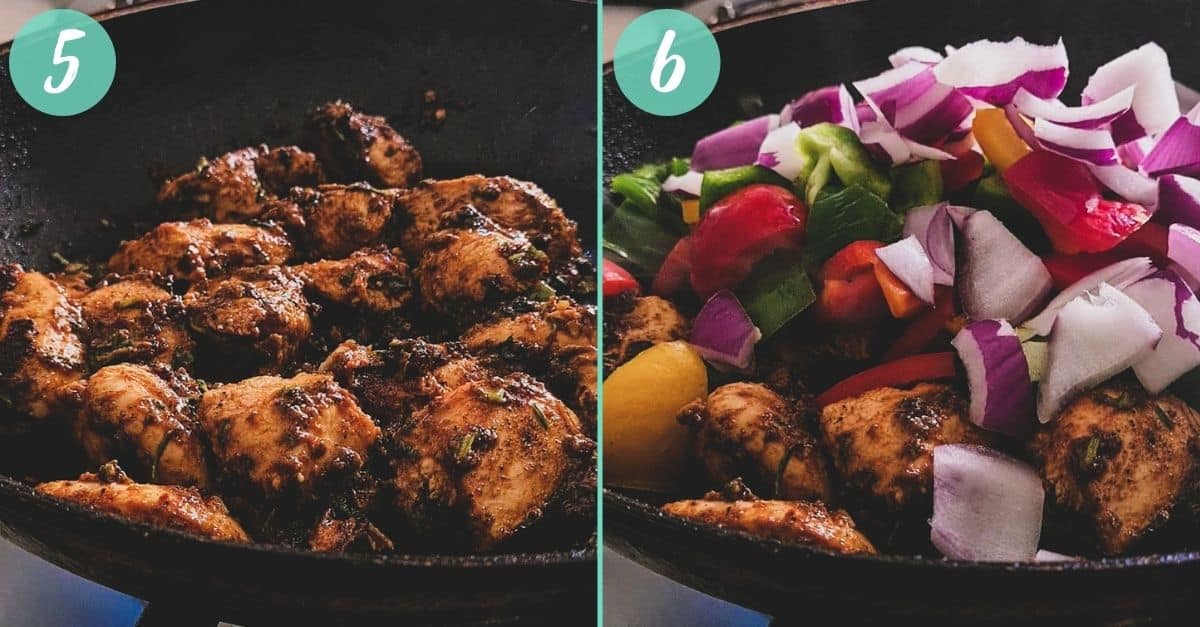
5 – Add soaked Rice
6 – Adding Salt and Water
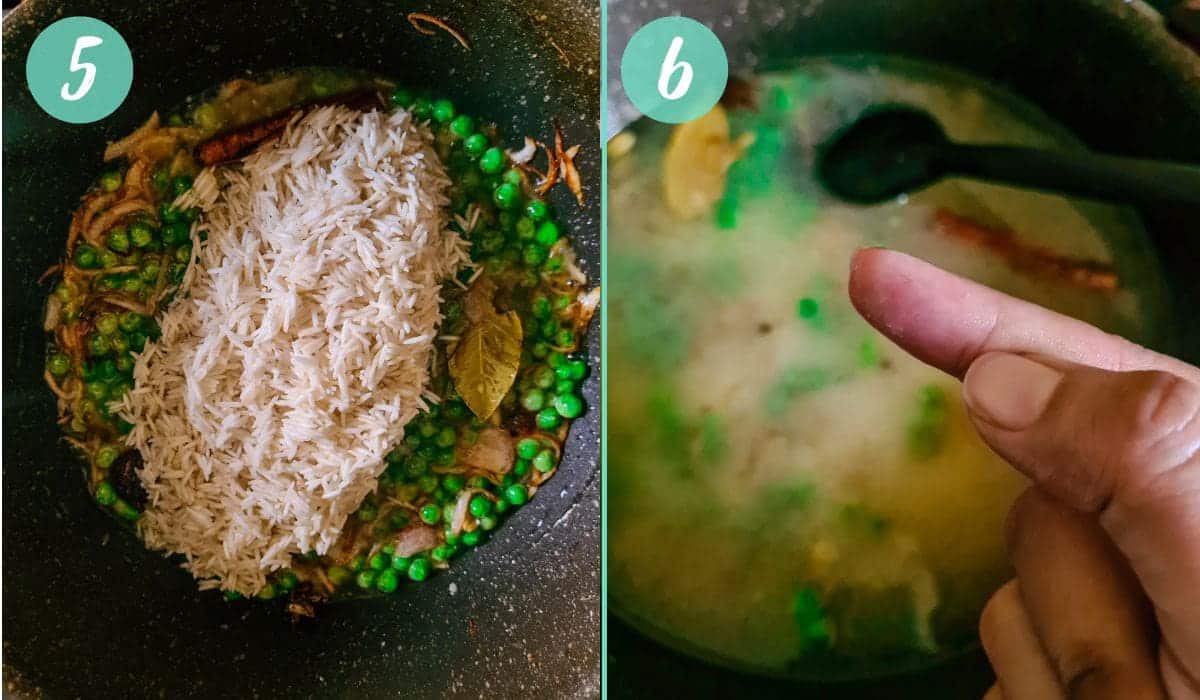
Add rice, salt and water to your pot. The water level should be an inch above the rice. This is by far the best method to have the perfect rice:water ratio, regardless of the width of the pot you use. To check the water level, you can do 1 of two things.
- You can do a finger test. To do this, turn off the heat before adding rice to the pot. Then add your rice, water and salt. Dip your index finger in the water and your finger should touch the rice, while the water touches your first joint. You can turn on the heat after checking the water level.
- If you are hesitant to dip your finger, then use the back of your laddle. Mark the back of your laddle at 1 inch mark with tape or permanent marker. Then dip to touch the rice, and pour enough water that the water level touches the 1 inch mark
Use a spoon and taste your broth for seasoning. It should taste just right. Neither unseasoned nor overly seasoned.
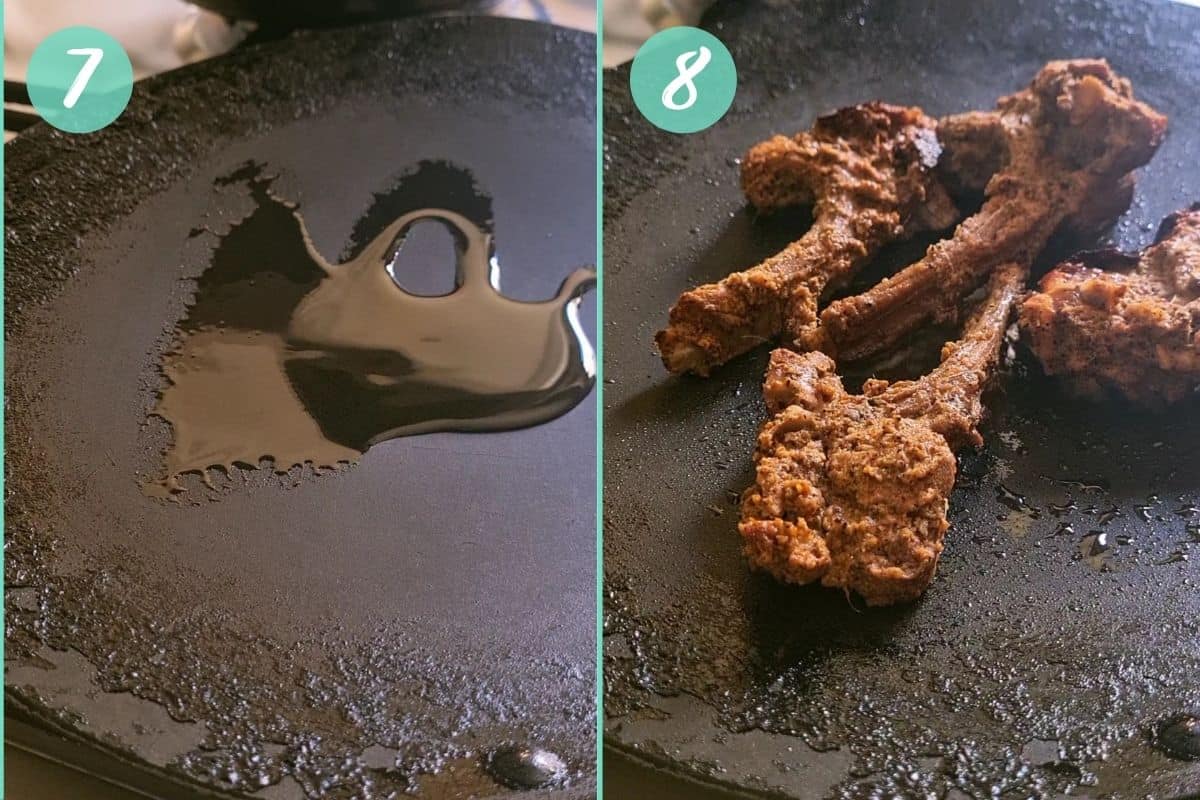
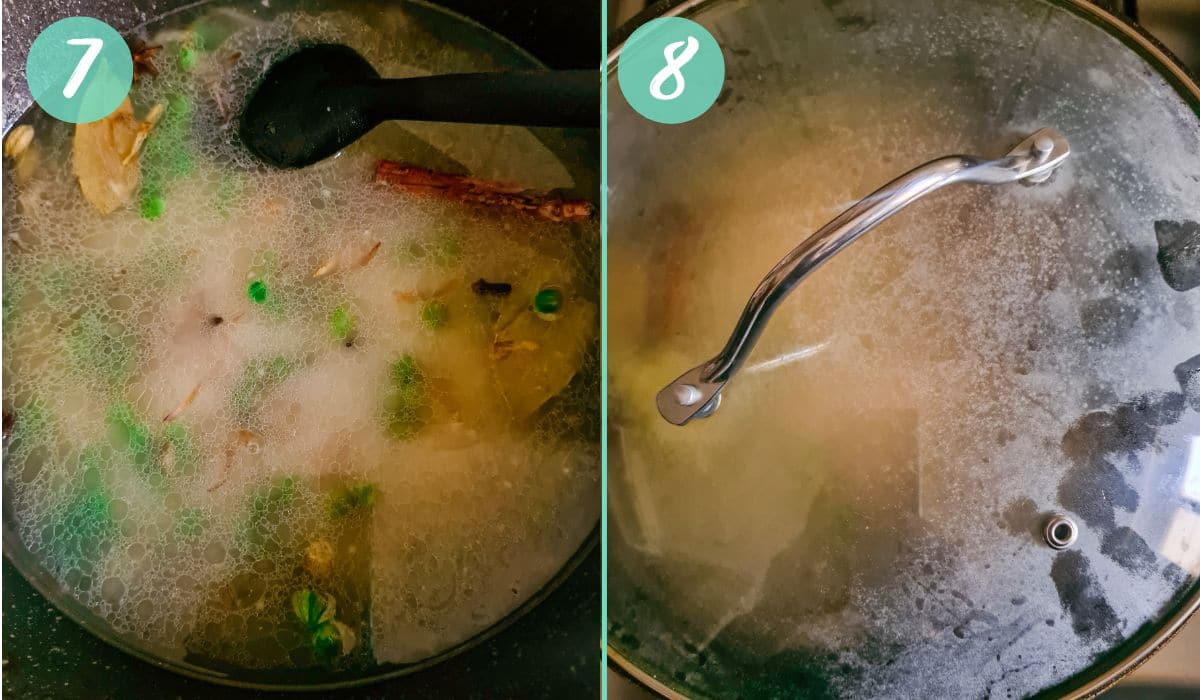
7 and 8 – Boiling rice
After the water level check and salt taste test, cover the pot and boil the rice at high heat for about 4 to 5 mins or until most of the liquid has evaporated.
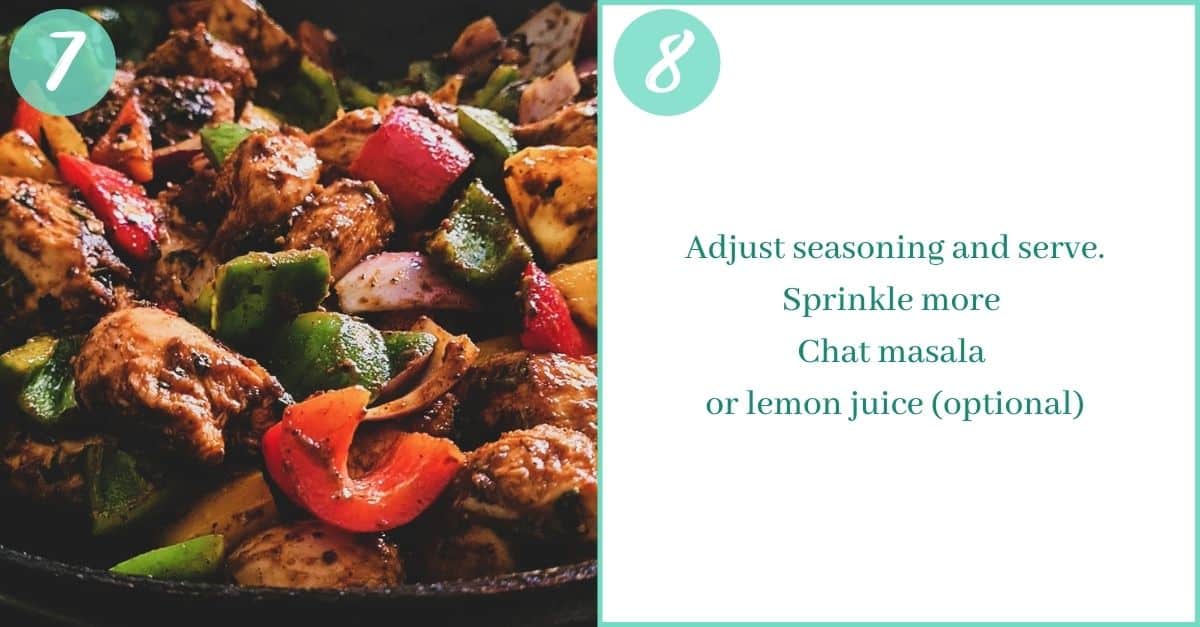
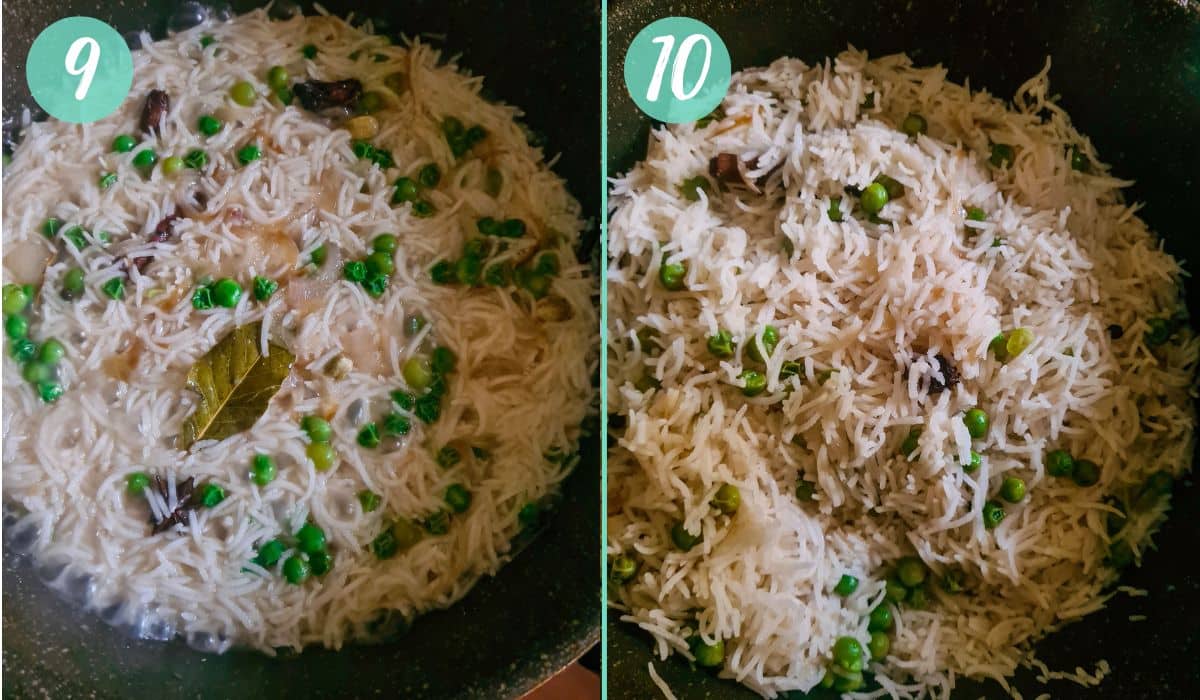
9 and 10 – STEAM RICE
Reduce the heat to low and use a flat spoon or a large slotted spoon to toss the rice around gently and cover. Let the rice steam for another 5 mins at lowest heat.
FLUFF: Turn off flame and use a fork to fluff your rice and it is ready to be served.
PROTIPS and Recipe notes
- To avoid accidentally biting into whole spices while eating, you can tie them in a cheesecloth or a tea infuser ball before adding them to the pot.
- Use a thick base pot for any one pot rice dish you make. If your pot doesn’t have a heavy or thick base, considering adding a flat griddle or tava below your pot during the last steaming step. This helps with evenly distributing heat during steaming and also prevents your rice from burning or browning from the bottom.
- Don’t skip the fluffing step, otherwise you will have a clumpy rice block as your rice cools down.
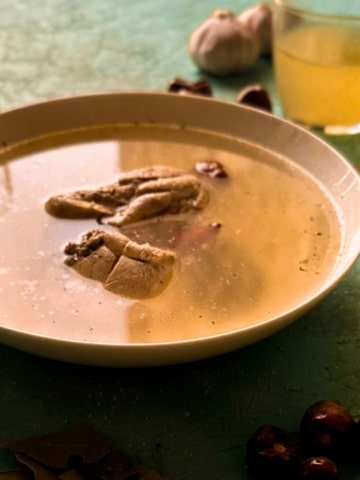
- For a deeper, richer flavor, use chicken yakhni or broth instead of water to cook the rice.

Frequently Asked Questions
What can I do if my rice is undercooked even after the time marks mentioned?
Undercooked rice is not something to worry about and is easily fixable with this hack. Simply add 1/4th cup of a water and milk mixture into your rice while steaming and let it steam for another 5 mins. And not only will your rice be cooked in that time, but it will also be EVENLY cooked.
What other rice can I use other than Basmati?
I’m definitely a hardcore Basmati activist! But if you want, you can try using regular white grain rice. I would personally not suggest using jasmine rice or brown wild rice simply because they don’t turn out like a traditional pulao does.
Can I add more flavor or ingredients to my pulao?
Pulaos are like blank canvases. They will take up whatever flavor you enhance it with. For this pea pulao, I’ve kept the broth simple and only infused it with whole spices. You can also make these changes for a different flavor profile:
- Replace water with bone broth or vegetable stock. Or use a chicken bouillon cube instead to achieve the same effect.
- Add dried fruits to the whole spices while frying them. Such as cashews, almonds or raisins.
- If you are someone who tries to sneak in some extra fibre here and there, add your favorite seeds to the whole spices while frying. It can be pumpkin seeds or flax seeds or any other that you prefer.
How can I reheat refrigerated pulao
Unlike biryanis, pulao rice is cooked in its own water. So you don’t throw away the starch completely. Because of the starch content, pulao rice generally clump a little as they cool down. So when you take out your rice from the fridge, don’t attempt to break the clumps by hand. Simply put it in the plate you want to reheat it in and add a splash of water. Heat it for about 30 secs, take it out and then break the clumps if any. Reheat again for as long as you want to.
How long can the Pea pulao be refrigerated for?
Store the pulao in a nice airtight container in your fridge after it cools down. It would last and stay fresh for 4 to 5 days easily.
Can I freeze leftover pulao?
Absolutely! one of the best things about cooking pulaos as how incredibly easy they are to freeze and defrost. I always make a little extra than we need so that I can freeze 2 portions for later. Use a ziplock bag or an airtight container to freeze the pulao. Whenever you need to eat it, simply allow to thaw on the counter and then microwave like you normally would. If you are in a bit of a rush than add 4 to 5 tablespoons of water in the rice and microwave for 2 to 3 mins. It’ll be good as new! You can freeze leftover pulao for upto 40 to 50 days without causing any freezer burns.
Serving Suggestions
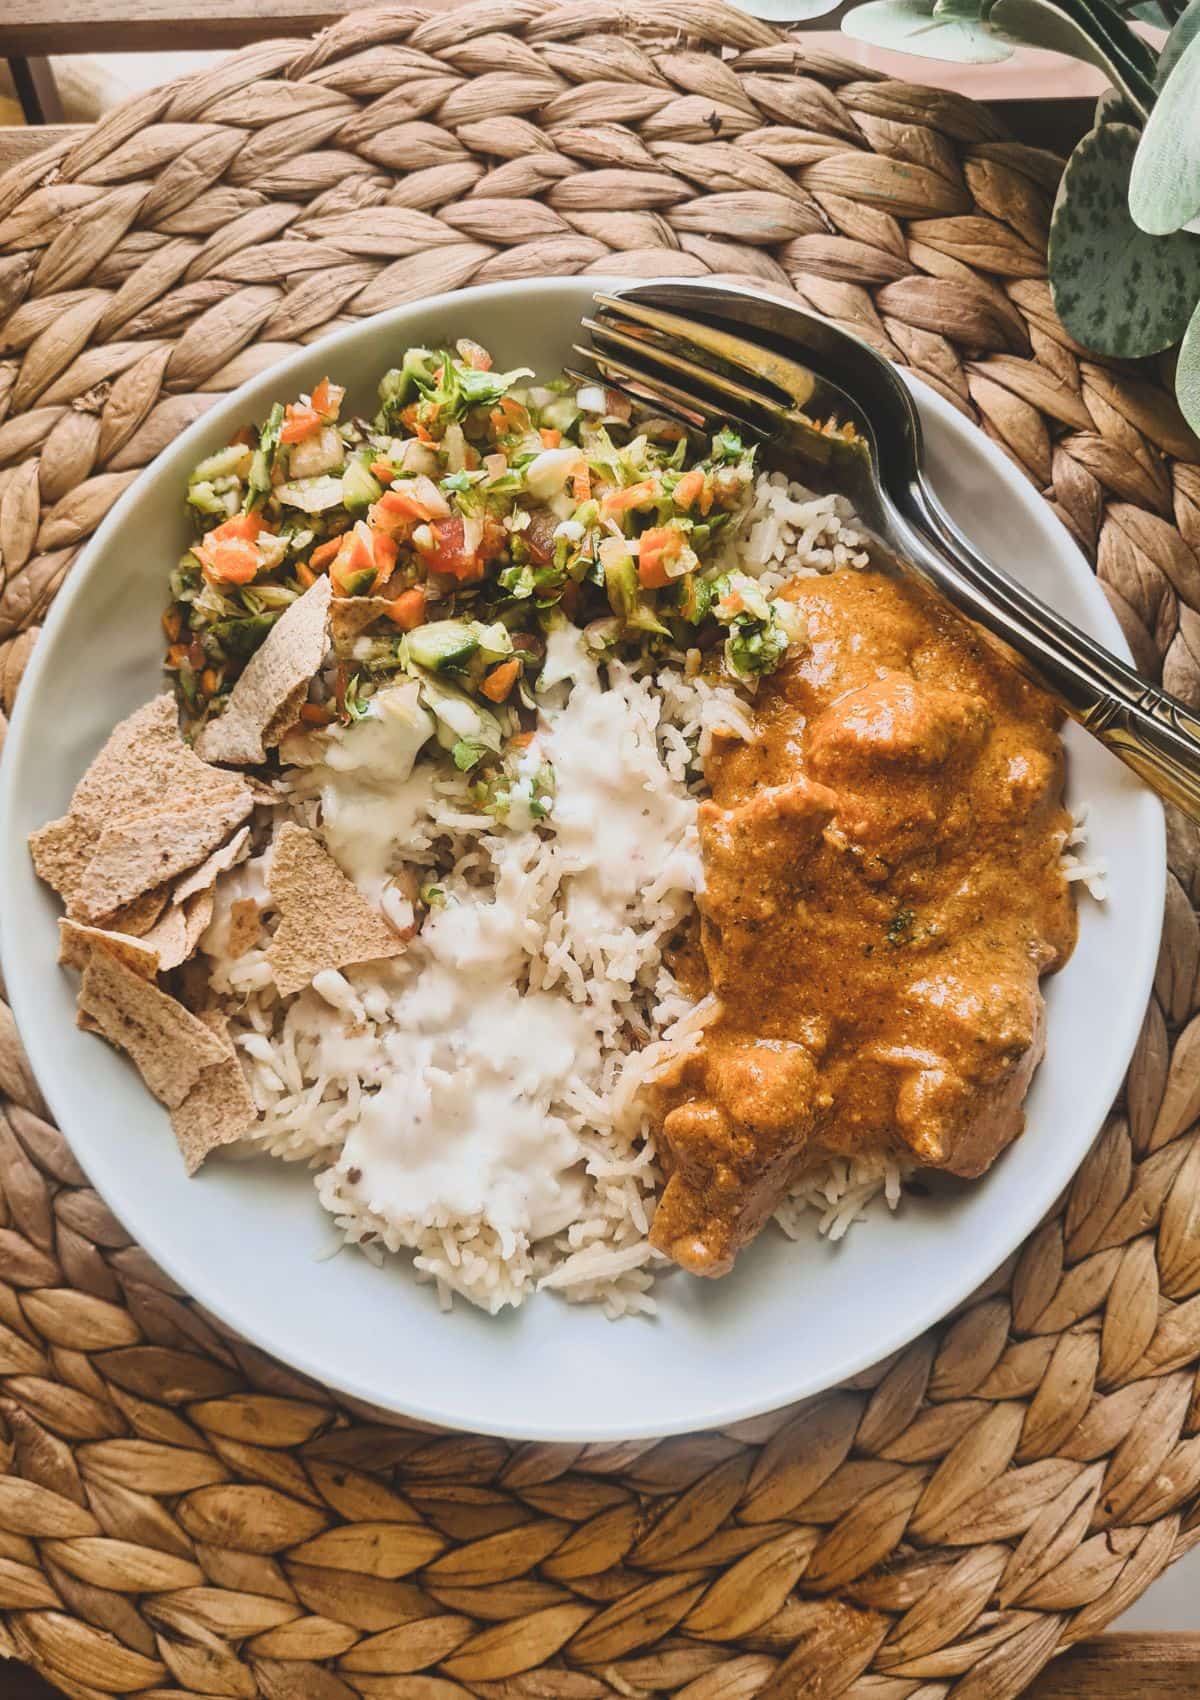
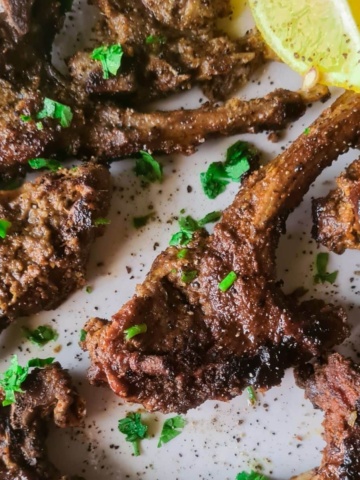
Matar pulao can be eaten as a Main or eaten alongside a nice curry or kebab. Here are some options we love:
- Chicken curry – Chicken ka saalan shorba
- Chicken handi
- Prawn masala
- Raita and chicken cheddar kebab
- Handi kebab
- Chicken Tikka and mint chutney
More Recipes on the Blog

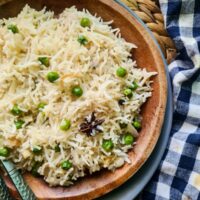
Pea pulao (Matar Pulao)
Ingredients
- 250 gm long grain Basmati Rice or 1 1/4th cup soaked for 20 mins
- 1/3 cup cup vegetable oil
- 2 teaspoon pink himalayan salt or table salt
- 1 medium medium onion sliced
- 1 cup peas fresh or frozen
- 1½ teaspoon garlic ginger paste
- water as needed
Whole spices
- 1 star anise badiyan ka phool
- 3 cloves
- 5 to 6 black peppercorns kali mirch
- 2 bayleaves tez patta
- 1 cinnamon stick dar cheeni
- 2 black cardamom bari elaichi
- 4 green cardamom choti elaichi
Instructions
Prepare Broth
- Add oil in a medium sized thick based pot or cauldron and put on medium heat on the stove.
- Add sliced onions and whole spices to the pot. Saute with a wooden spoon until onions turn light golden brown.
- Then add garlic ginger paste along with the peas. Saute for 2 to 3 mins or until the water from the peas evaporates.
- Cook Rice
- Add soaked rice and salt.
- Add water to the rice making sure the water level is higher than the rice by roughly about an inch. To check the water level, you can do 1 of two things.
- You can do a finger test. To do this, turn off the heat before adding rice to the pot. Then add your rice, water and salt. Dip your index finger in the water and your finger should touch the rice, while the water touches your first joint. You can turn on the heat after checking the water level.
- If you are hesitant to dip your finger, then use the back of your laddle. Mark the back of your laddle at 1 inch mark with tape or permanent marker. Then dip to touch the rice, and pour enough water that the water level touches the 1 inch mark
- Now do a taste test for salt and add more if needed. Your water should taste balanced, add more salt if needed.
- Cover the pot with a lid and let the rice cook for 5 mins or until you cannot anymore water in the pot.
- Use the spoon and gently toss the rice upside down. Reduce the heat to lowest possible setting and cover the pot again. Cook for another 5 to 8 mins.
- Use a fork or a spoon to fluff the rice.
- Serve with yogurt and kebabs or any curry of your choice.
Notes
- If your pot doesn’t have a heavy or thick base, considering adding a flat griddle or tava below your pot during the last steaming step
- Skip the whole spices if you don't have any at hand.
- If your rice are still undercooked after a total of 10 mins of cooking, then add a mix of water and whole fat milk equal to 1/4th cup and steam for another 5 to 6 mins.